Last Updated: November 10, 2026
The incident workspace now includes updated and new widgets, customizable via the Incident Workspace Builder. Each widget can be expanded or restored to their default size using their 

To give a widget the whole workspace, select Expand in its top-right corner. The widget fills the workspace; select Collapse in the same corner to put it back.
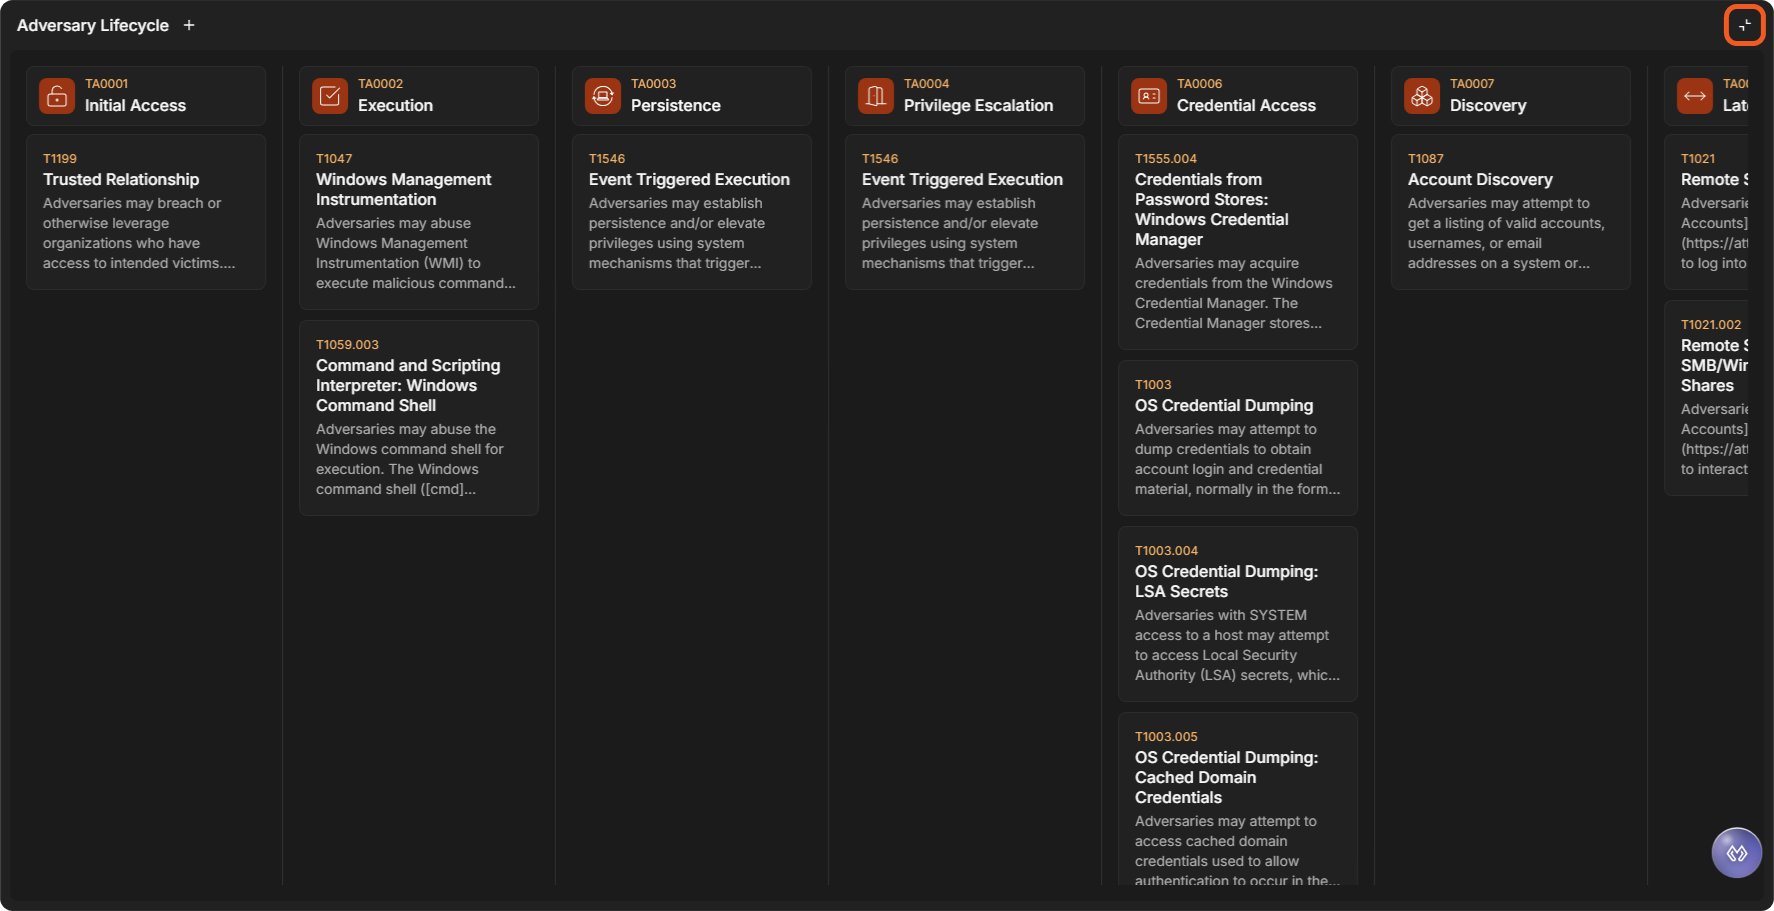
Adversary Lifecycle
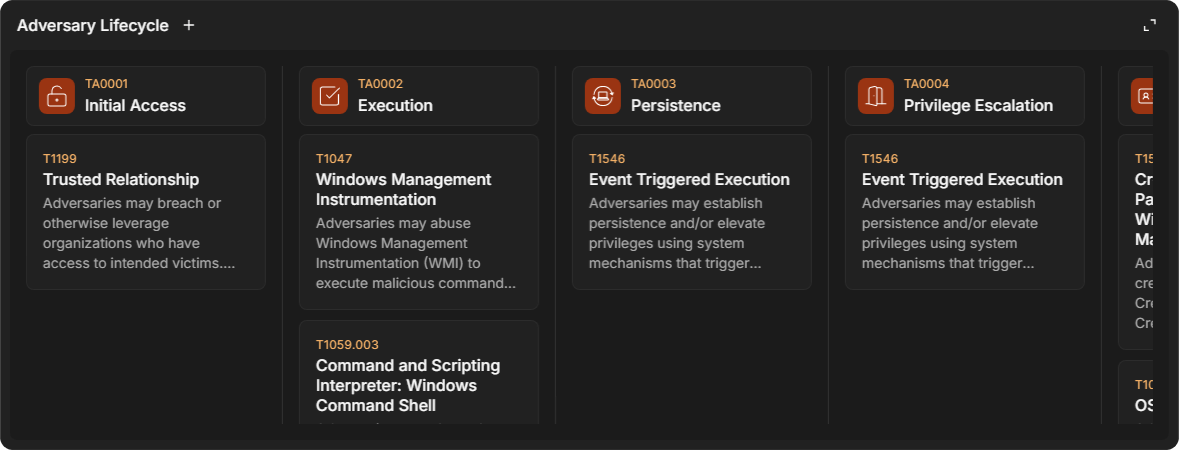
The Adversary Lifecycle widget displays tactic and technique details specific to the current incident, providing clear and comprehensive insights for each item.
Reading a Technique in Full
The technique cards show a shortened description. Select a technique card to open a window with the tactic and technique name and the full description. Select Close to return to the widget.
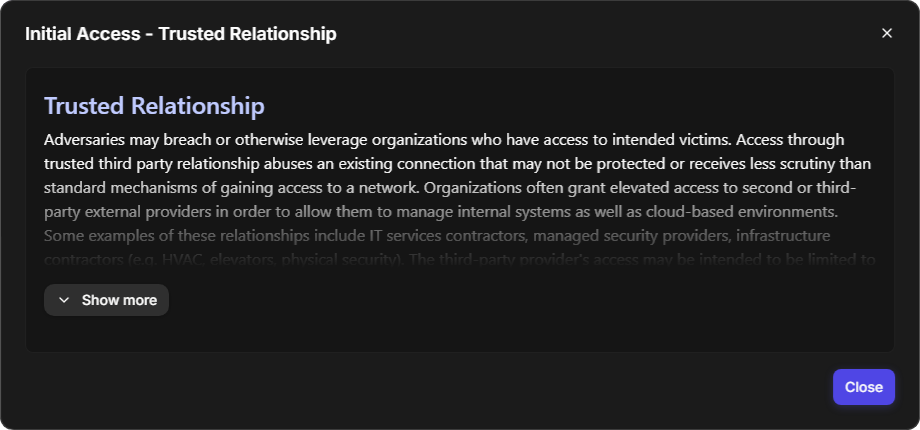
Clicking on the 
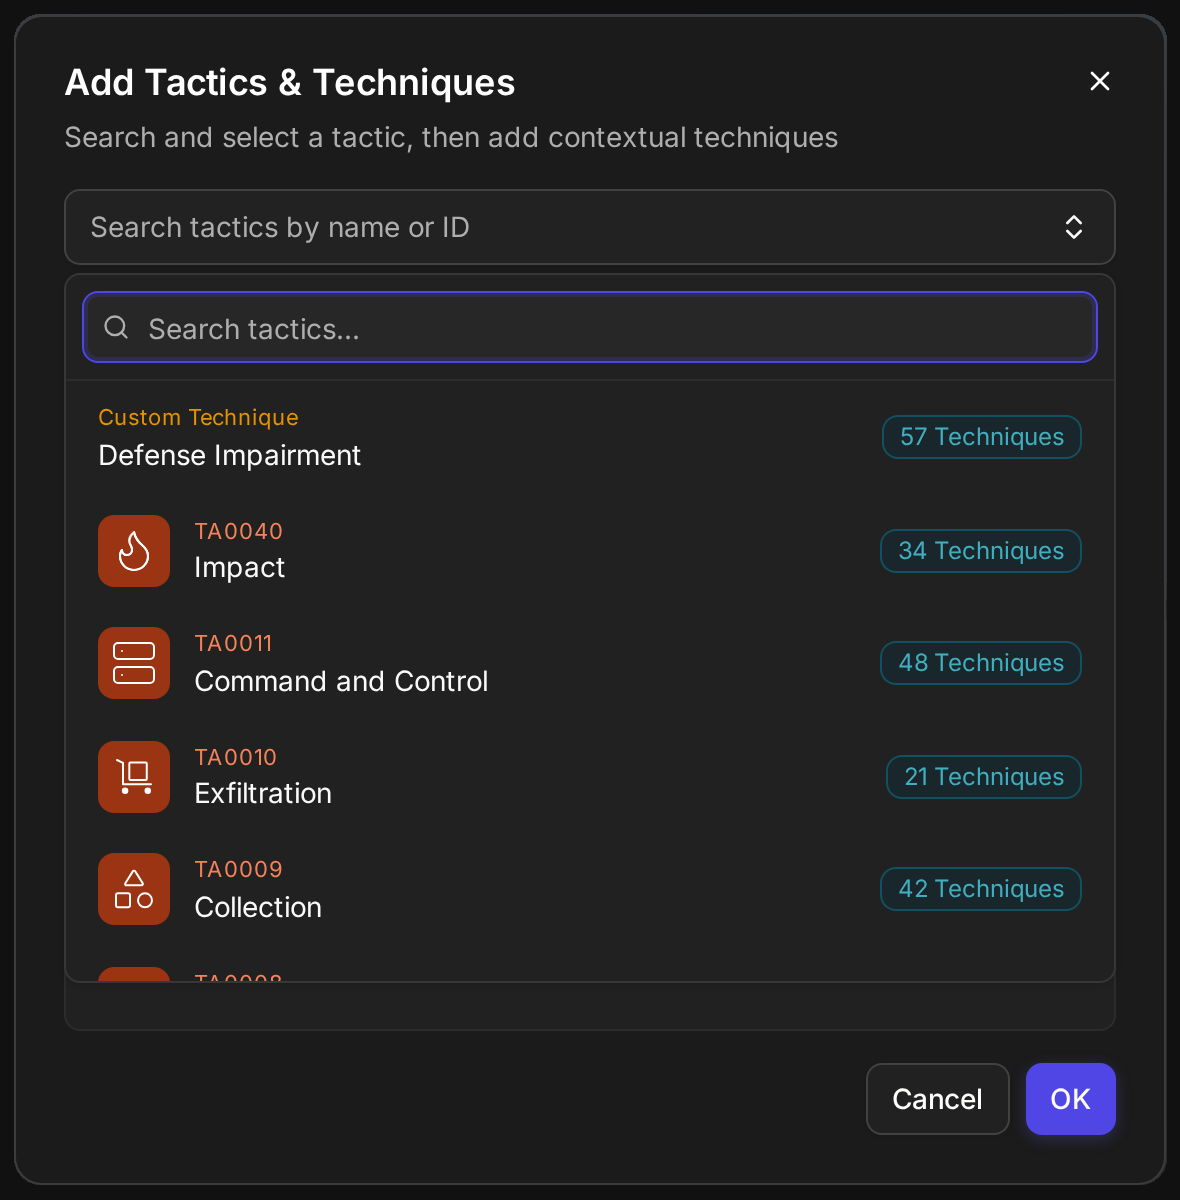
Creating Custom Tactics and Techniques
-
Navigate to the MITRE ATT&CK Monitor.
-
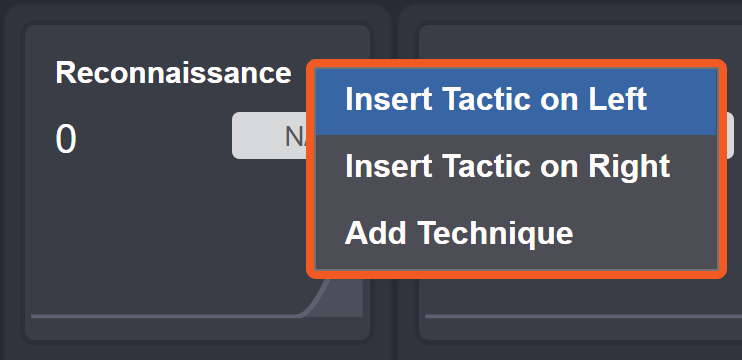
Click on the

-
Select Insert Tactic or Add Technique.
-
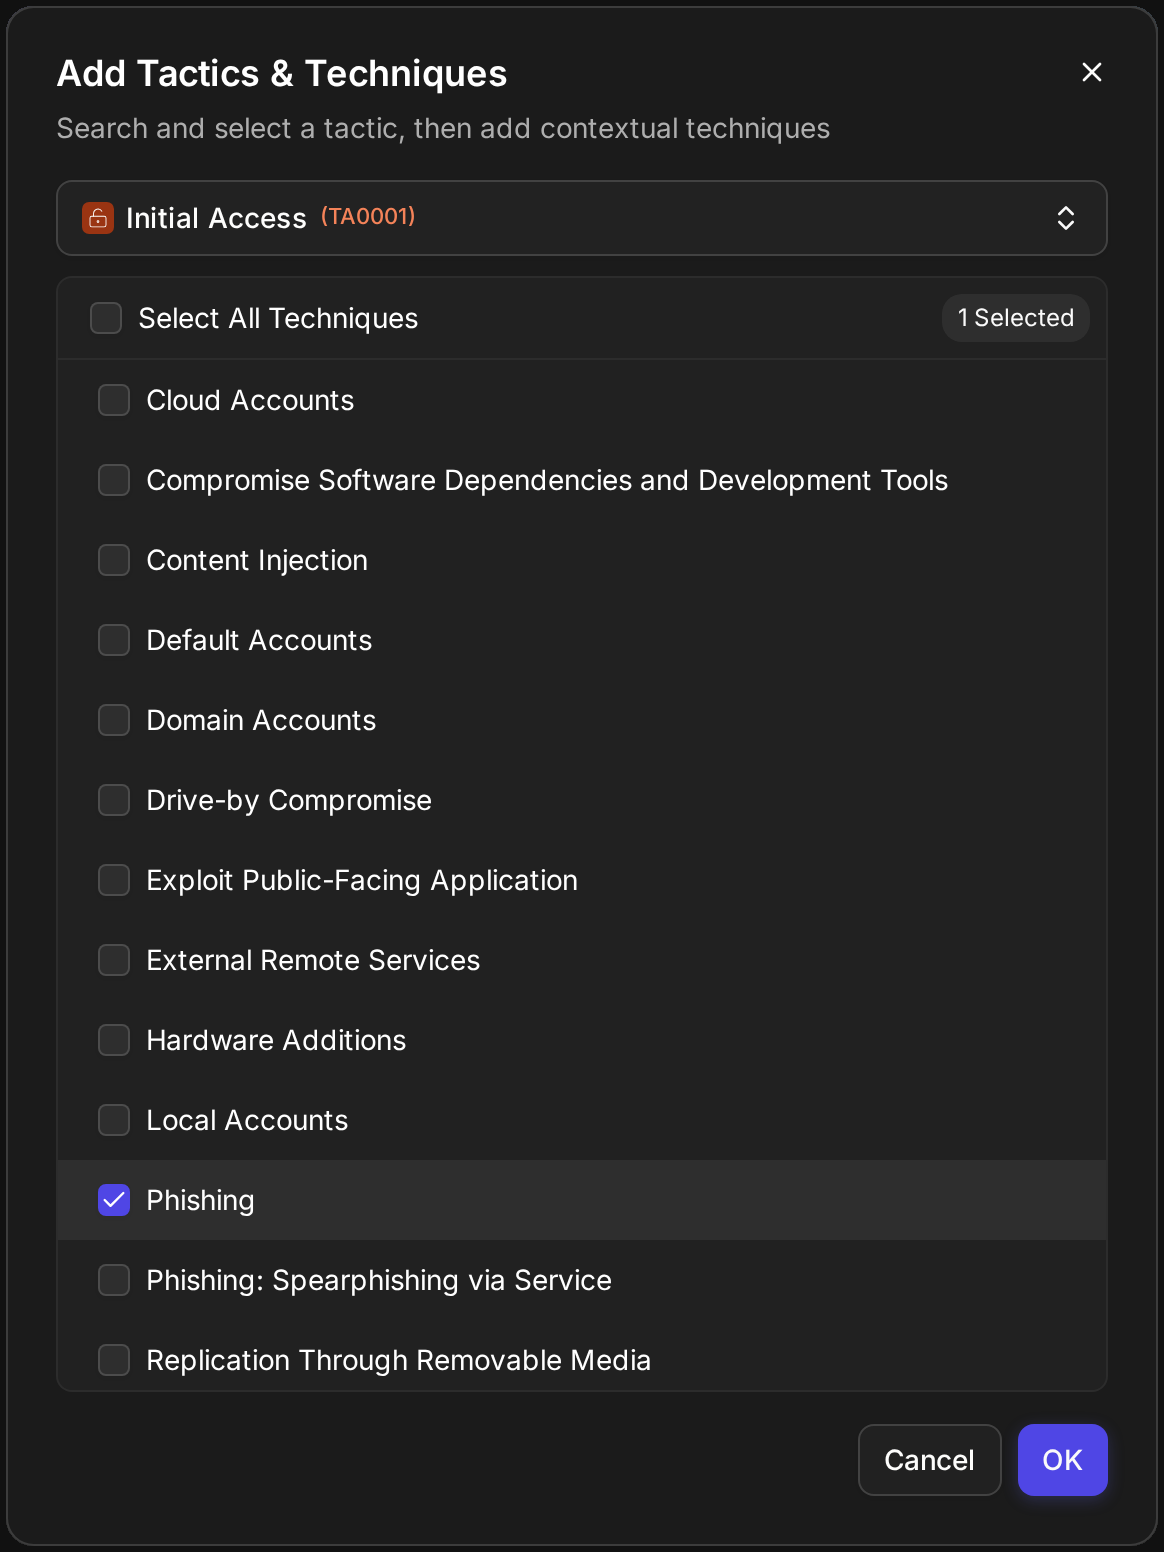
Enter in the necessary tactic or technique information, then click on the Save button.
Users can now observe their custom t
custom tactic or technique in the Adversary Lifecycle widget's Add Tactic/Technique popup.
Deleting Tactics and Techniques
-
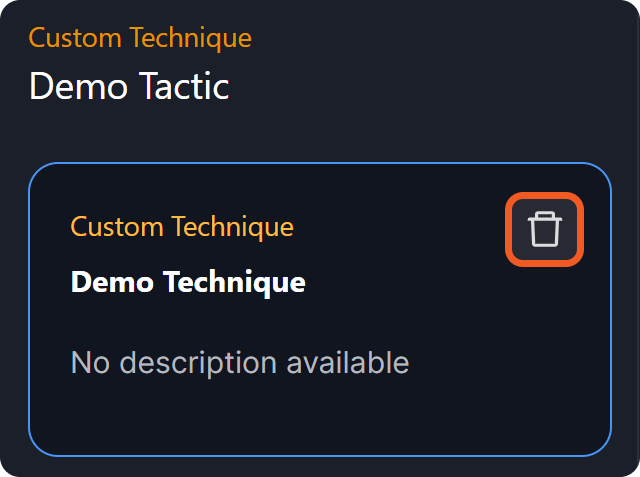
Hover over a technique, then click on click on the icon.
-
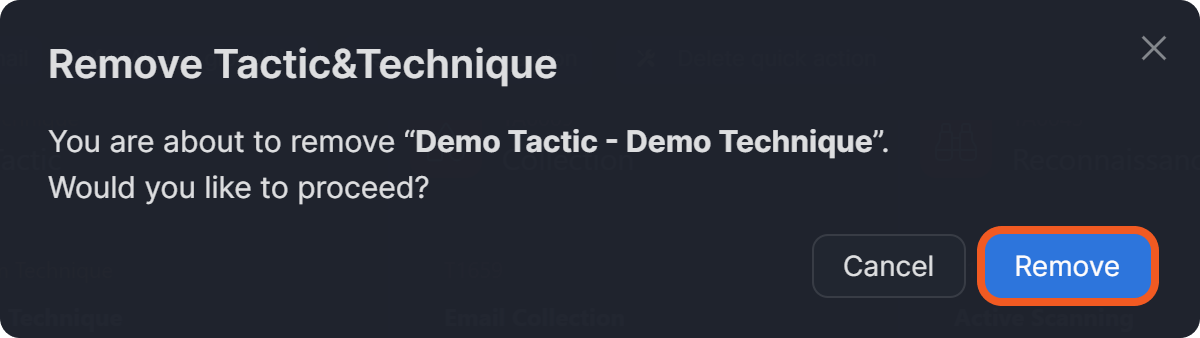
Click on the Remove button.
Troubleshooting Missing Built-in Techniques
If built-in techniques are not visible, navigate to the Monitor module and select the Enable Mitre Tactics checkbox.

Conclusion
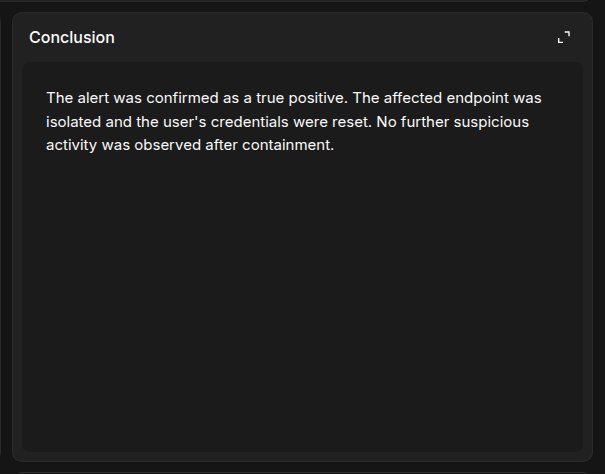
Users can use the Conclusion widget to record a summary for the incident's resolution using an HTML editor.
-
To edit the content, hover over the widget and click on the

-
To clear the HTML widget, hover over the widget, click on the

Custom Fields
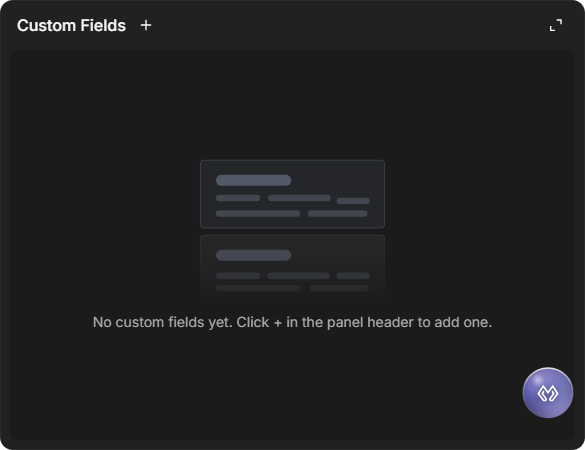
The Custom Fields widget allows users to add custom fields and values to incorporate information about the incident beyond what appears in the header panel.
To add a custom field, click on the 
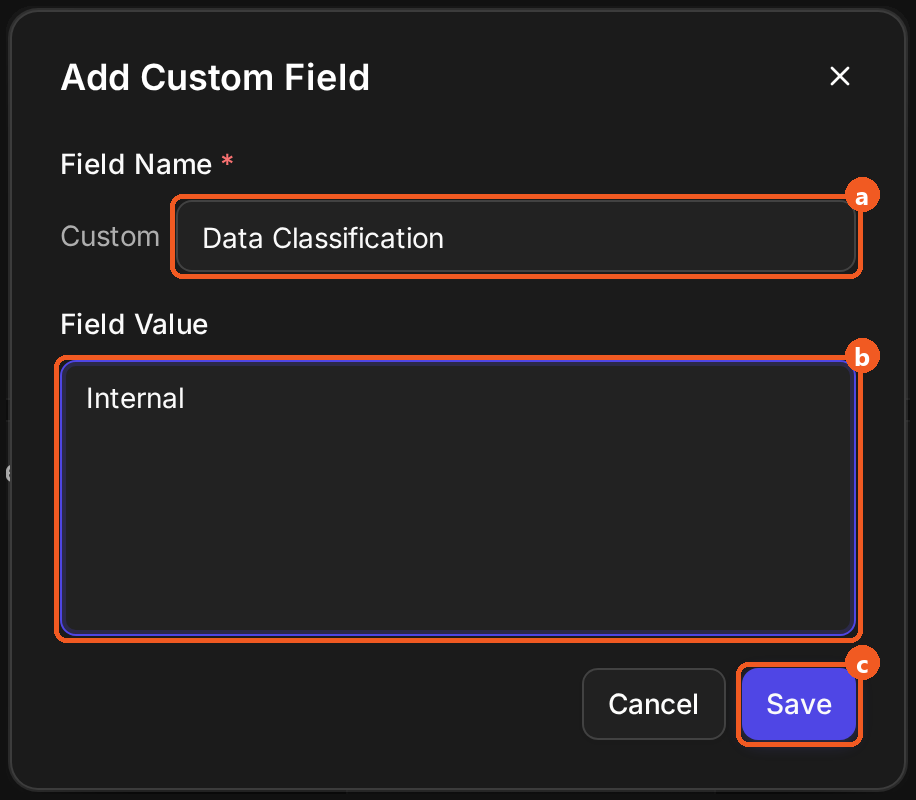
Editing a Custom Field Value and Deleting a Custom Field
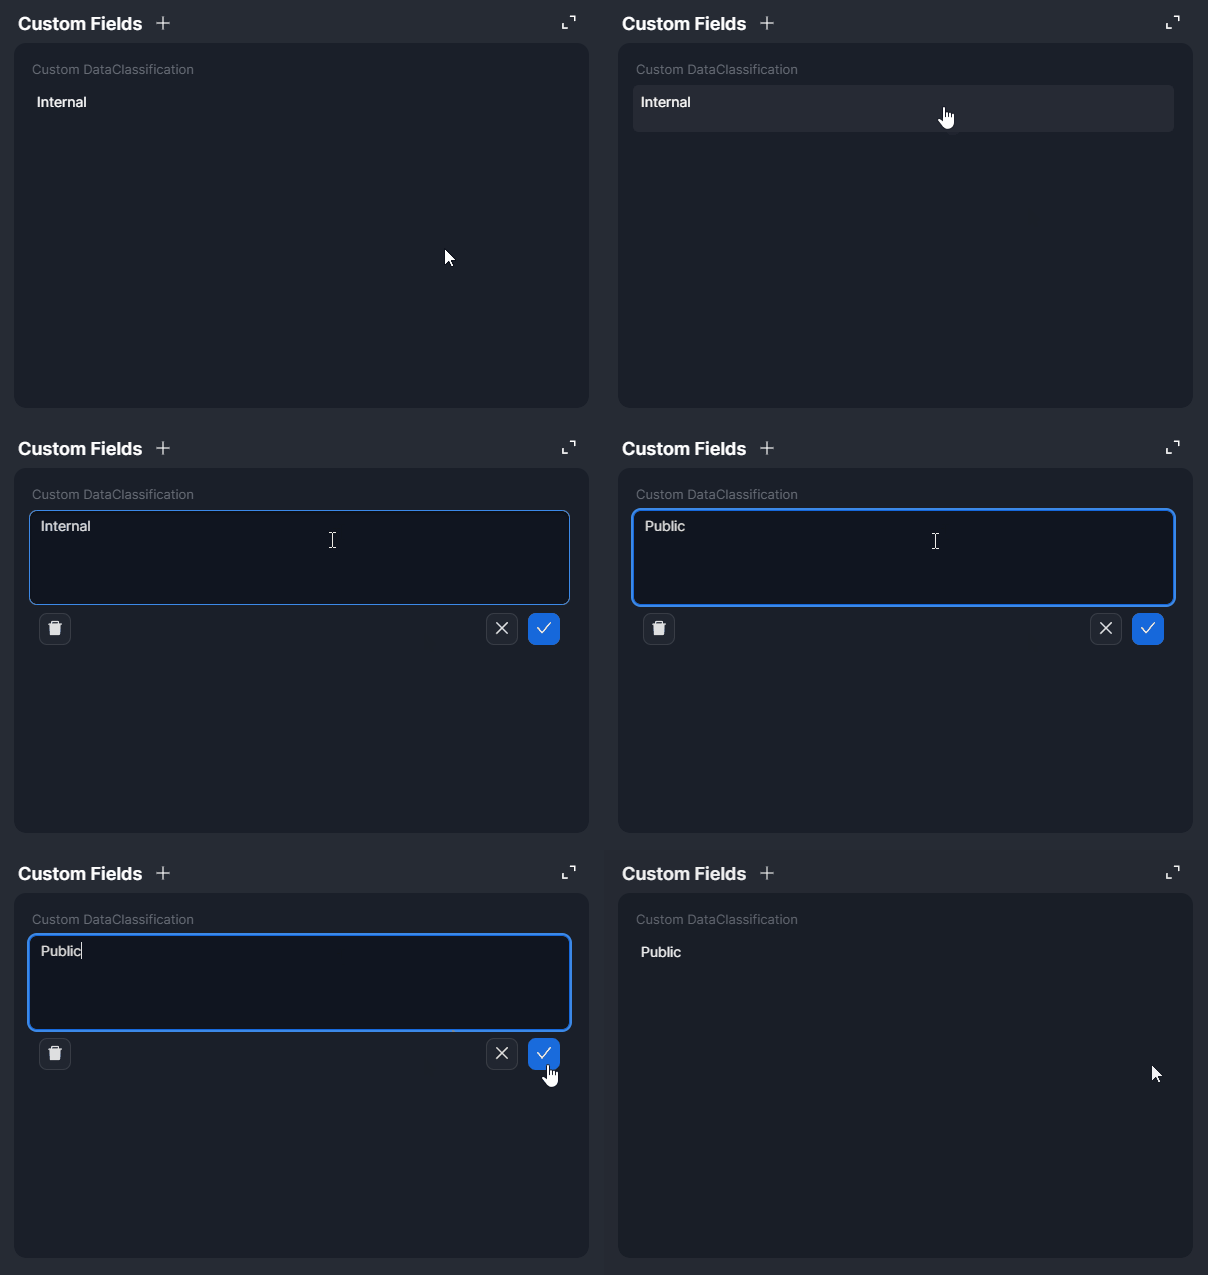
Editing a Custom Field Value
To edit a custom field value, click on the custom field, make the edits, then click on the Group 42 (1).png button to save.

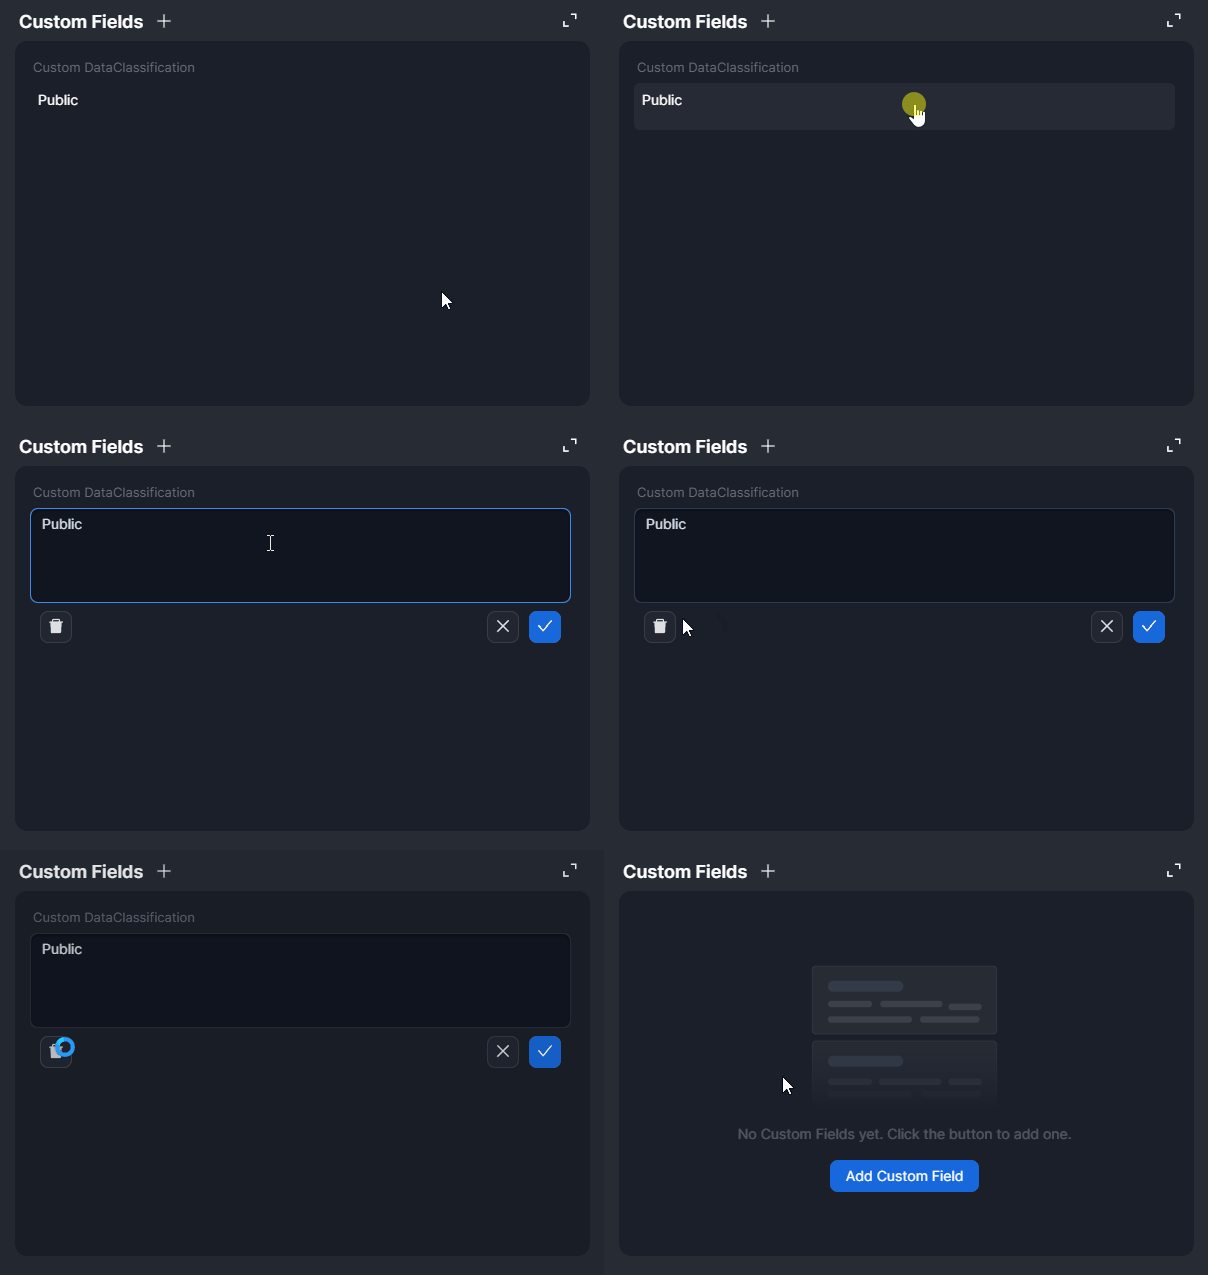
Deleting a Custom Field
To delete a custom field, click on it, then click on the 
Description
The Description widget enables users to add or update the incident description using an HTML editor.
-
To edit the content, hover over the widget and click on the
-
To clear the HTML widget, hover over the widget, click on the
Events Summary
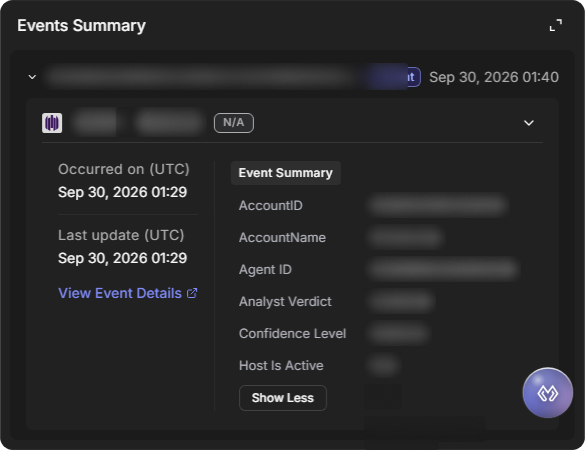
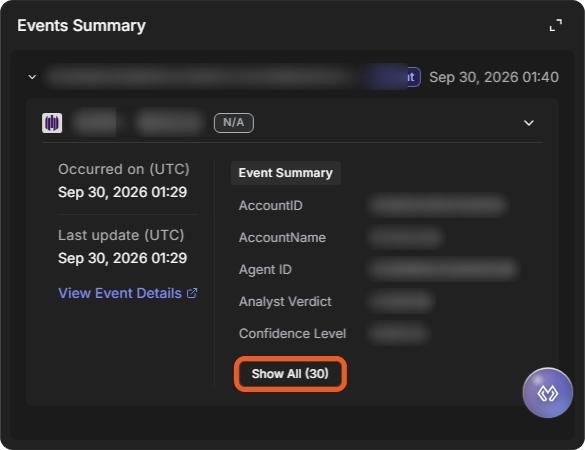
The Events Summary widget provides summaries of events linked to the incident, including their linkage method, event ID and name, risk level, occurrence and last updated dates, and a link to access the event details pop-up window for linked events.
Showing More or Fewer Event Fields
-
Each event lists its fields under Event Summary. Select Show Less to shorten the list, and Show All (n) to show every field again.
-
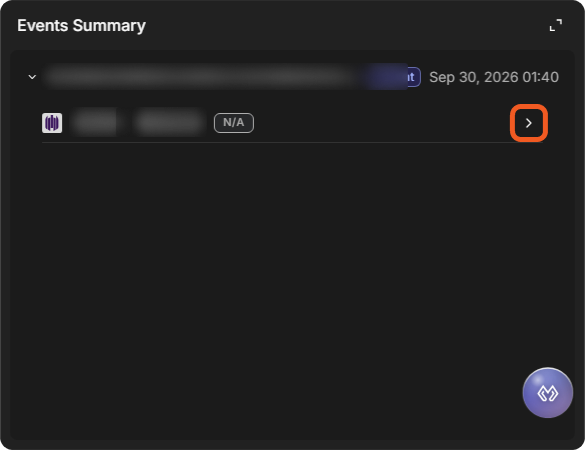
Select the arrow at the right of an event to collapse its details to one line, and select it again to expand them. Selecting the Escalation Method row collapses or expands every event in that group the same way.
Accessing Event Details
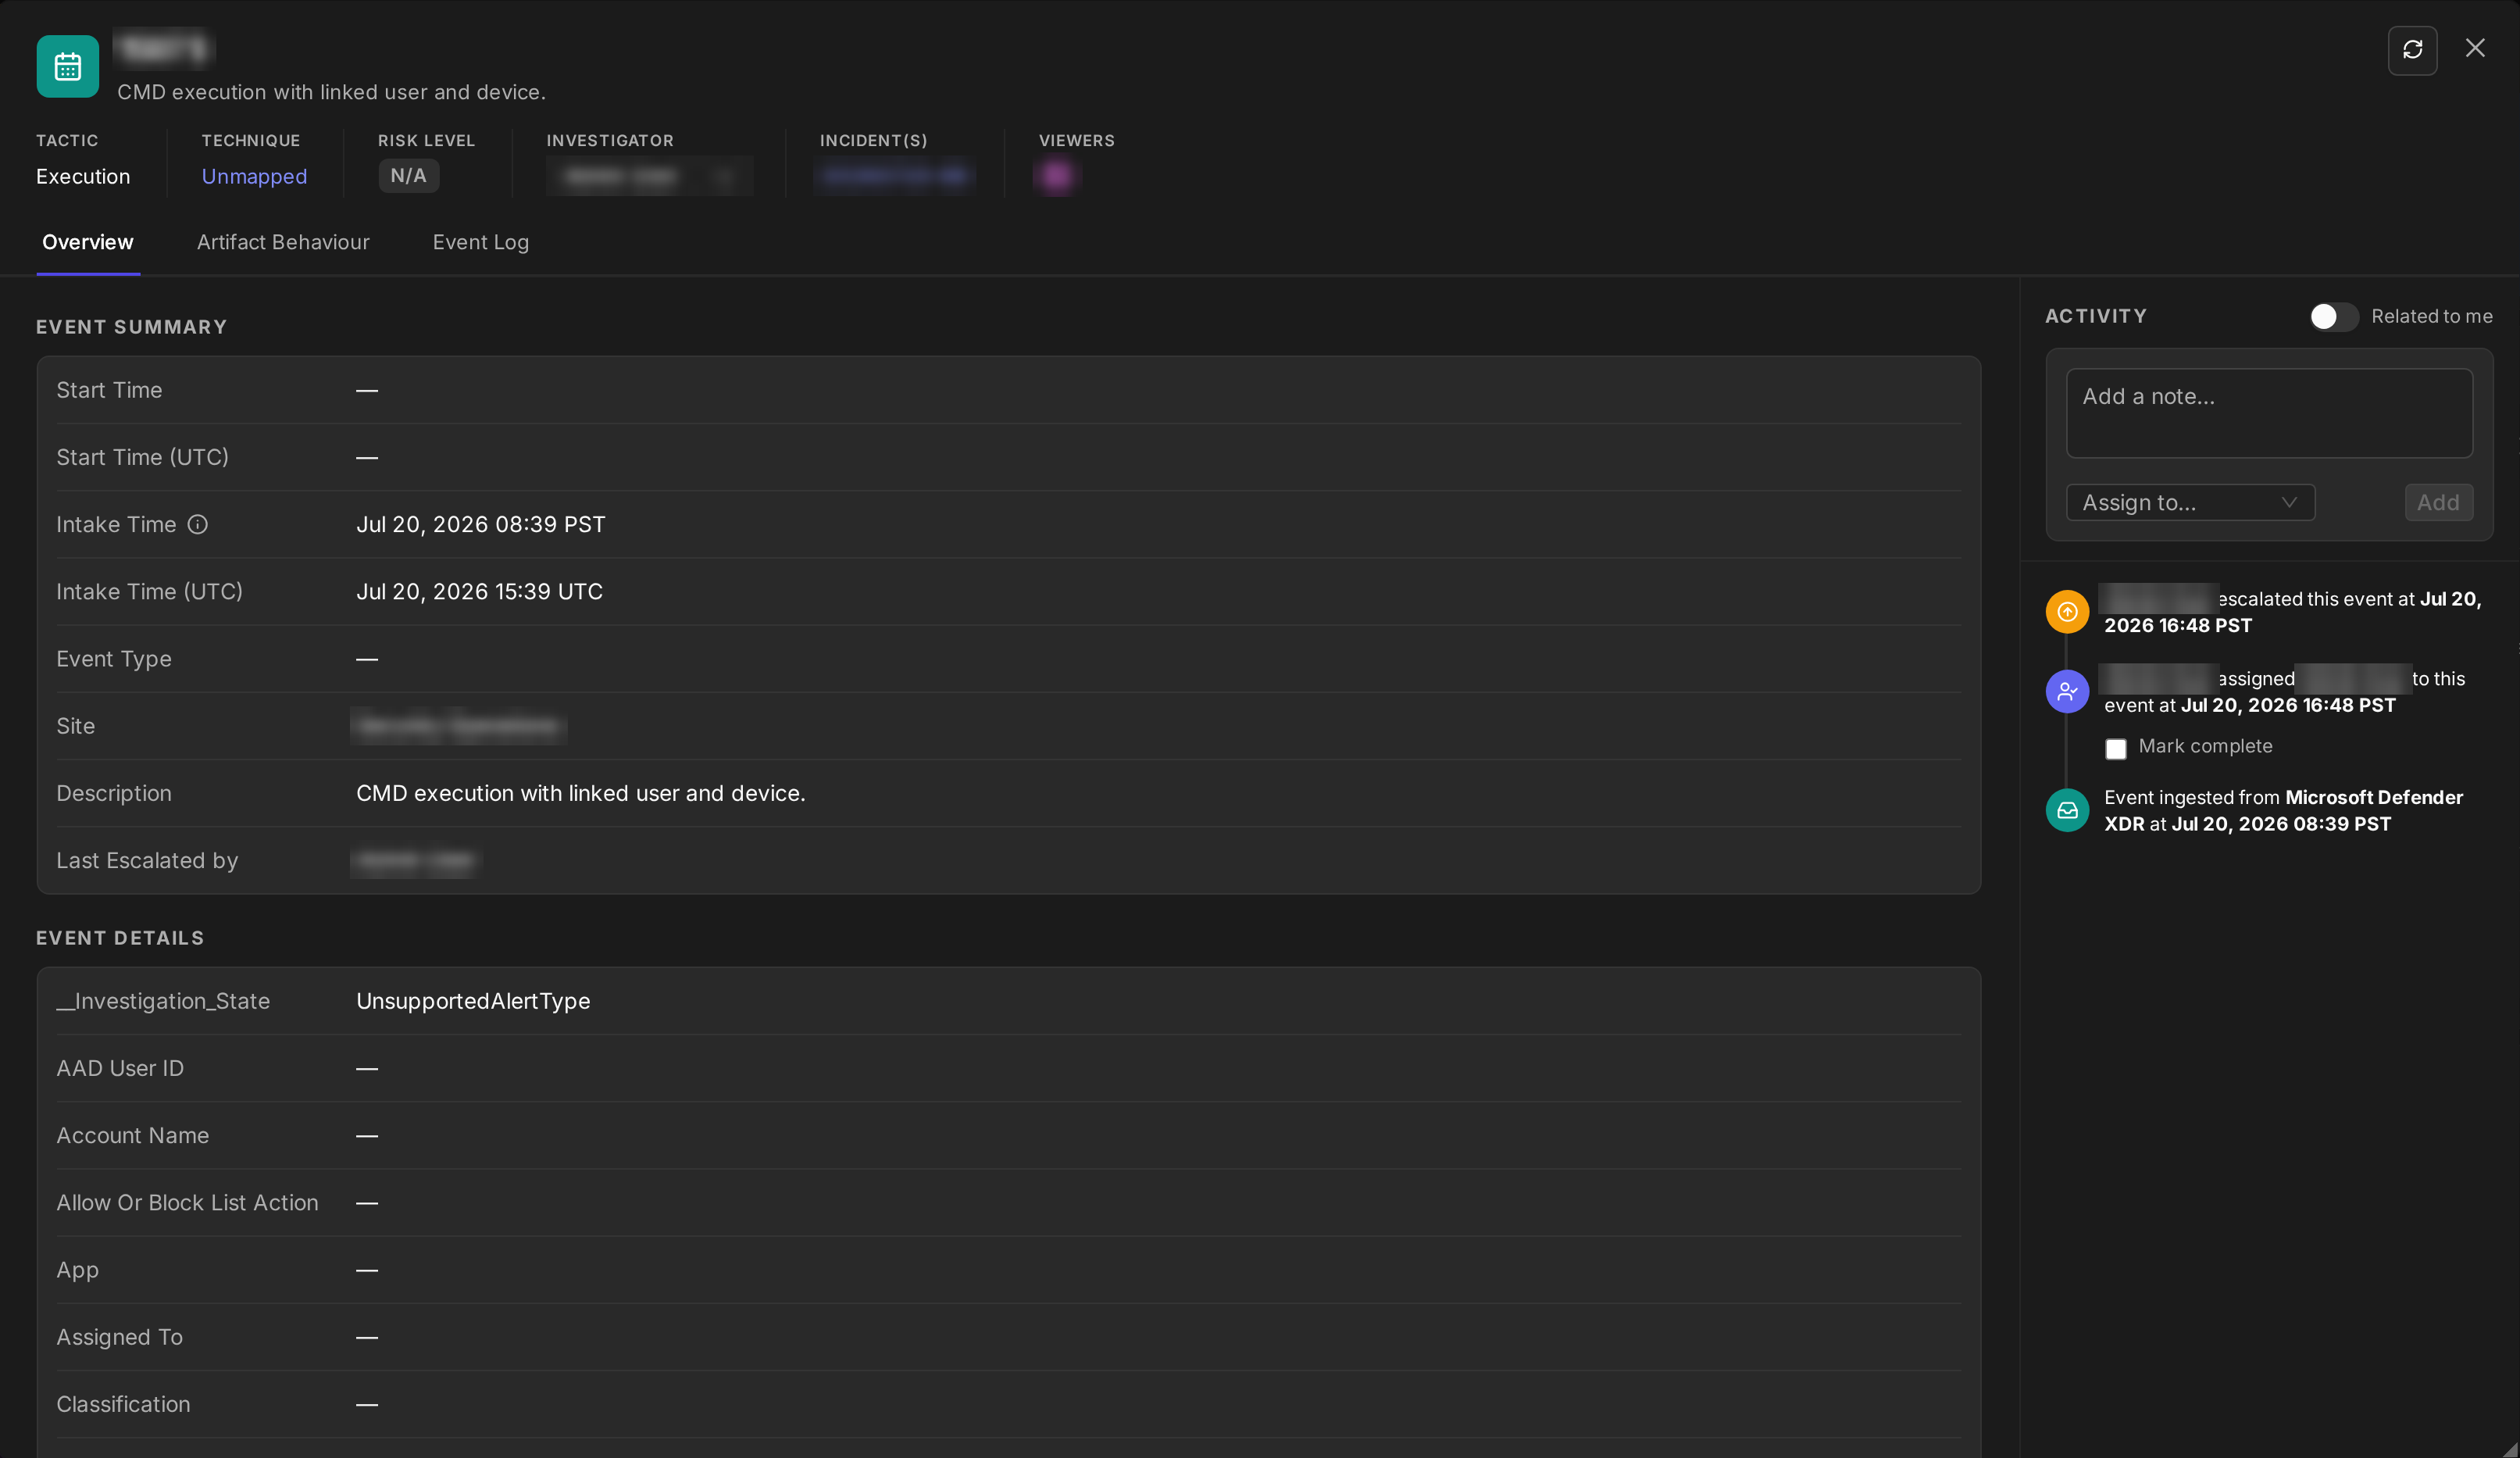
Clicking the View Event Details link opens the Event Details pop-up window containing the details of the event.
Files
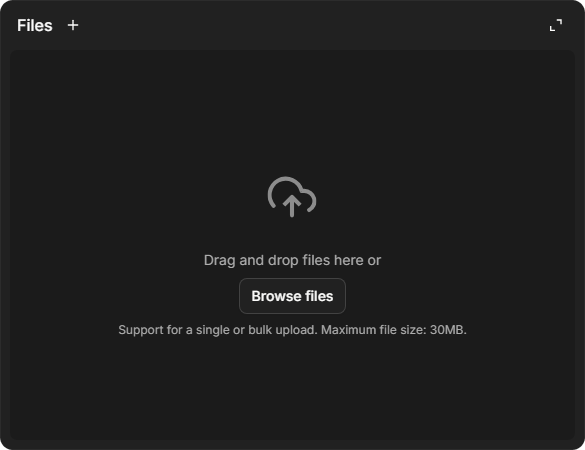
The Files widget allows users to upload files to the incident using a drag-and-drop interface, or with Browse files. The widget notes: "Support for a single or bulk upload. Maximum file size: 30MB."
File Card UI
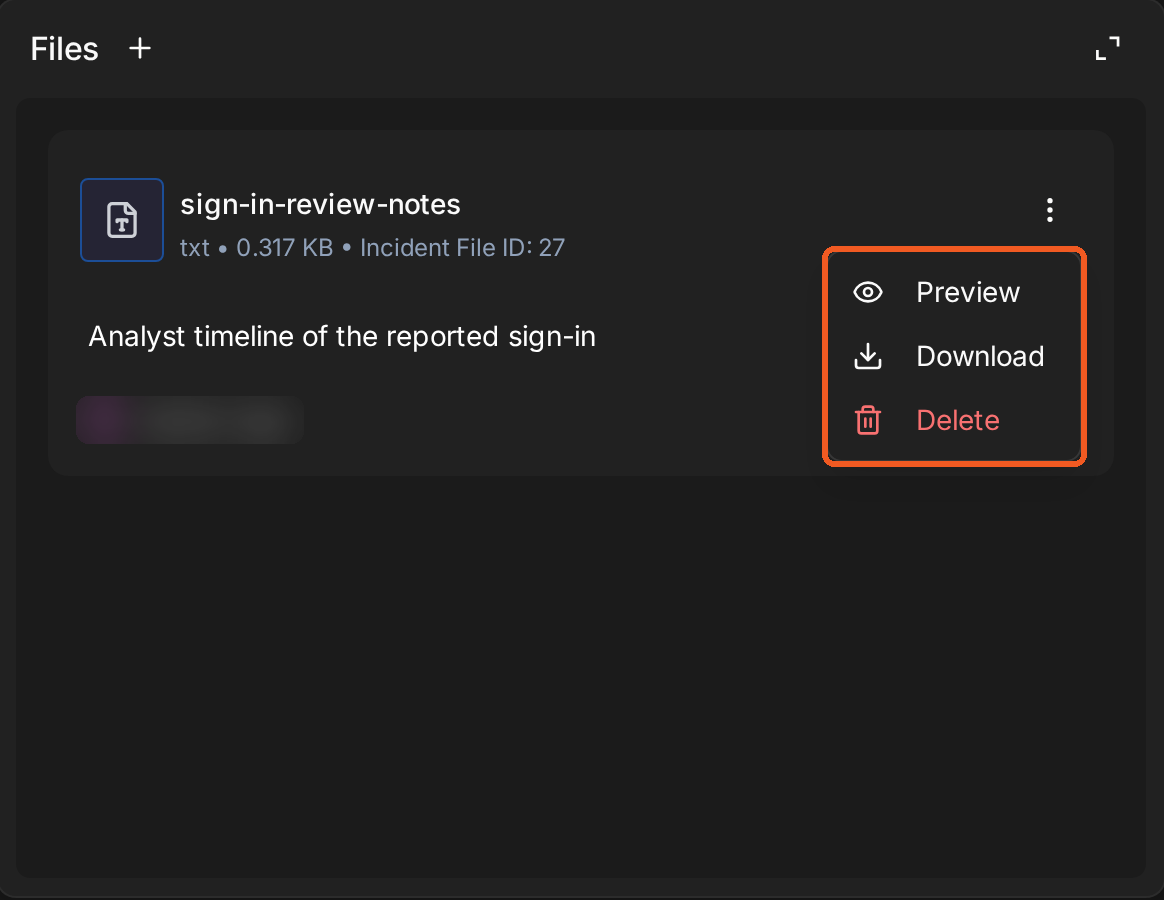
Each file card displays the file name, size, and unique incident file ID. Users can perform the actions Preview, Download, or Delete using the menu accessible through the 
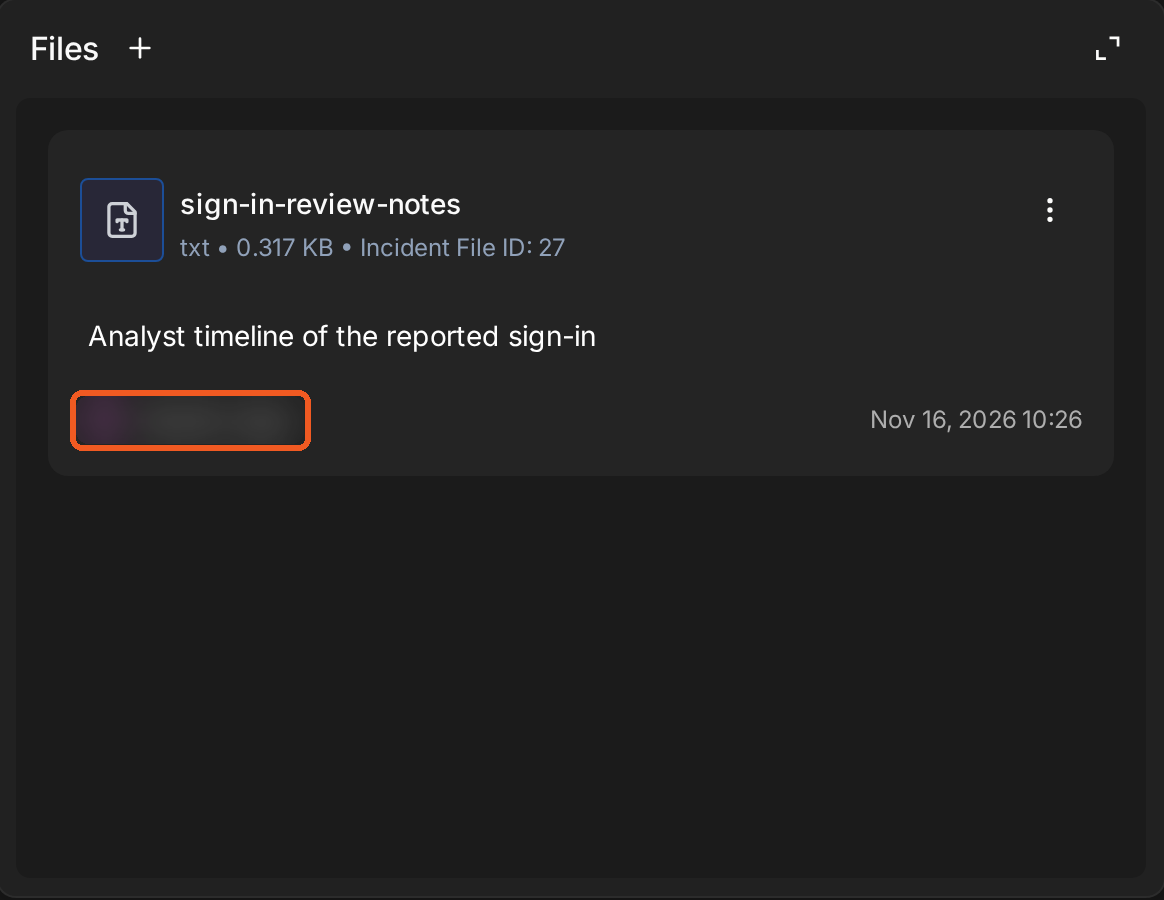
Upload details, including the uploader's name and timestamp, are displayed at the bottom of each file card.
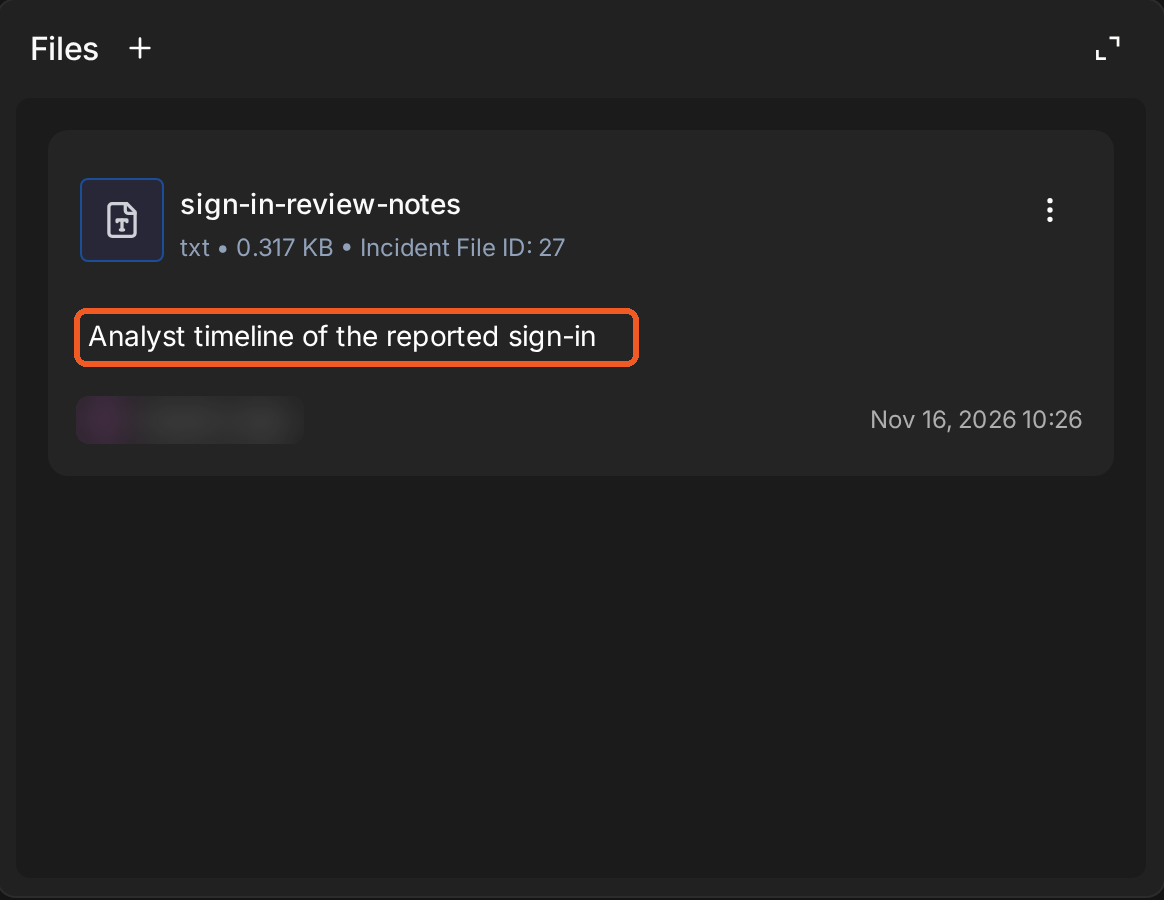
Users can edit the file description by clicking the text area and cancel or confirm changes using the 

Findings
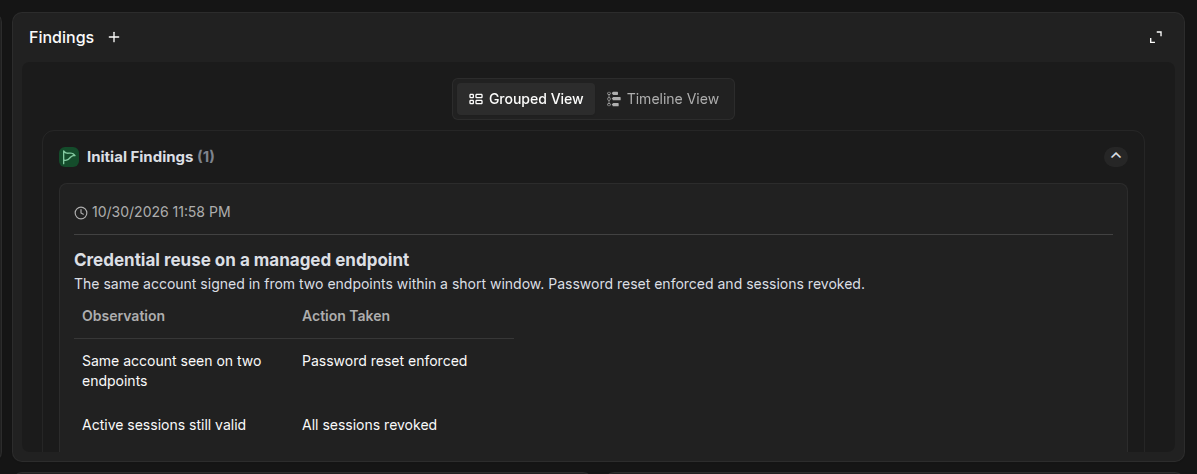
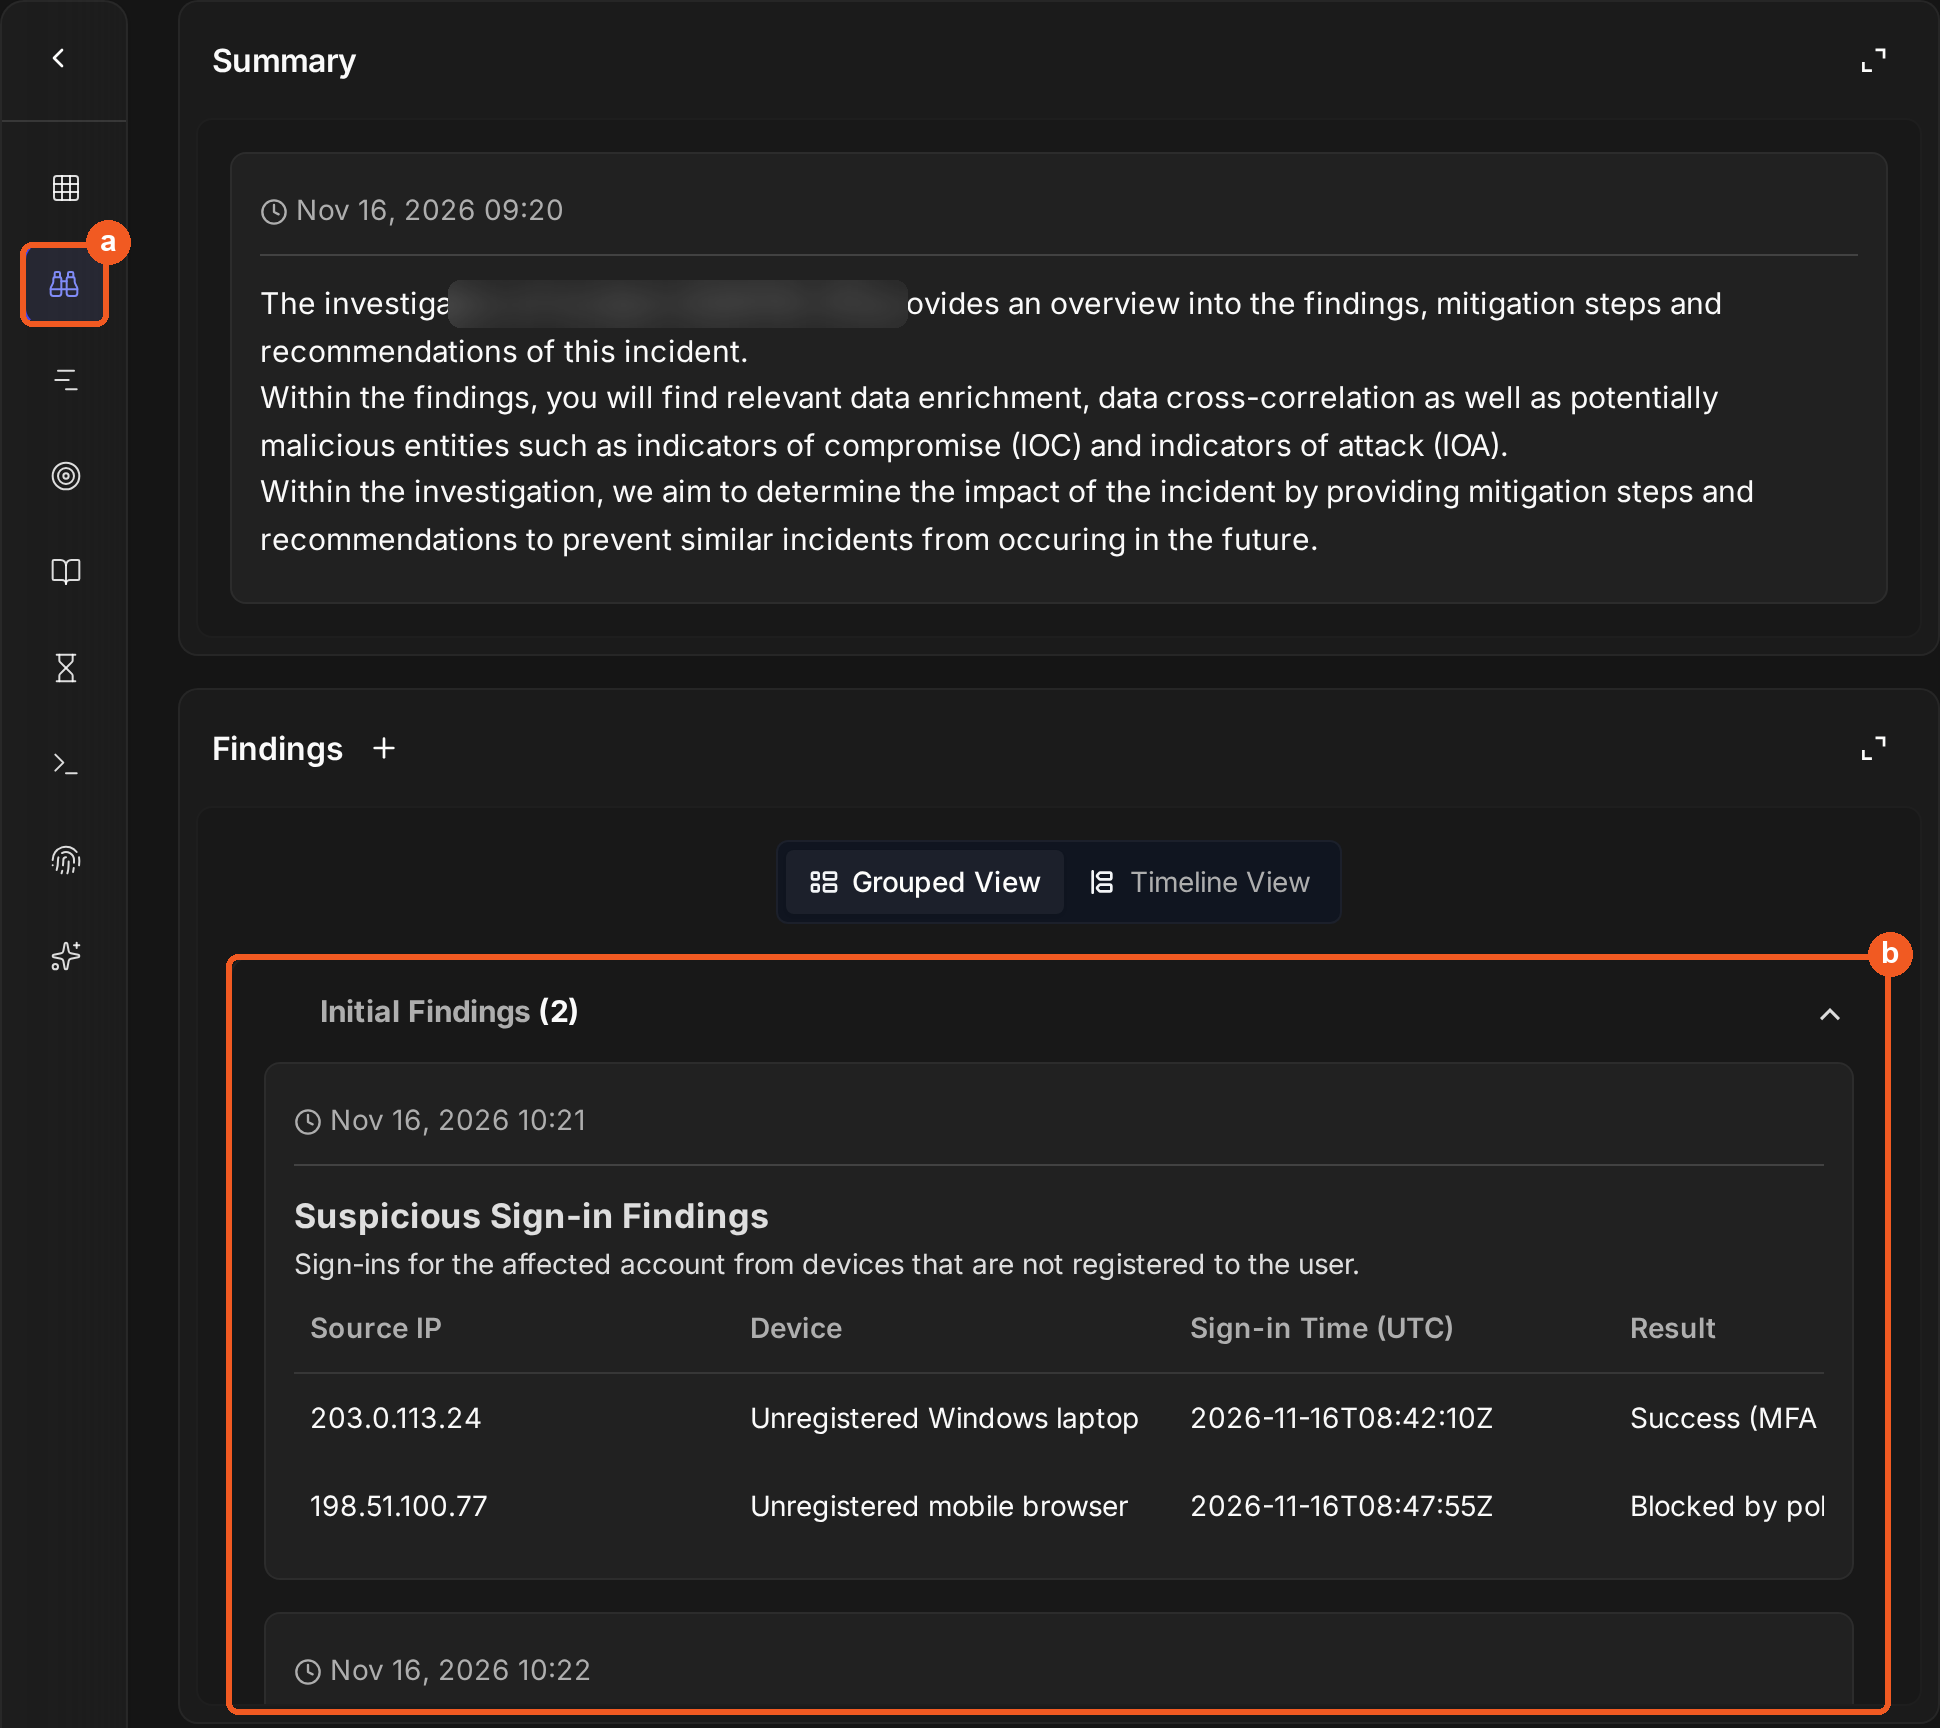
The Findings widget enables users to view, add, and edit investigation findings directly from the Overview tab. The data displayed in this widget mirrors the information in the Findings section of the Investigation tab.
Adding a Finding Using a Data Table
-
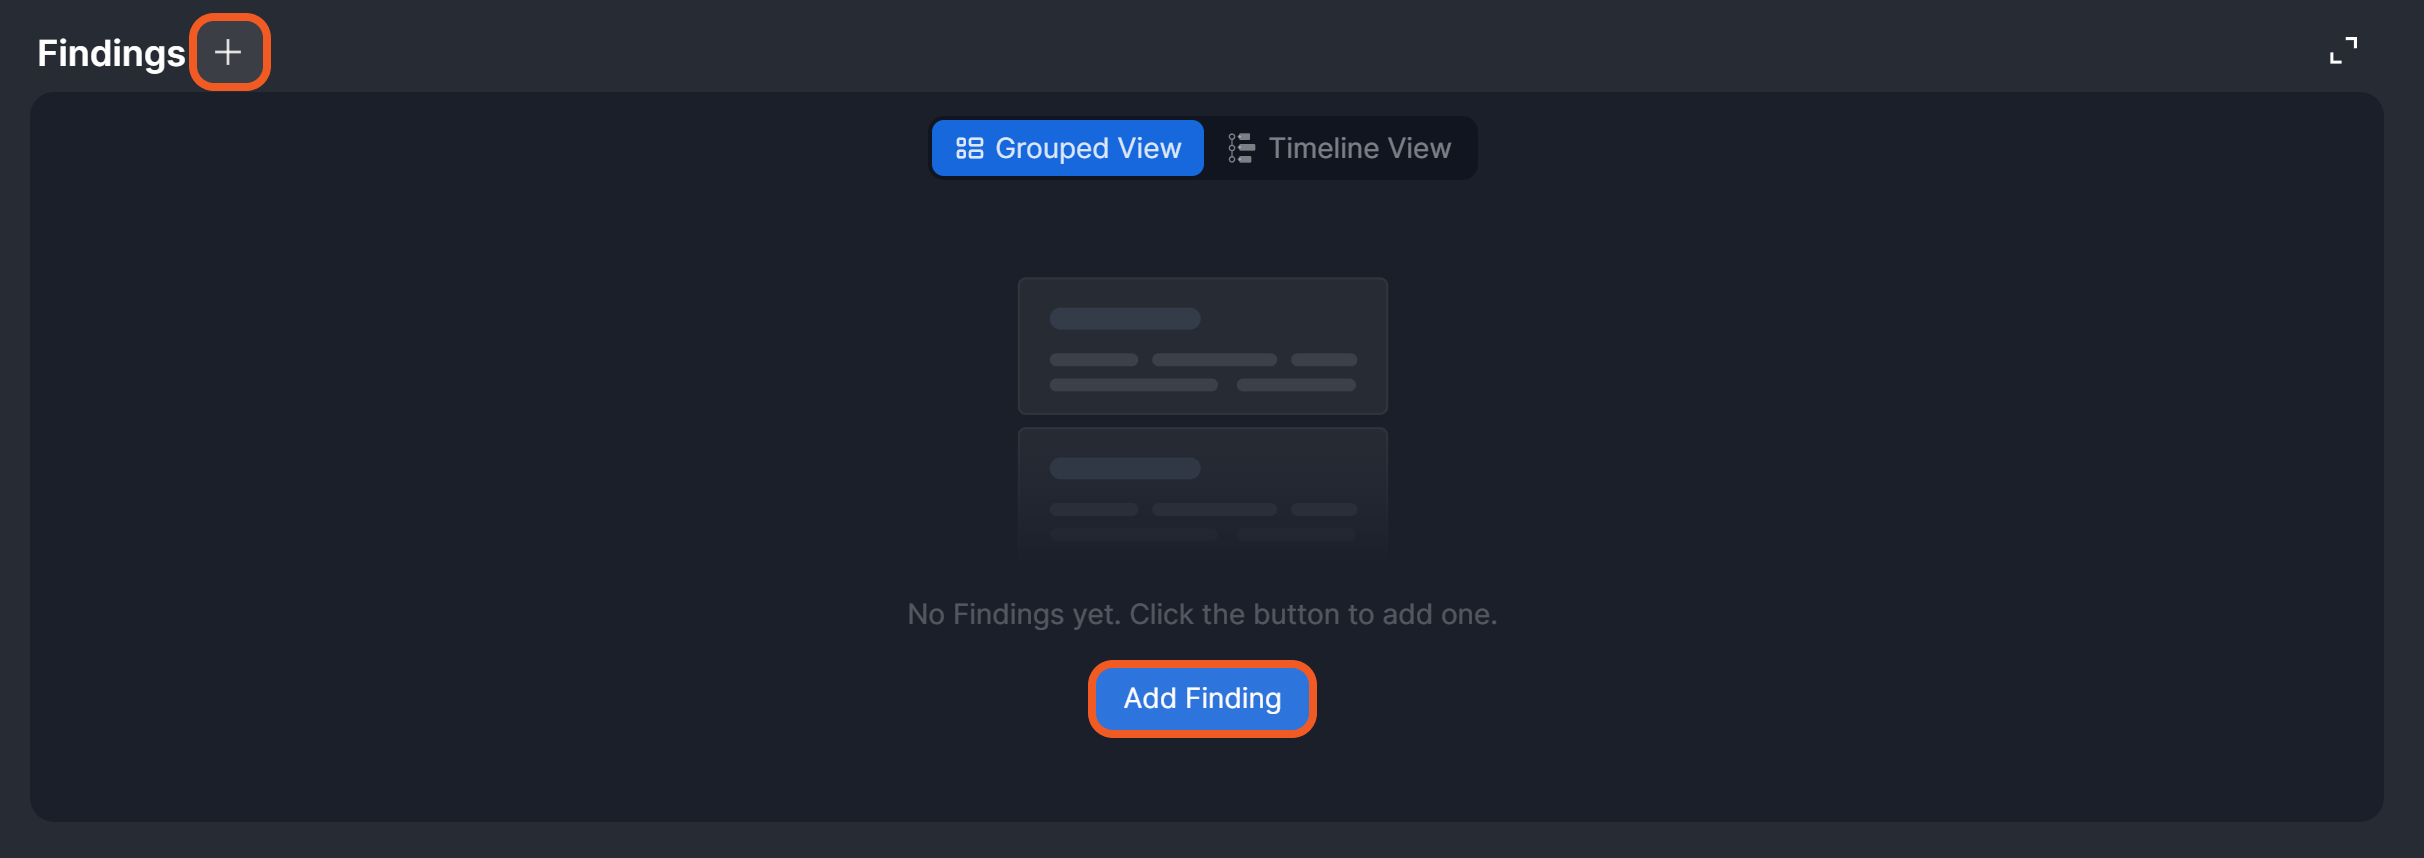
Click on the

-
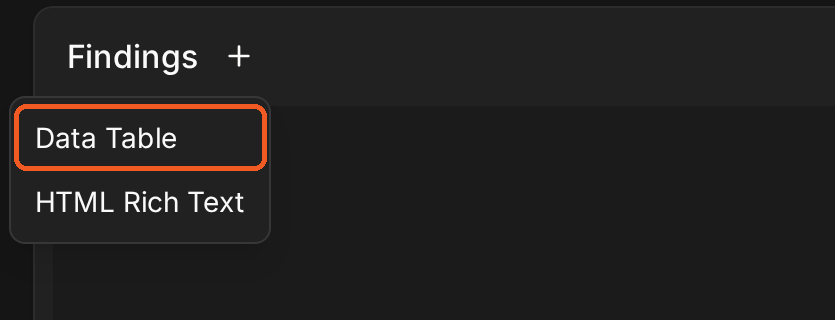
Click on the Data Table option.
-
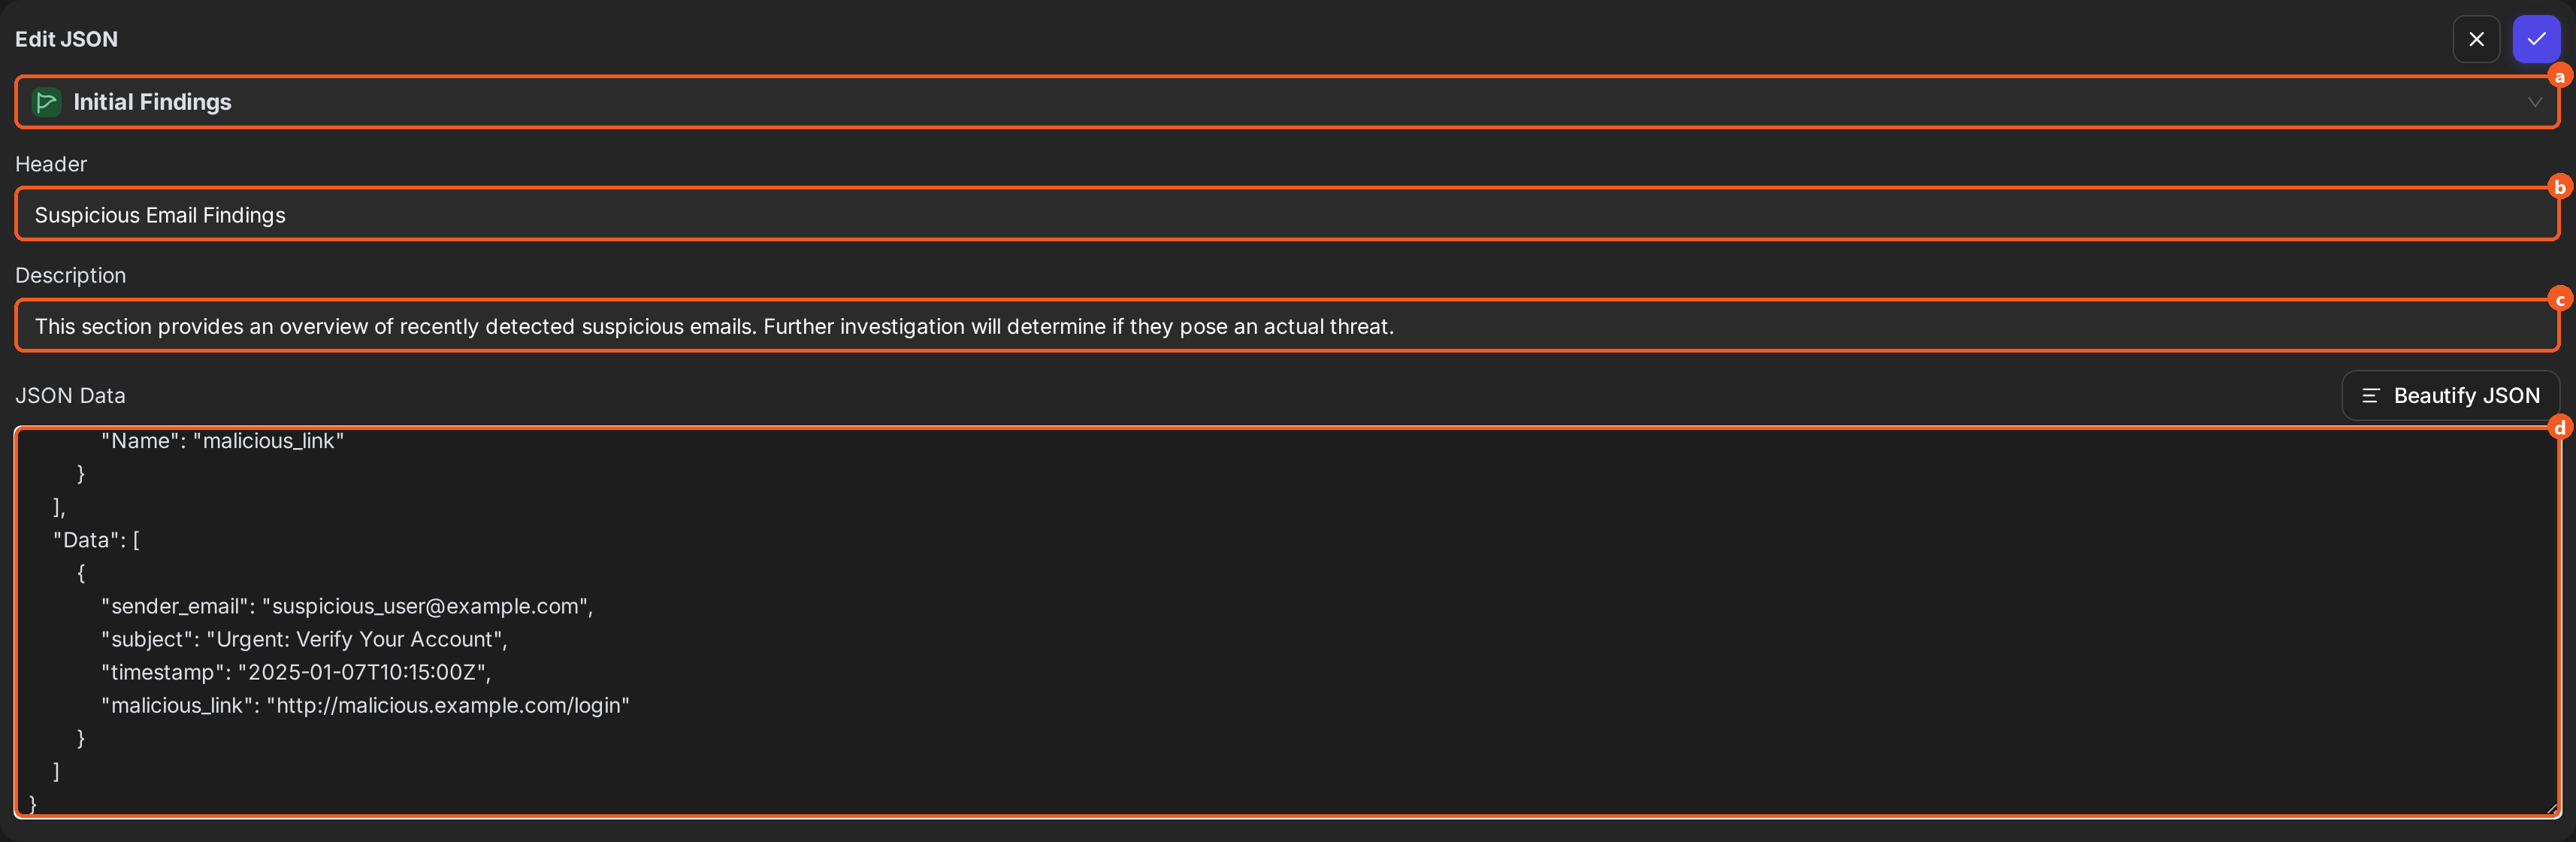
Configure the table.
-
Select a suitable category from the dropdown.
-
Enter a descriptive header for the table.
-
Provide a brief description to help other users understand the table's contents.
-
Use the code snippet below to create the table.
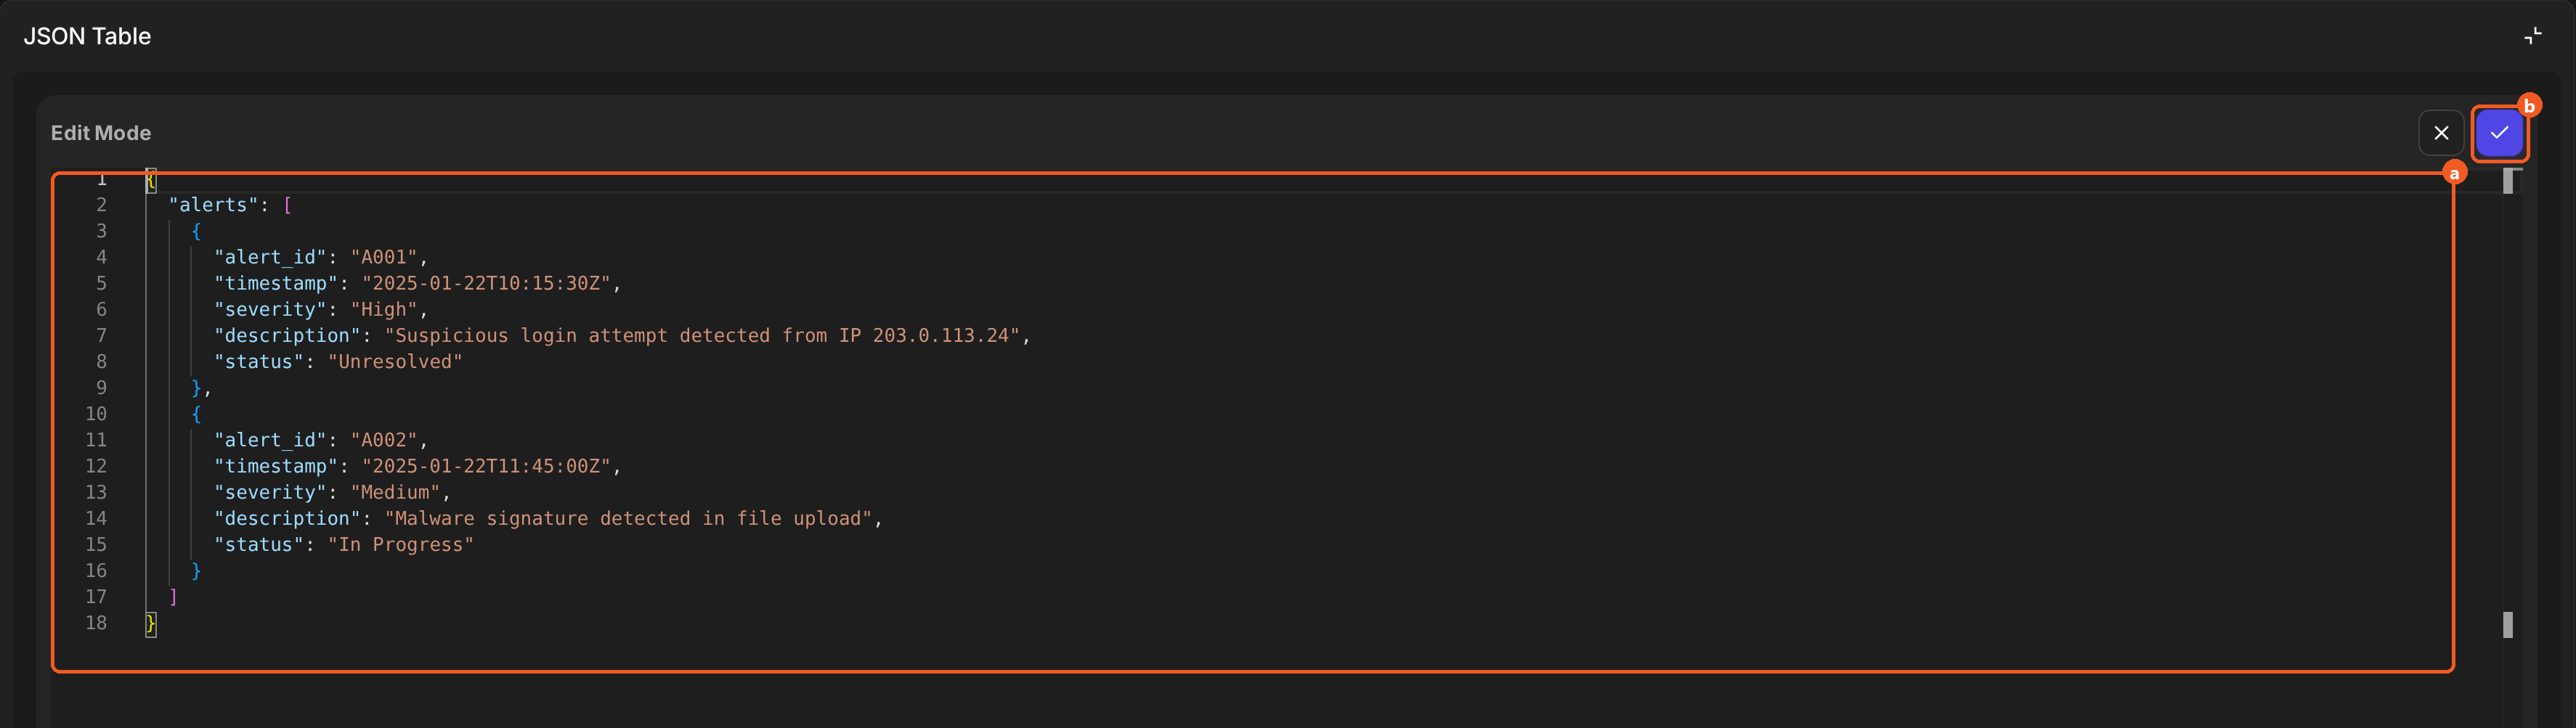
JSON{ "Fields": [ { "Title": "Sender Email", "Name": "sender_email" }, { "Title": "Subject", "Name": "subject" }, { "Title": "Timestamp", "Name": "timestamp" }, { "Title": "Malicious Link", "Name": "malicious_link" } ], "Data": [ { "sender_email": "suspicious_user@example.com", "subject": "Urgent: Verify Your Account", "timestamp": "2025-01-07T10:15:00Z", "malicious_link": "http://malicious.example.com/login" } ] }
-
-
Click on the

-
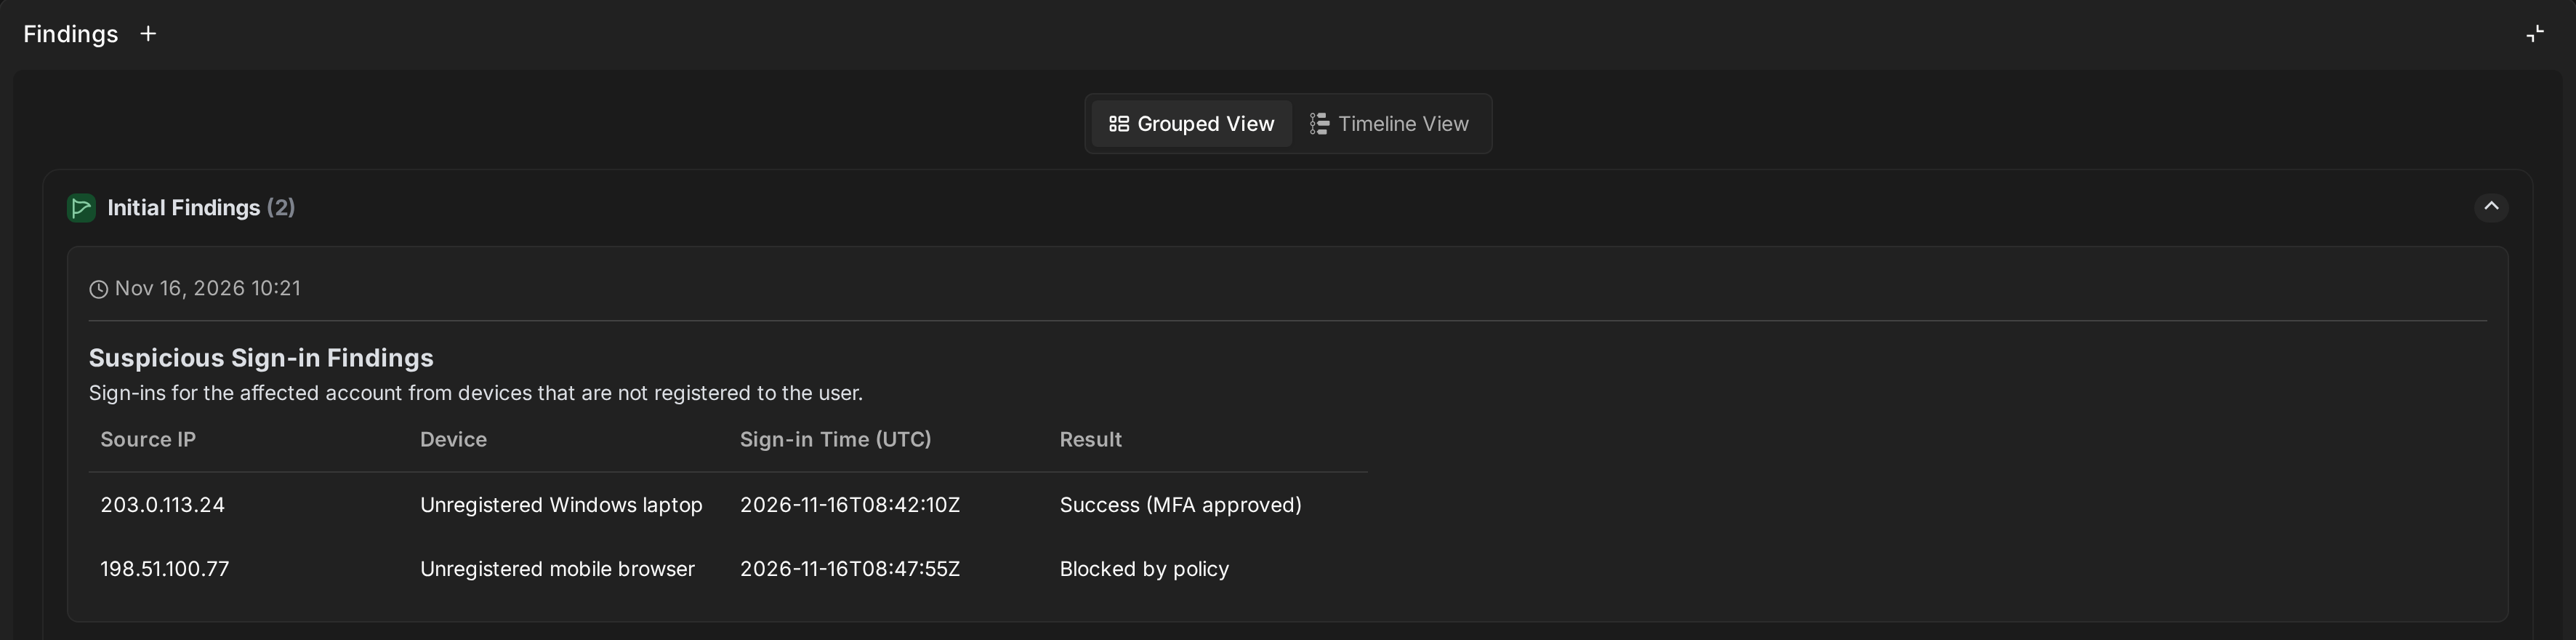
Confirm that the data table can be rendered properly.
-
(Optional) Click the Investigation tab to check if the newly added finding is also there.
Adding a Finding with the HTML Rich Text Editor
-
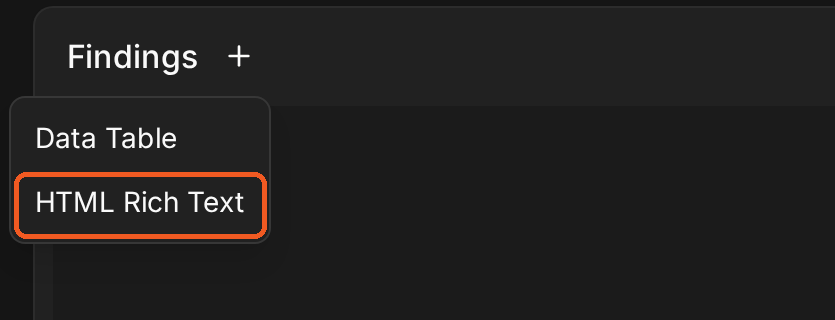
Click on the
-
Click on the HTML Rich Text option.
-
Add the content.

-
Select a suitable category from the dropdown.
-
Add the finding using the HTML Rich Text editor.
-
-
Click on the
-
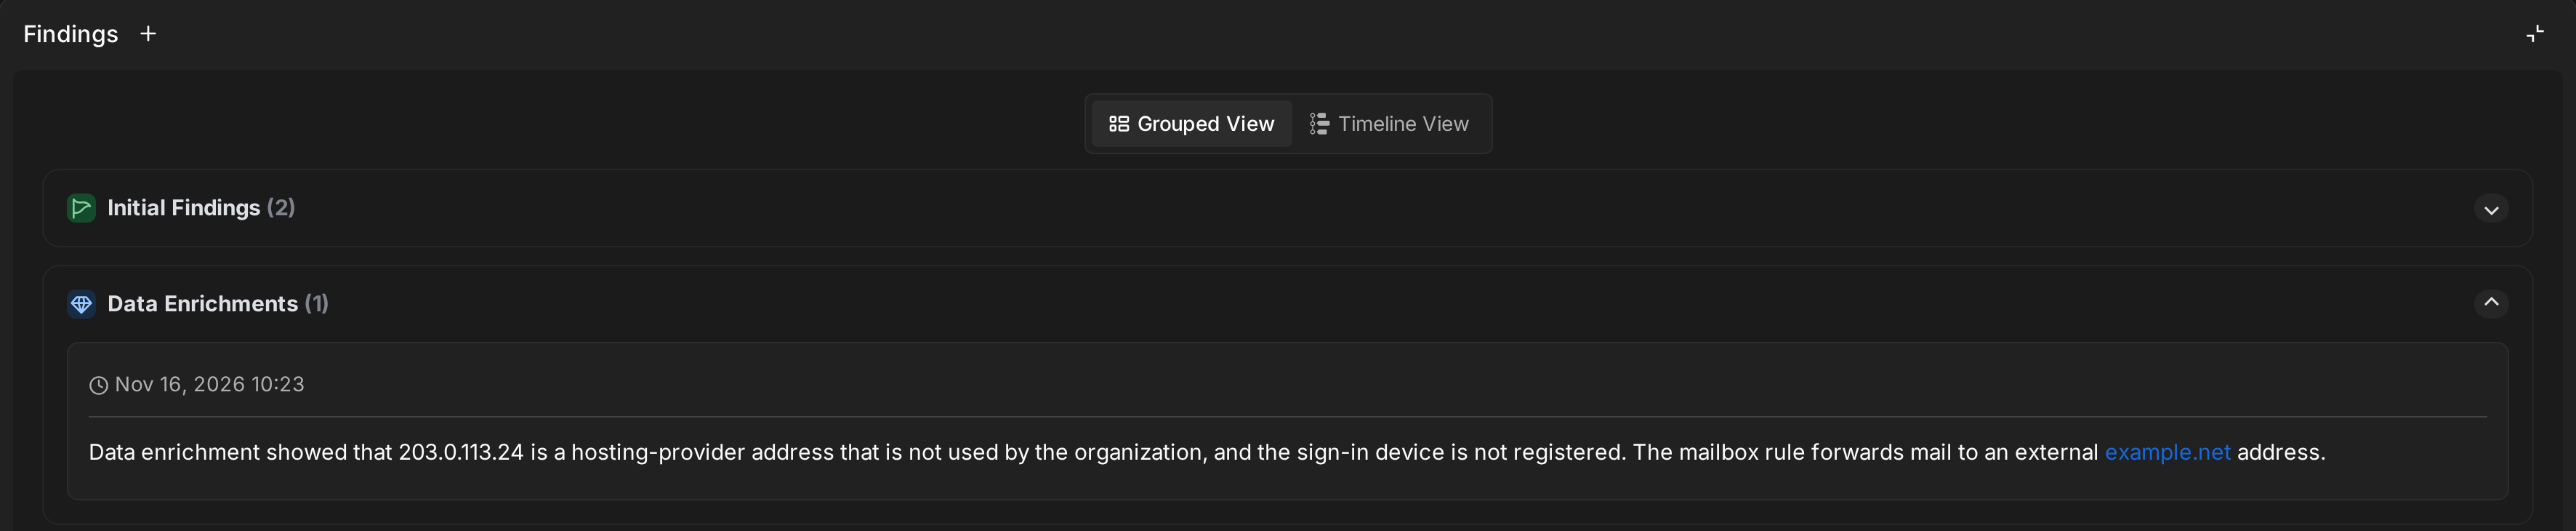
Confirm that the content can be rendered properly.
-
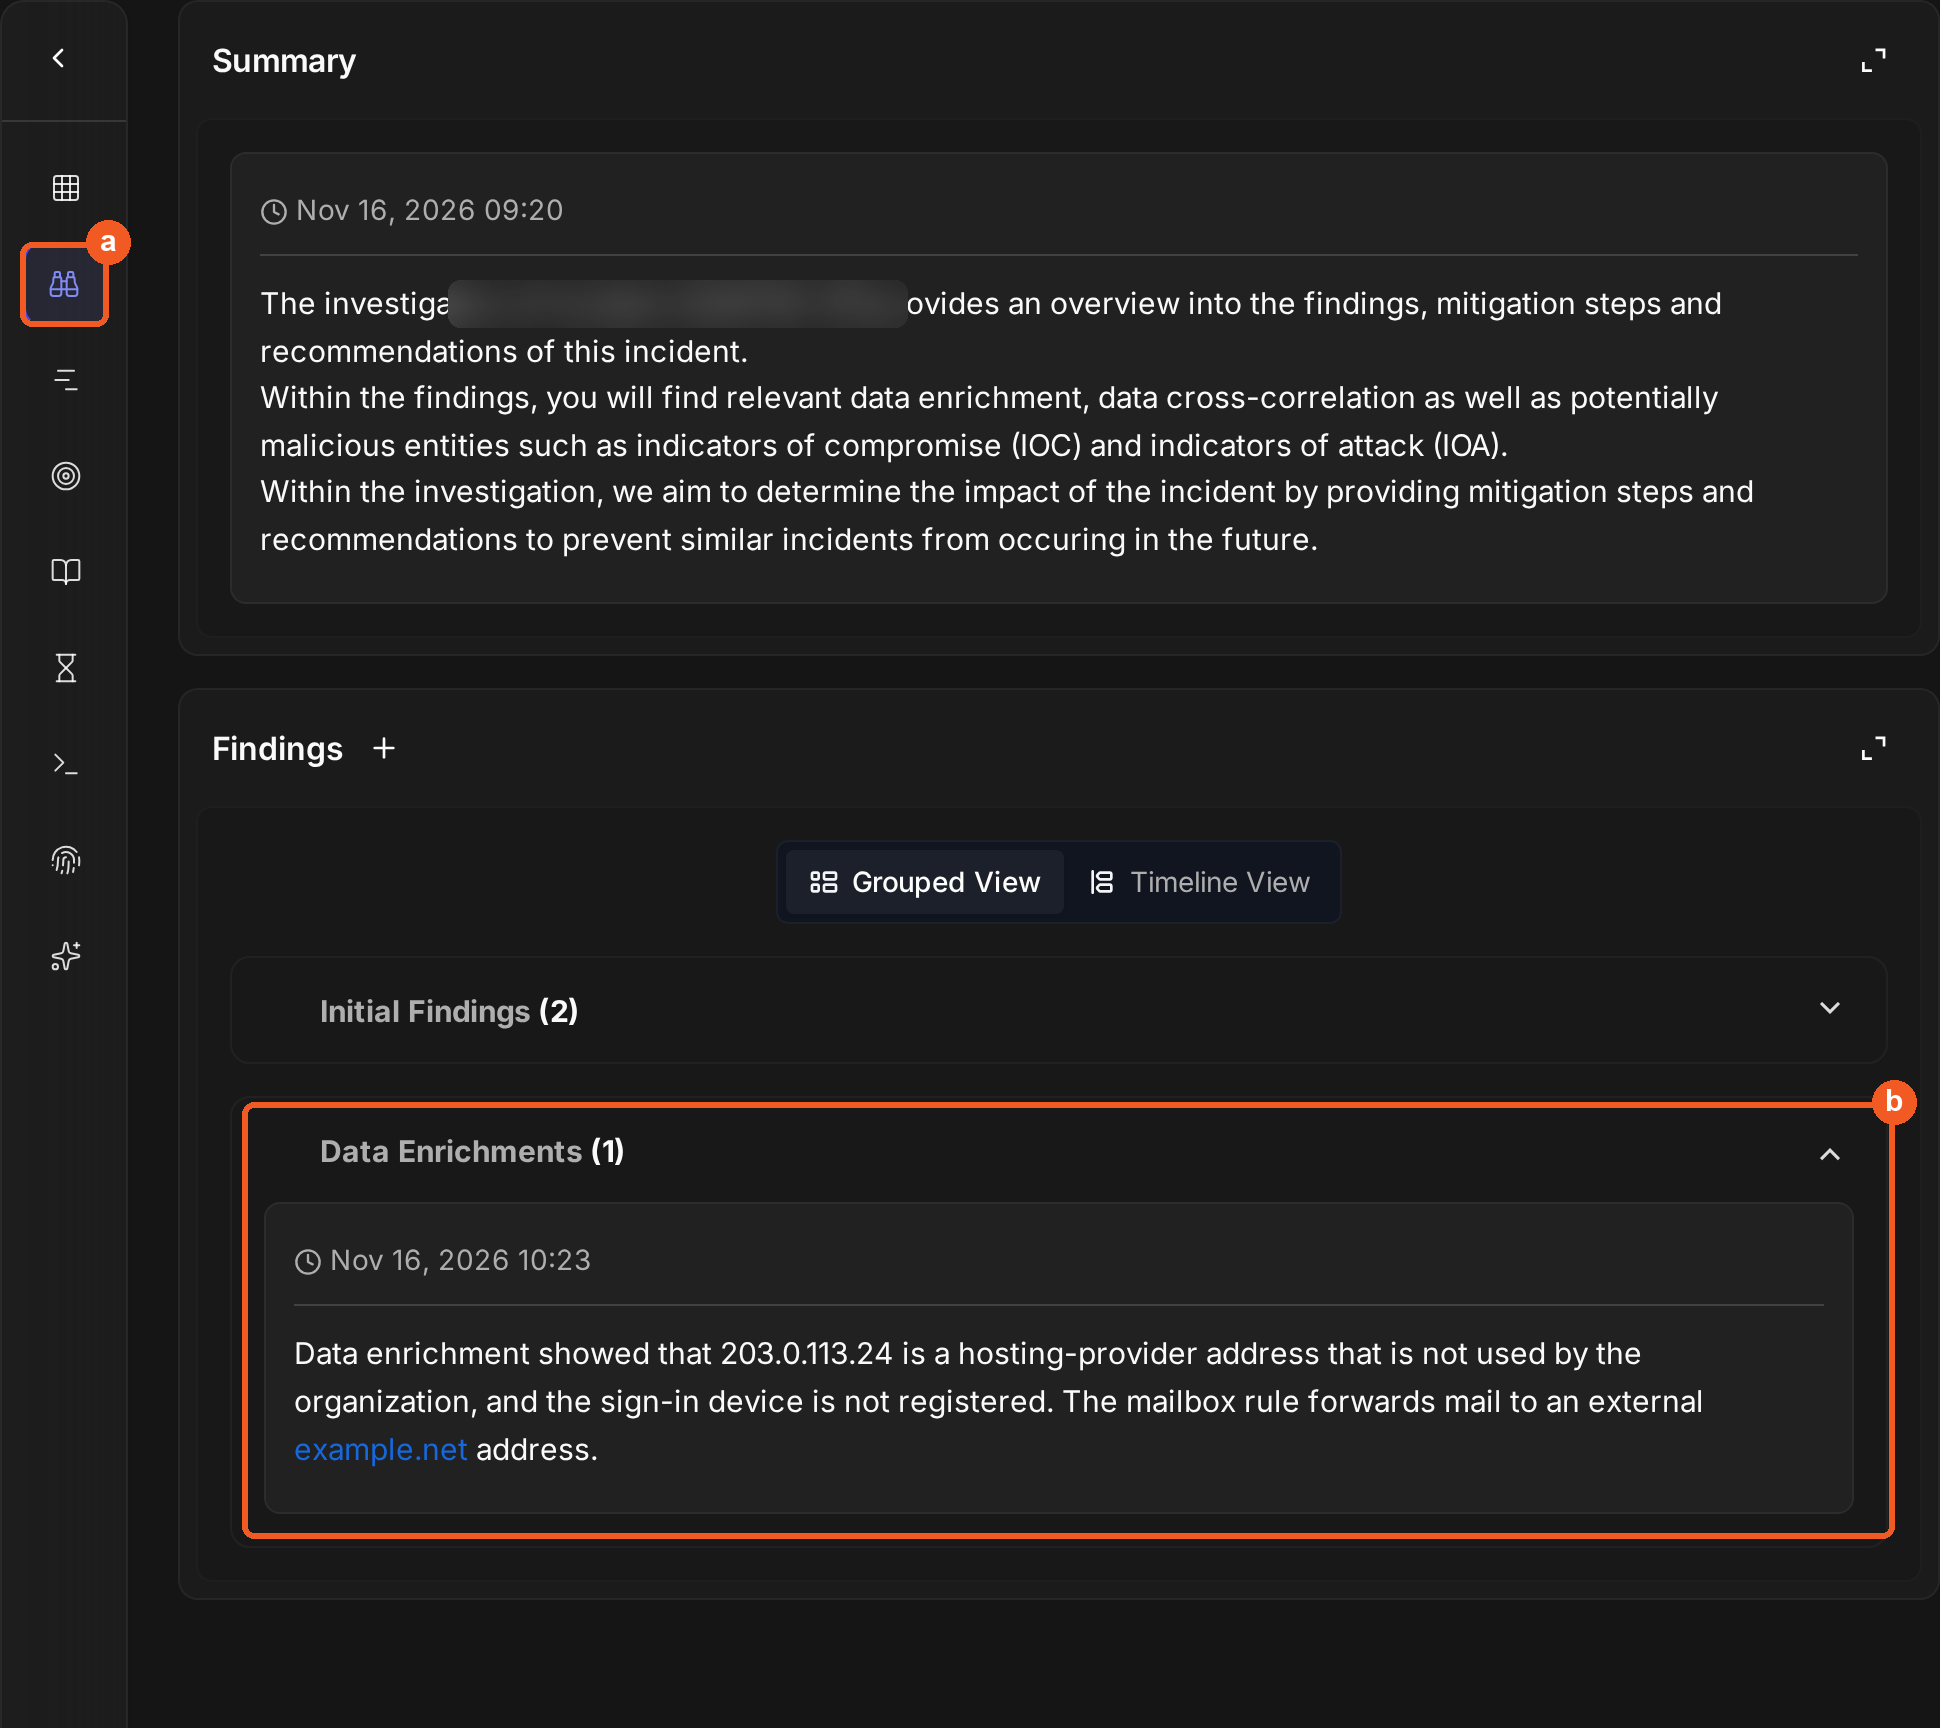
(Optional) Click the Investigation tab to check if the newly added finding is also there.
Toggling Between Views
Users can switch between views the Grouped View and Timeline View when reviewing findings.
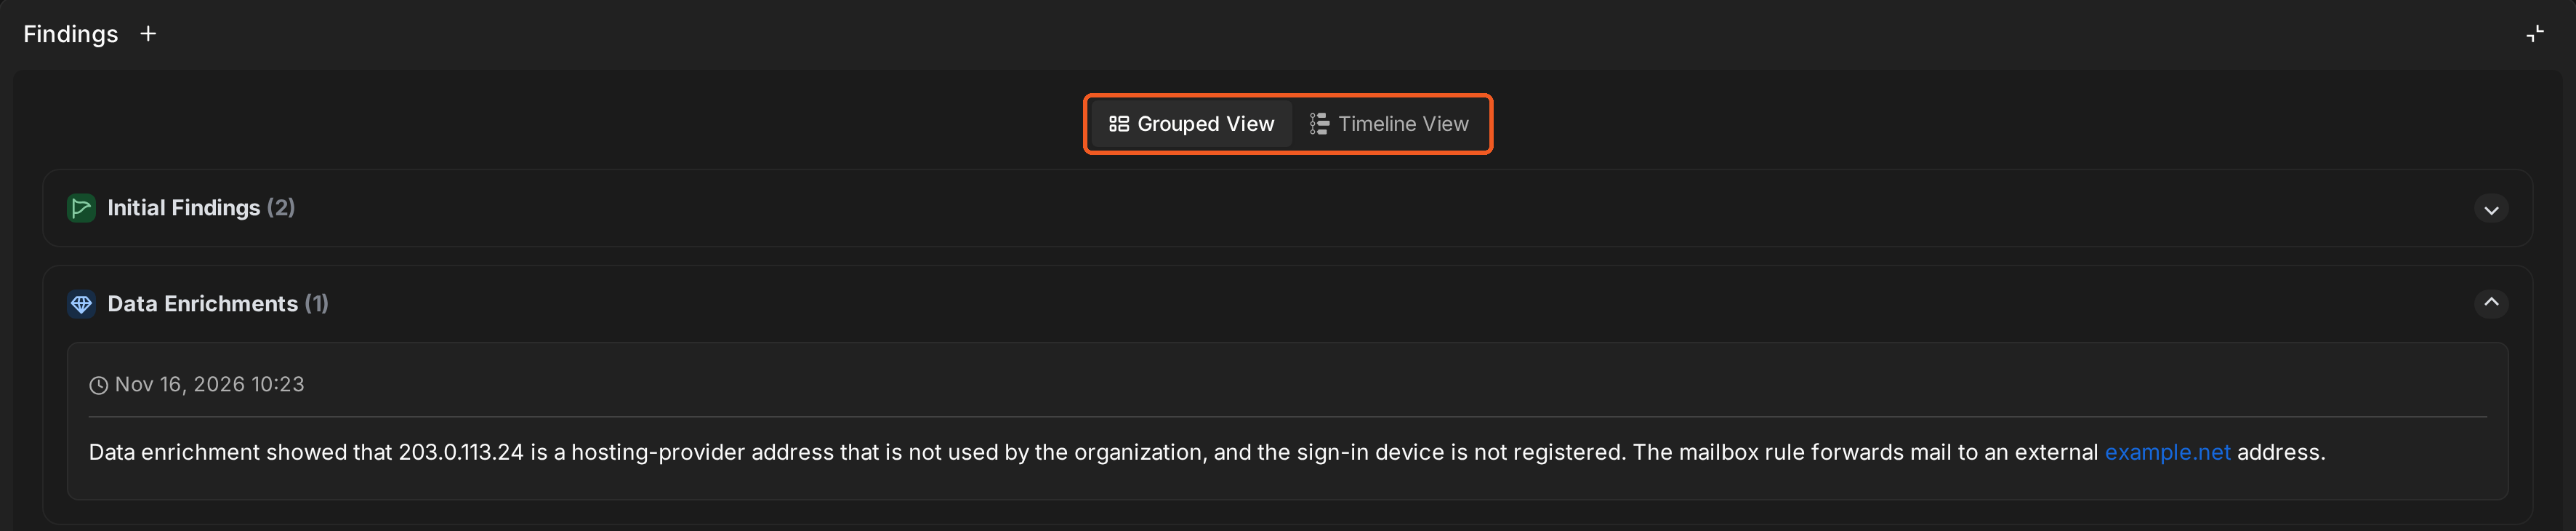
Grouped View
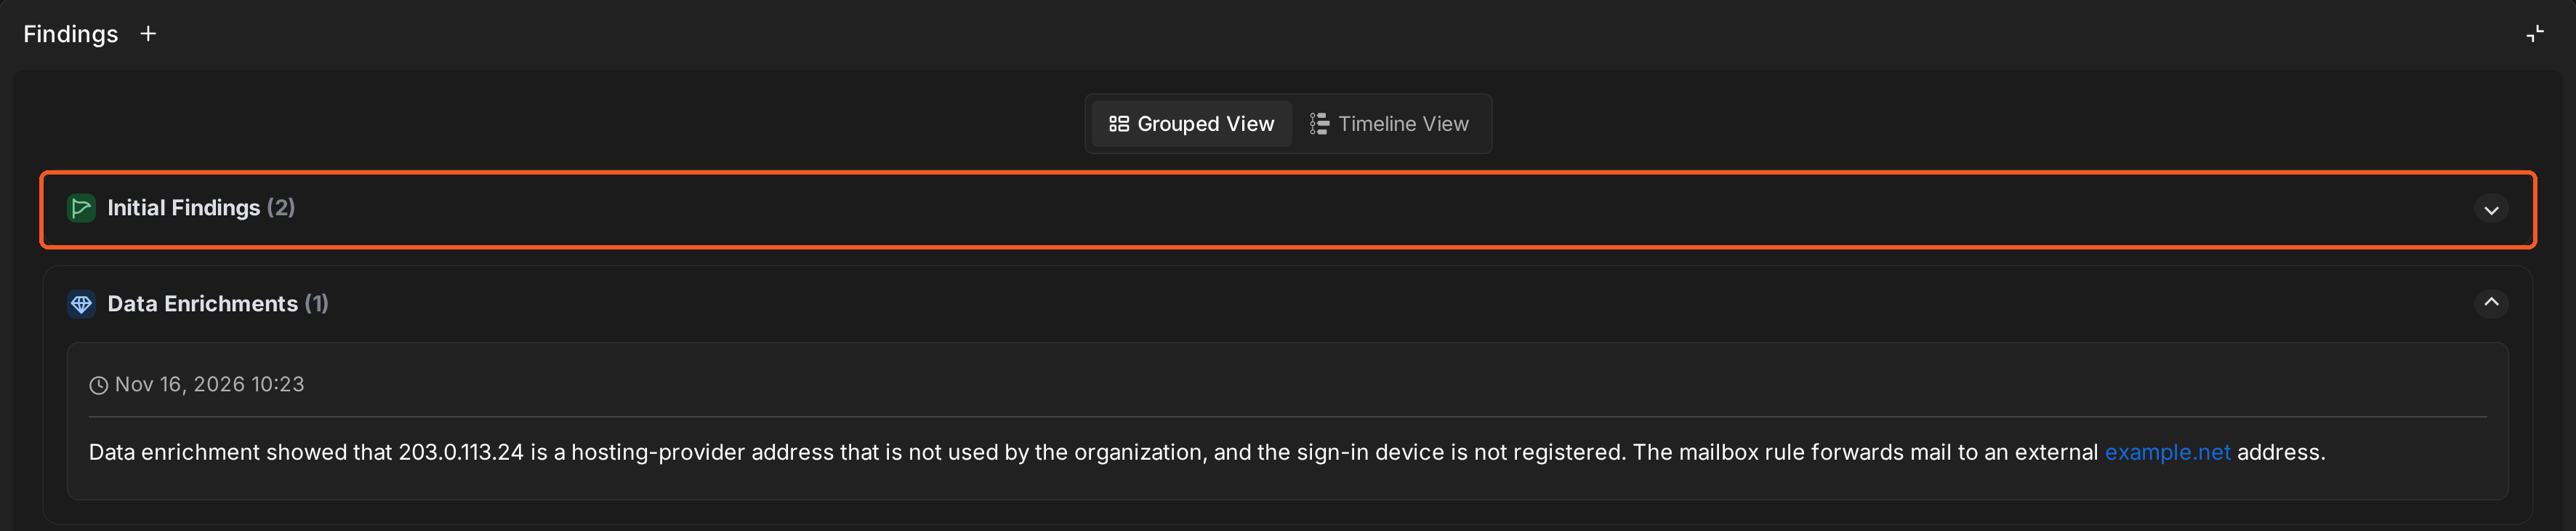
In the grouped view, findings are organized into categories, such as Initial Findings and Data Enrichments.
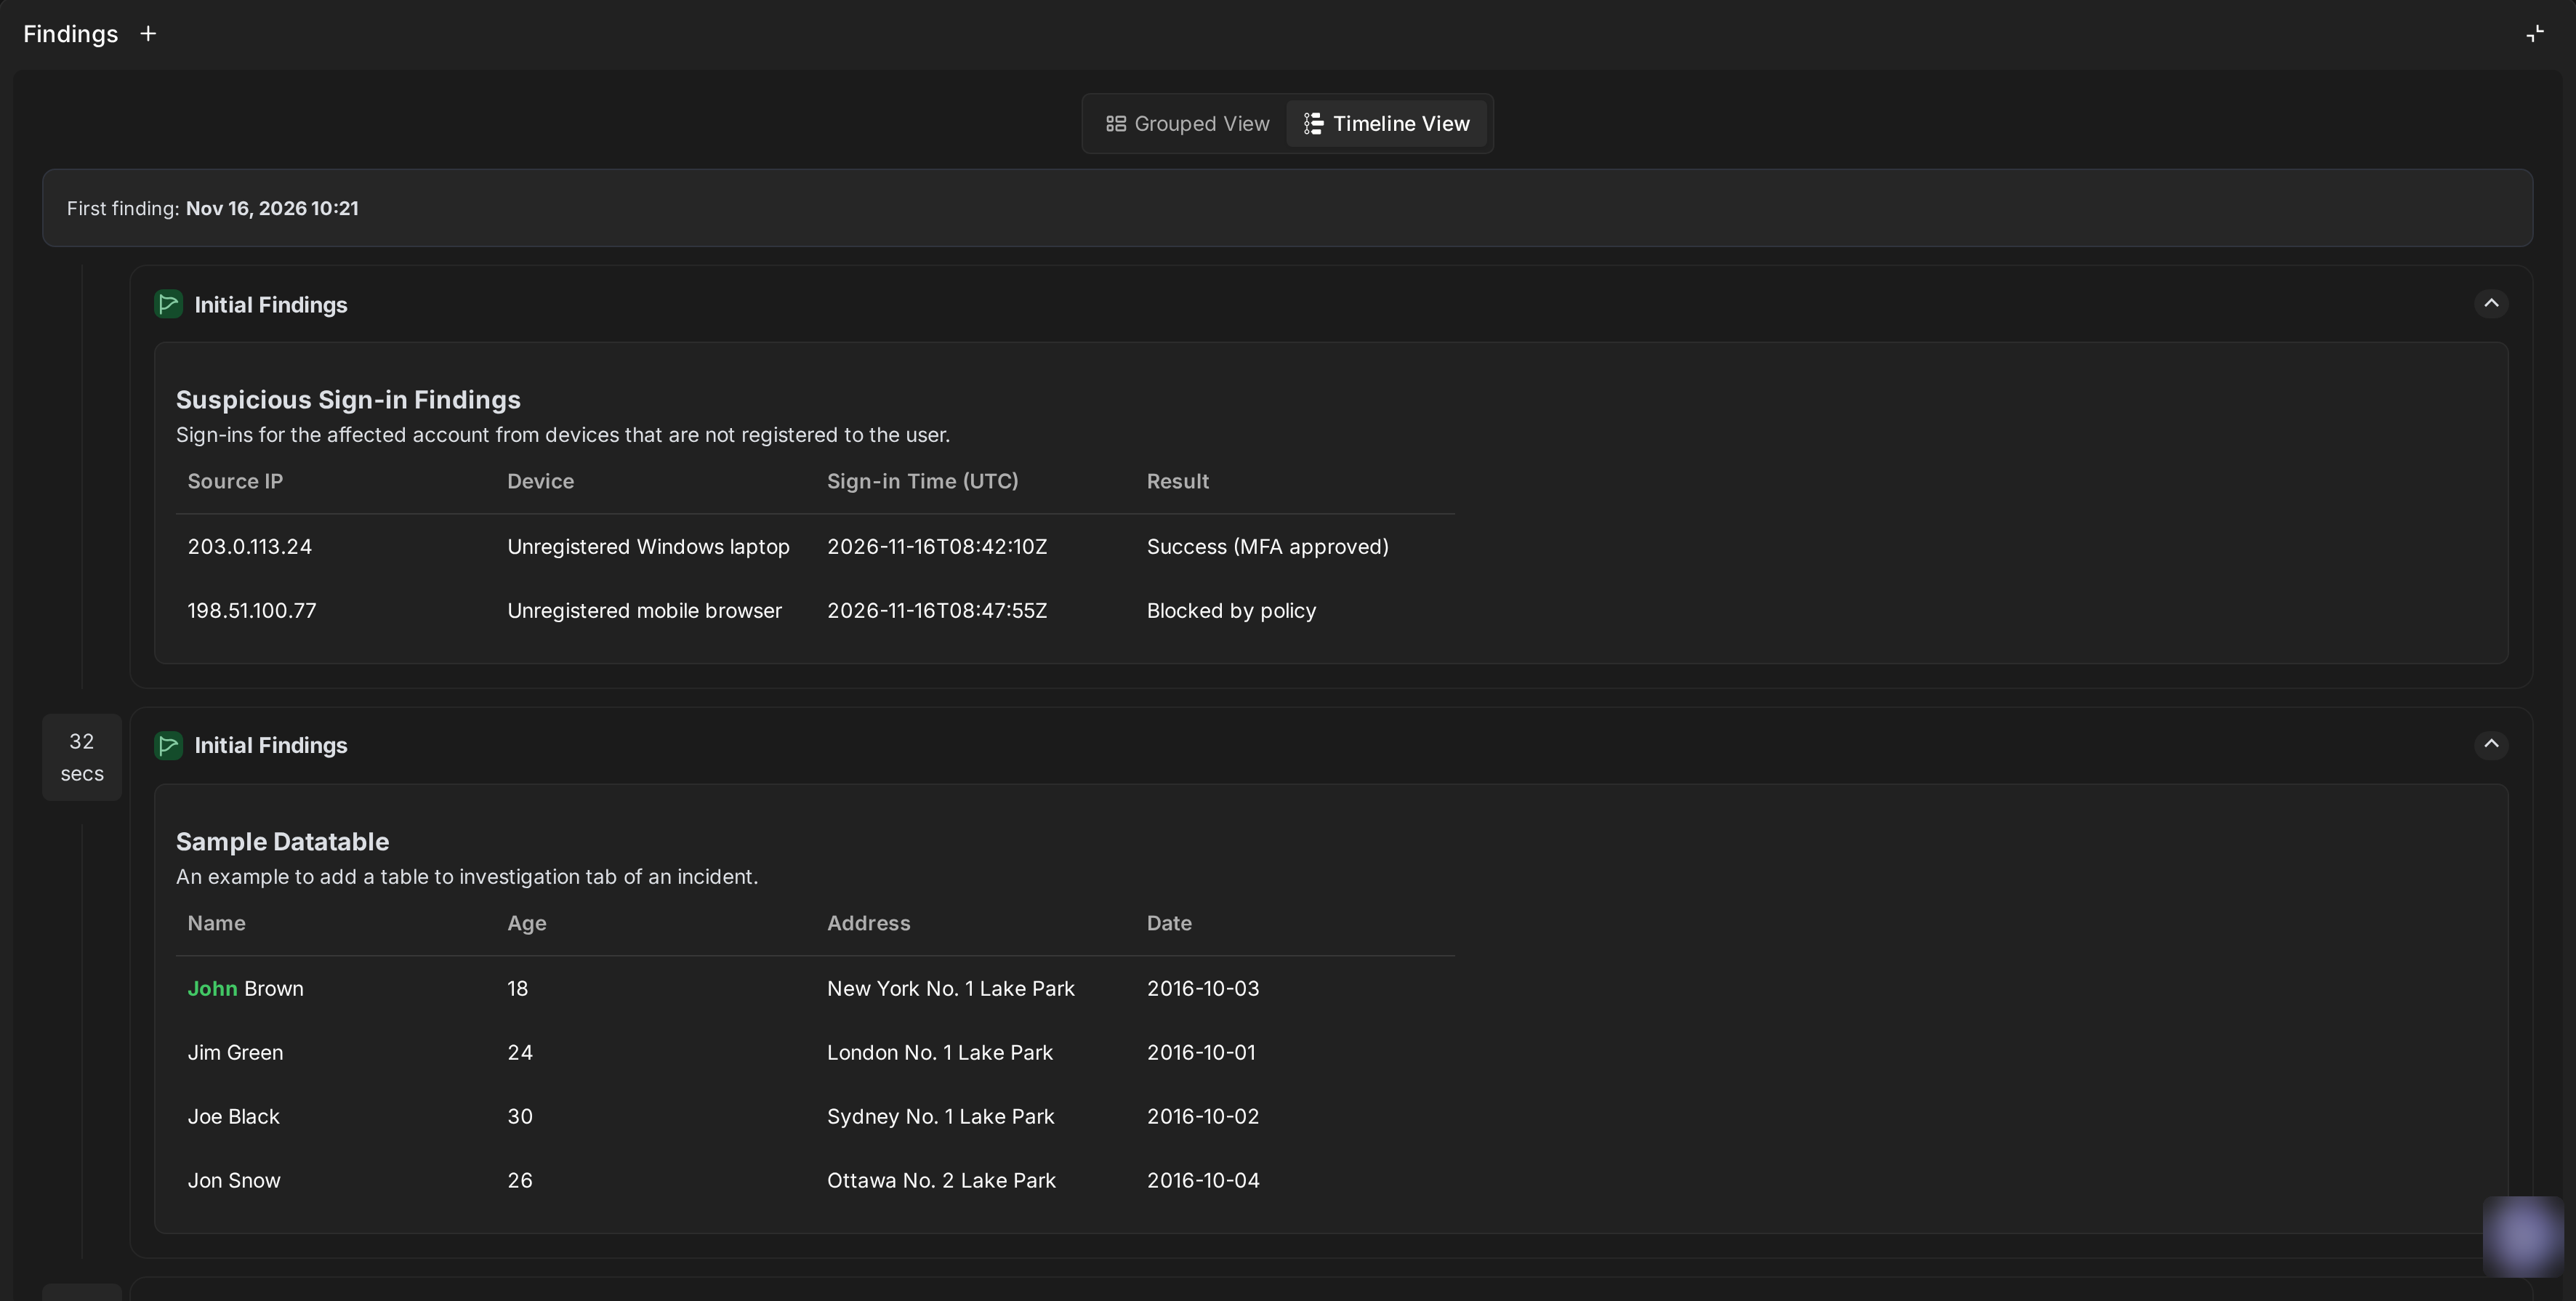
Timeline View
In the timeline view, findings are displayed in chronological order from top to bottom, starting with the earliest added finding.
Forensic Evidence
The Forensic Evidence widget keeps the incident's forensic evidence, with a chain of custody for each evidence item. See Forensic Evidence.
HTML

The new HTML widget allows users to dynamically add custom HTML content, allowing the display of richly formatted information.
-
To edit the content, hover over the HTML widget and click on the
-
To clear the HTML widget, hover over the HTML widget, click on the
Incident Form
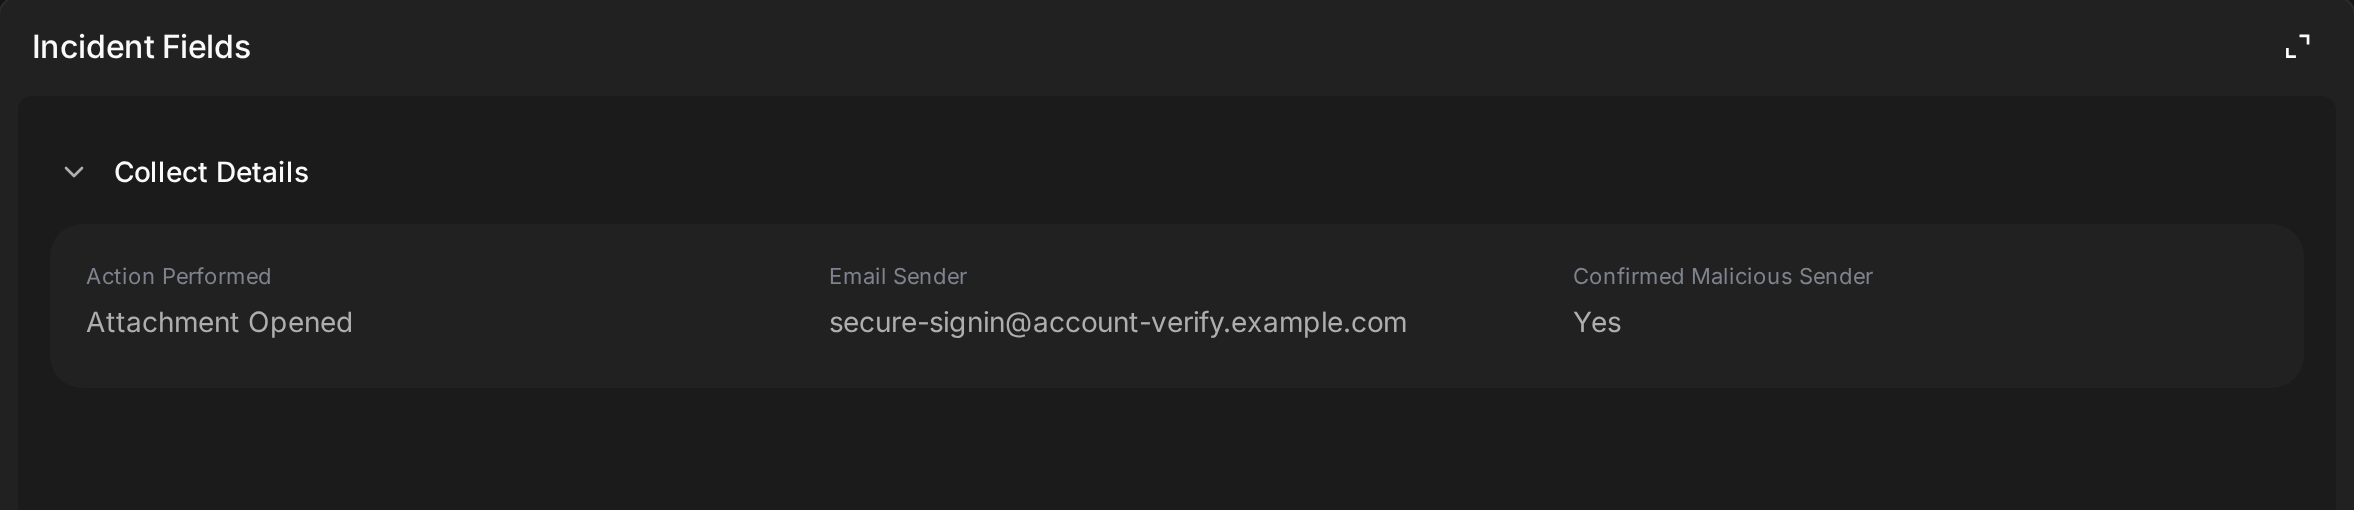
The Incident Form widget allows users to add or update information about the incident using the incident forms associated with the incident. For details on creating and filling out an incident form, refer to Creating an Incident Form and Filling Out the Incident Form During an Investigation, respectively.
Investigation Team

The Investigation Team widget displays users assigned to work on the incident and their access level. It also allows users to edit the team.
Adding to the Investigation Team
-
Click on the

-
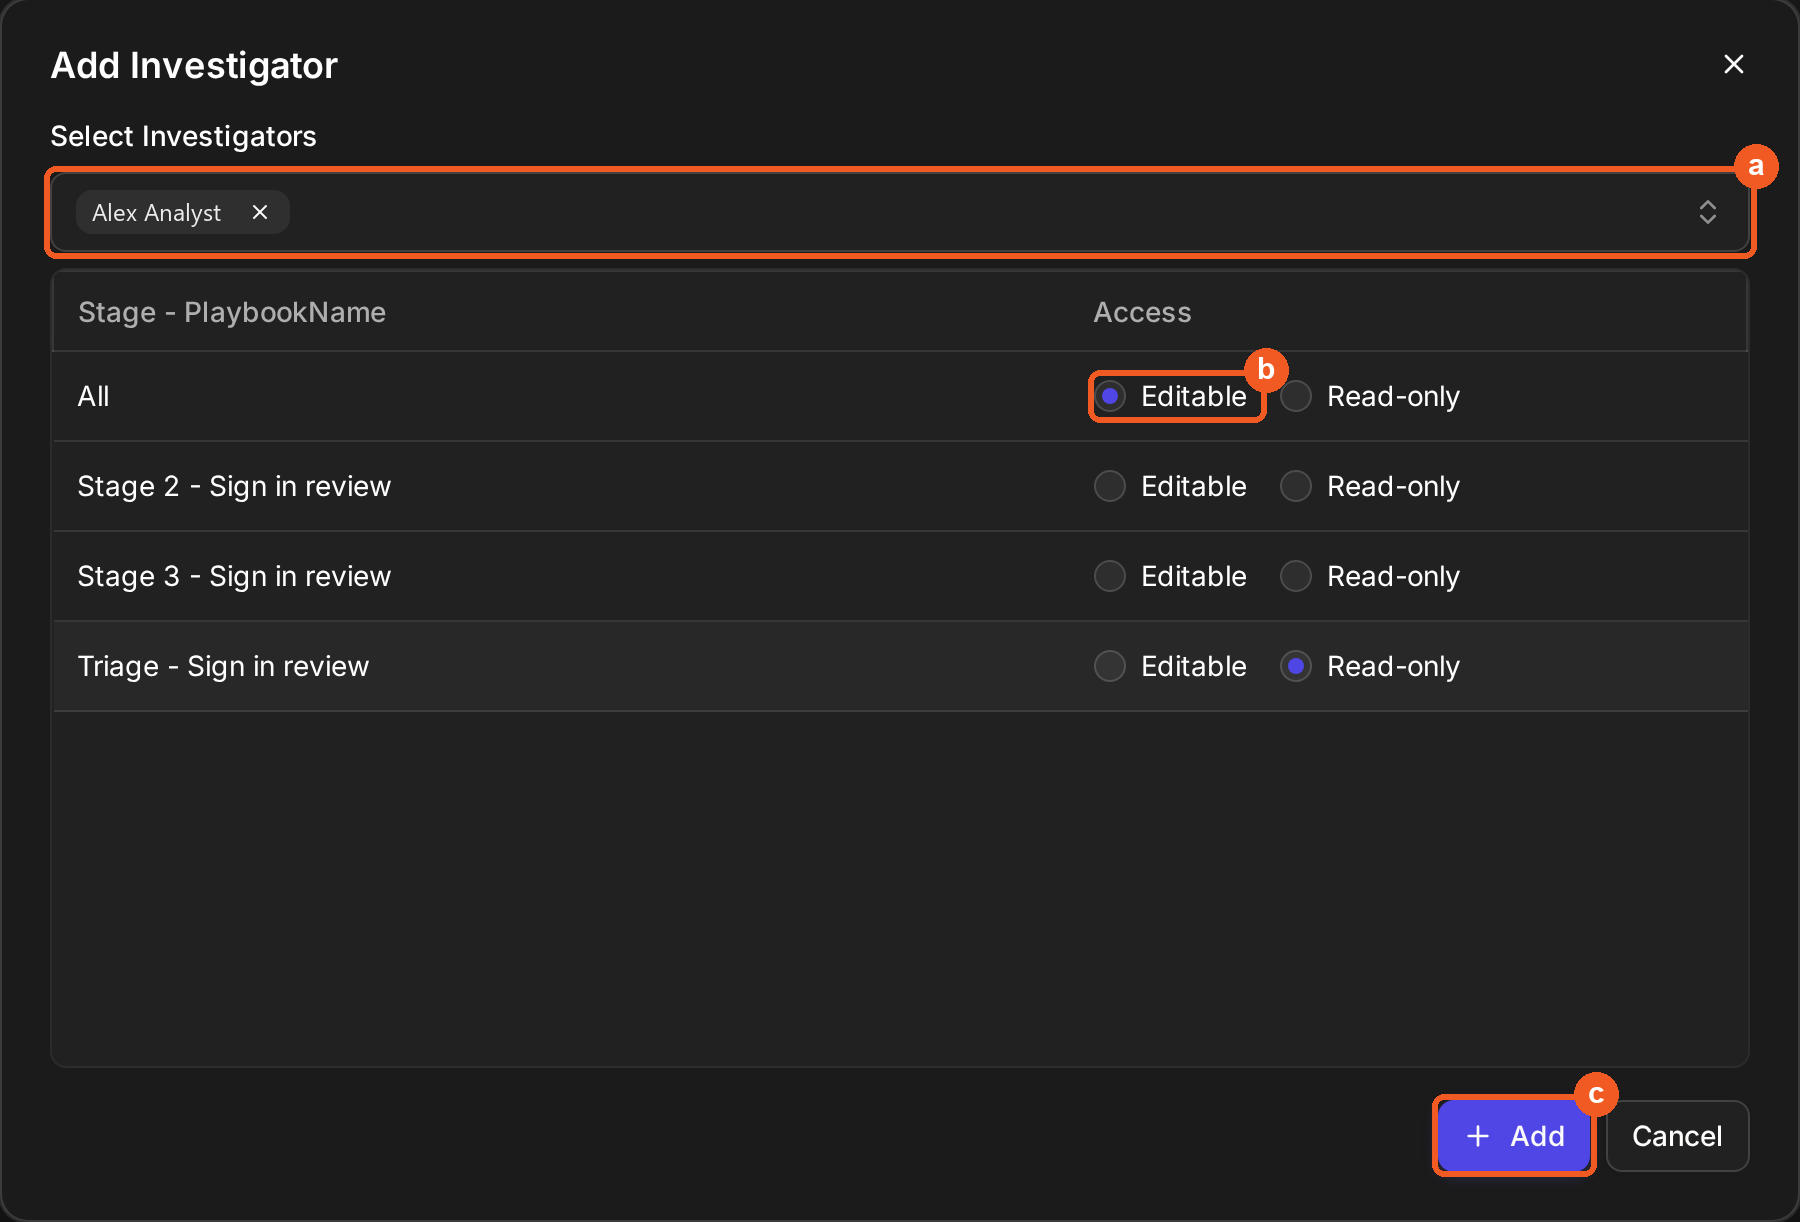
Add the investigators.
-
Search for and select the users to add by their names.
-
Define their access level as constrained by stage tasks.
-
Click on the + Add button.
-
Modifying the Access Level of an Investigator
-
Click on the


-
Click on the

-
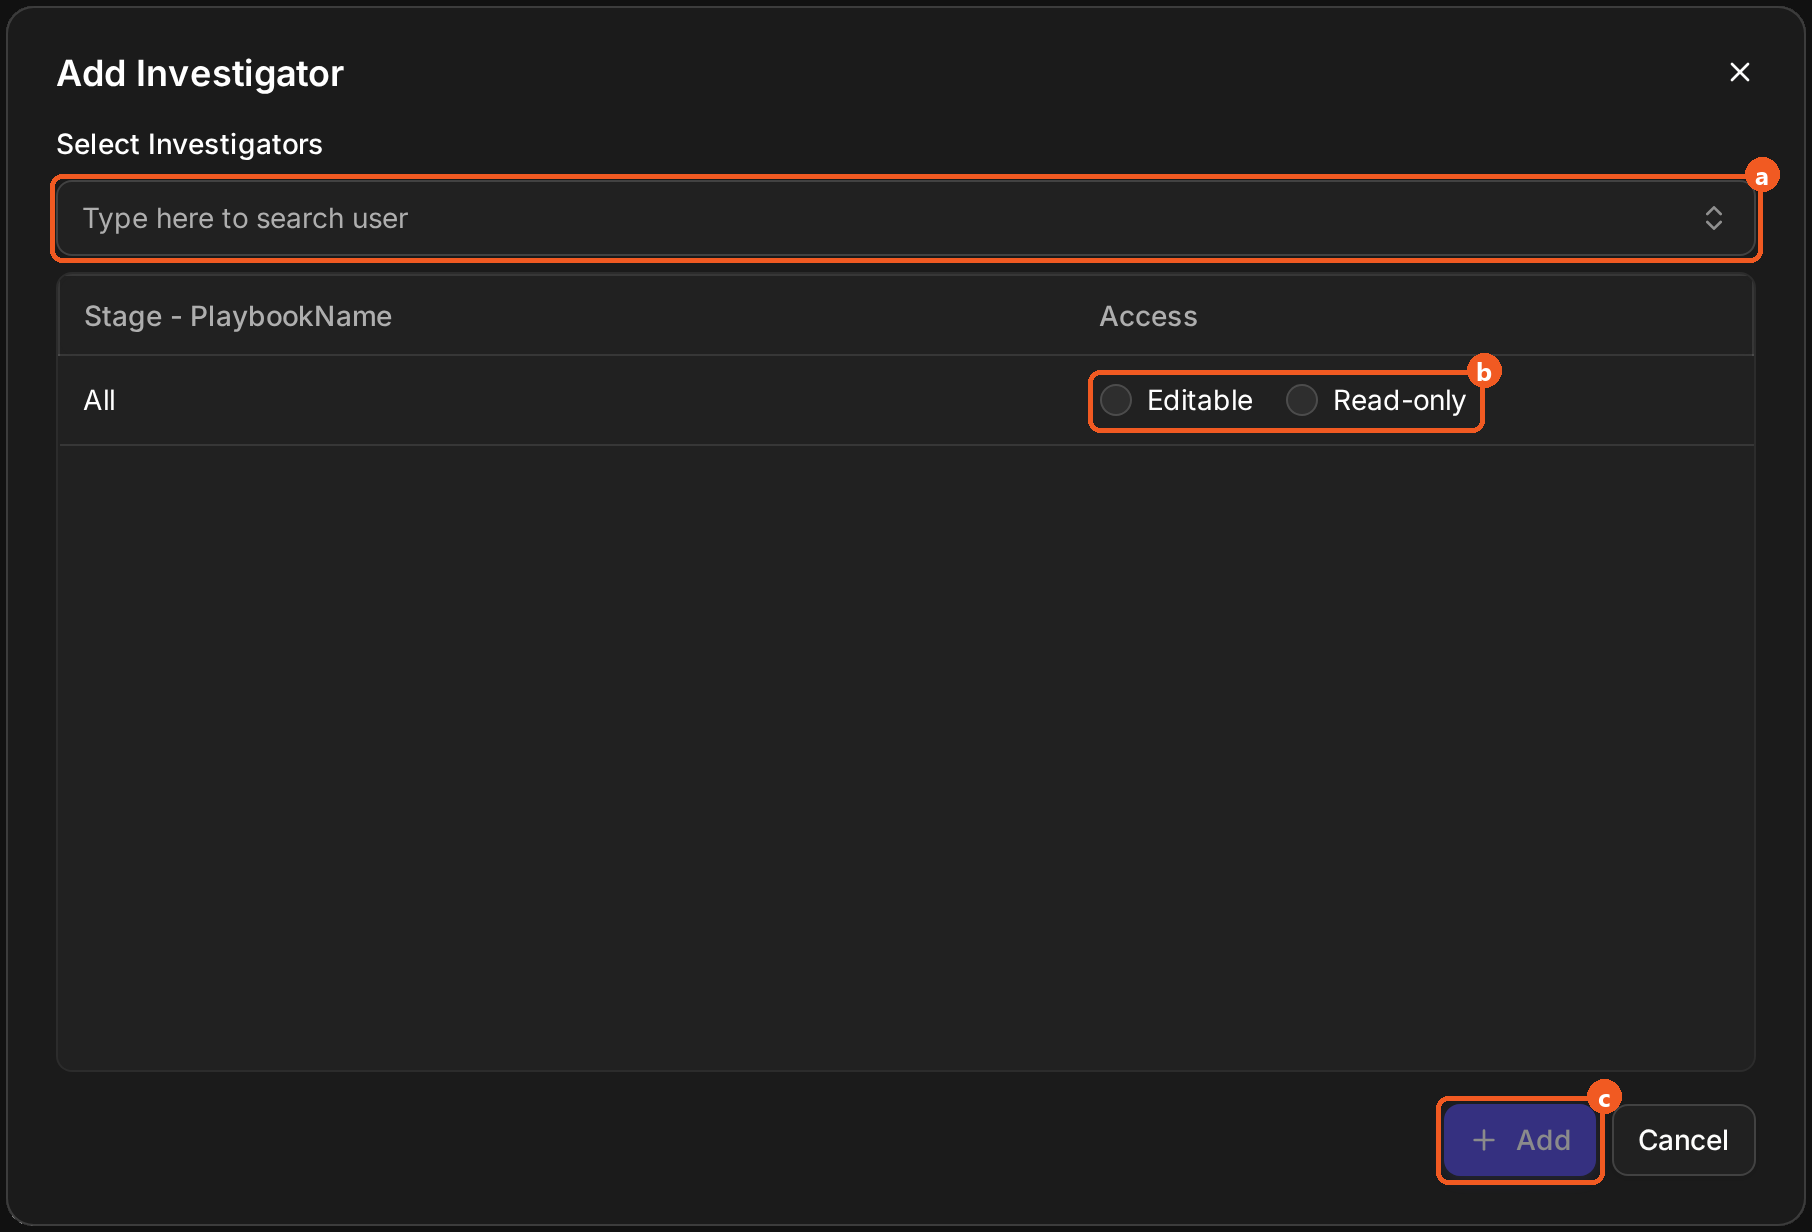
Modify the investigator's access level.
-
Search for and select the user whose access level needs to be updated.
-
Update their level of access.
-
Click on the + Add button.
-
JSON Table
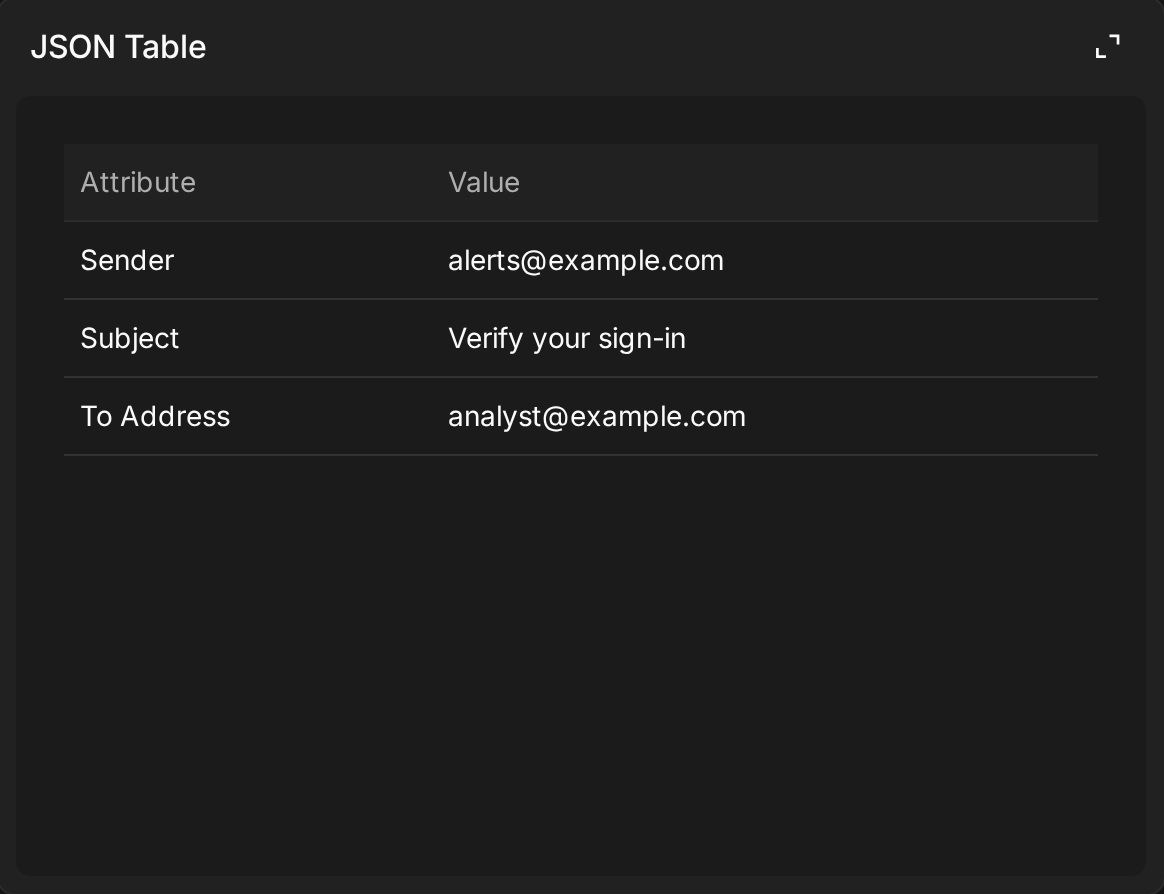
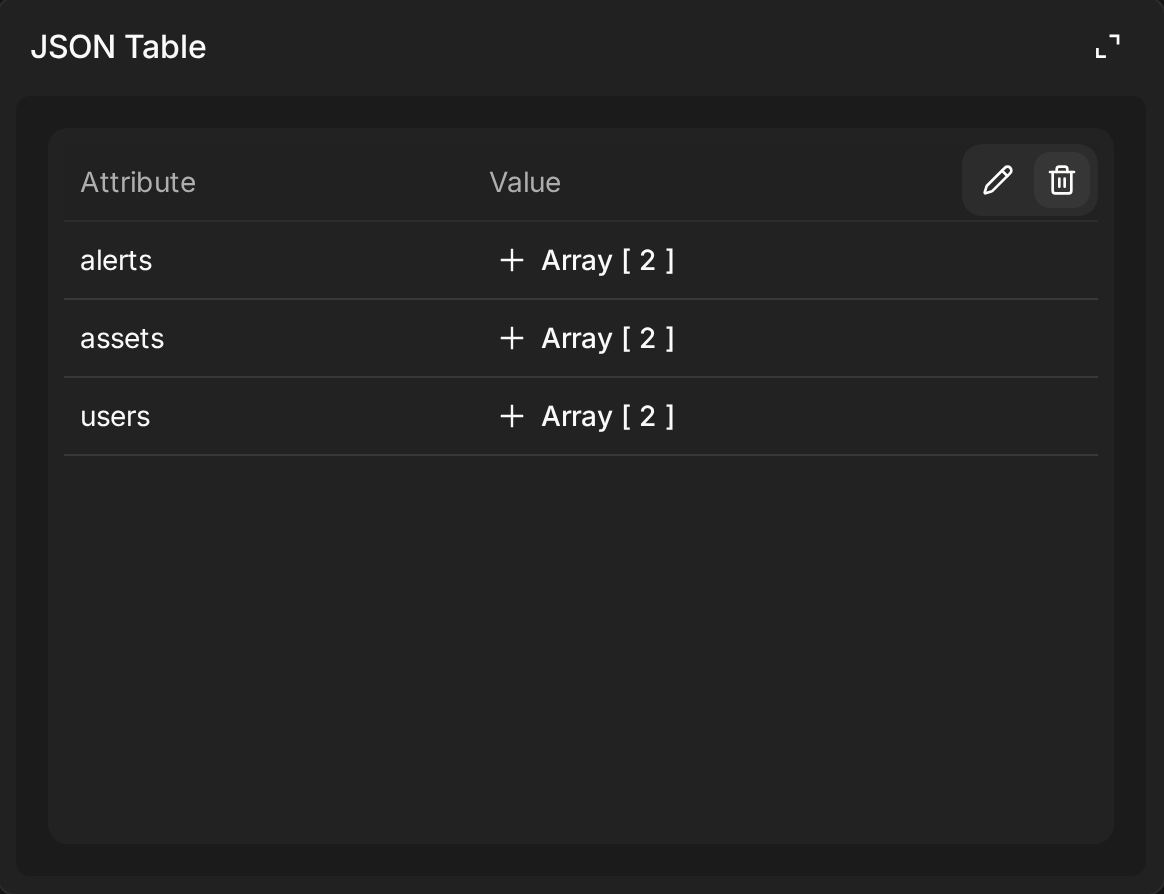
The JSON Table widget allows users to add a table containing custom JSON data into the incident. This data can be used as input for playbook tasks that support dynamic values.
Adding the JSON Table
-
Click on the
-
Add the data in JSON, then click on the
-
Confirm that the table can be rendered properly.
RESULT
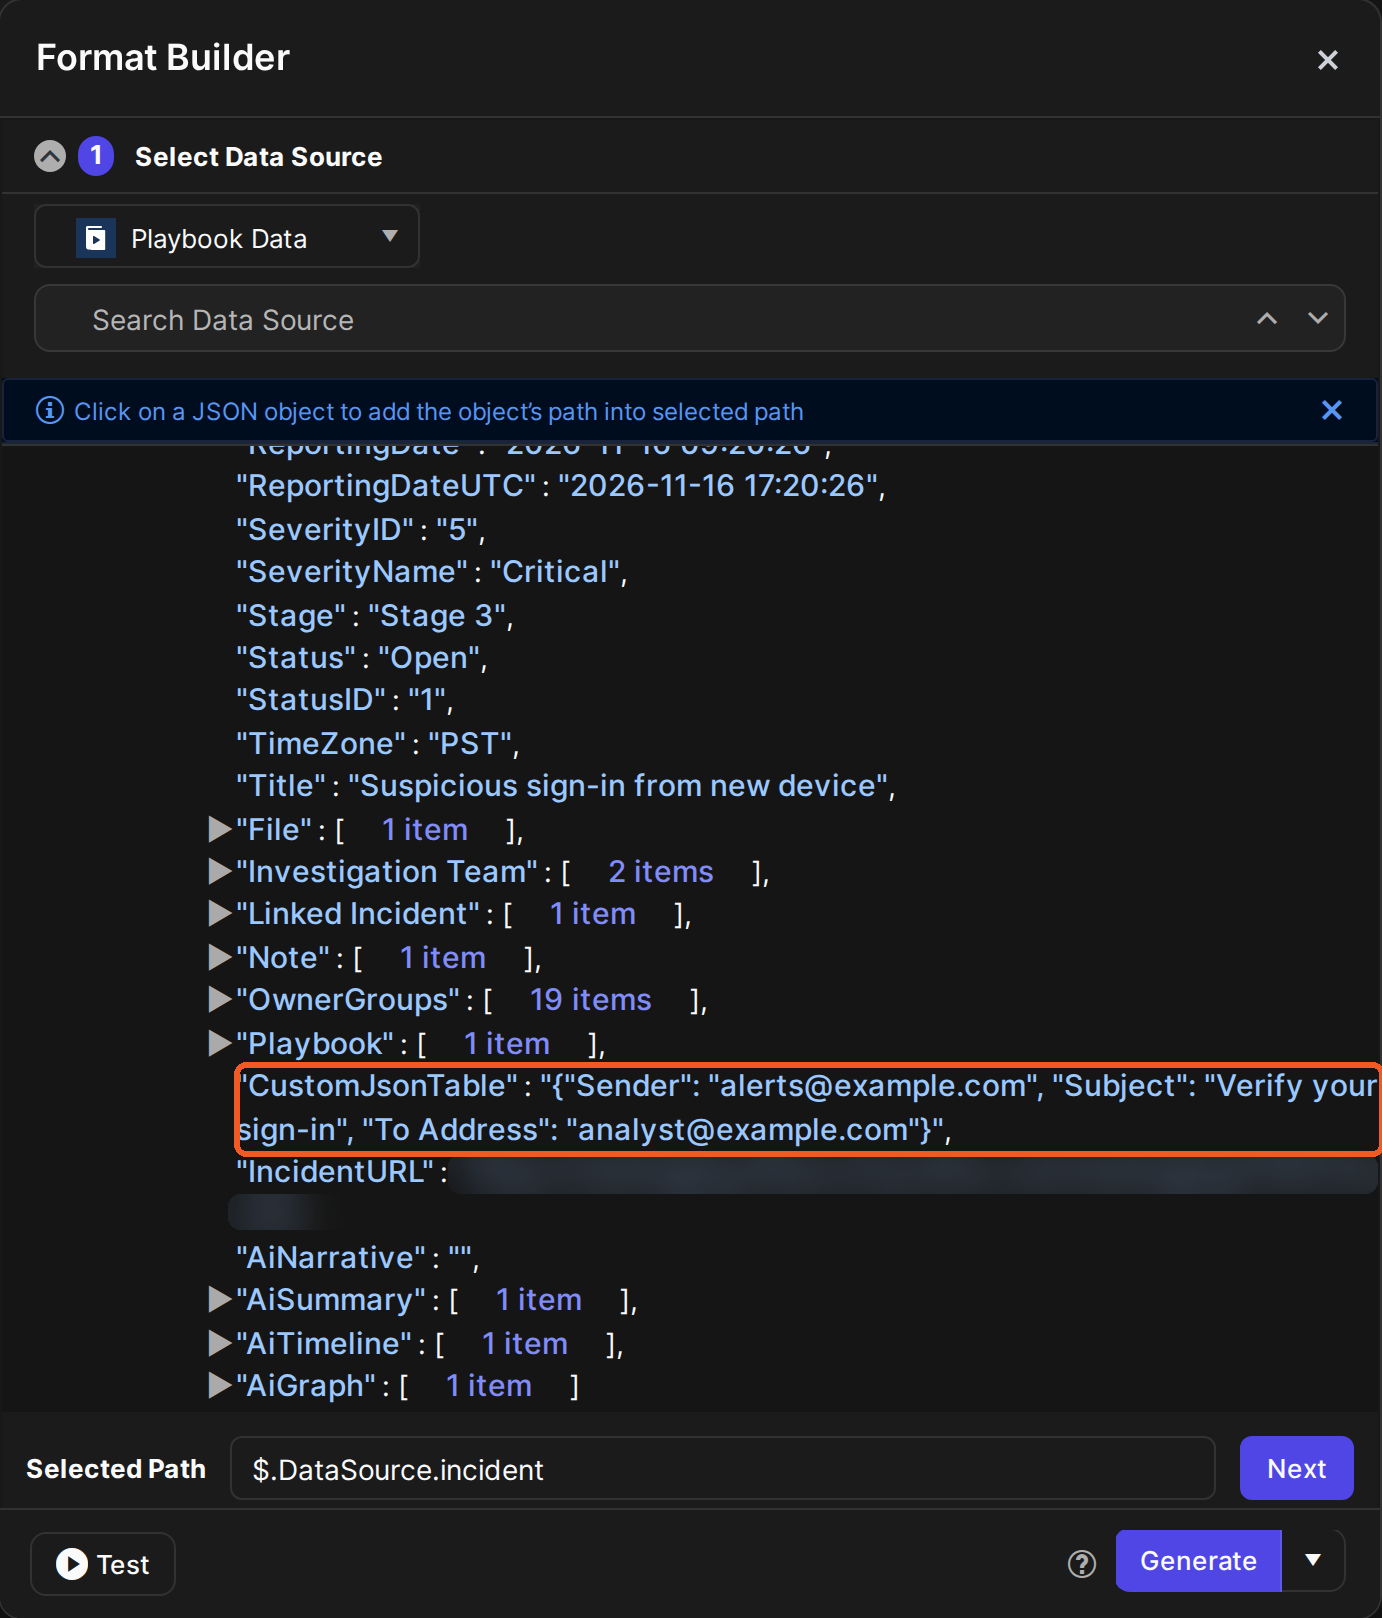
Users can use this JSON data as input for playbook tasks that support dynamic input values, selectable at the path $.DataSource.incident.CustomJsonTable.
Linked Artifacts
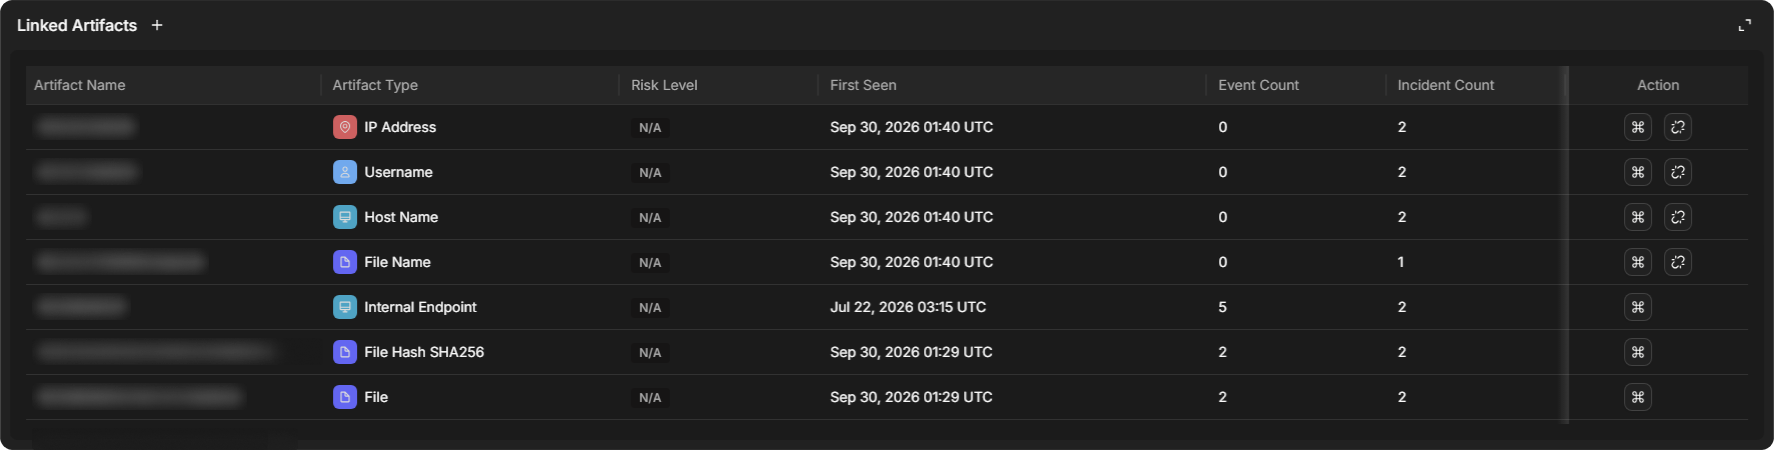
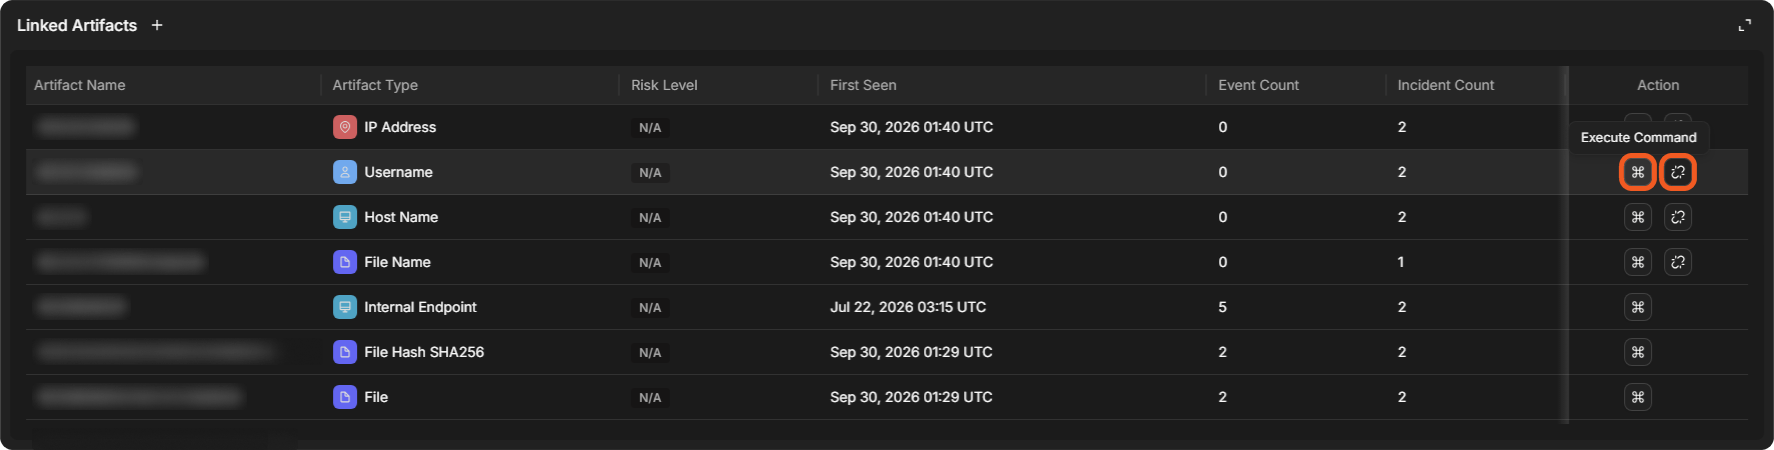
The Linked Artifacts widget enables users to associate artifacts with the incident. Users can click on either the
Acting on a Linked Artifact
-
The Action column holds the row's actions: Execute Command on every row, and Unlink Artifact on some rows. Hover over an icon to see its name.
-
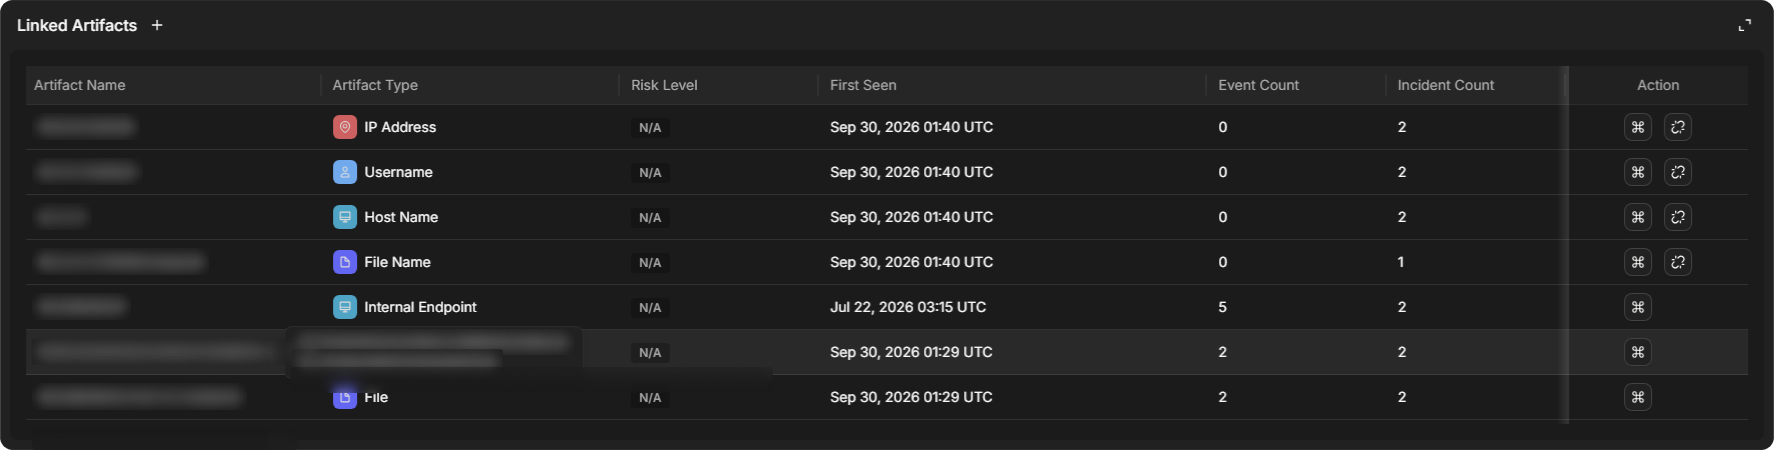
Long artifact names are shortened with an ellipsis. Hover over a shortened name to see the full value.
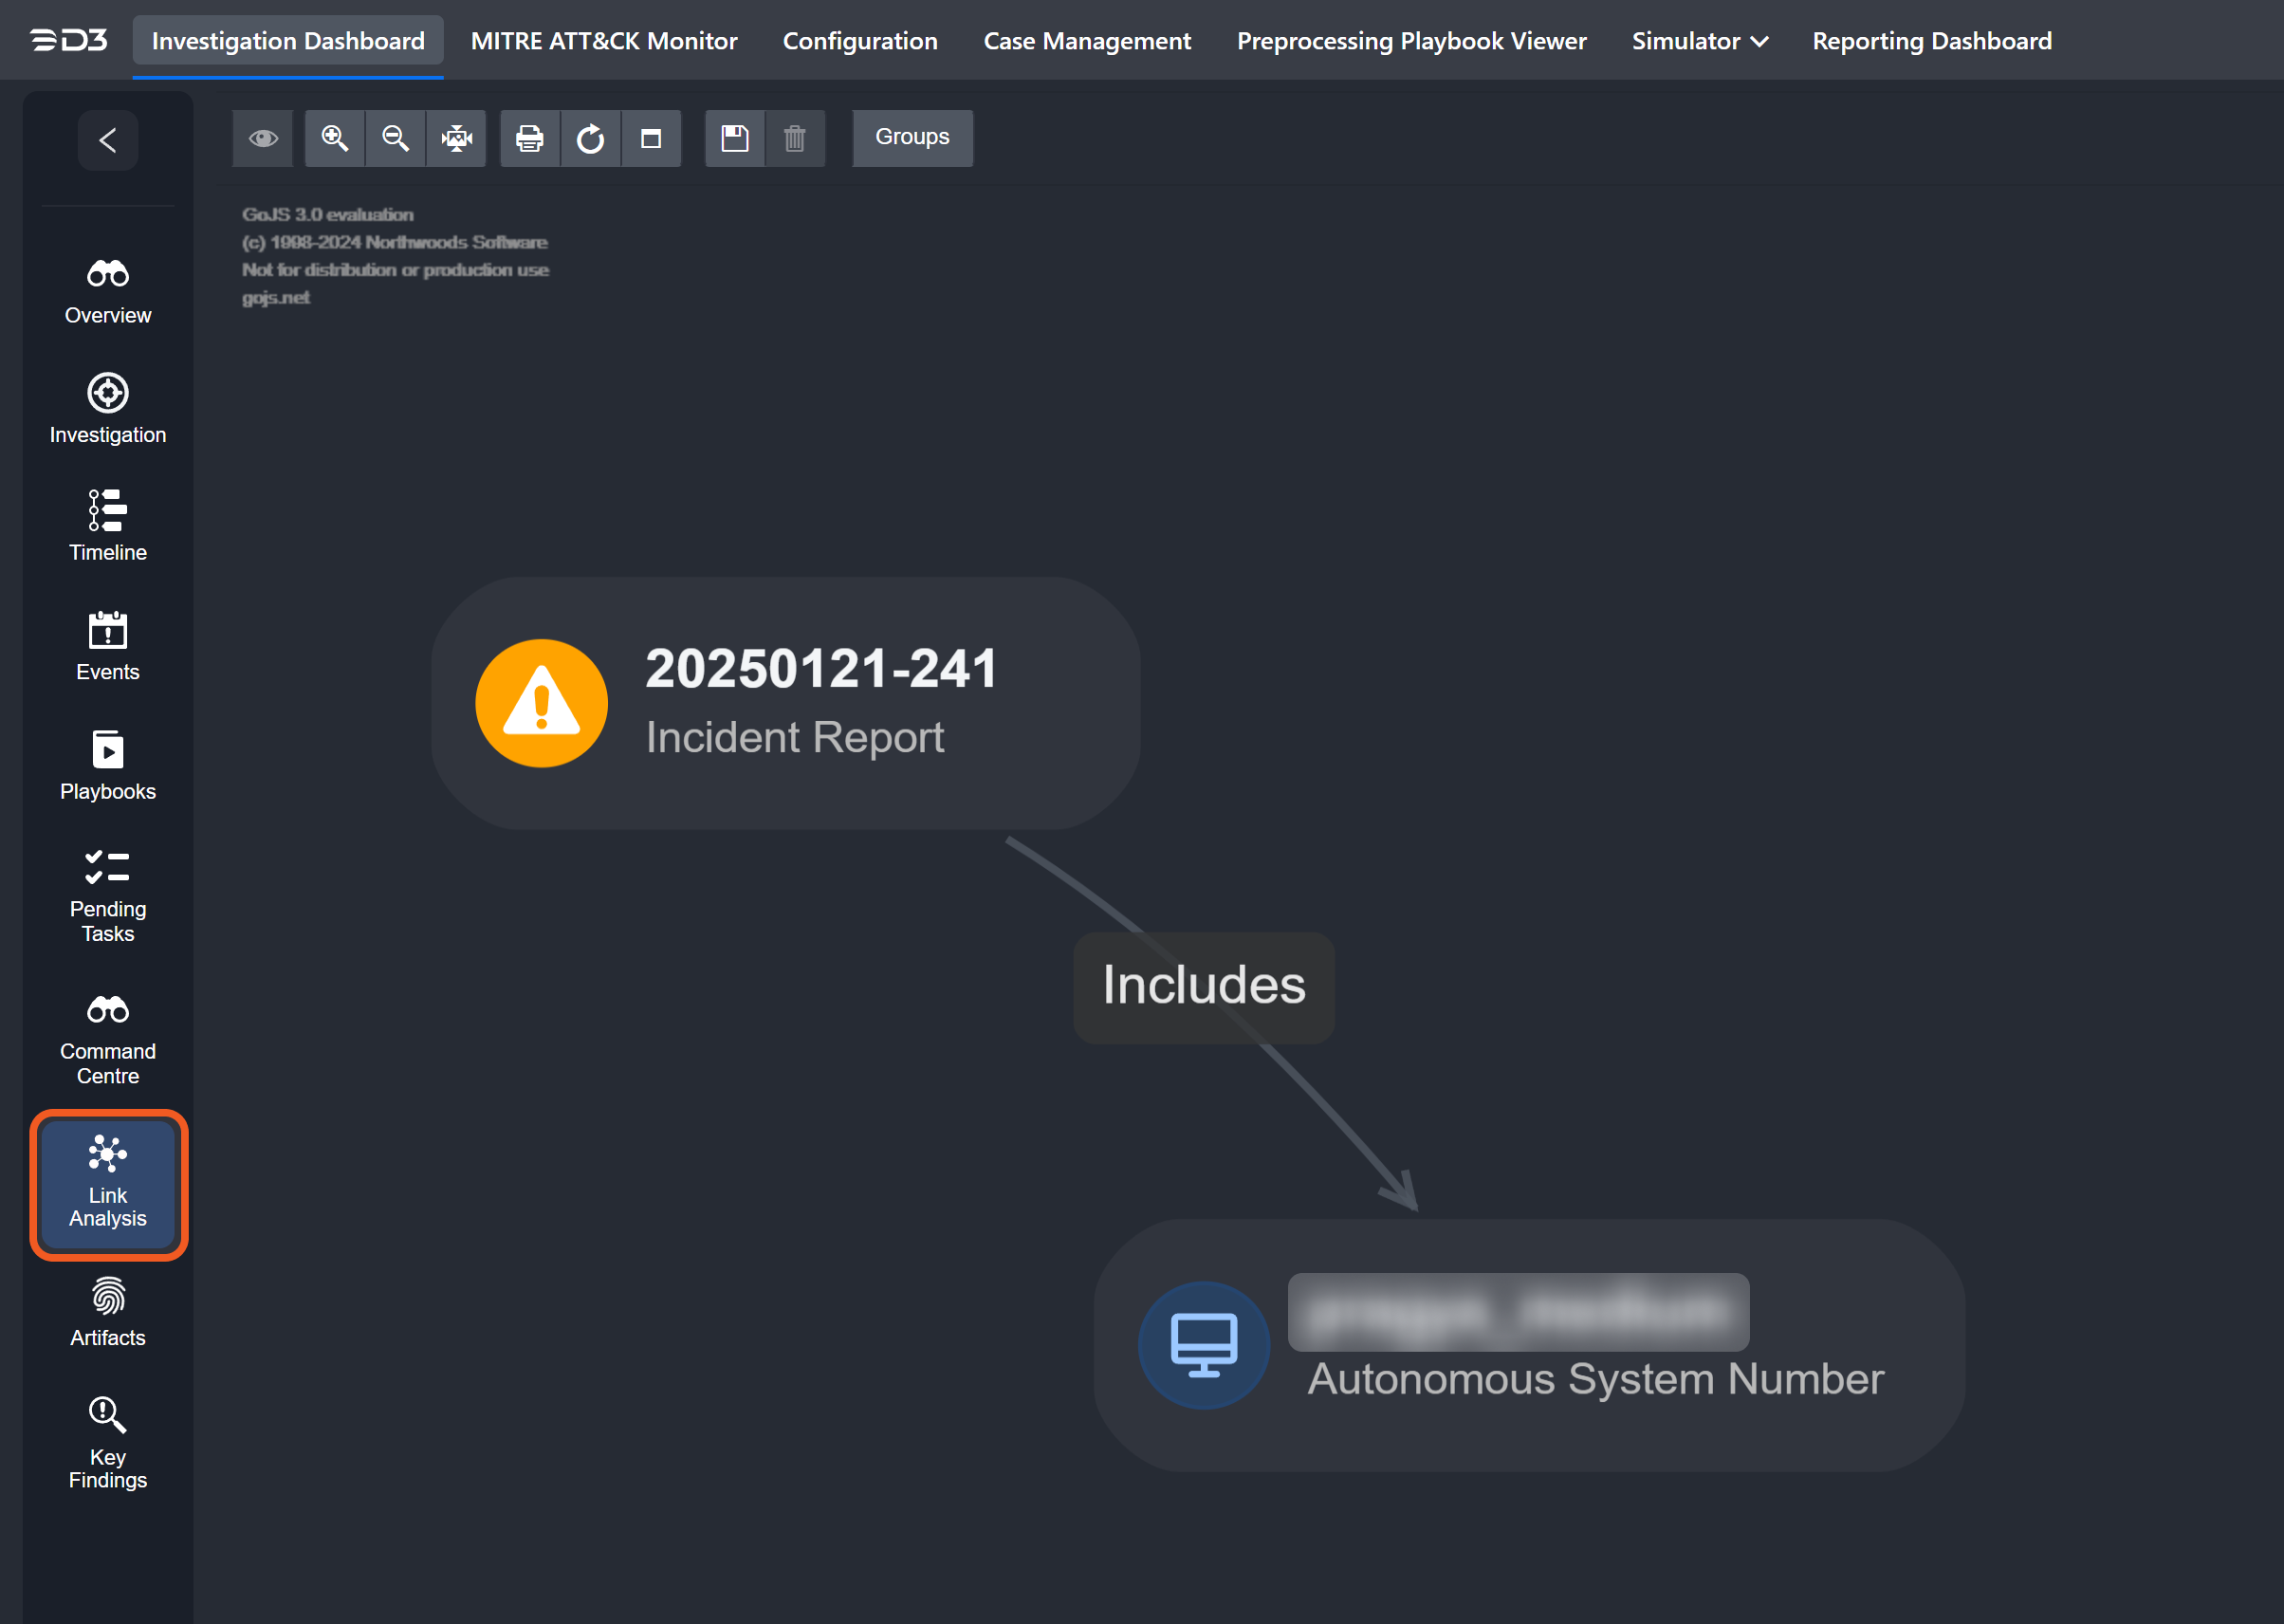
After linking artifacts to the incident, users can access their details and execute commands on them. Linked artifacts are also displayed in the Link Analysis tab.
Linked Incidents
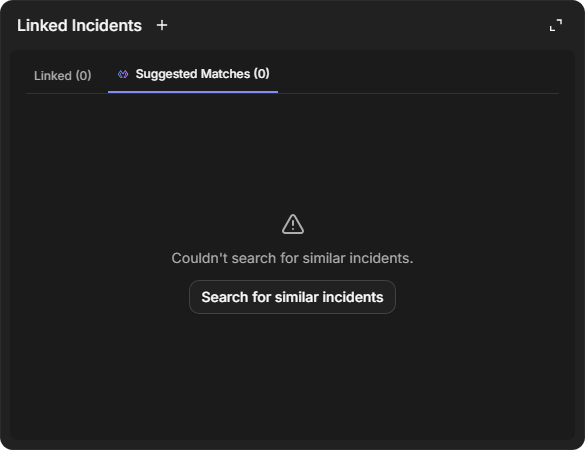
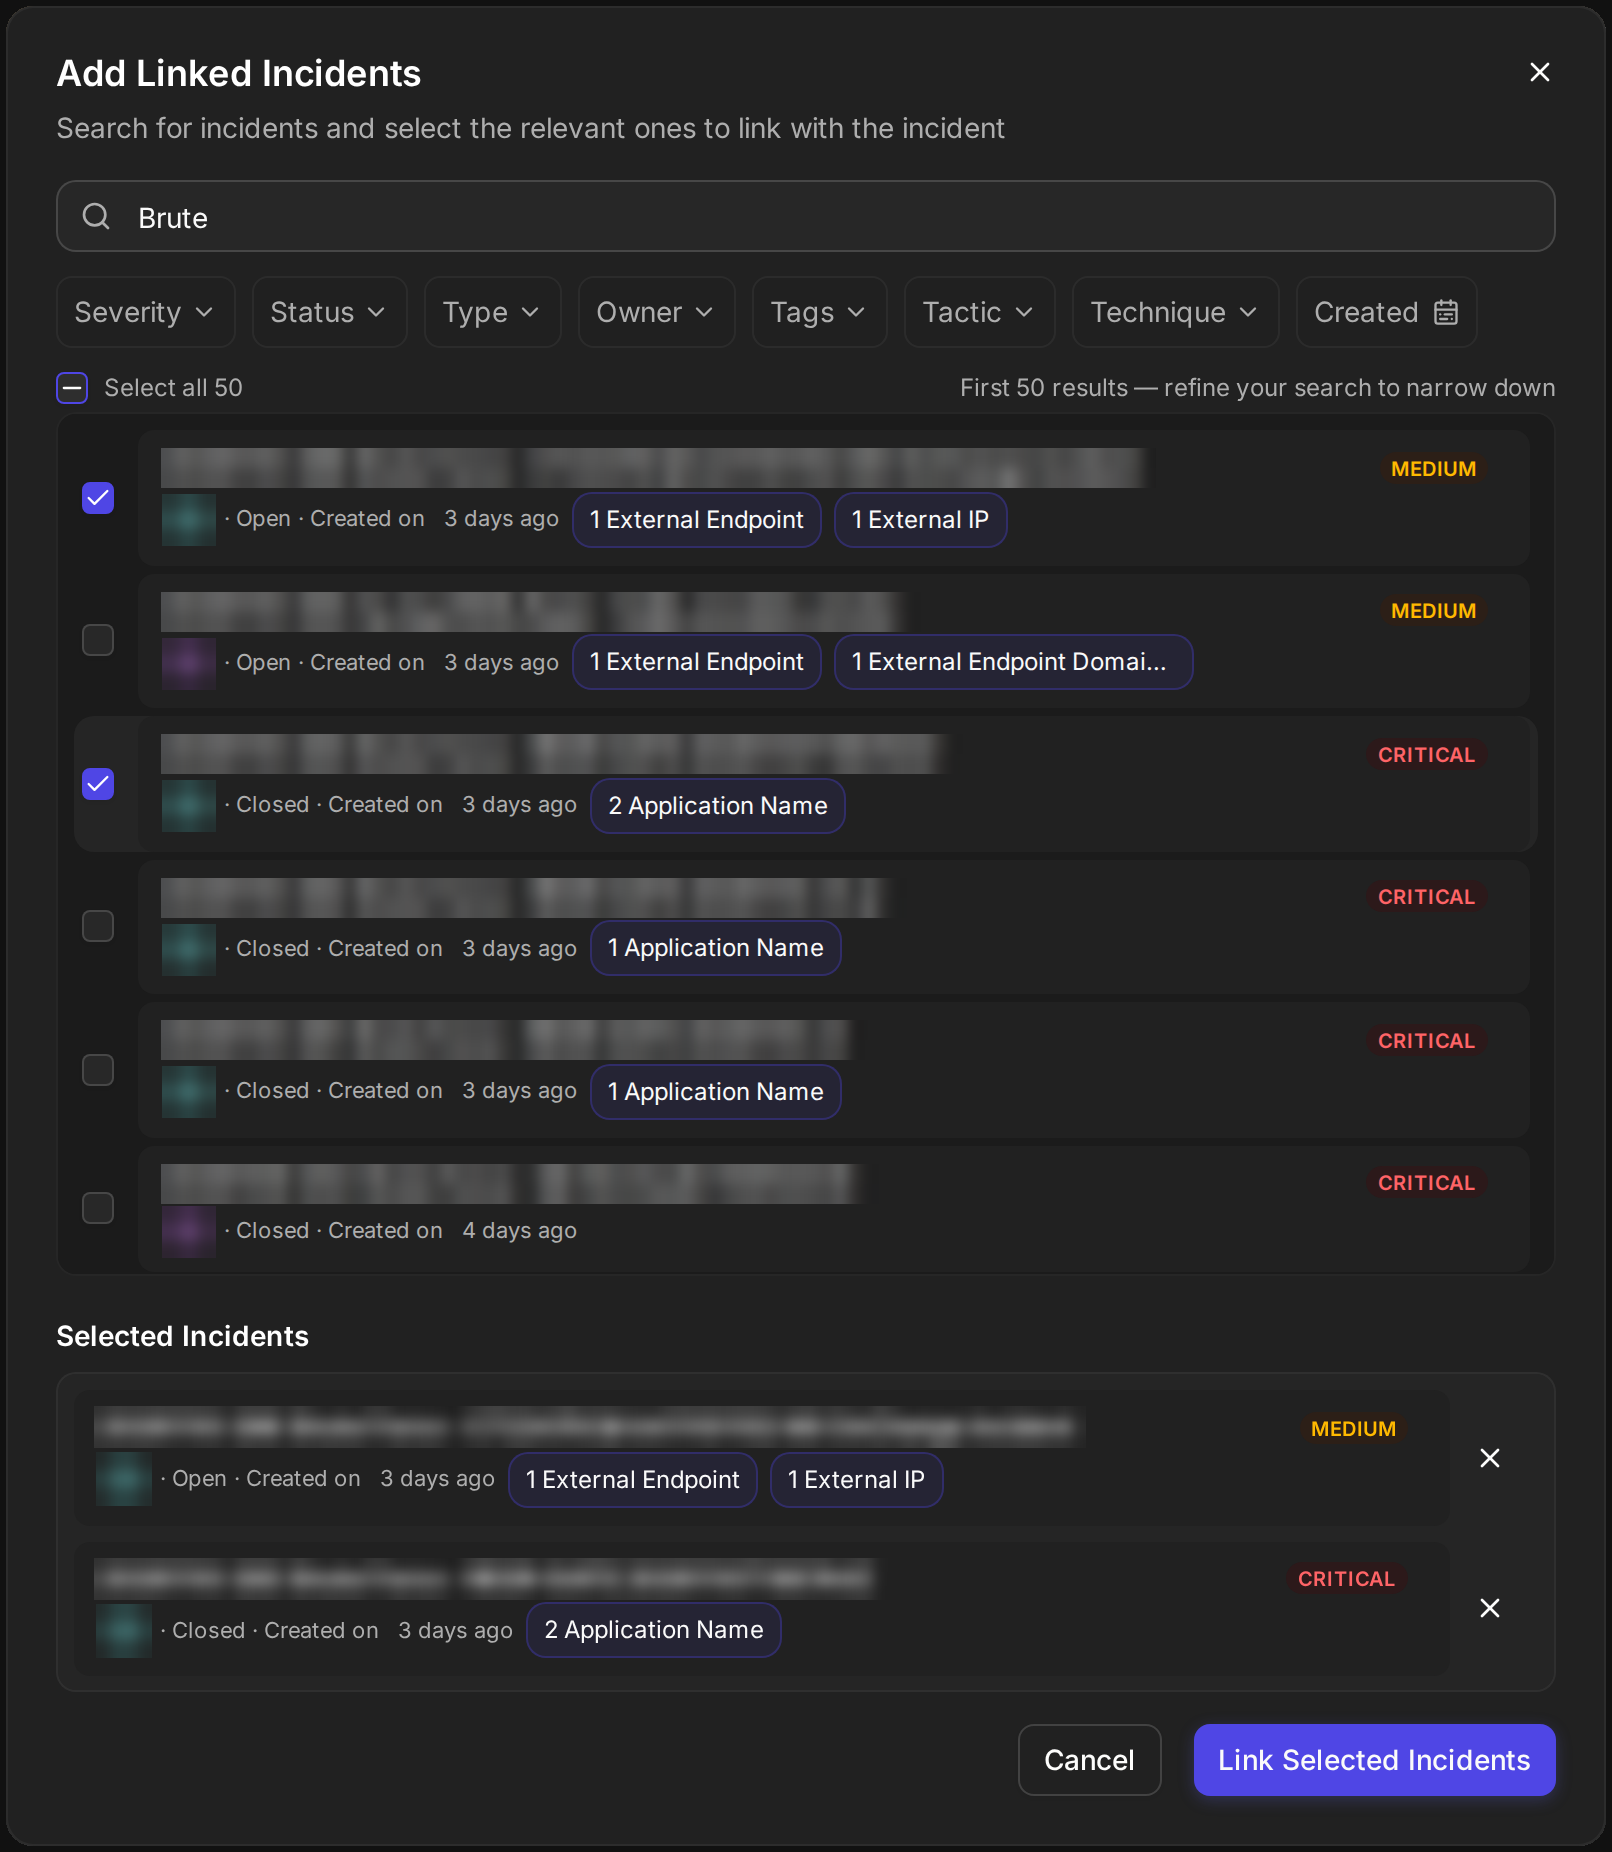
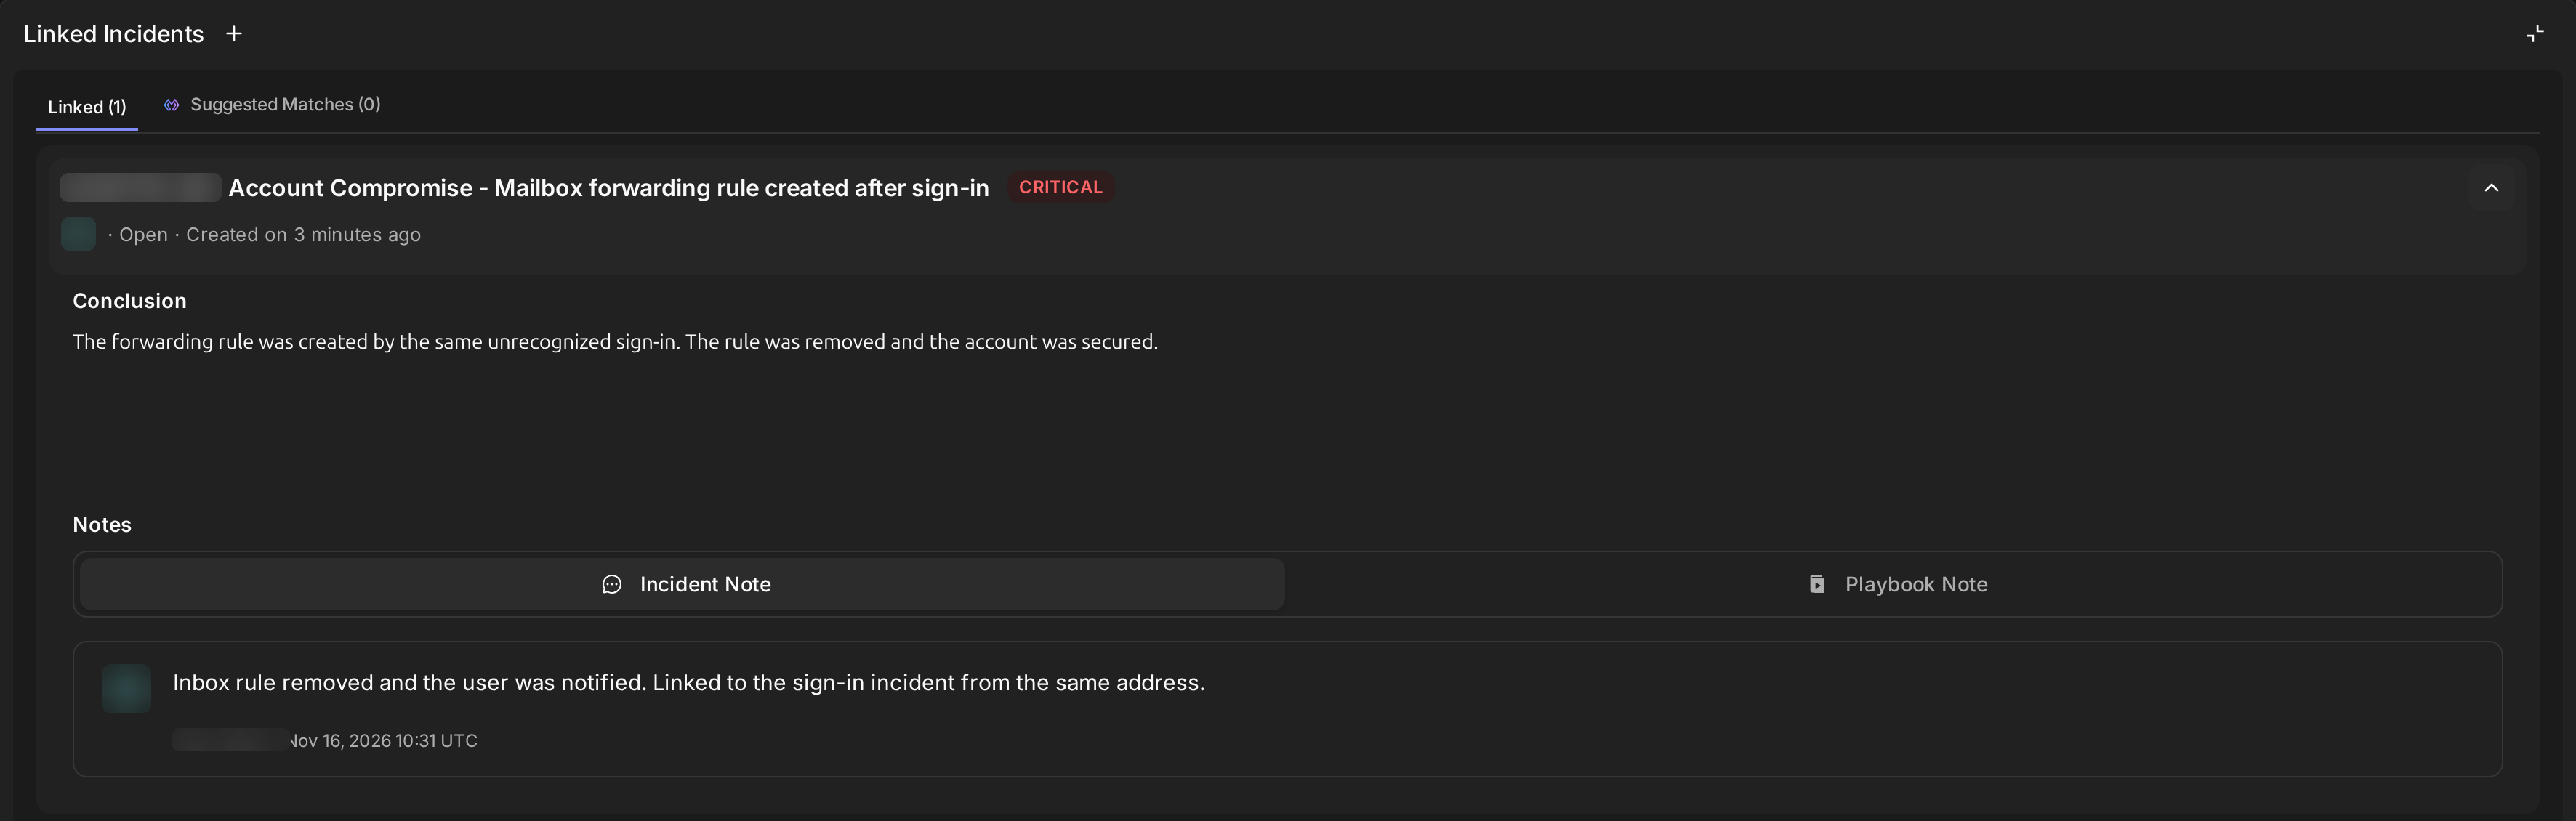
The Linked Incidents widget enables users to associate the current incident with other incidents. It has the Linked and Suggested Matches tabs. It presents a structured list that includes the incident number, title, type, status, creation date, owner, and associated artifacts.
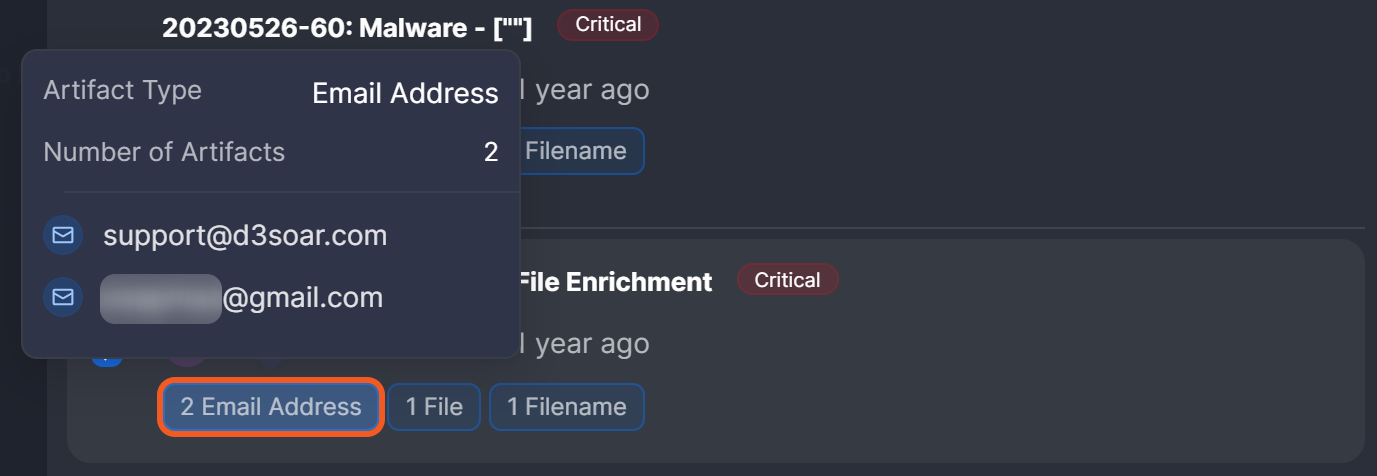
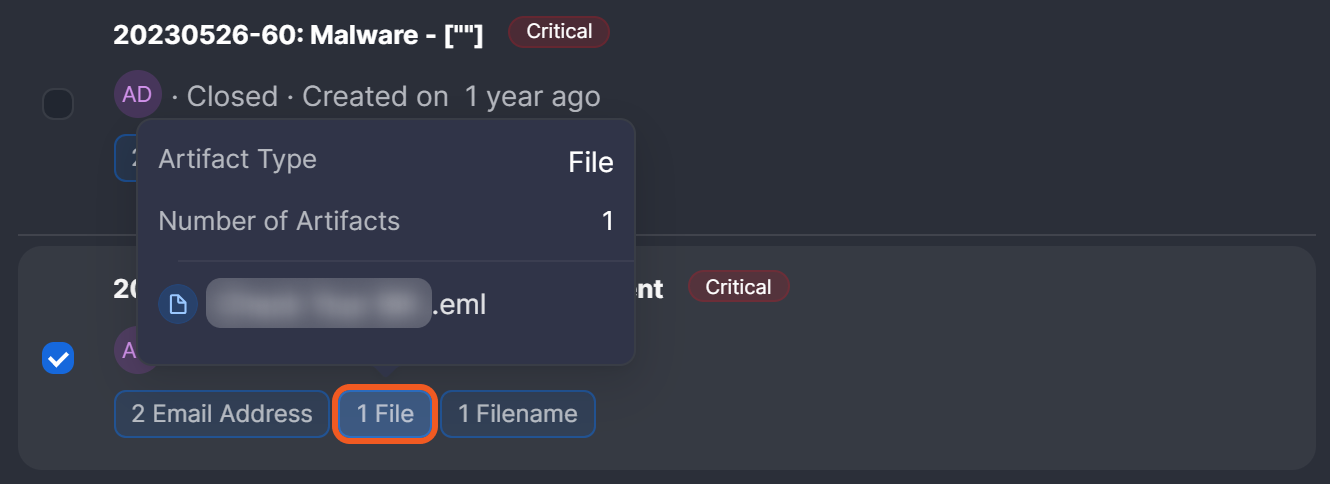
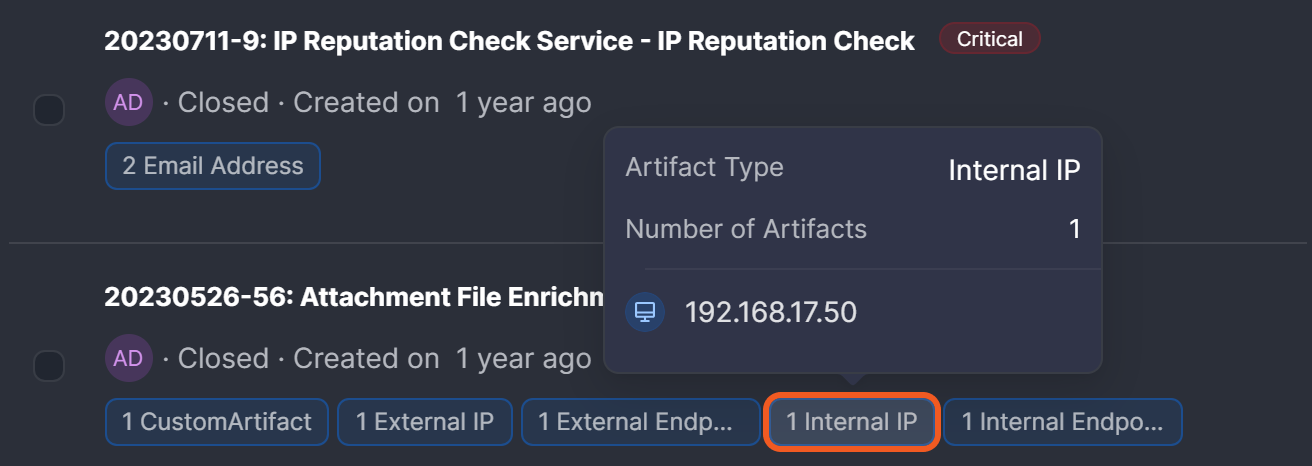
Hovering over the owner icon, the text after "Created On", or any artifact reveals a tooltip with additional details.
Tooltip Examples
Exact incident creation date and time

Incident owner

Email address artifact
File artifact
Internal IP artifact

-
To copy a linked incident's URL, hover over that incident and click on the

-
To unlink an incident, hover over that incident and click on the

-
To navigate to the linked incident, click the

-
To see a summary of the linked incident, click the

Linked Incident Summary
Clicking the
Notes
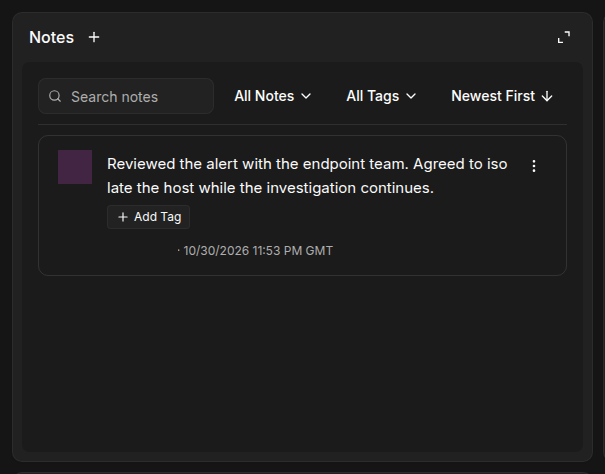
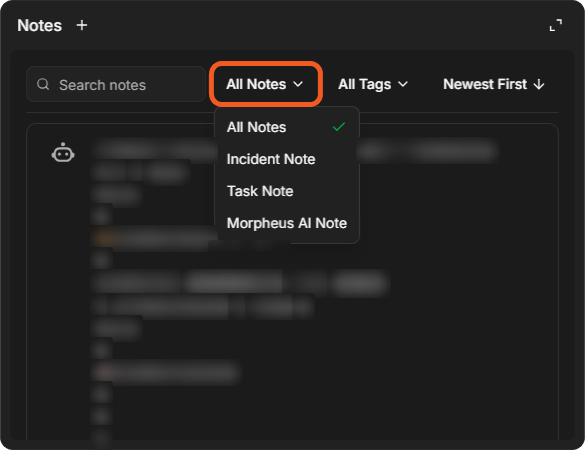
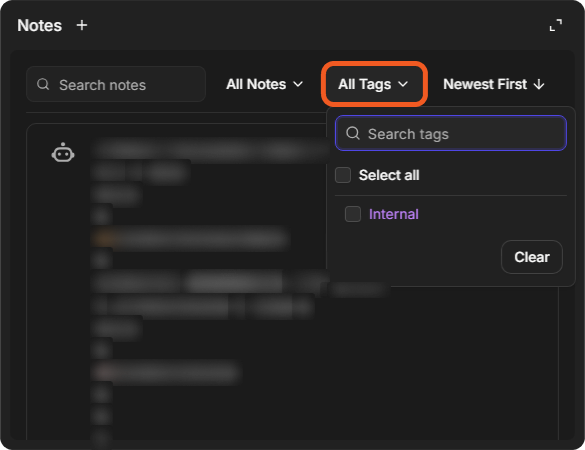
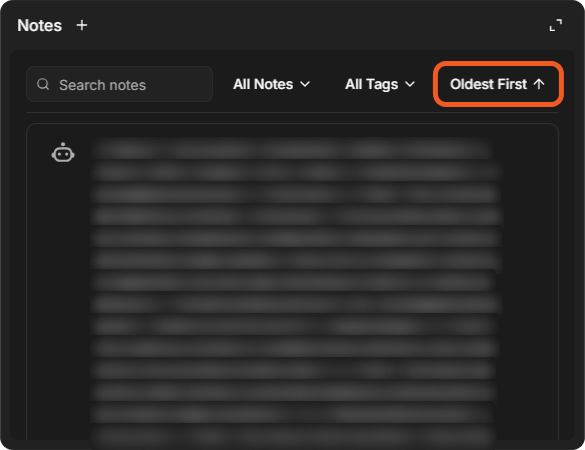
The Notes widget displays all notes associated with the incident. It also enables users to add new notes and perform keyword-based searches using Search notes. The All Notes, All Tags and Newest First menus filter and sort the list.
Editing, Deleting and Viewing History
-
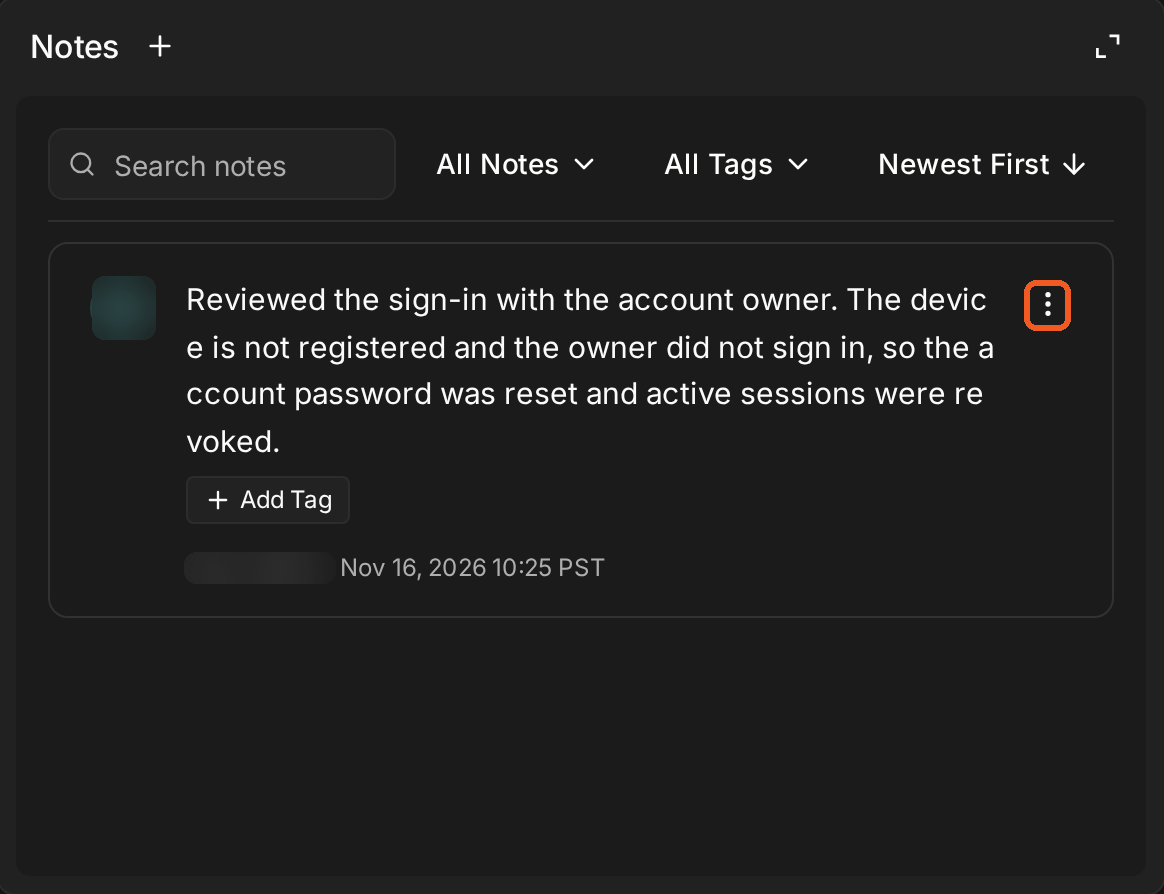
Click the

-
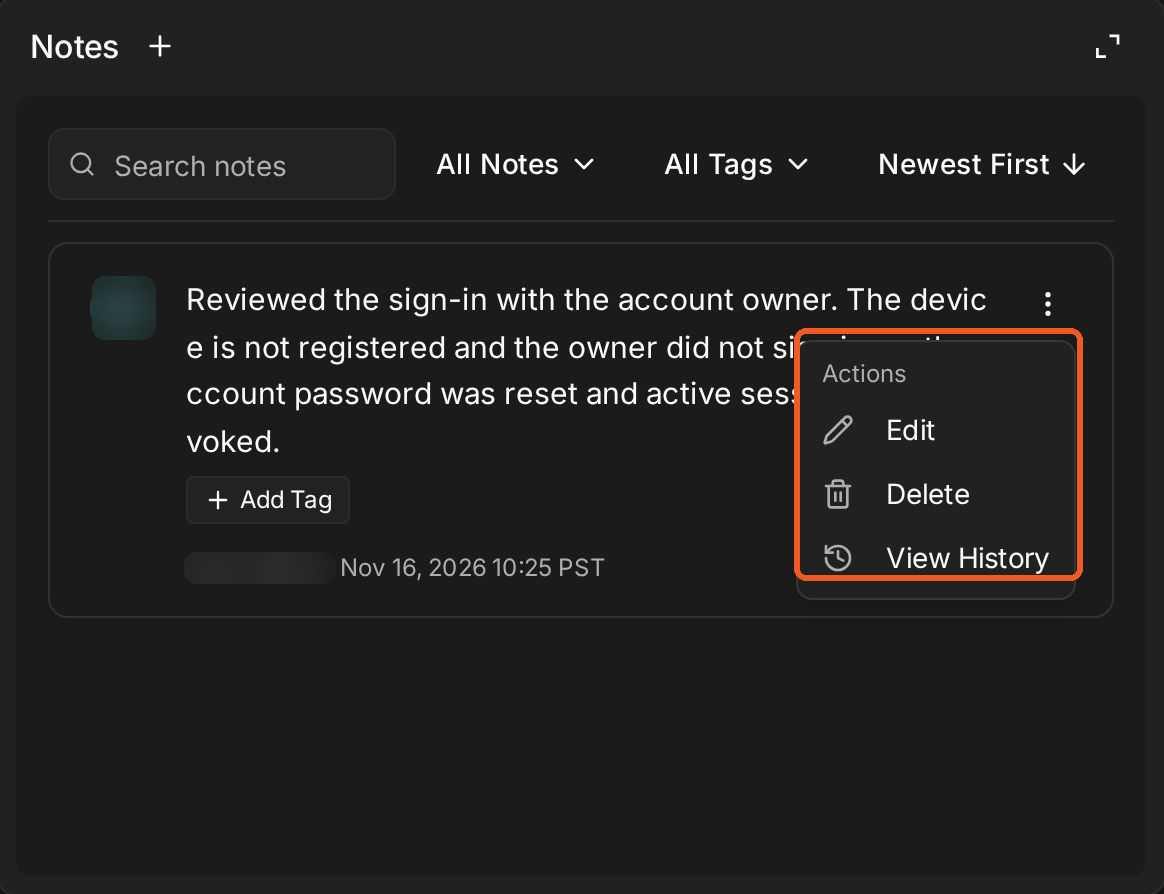
Select the desired action from the dropdown menu:
-
Click Edit to modify the note content.
-
Click Delete to permanently remove the note.
-
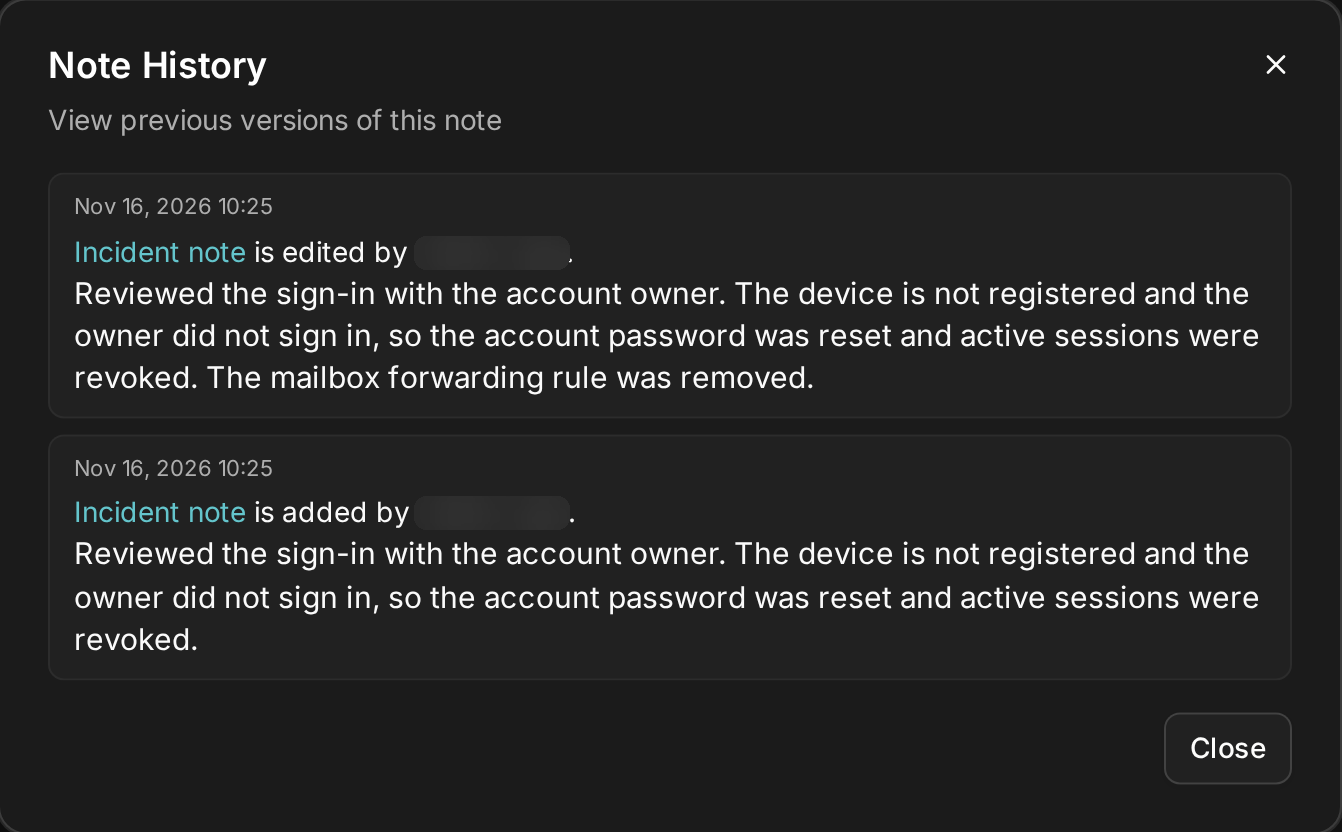
Click View History to see previous versions and changes made to the note.
-
-
Follow the on-screen prompts to complete the selected action.
Filtering and Sorting Notes
-
Select All Notes to open the note-type menu: All Notes, Incident Note, Task Note and Morpheus AI Note.
-
Select All Tags to open the tag menu. It lists the tags on the incident's notes, each with a checkbox, with Search tags, Select all and Clear.
-
Select Newest First to switch the order to Oldest First, and select it again to switch back.
Playbook Automation
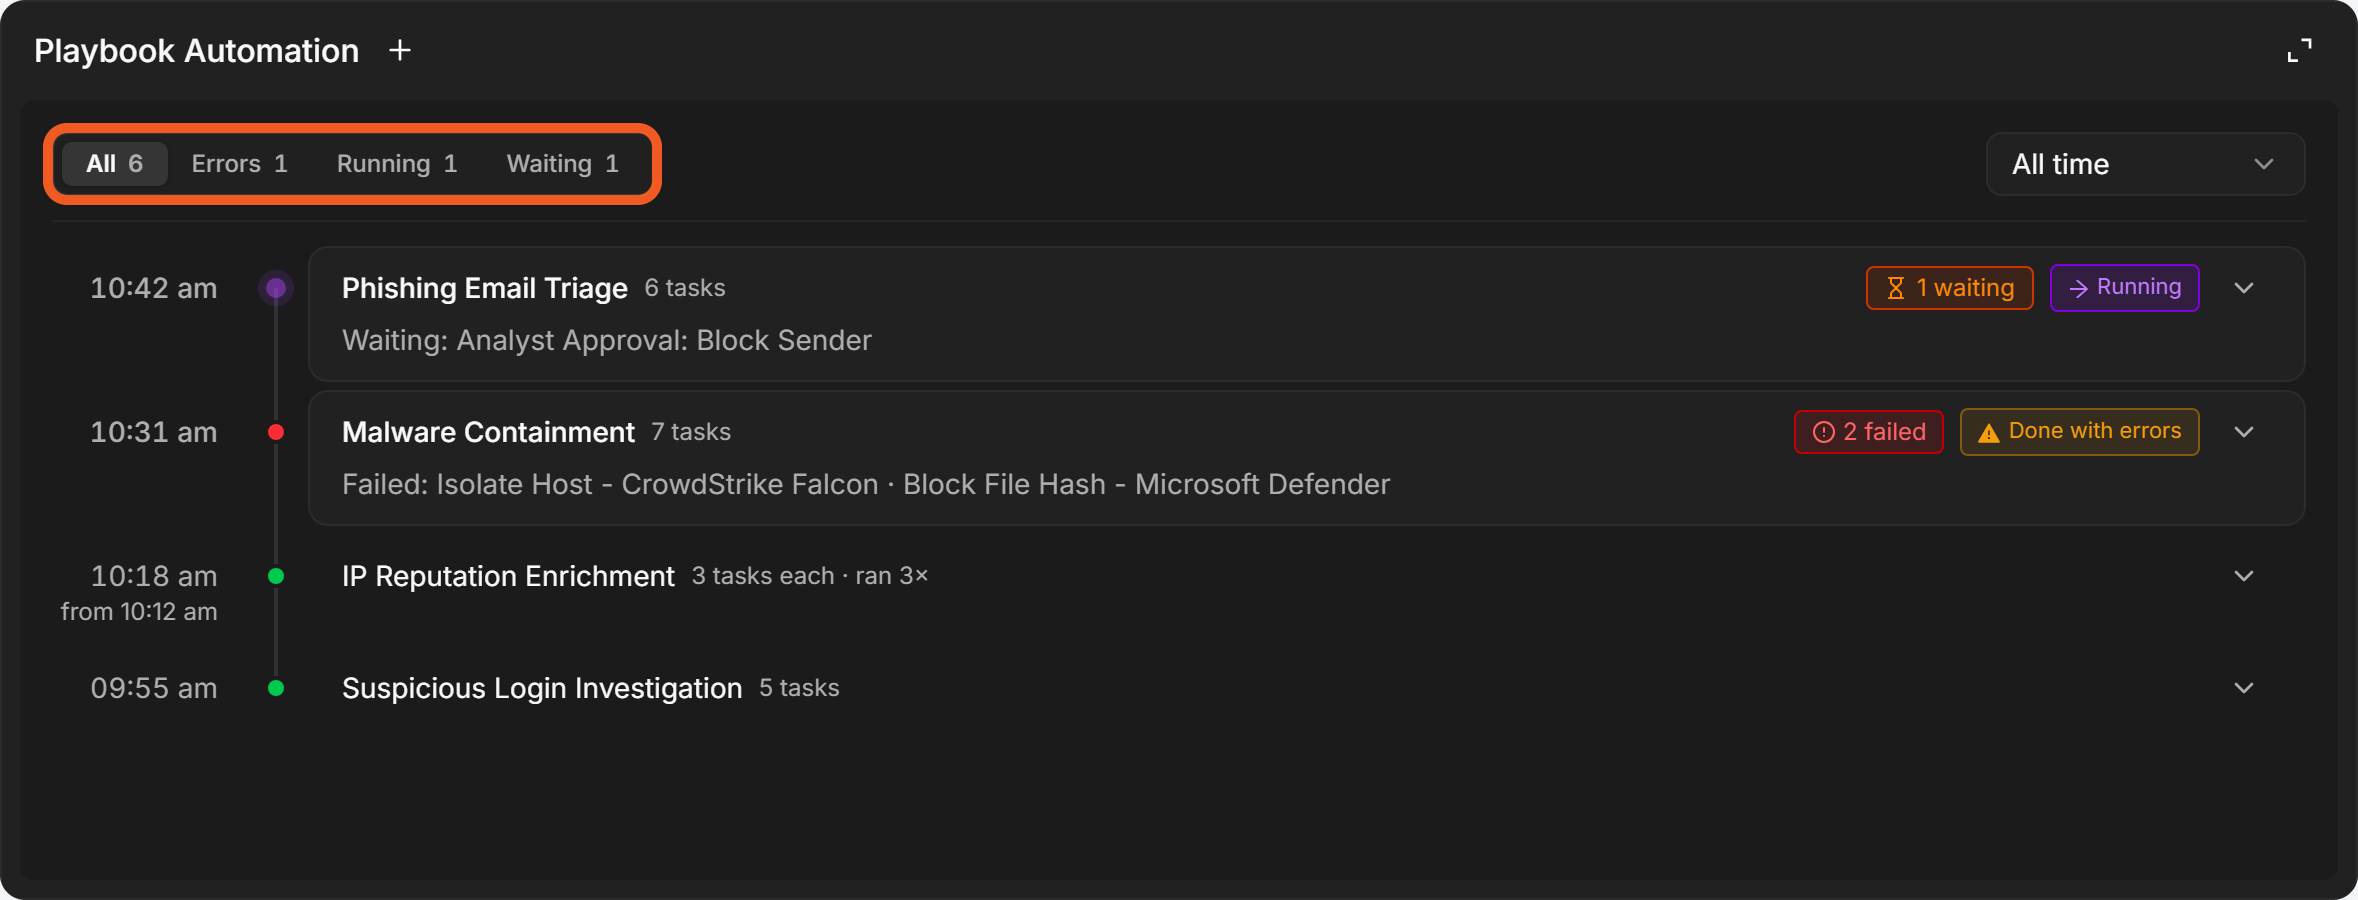
The Playbook Automation widget is the incident's record of its playbook runs: a timeline, newest run first, that shows which runs failed, which are still running and which are waiting on a task, so you can spot a run that needs attention without opening each one. Runs can be filtered, expanded in place and unlinked from the widget. The + button in the widget header adds playbooks to the incident, with bulk selection, filtering of custom or built-in playbooks, and filtering by integration commands used within playbooks.
Reading the Timeline
The timeline lists every playbook run on the incident, newest at the top. The time at the left of each run is when it started, shown in the time zone named at the top of the widget (for example, Times in PST); hover over a time to see the full date and time. A date is shown under the time whenever the timeline moves to another day.
Each run shows the playbook's name and its number of tasks. A run that needs attention says why on a second line, so you can read the problem without opening the run:
|
What you see |
What it means |
|---|---|
|
Failed: followed by task names, and a chip such as 2 failed |
Those tasks failed in this run. |
|
No task completed |
Every task in the run failed. |
|
Waiting: followed by task names, and a chip such as 1 waiting |
The run is held at those tasks, for example a manual task waiting for someone to complete it. |
|
A Pending, Running, Error or Done with errors chip |
The run's status. Runs that finished cleanly show no chip. |
|
nested beside the name |
A playbook started by another playbook. |
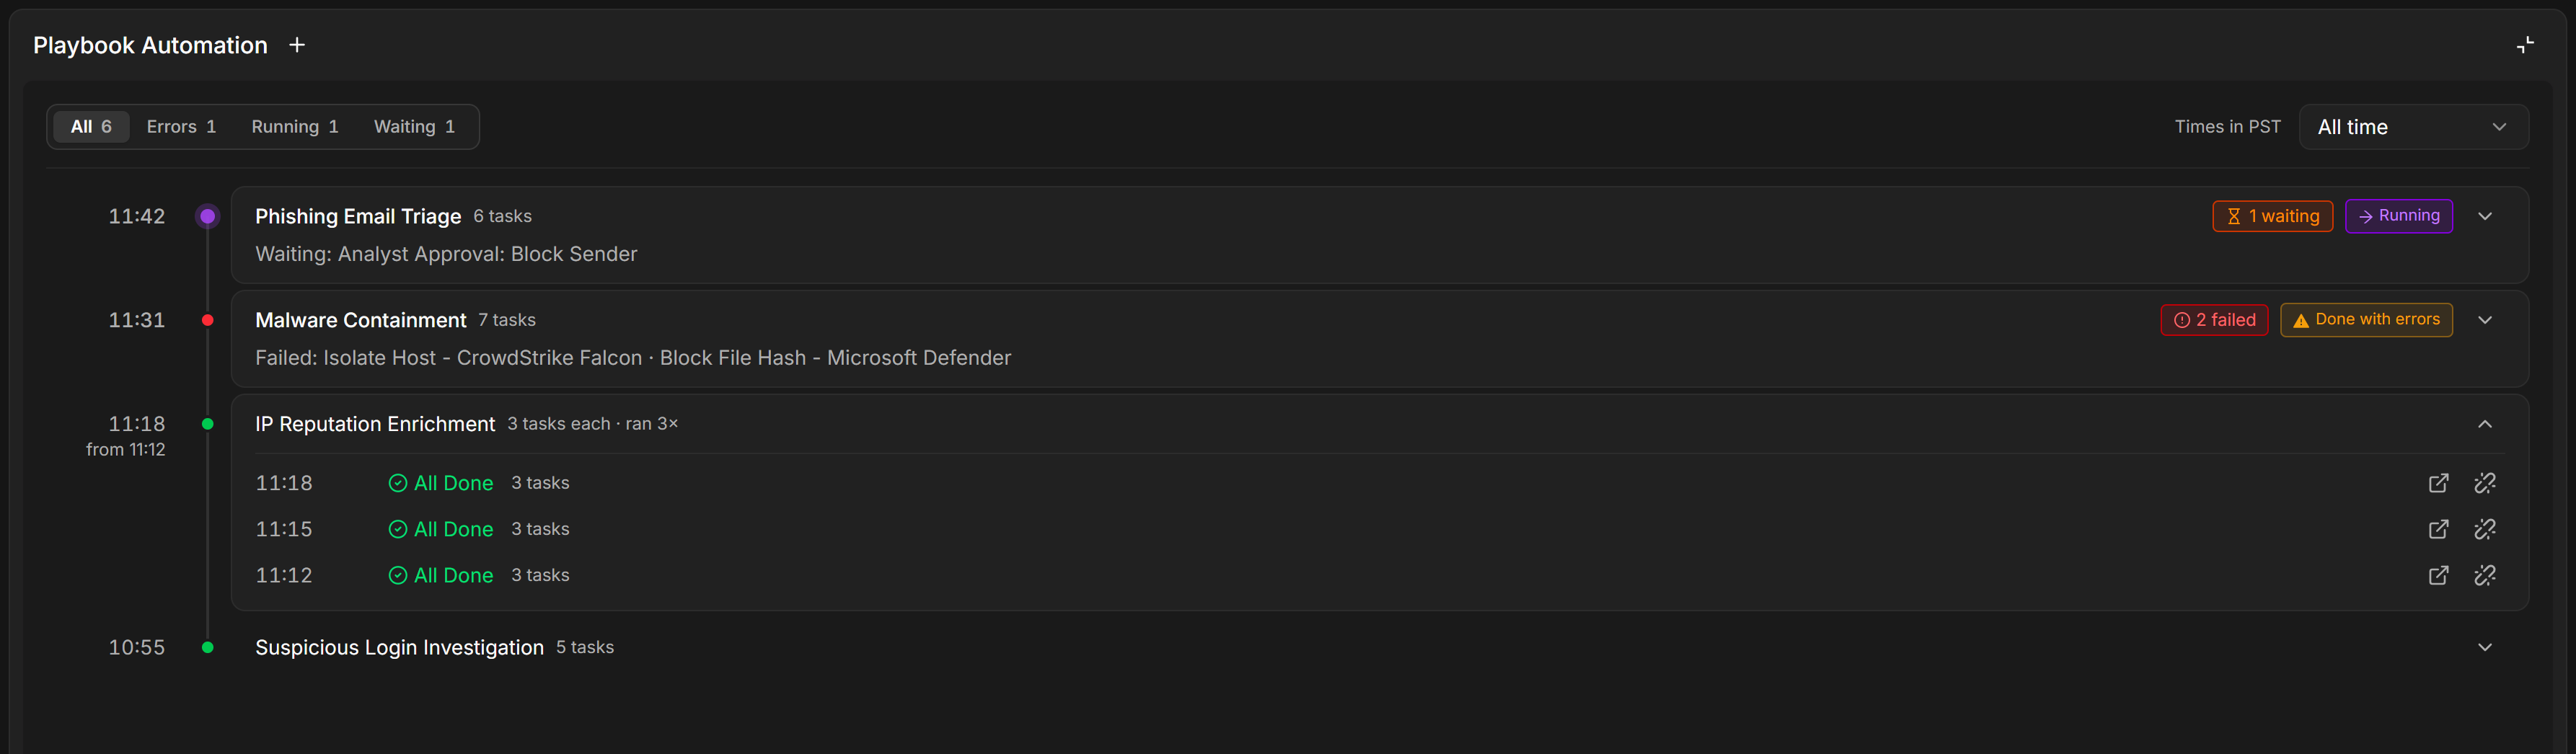
Back-to-back runs of the same playbook that all finished without errors share one row, so a playbook that runs many times does not push everything else down the timeline. The row reads, for example, 3 tasks each · ran 3×, and its time shows the newest run with "from" and the oldest run's time under it. Select the row to list each run with its own time, All Done, its number of tasks and its own Open full run and Unlink playbook icons.
A run that fails, is still running or is waiting is never grouped; it always has its own row.
An incident with no runs shows No playbooks have run on this incident, with a pointer to the control that adds one.
A grouped row expanded
Filtering the Timeline
The filter at the top of the widget narrows the timeline to the runs you are looking for. Each option shows how many runs match it.
|
Filter |
Shows |
|---|---|
|
All |
Every run. |
|
Errors |
Runs with at least one failed task. |
|
Running |
Runs that are still running. |
|
Waiting |
Runs held at a task, such as a manual task. |
The time range selector beside it limits the timeline to All time, Last 24 hours, Last 7 days or Last 30 days. The counts follow the time range. The widget opens on All and All time.
With Errors selected, a line under the timeline says how many runs completed without errors and are hidden by the filter. When nothing matches, the widget says so (for example, No runs with errors or No runs in the last 7 days) and offers Show all runs or Show all time to clear the filter or the range.
Opening a Run's Details
Expanding a run shows what it did without leaving the incident, so you can check a failed task or see what is left to run before deciding whether to open the full run.
-
Select the run, or the arrow at the right of its row.
-
Select it again to collapse it.
RESULT
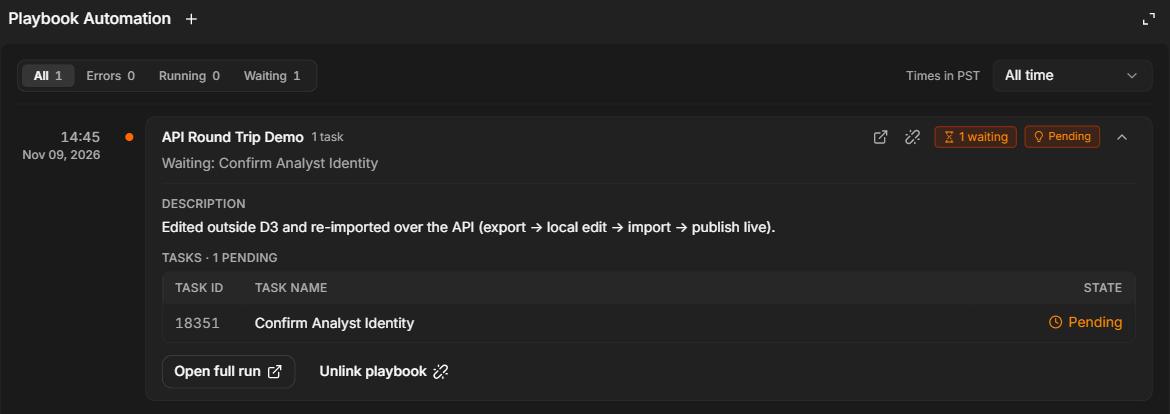
The run expands in place and shows:
-
Description: the playbook's description, or No description available.
-
Integrations: the integrations the playbook uses, when it uses any.
-
TASKS, with a count by state (for example, TASKS · 4 DONE · 1 ERROR), above a table of TASK ID, TASK NAME and STATE. The table shows the first five tasks in the order they ran; select the line below it, which counts the tasks not shown (for example, 6 more tasks: 4 done · 2 running), to show the rest, and Show fewer to hide them again. For a very long run, the last line says how many more tasks there are and opens the full run to see them.
-
Open full run, which opens the run in a window, and Unlink playbook.
A run expanded in the timeline
READER NOTE
Unlink playbook appears only where unlinking playbooks is allowed and you can edit the incident. A nested playbook cannot be unlinked on its own; its details read Nested playbooks cannot be unlinked.
Unlinking a Playbook
-
Hover over the run and select the Unlink playbook icon. In an expanded run, you can also select Unlink playbook at the bottom of its details.

-
Enter a reason for unlinking, then click on the Unlink button.
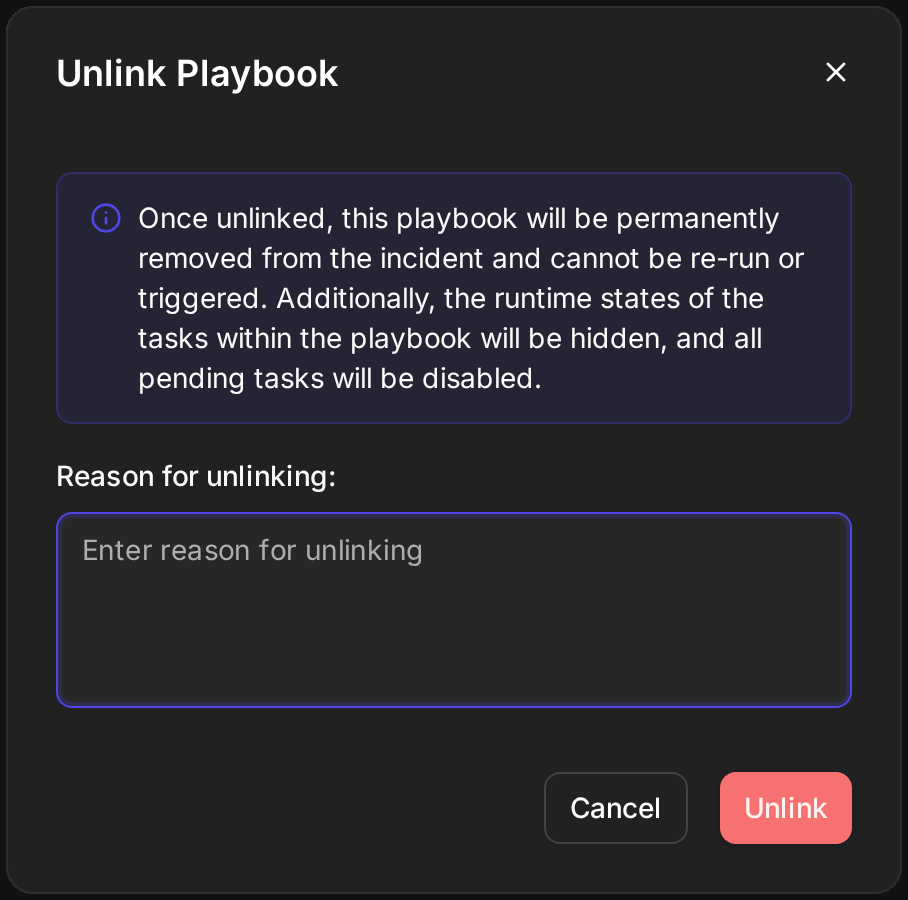
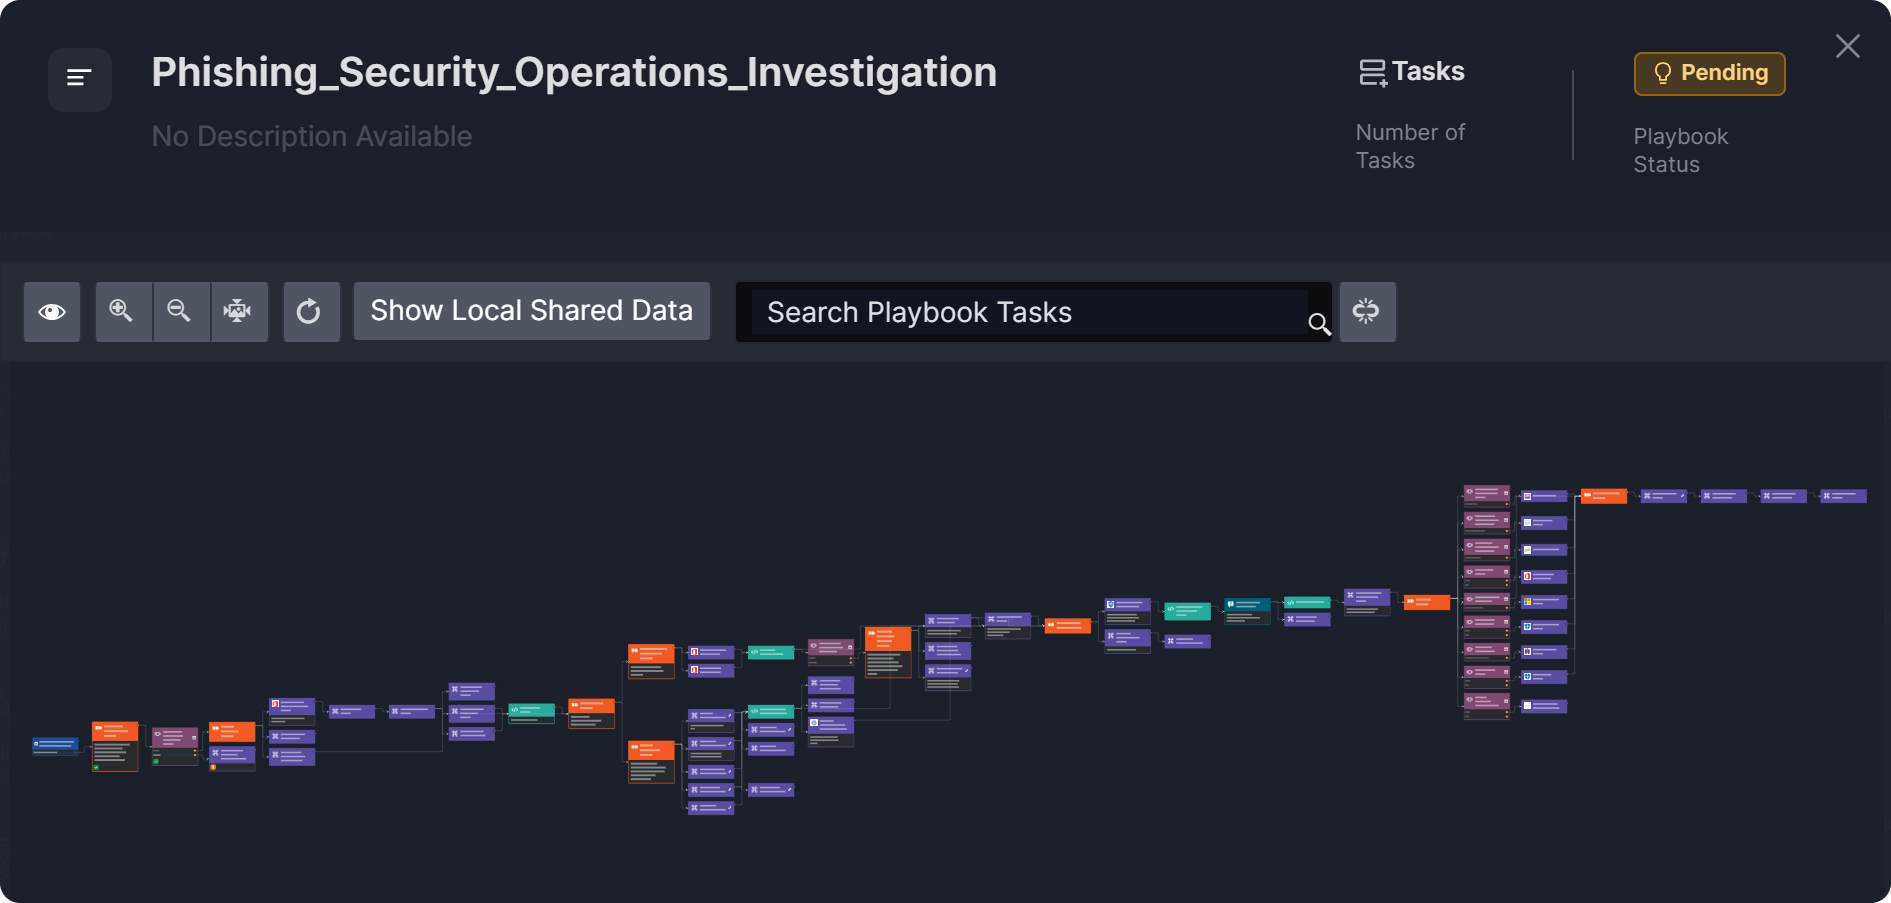
Selecting a run in the timeline expands its details in place (see Opening a Run's Details). To open the run itself, select Open full run on a hovered or expanded run: a window opens with the executing playbook, identical to accessing it via the Playbooks sidebar menu.
Recommendations
The Recommendations widget enables users to view, add, and edit analyst recommendations directly from the Overview tab. The data displayed in this widget mirrors the information in the Recommendations section of the Investigation tab.
The process of adding a recommendation, whether with a data table or HTML Rich Text, is identical to adding a finding, with the exception that the category dropdown is available only for findings.
Remediations & Mitigations
The Remediations & Mitigations widget enables users to view, add, and edit analyst remediation and mitigation strategies directly from the Overview tab. The data displayed in this widget mirrors the information in the Remediations & Mitigations section of the Investigation tab.
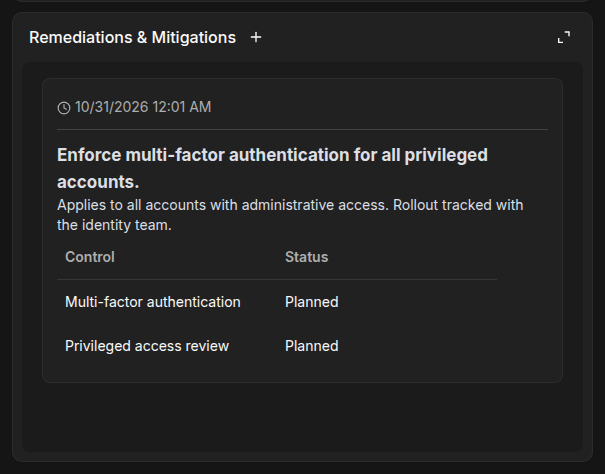
The process of adding a remediation and mitigation strategy, whether with a data table or HTML Rich Text, is identical to adding a finding, with the exception that the category dropdown is available only for findings.
Investigation Summary
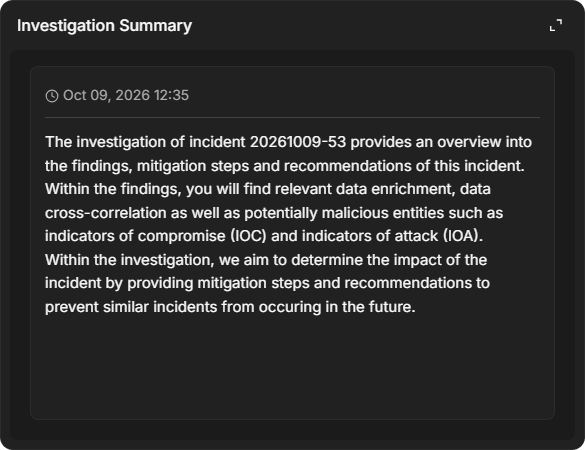
The Investigation Summary widget mirrors the content of the Summary section found in the Investigation tab of the sidebar. All incident summaries are auto-generated at the time of incident creation. Users can edit the summary by clicking the edit icon and delete it by clicking the trash icon, both of which appear on hover.
Tasks
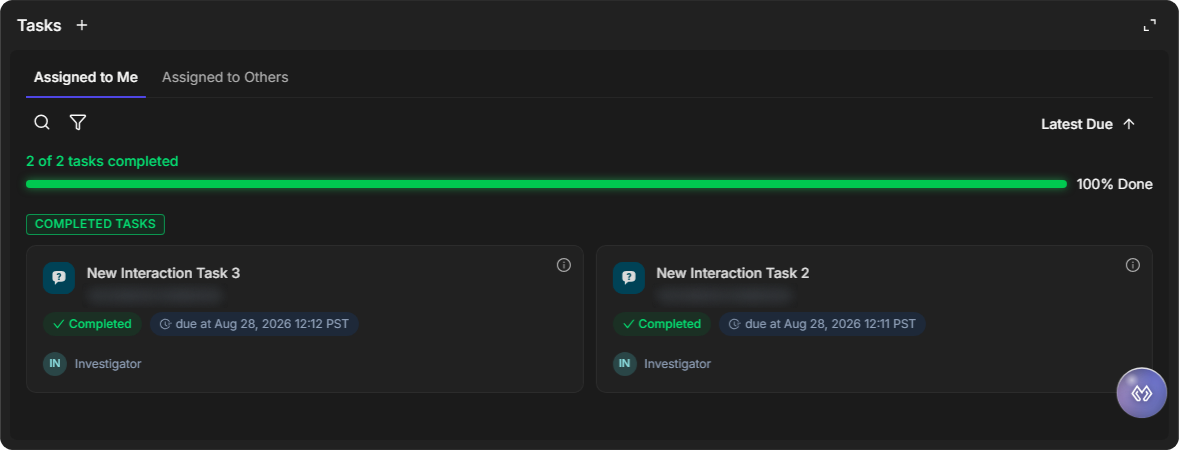
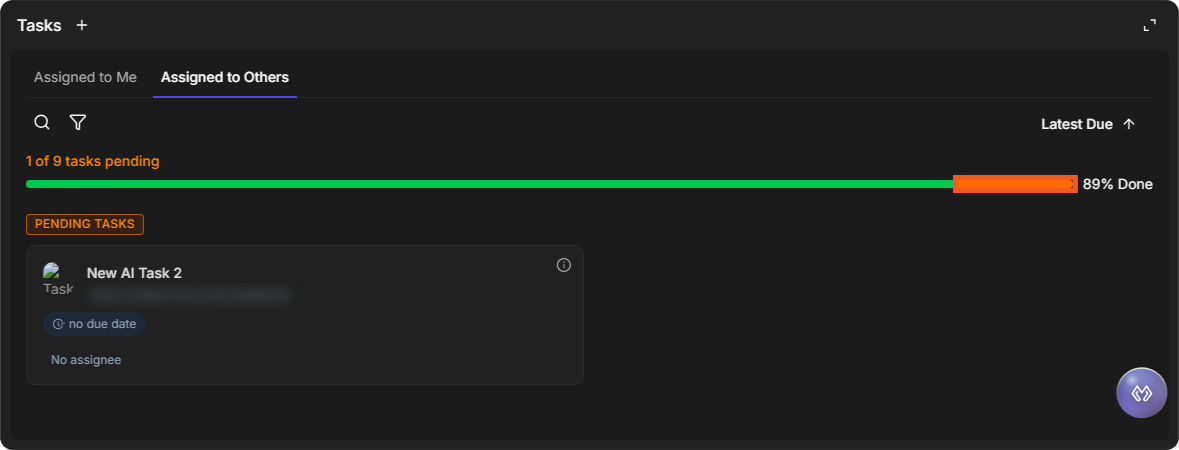
The Tasks widget provides a clear view of completed, upcoming and overdue playbook and ad hoc tasks. It also includes a graphical progress bar to visually track completion.
Finding Tasks in the Widget
-
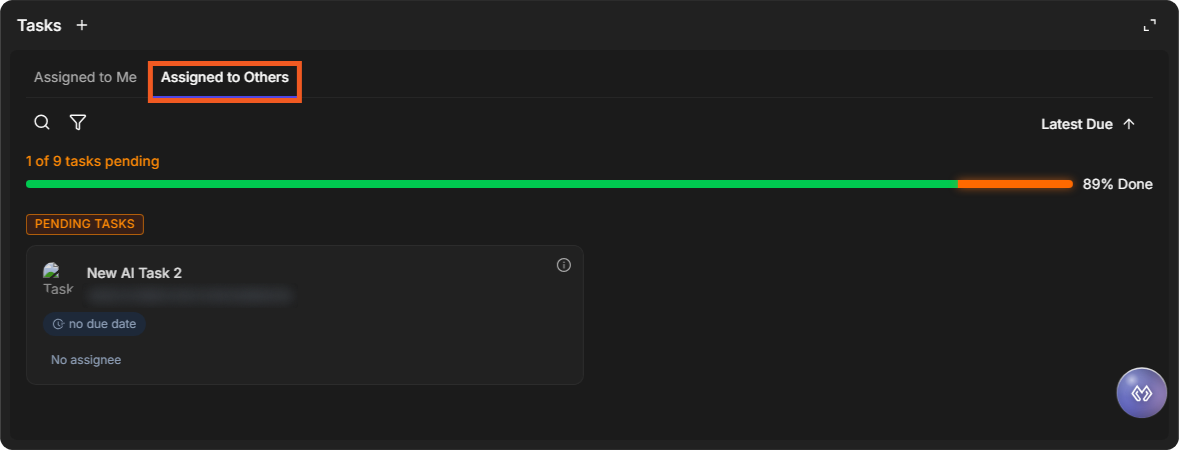
Select Assigned to Me for your own tasks, or Assigned to Others for everyone else's. Each tab has its own progress bar, for example 1 of 9 tasks pending and 89% Done.
-
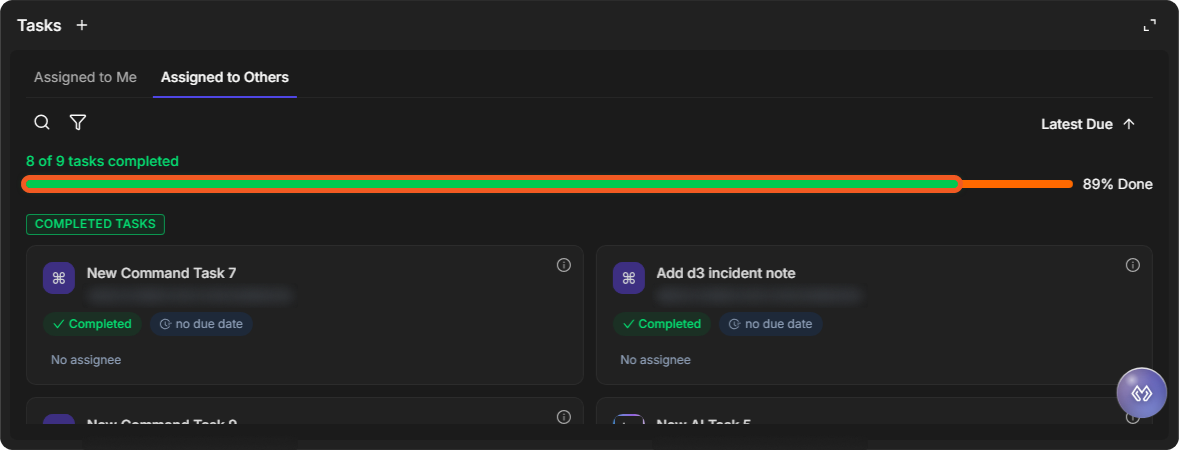
The progress bar is also a filter. Select its green part (the done tasks) to list the COMPLETED TASKS.
-
Select its orange part to list the PENDING TASKS again.
-
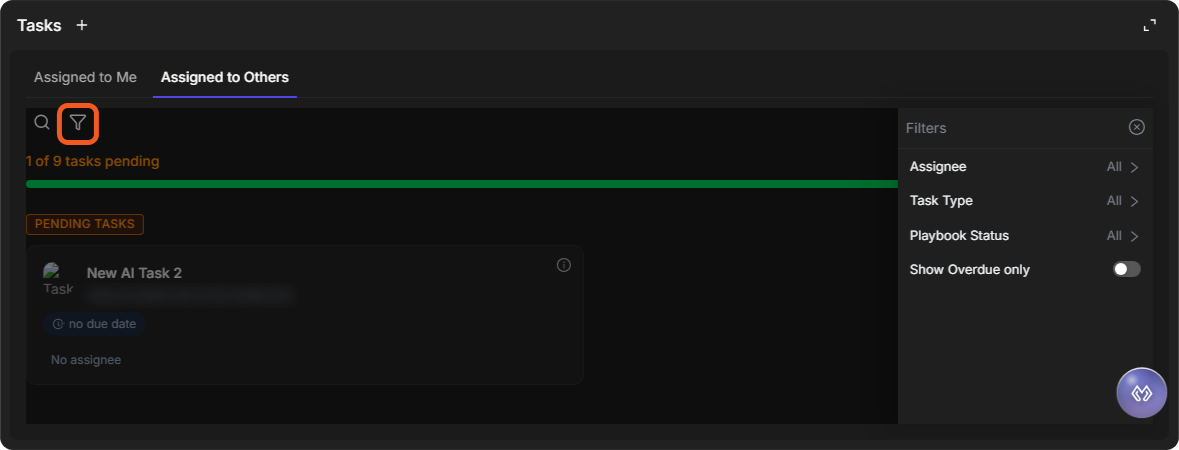
Select the filter icon to open Filters: Assignee, Task Type, Playbook Status and Show Overdue only.
-
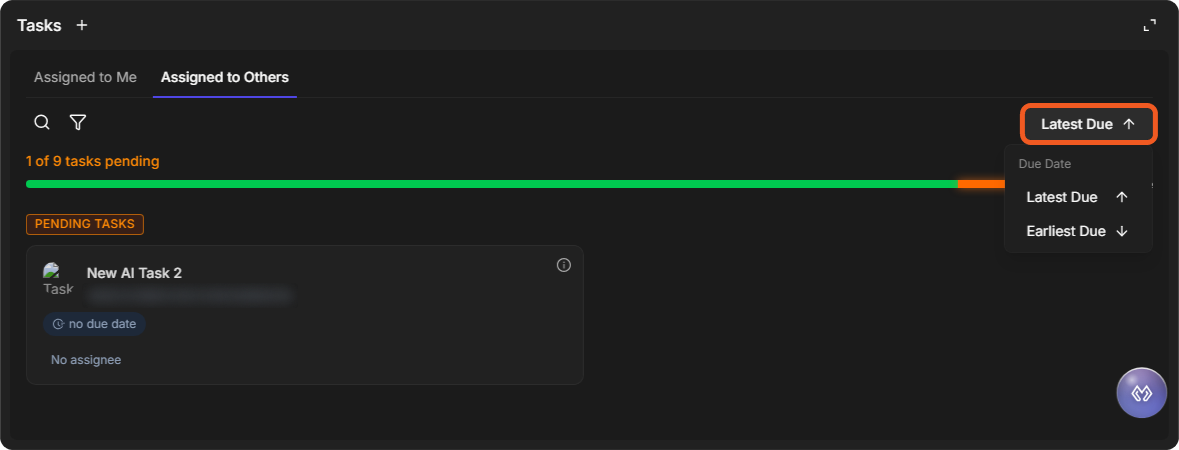
Select Latest Due to choose the Due Date order: Latest Due or Earliest Due.
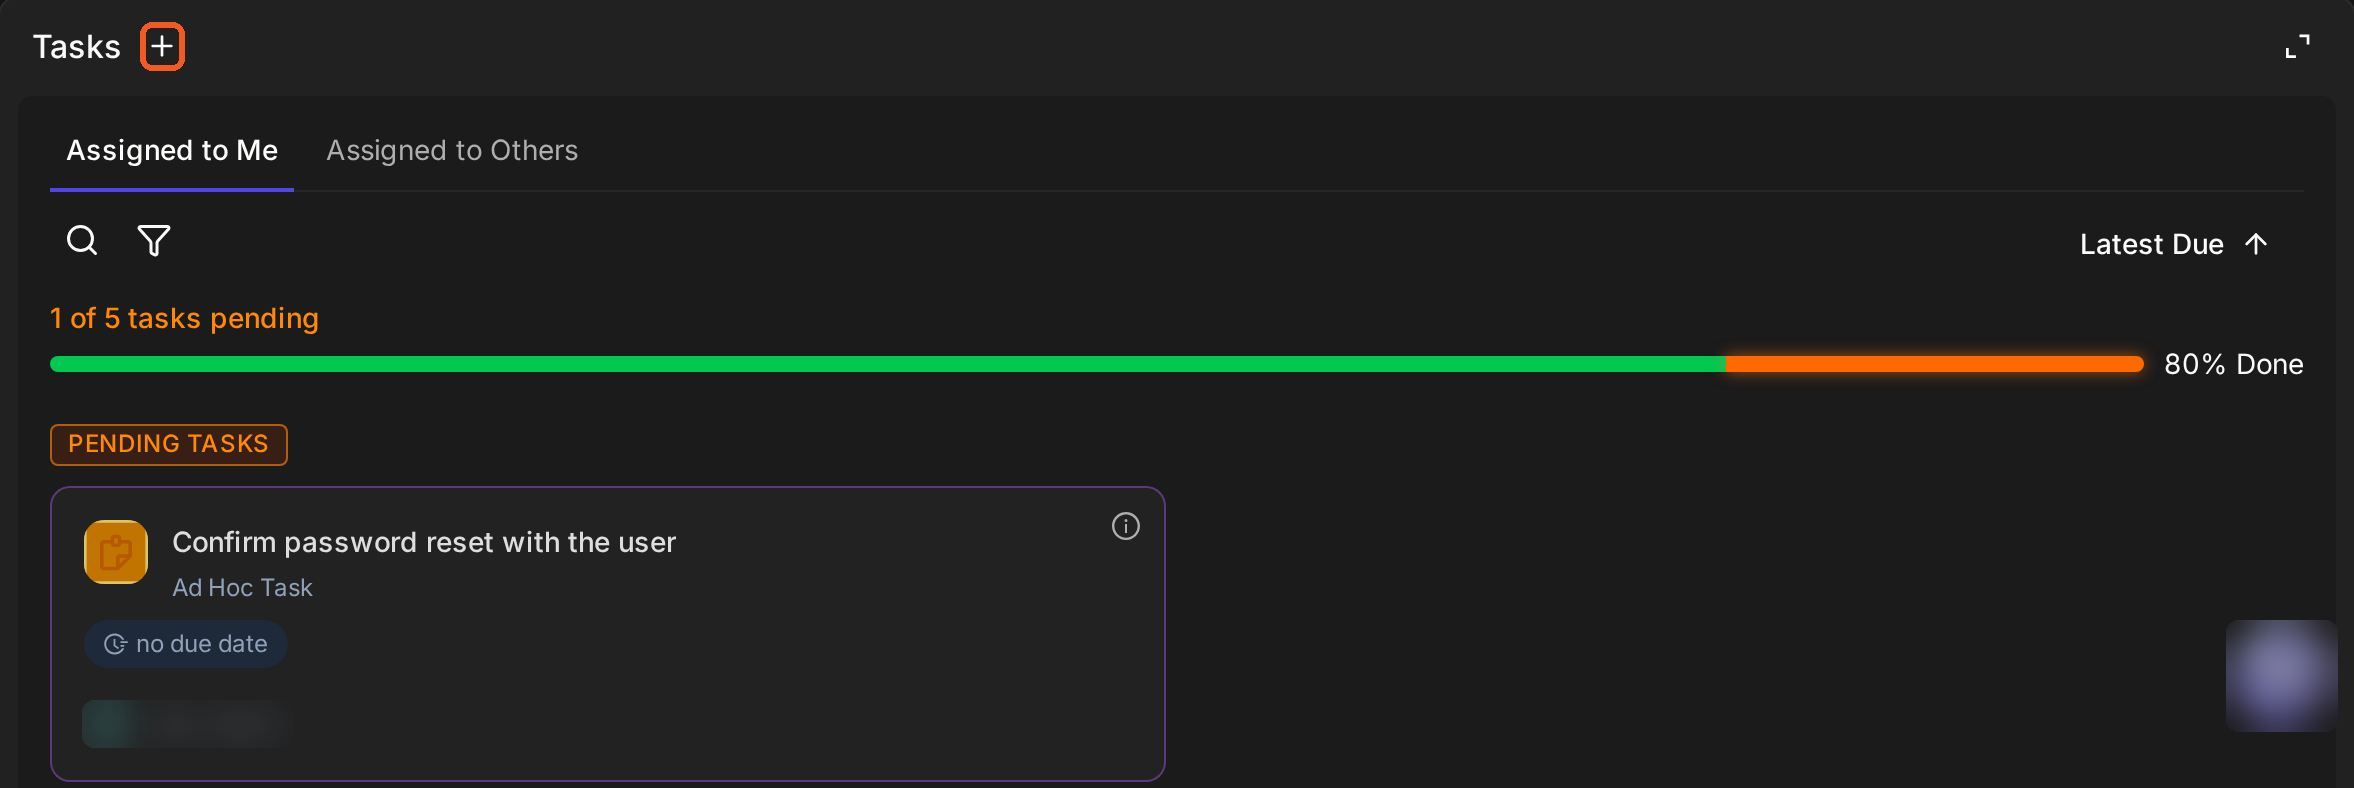
Users can click the
Ad hoc Task Form
-
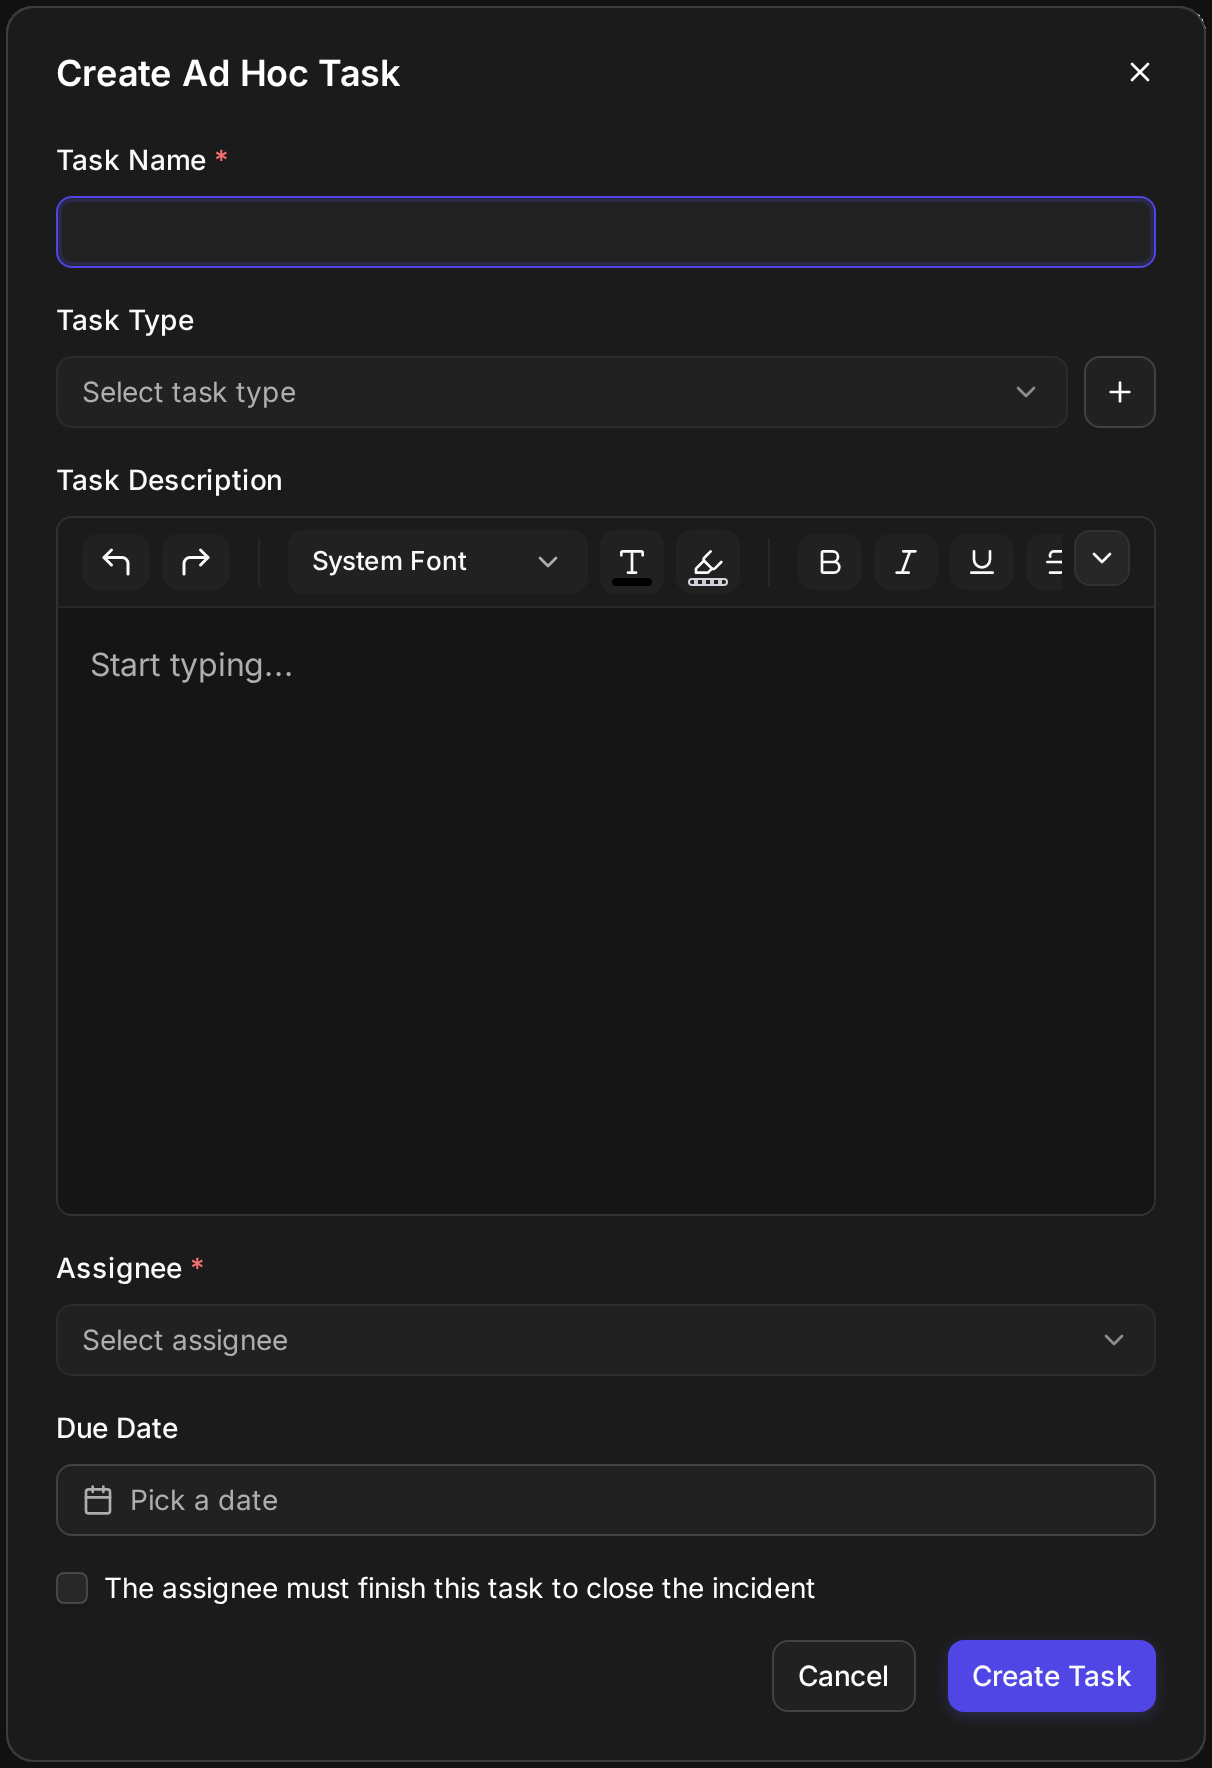
Click the

-
Fill in the Create Ad Hoc Task form as required.