Last updated: mar 26, 2025
Overview
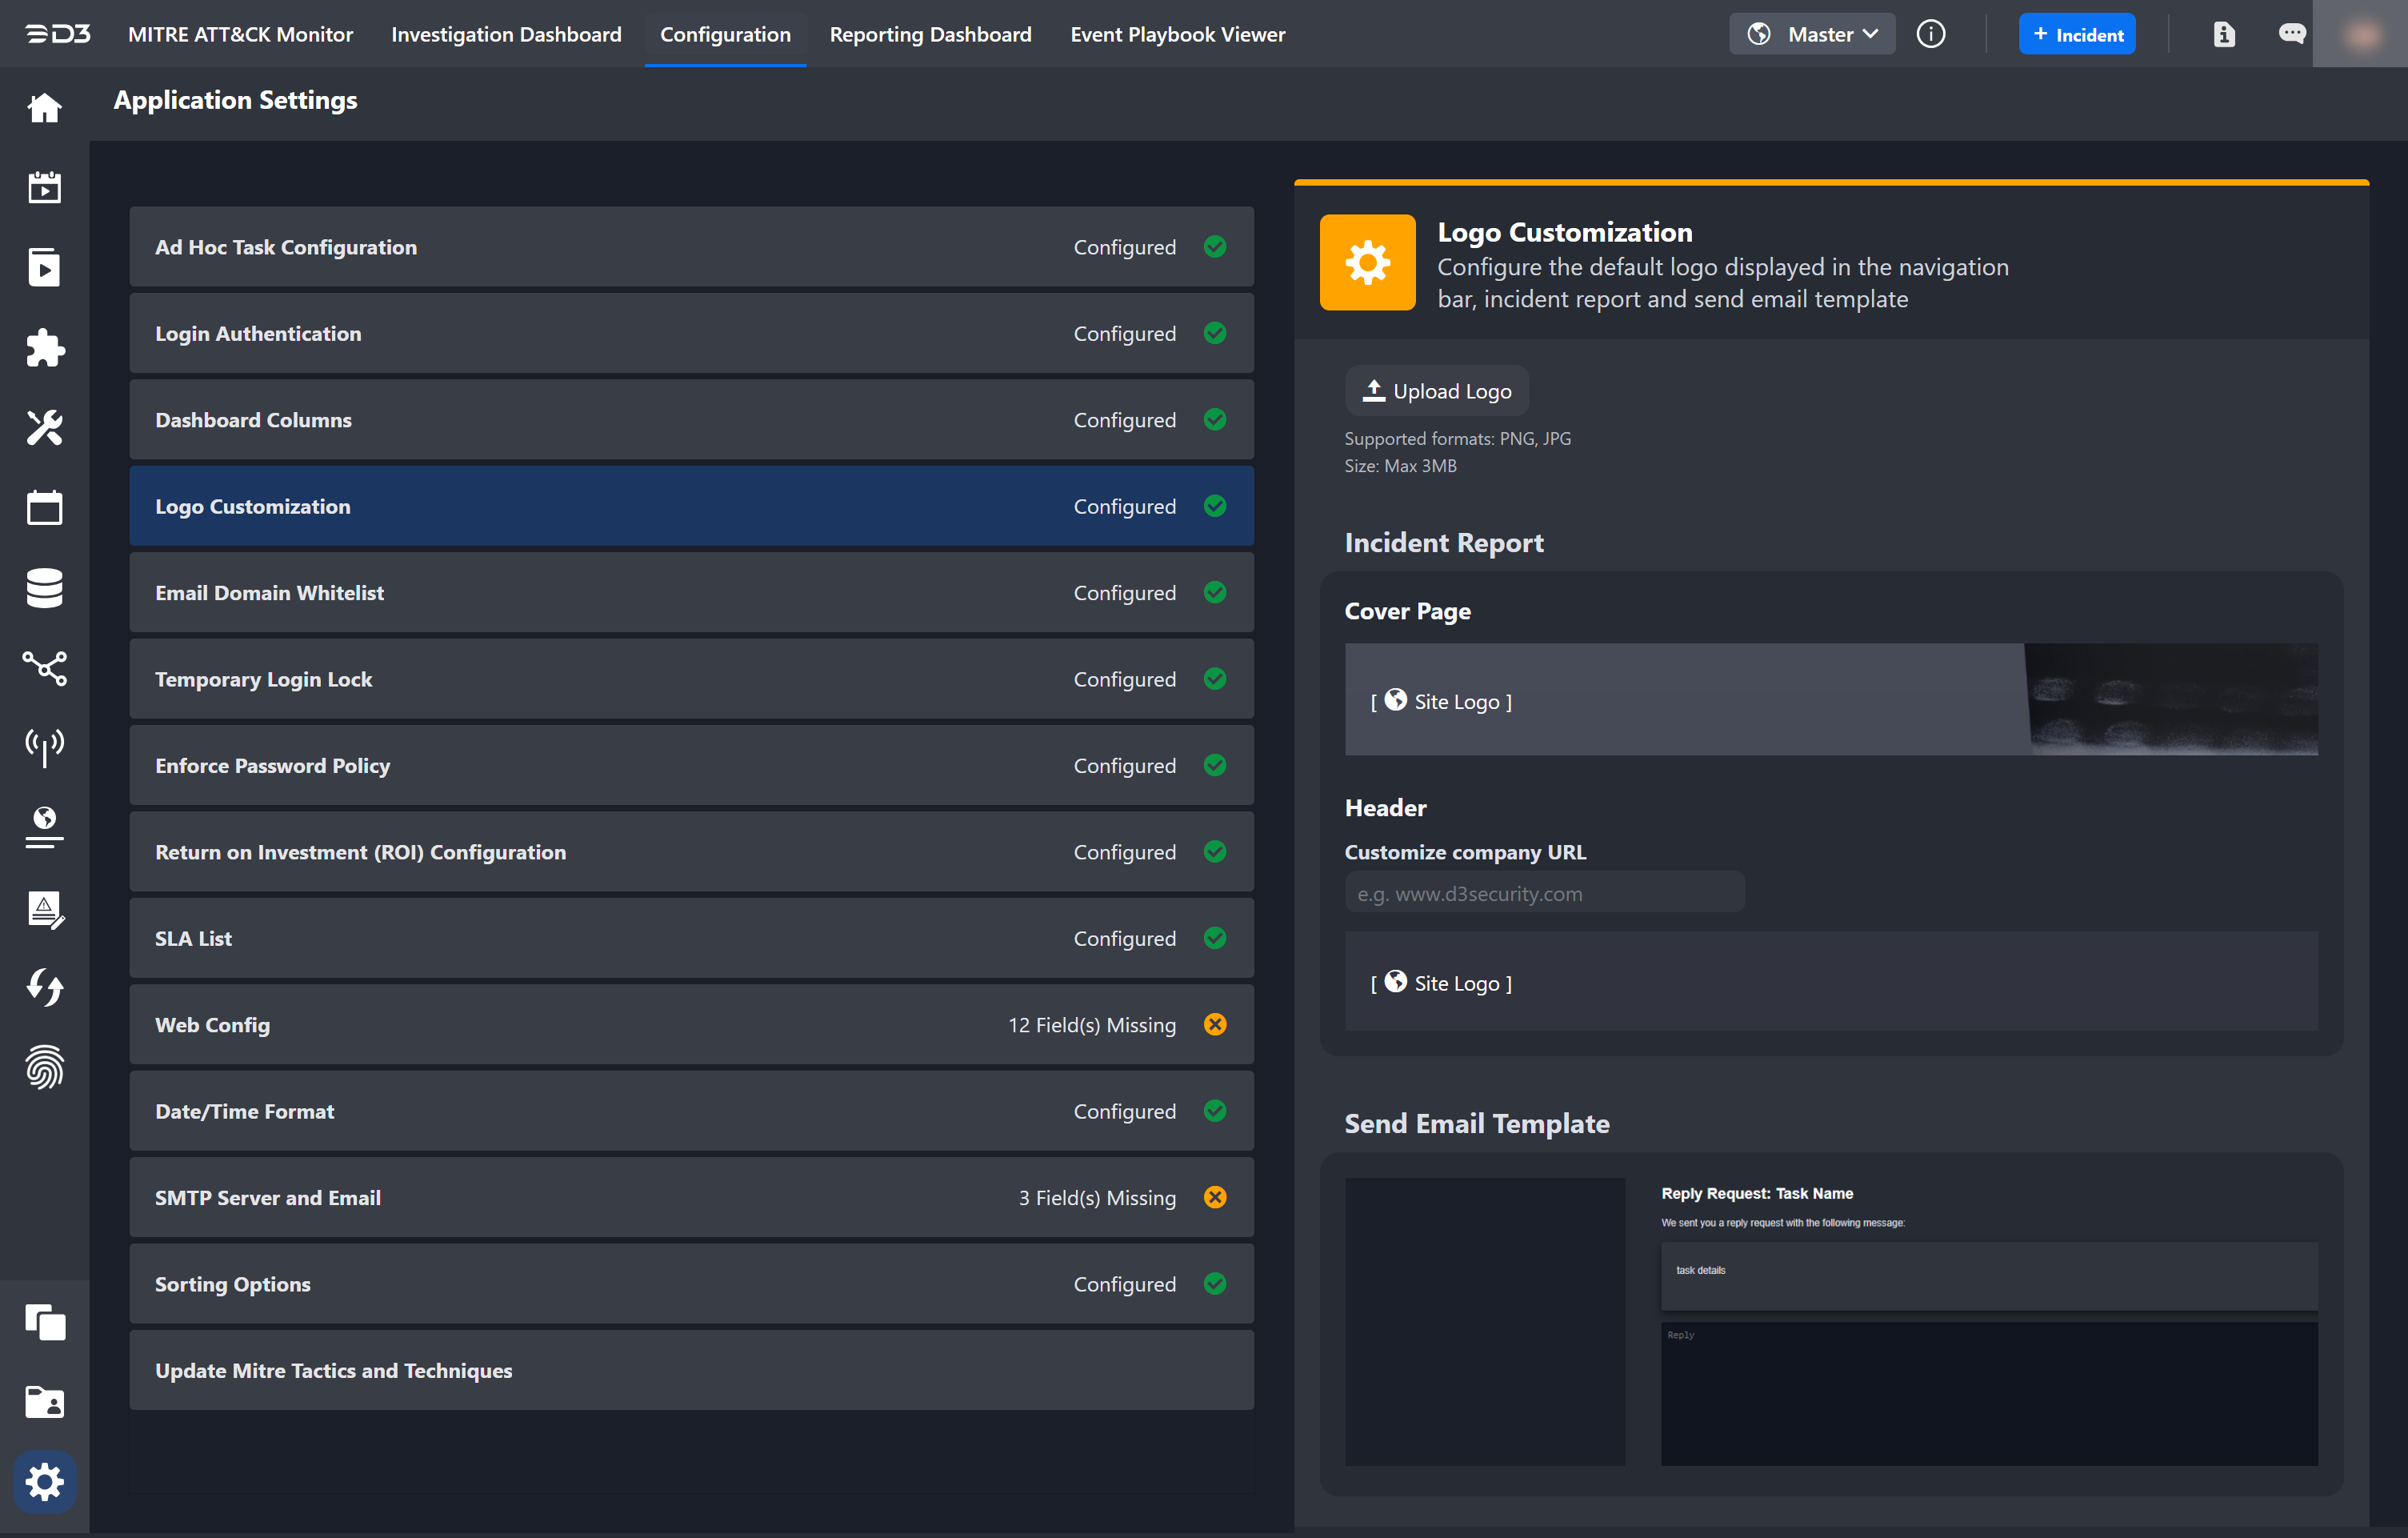
Application Settings allows users to customize nearly all aspects of D3 and the user experience. Changes take effect immediately. Access the Application Settings module by clicking the gear icon in the lower-left corner of the configuration navigation bar.
The configurable options in the Application Settings module are:
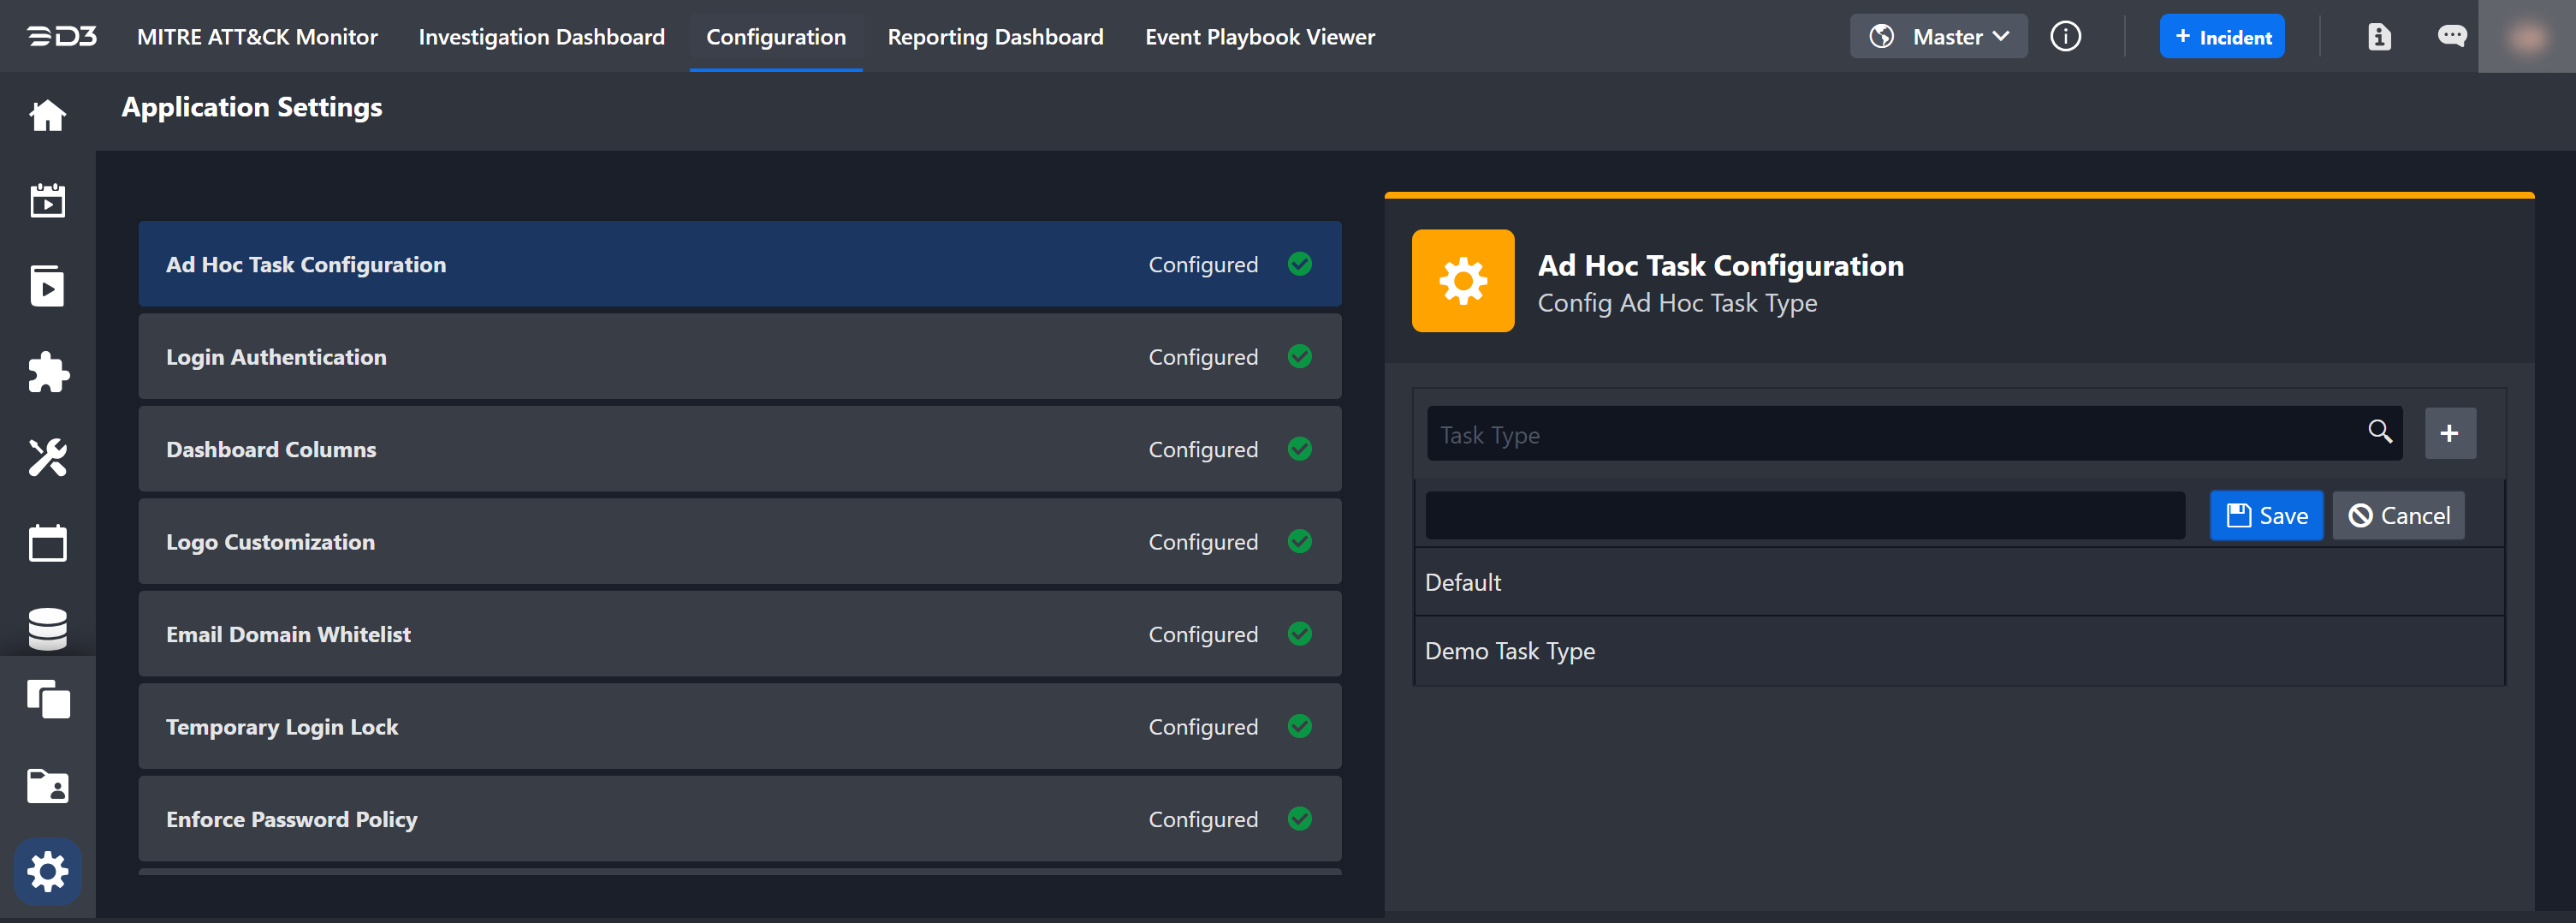
Ad Hoc Task Configuration
Add to a list of task types. These are used to label Ad Hoc Tasks in an incident response.
Dashboard Columns
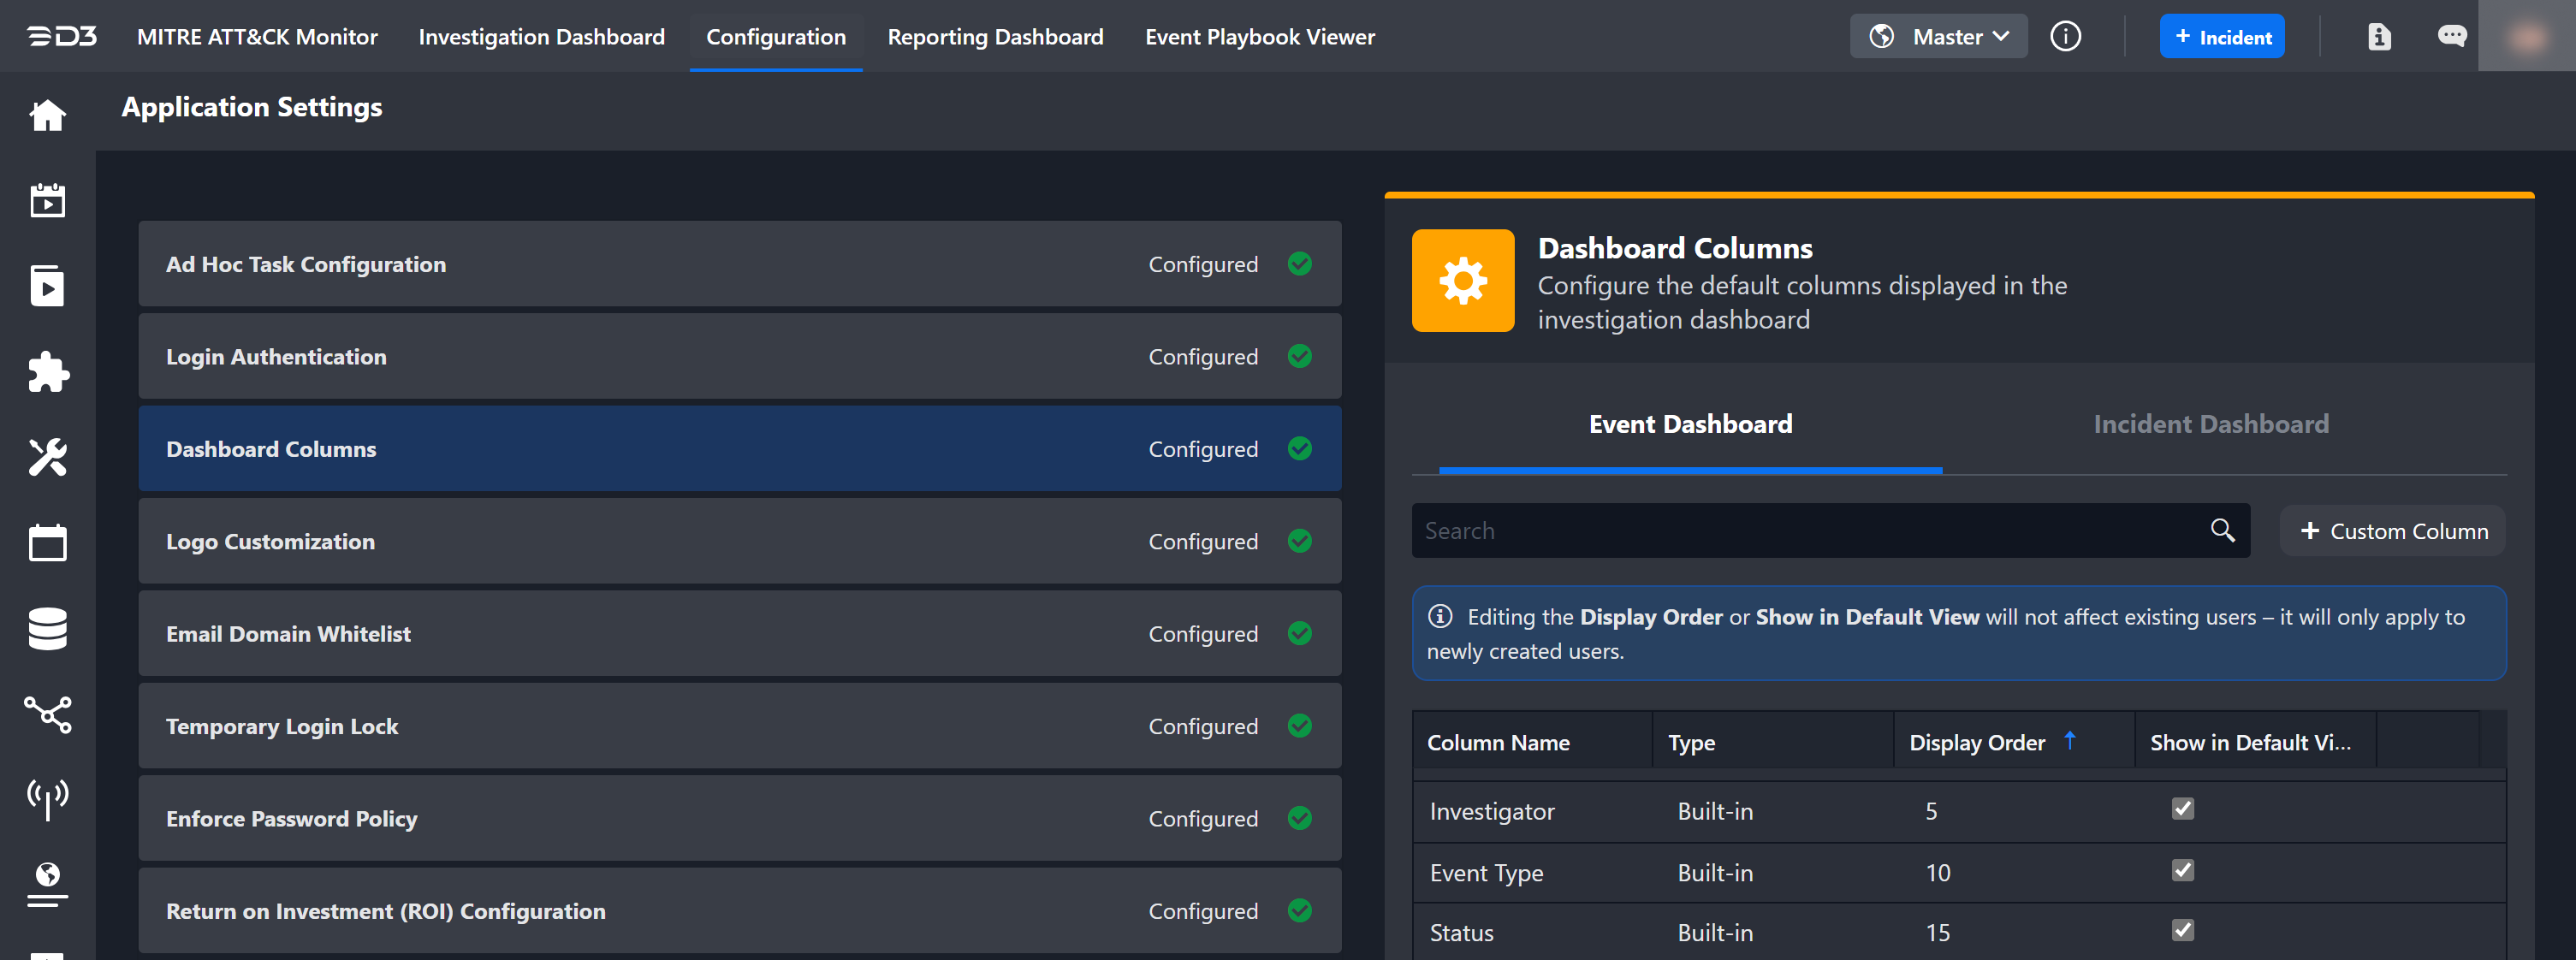
Users can add custom columns and con default display columns for event and incident lists in the Investigation Dashboard to improve the investigation workflow.
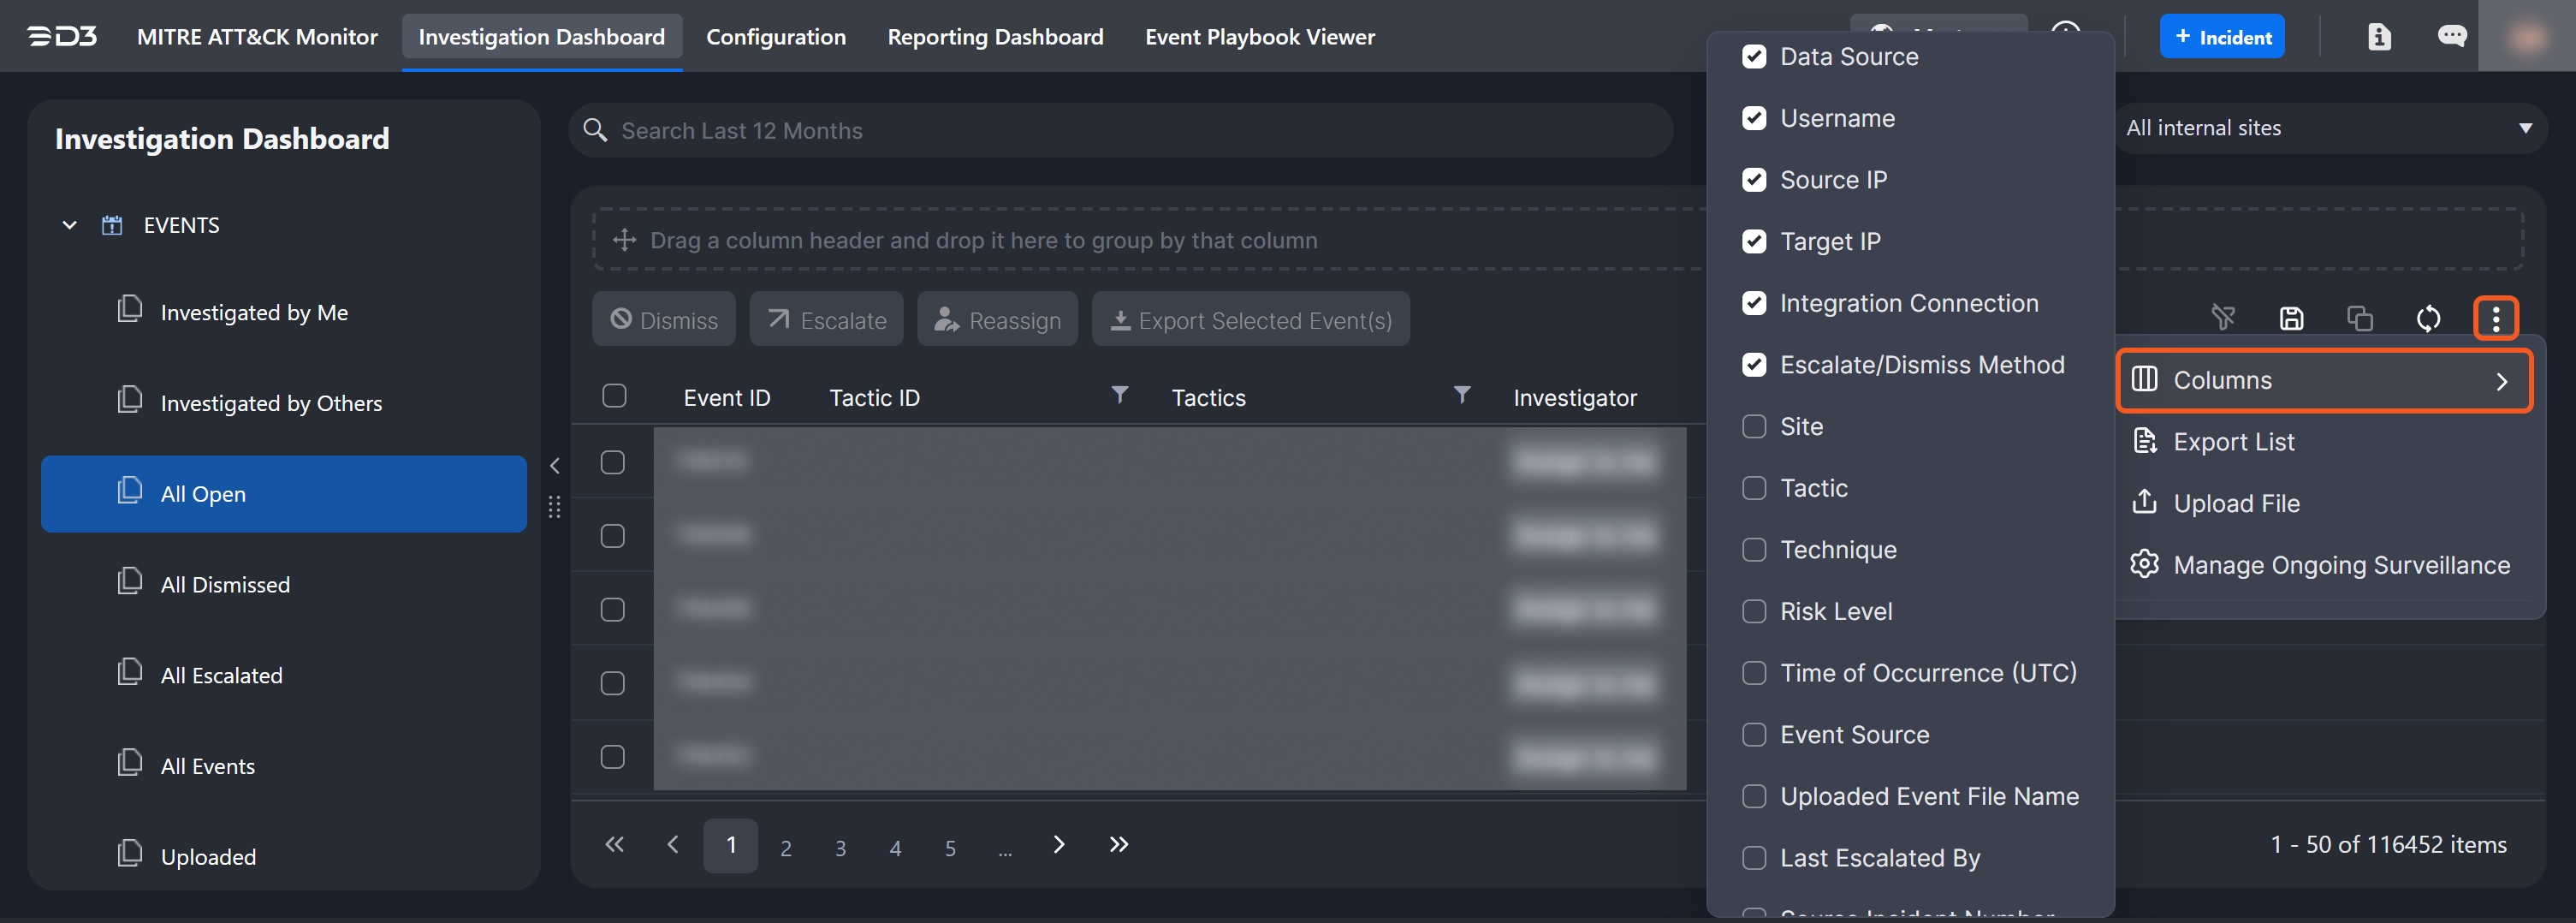
In the Application Settings interface, users can sort displayable columns by name, type, display order, and visibility for easier management. Users can also modify column display order and toggle column visibility.
Adding a Custom Column to the Event Dashboard
-
Navigate to the Event Dashboard tab and click on the + Custom Column button.
-
Select a field name to use as the column name. The field name can be configured in Event Field Mapping.
-
Specify a display order for this column. 0 means it is the first from the left.
-
Determine whether its visibility is toggled on or off in the default view and click Save.
The saved custom columns will appear in the event dashboard.
Adding a Custom Column to the Incident Dashboard
-
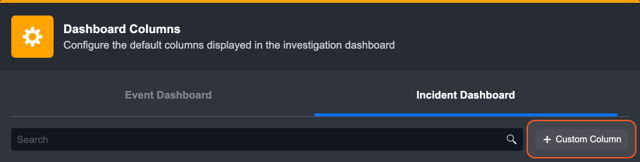
Navigate to the Incident Dashboard tab and click on the + Custom Column button.
-
Select an incident type, it is configured in the Incident Form Editor.
-
Choose a section that is found in the incident type.
-
Select a column name from the dropdown. The column name is an activity or an info activity of a section.
-
Specify a display order for this column. 0 means it is the first from the left.
-
Determine whether its visibility is toggled on or off in the default view and click Save.
The saved custom columns will appear in the incident dashboard.
Deleting a Custom Column
Only custom columns can be deleted. To do so, click on the trash can icon at the end of the row.
READER NOTE
editing the Display Order or Show in Default View will only apply to newly created users. Existing users' display order and column visibility will not be affected.
Logo Customization
Use this feature to customize the default logo displayed in Incident Reports and Send Email templates, as well as the company URL shown in the incident report header.
Uploading and Previewing a Logo or URL
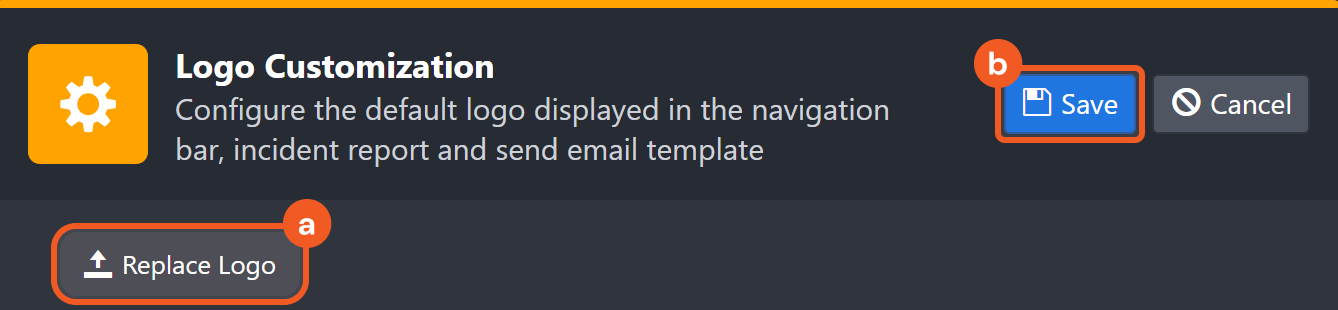
In a new vSOC environment, the D3 logo and URL are default placeholders. Replace them by clicking Replace Logo, uploading a PNG or JPG logo, and entering the preferred URL.
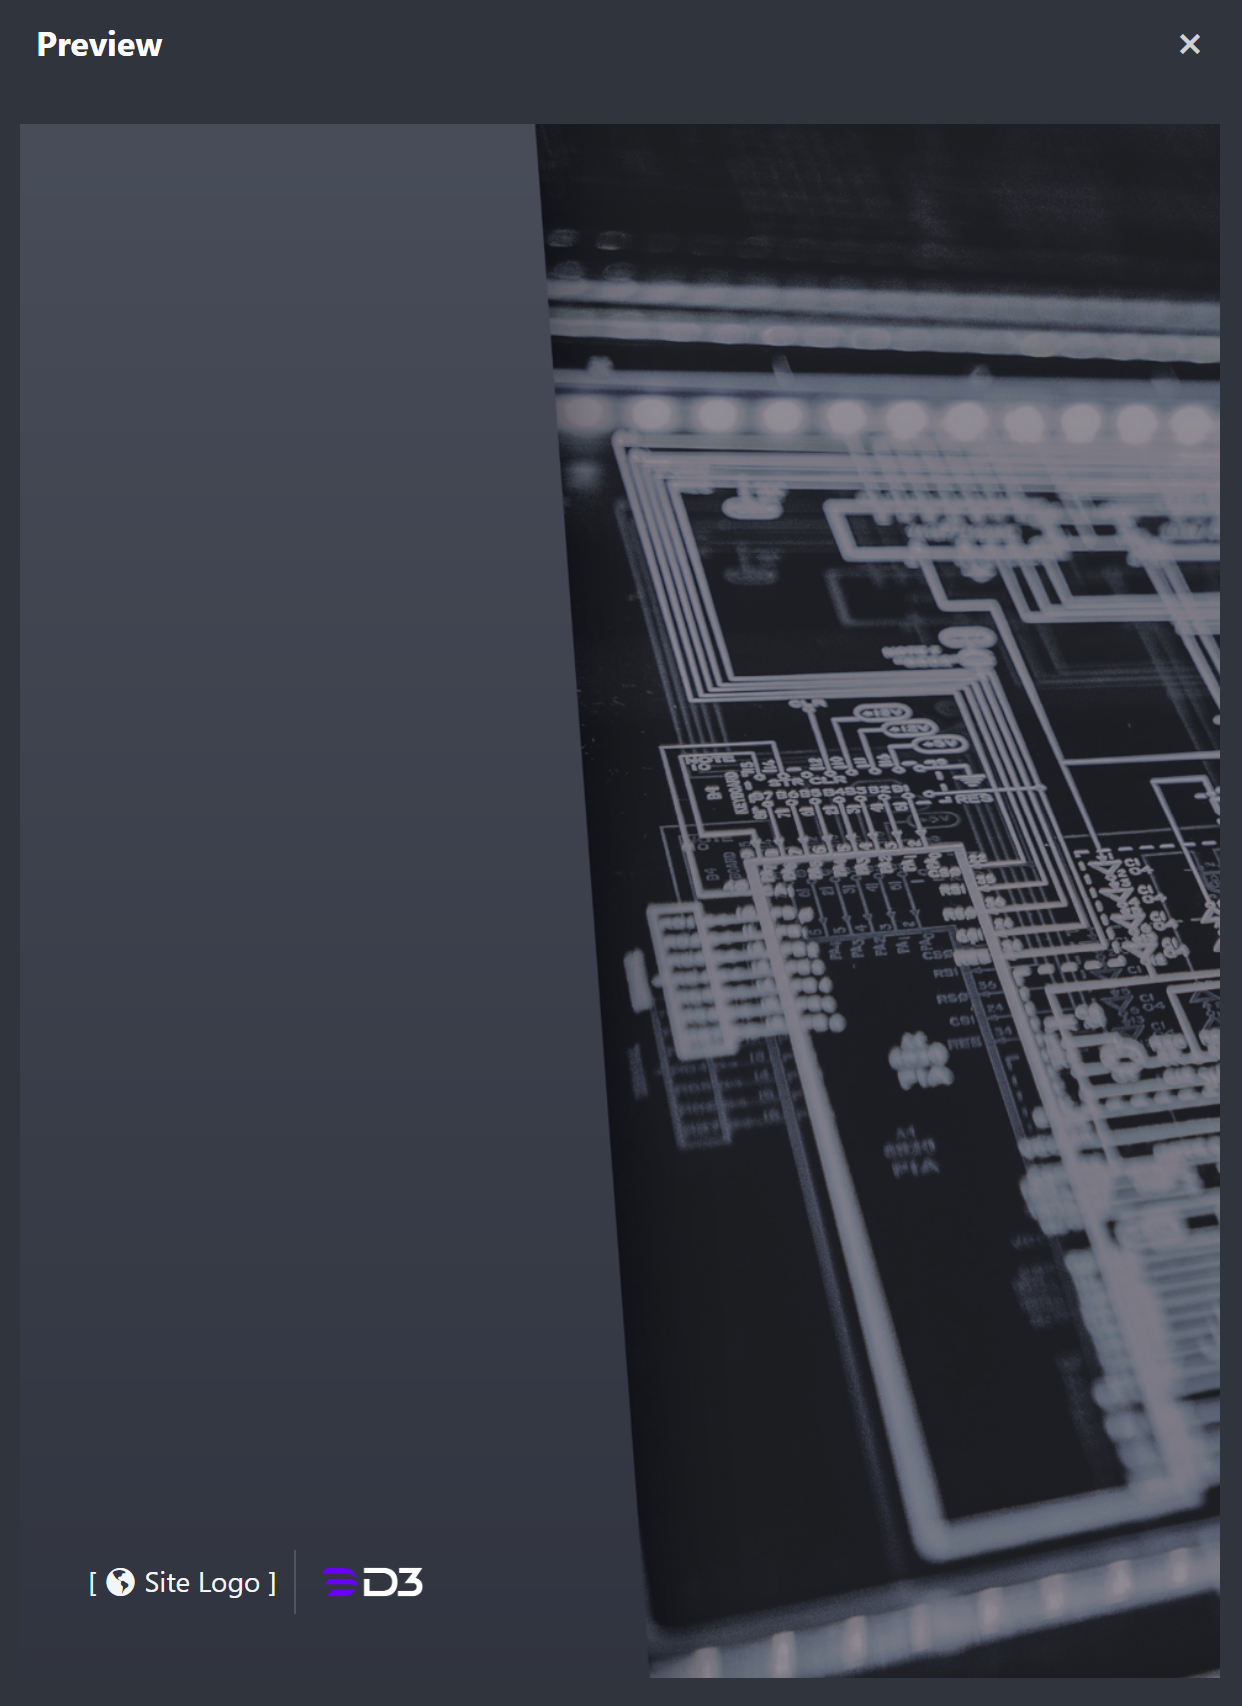
Click on the images to preview how the logo or URL will appear on the incident report or send email template.
Email Domain Whitelist
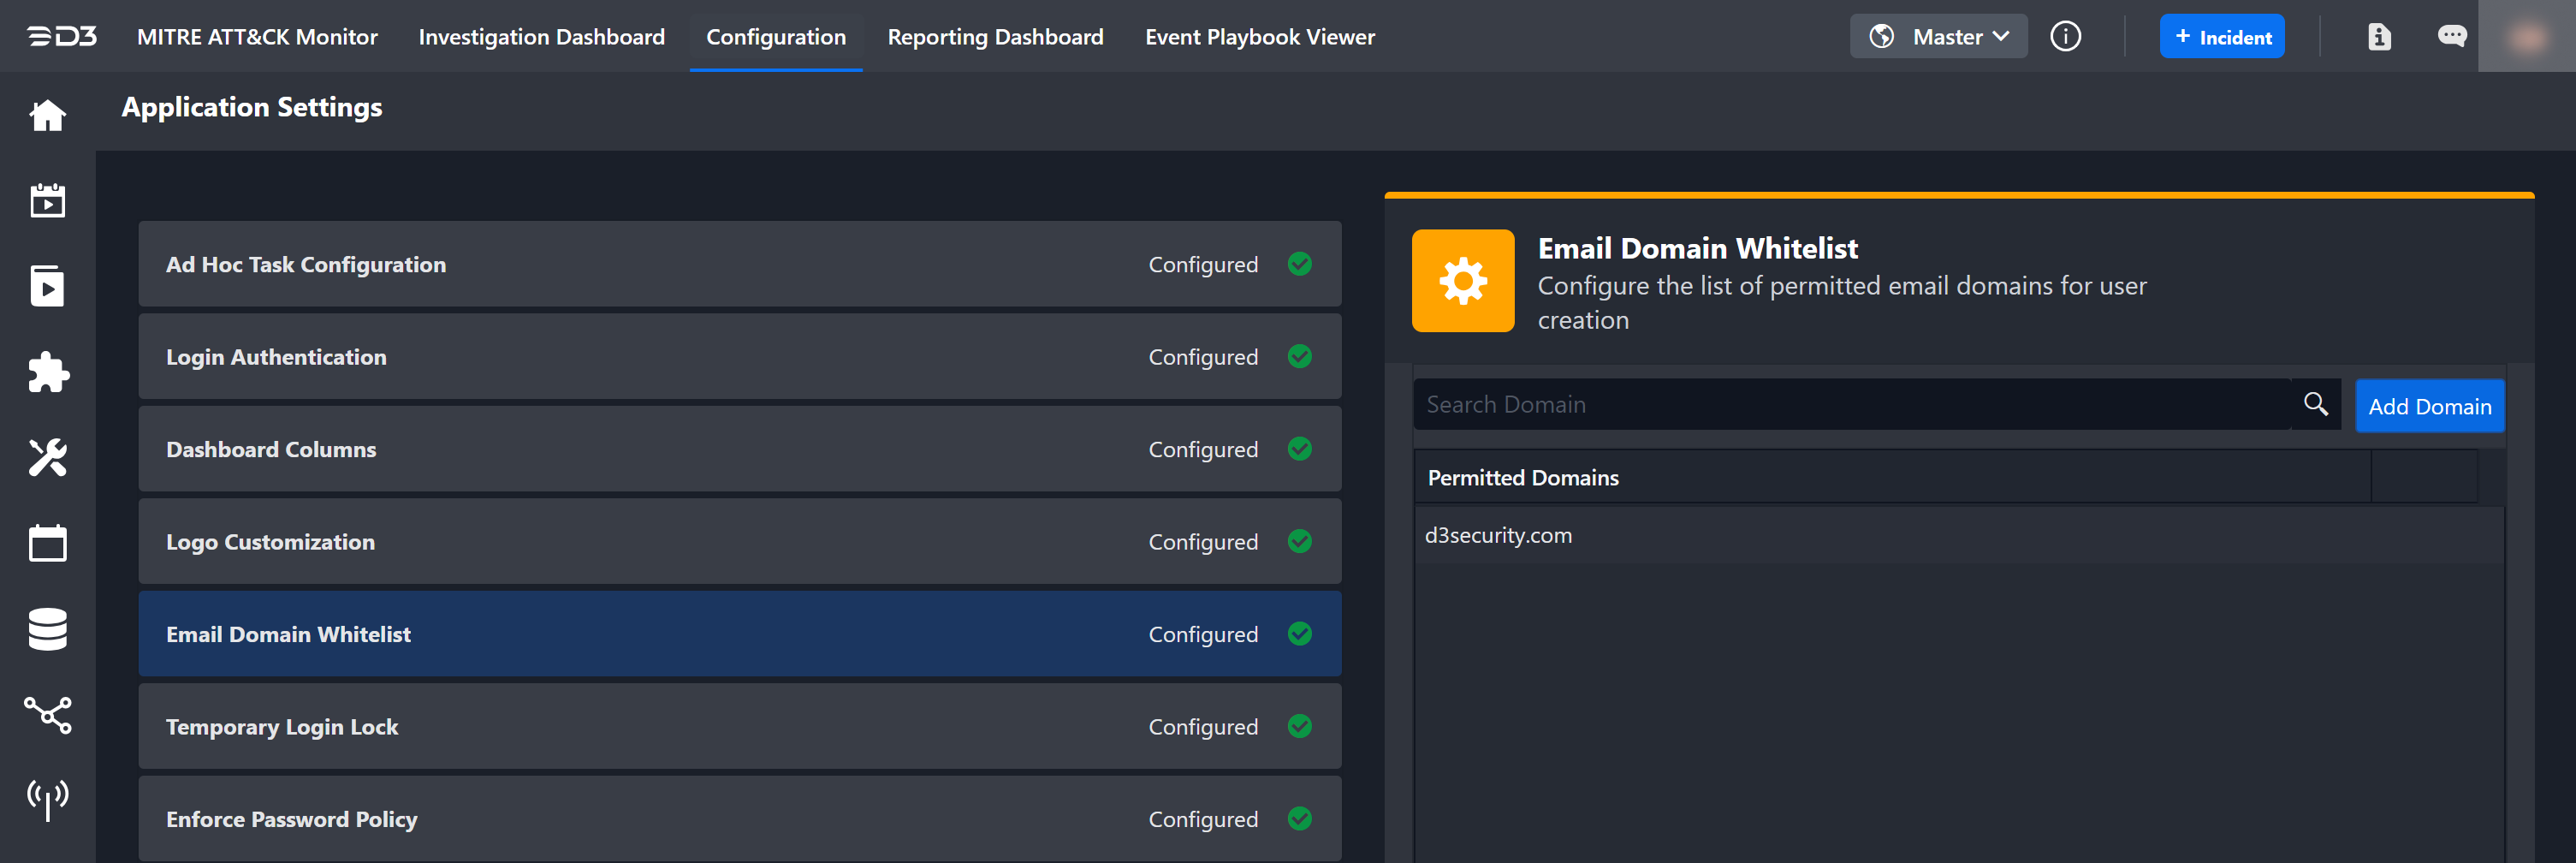
The Email Domain Whitelist is a list of approved email domains for adding new users. The domain of a user's email address must be added in the email domain Whitelist for user creation.
Email domains must contain a top-level domain, and cannot contain the @ symbol.
For example: admin@d3.com, the email domain is "d3.com"
Set up the Email Domain Whitelist at the beginning of the D3 system configuration.
READER NOTE
If no email domains are added to the Email Domain Whitelist (i.e. the Email Domain Whitelist is empty), all domains are permitted.
Temporary Login Lock
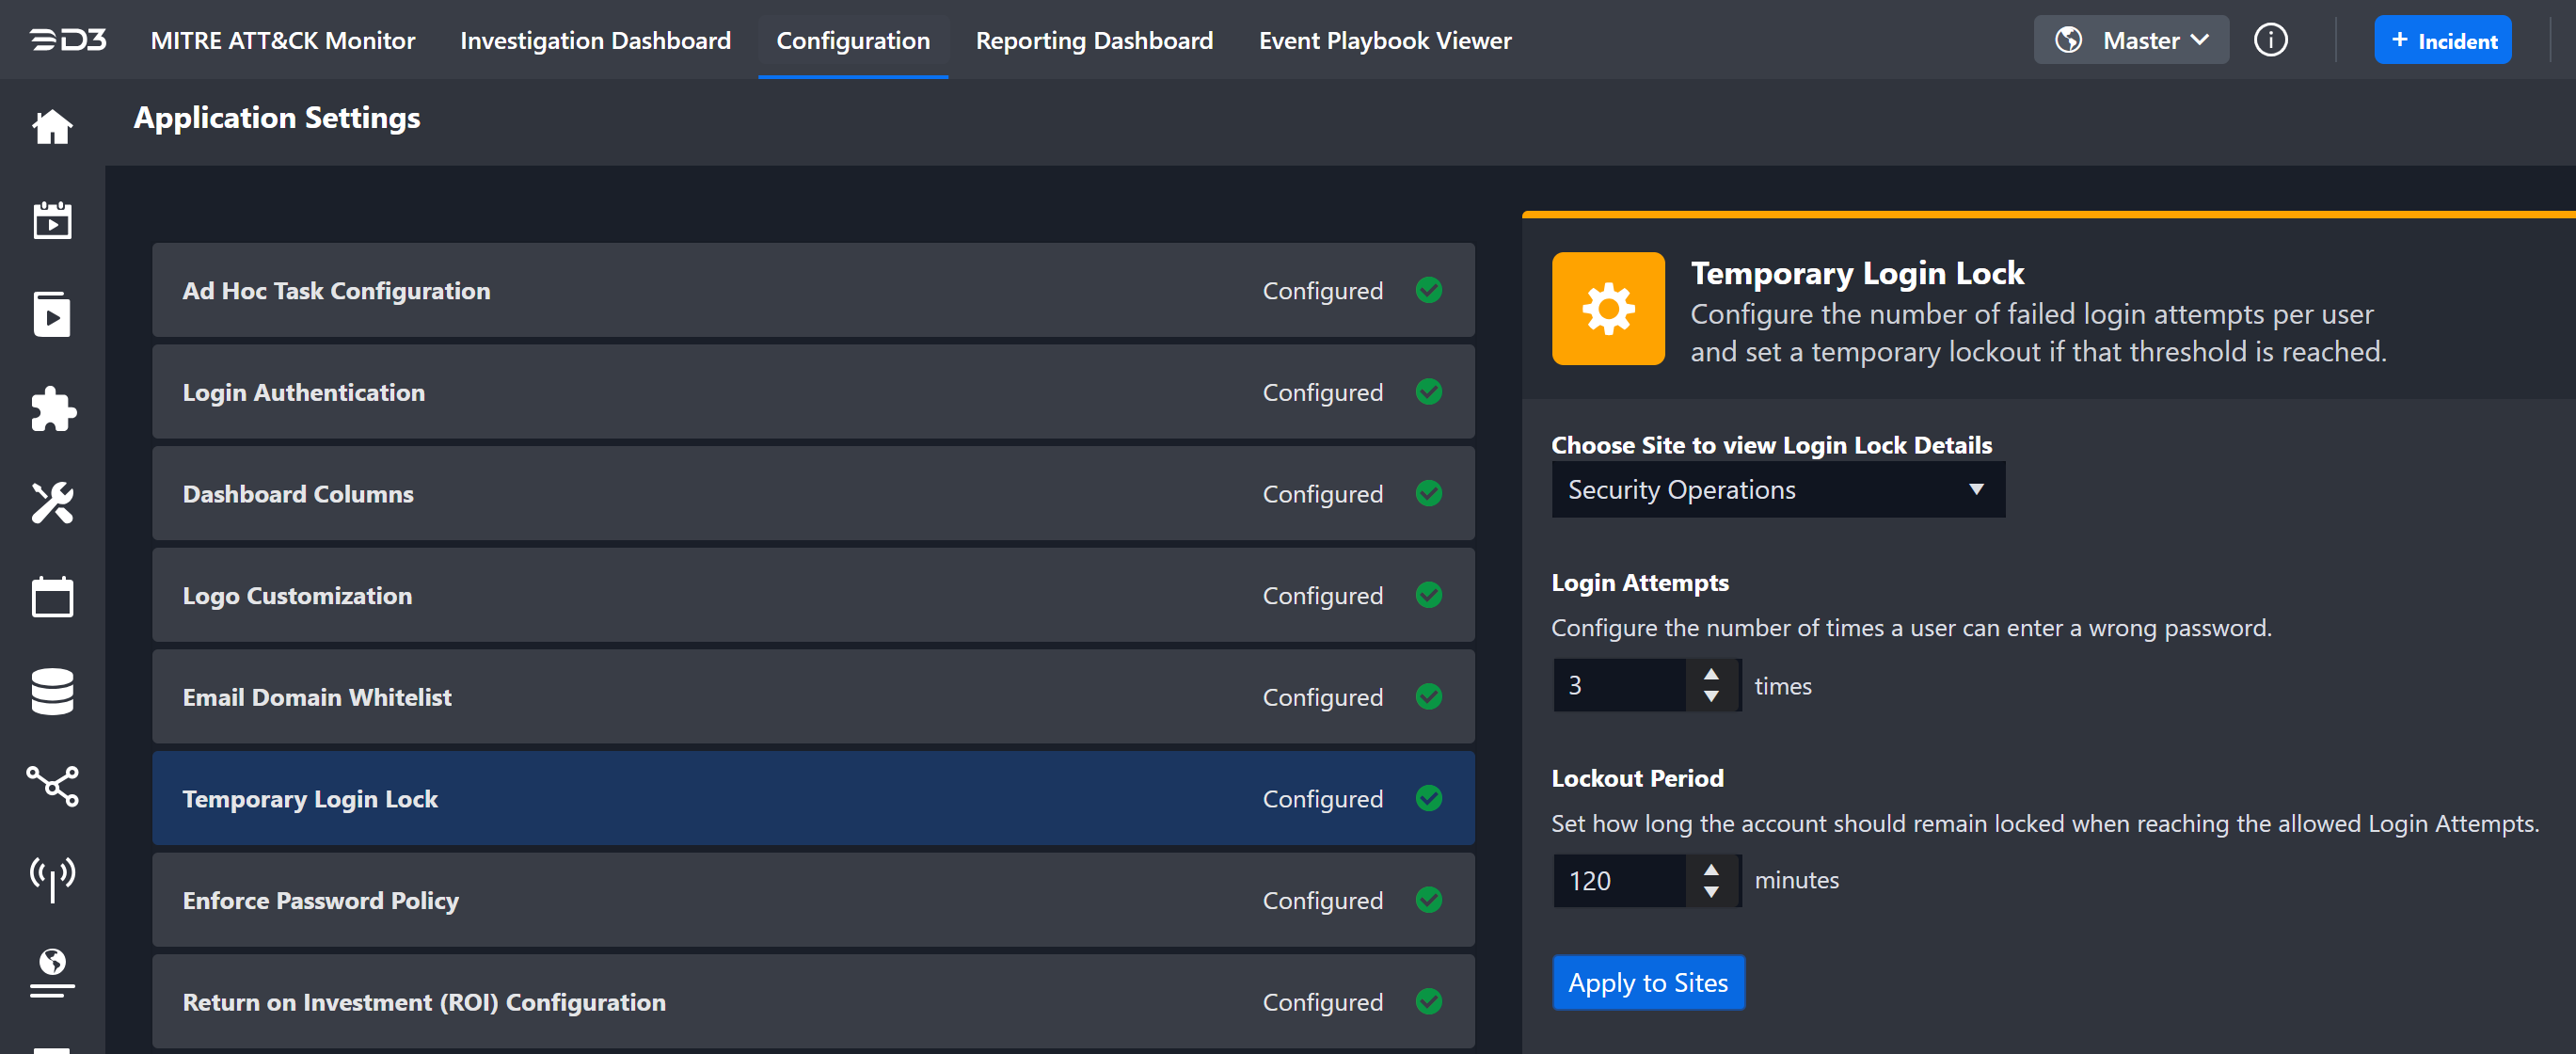
This setting allows users to configure the number of permitted login attempts and define the lockout duration once the failed attempt limit is exceeded.
-20240929-224729.png?cb=b16e2190303b7f93cf0d532d12161438)
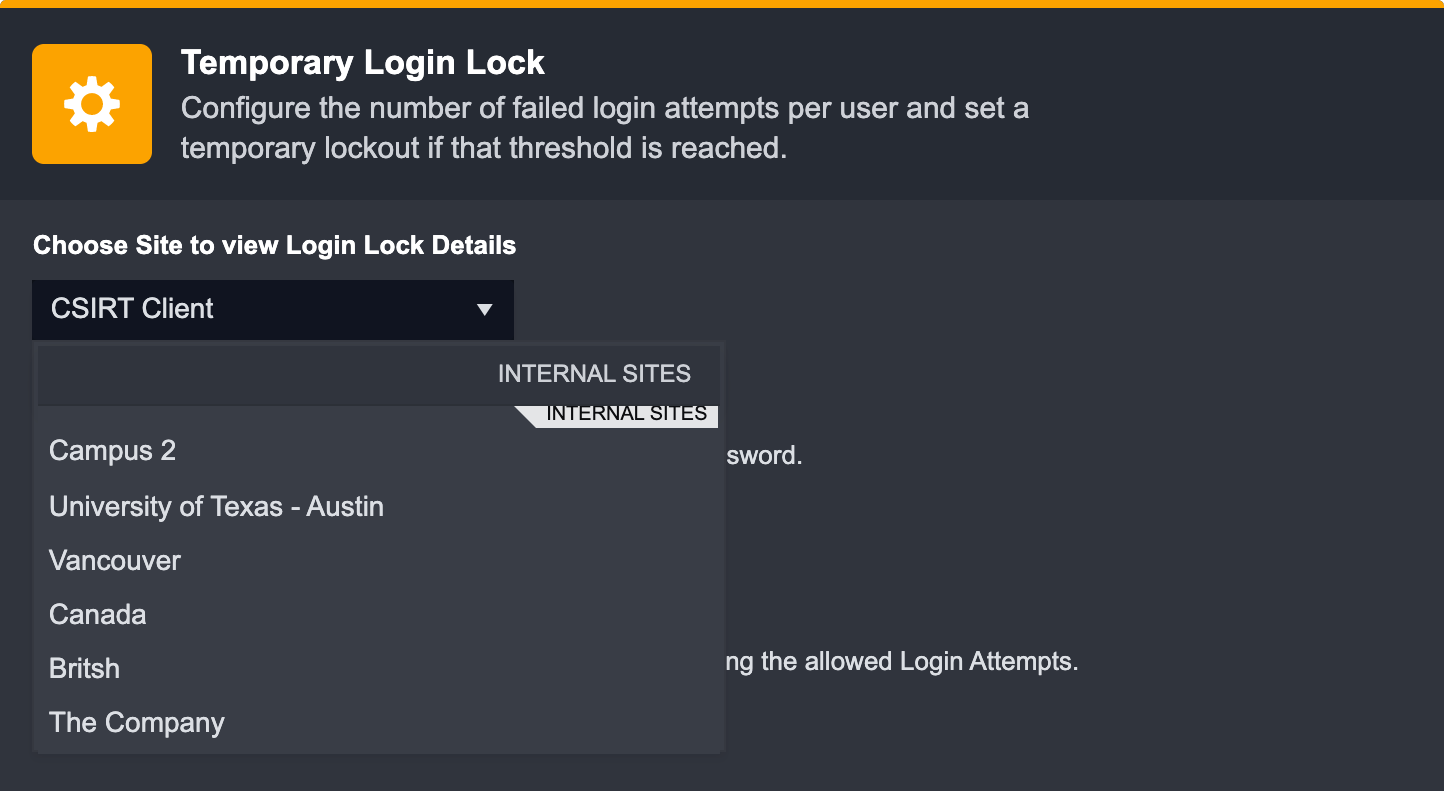
Edit the Setting of Each Site
Each site has a default configuration of three login attempts and a 120-minute lockout period. Users can view and edit each site’s settings through the Site drop-down menu.
Apply Settings to Sites
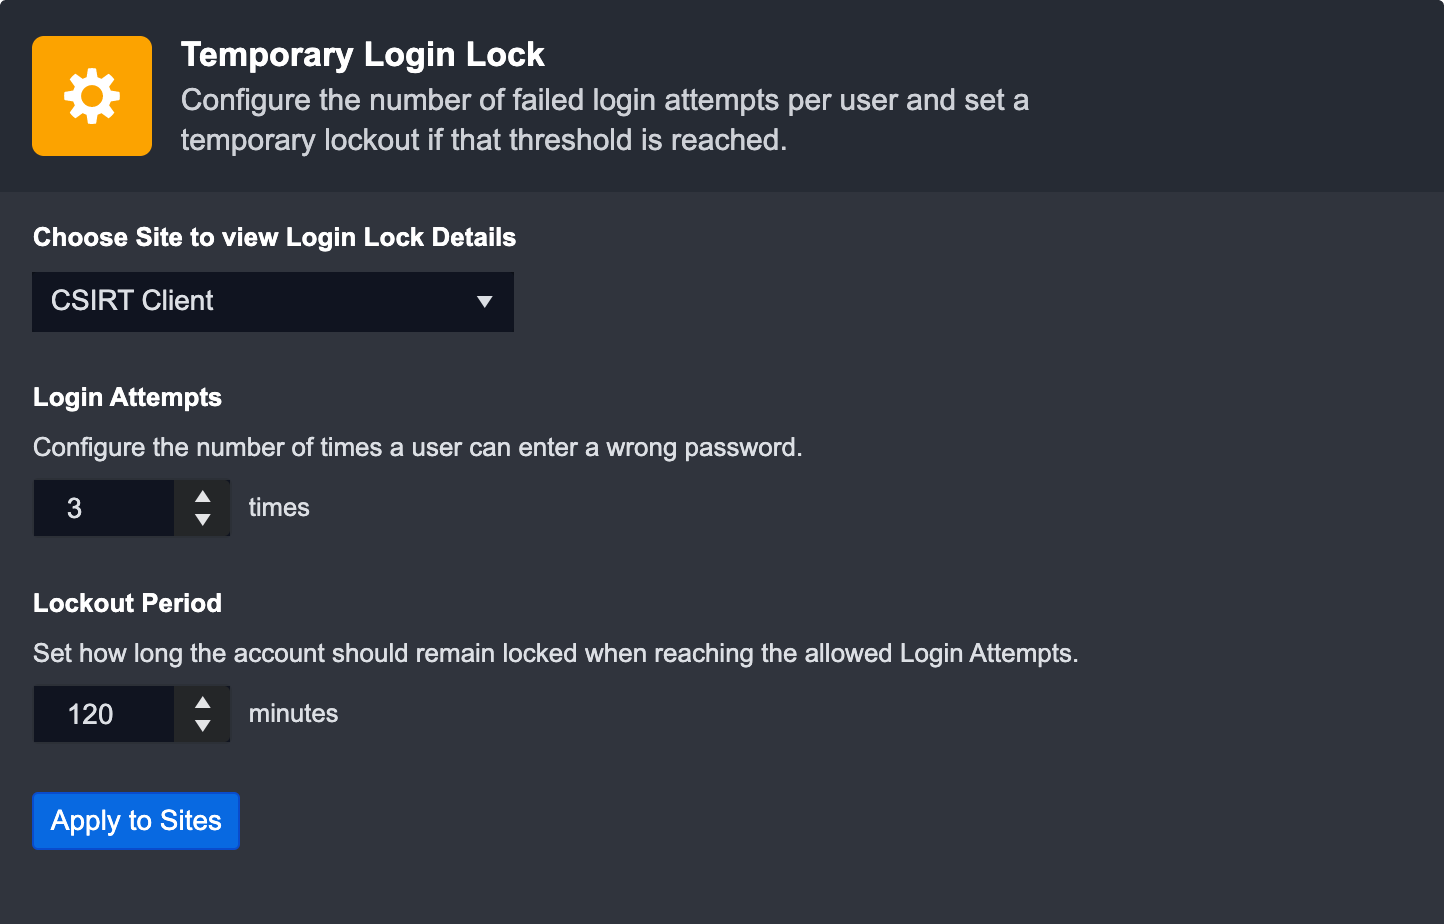
After configuring the settings, users can apply them to the current site by clicking the Save button in the upper-right corner or apply them to other sites if they are an MSSP.
-
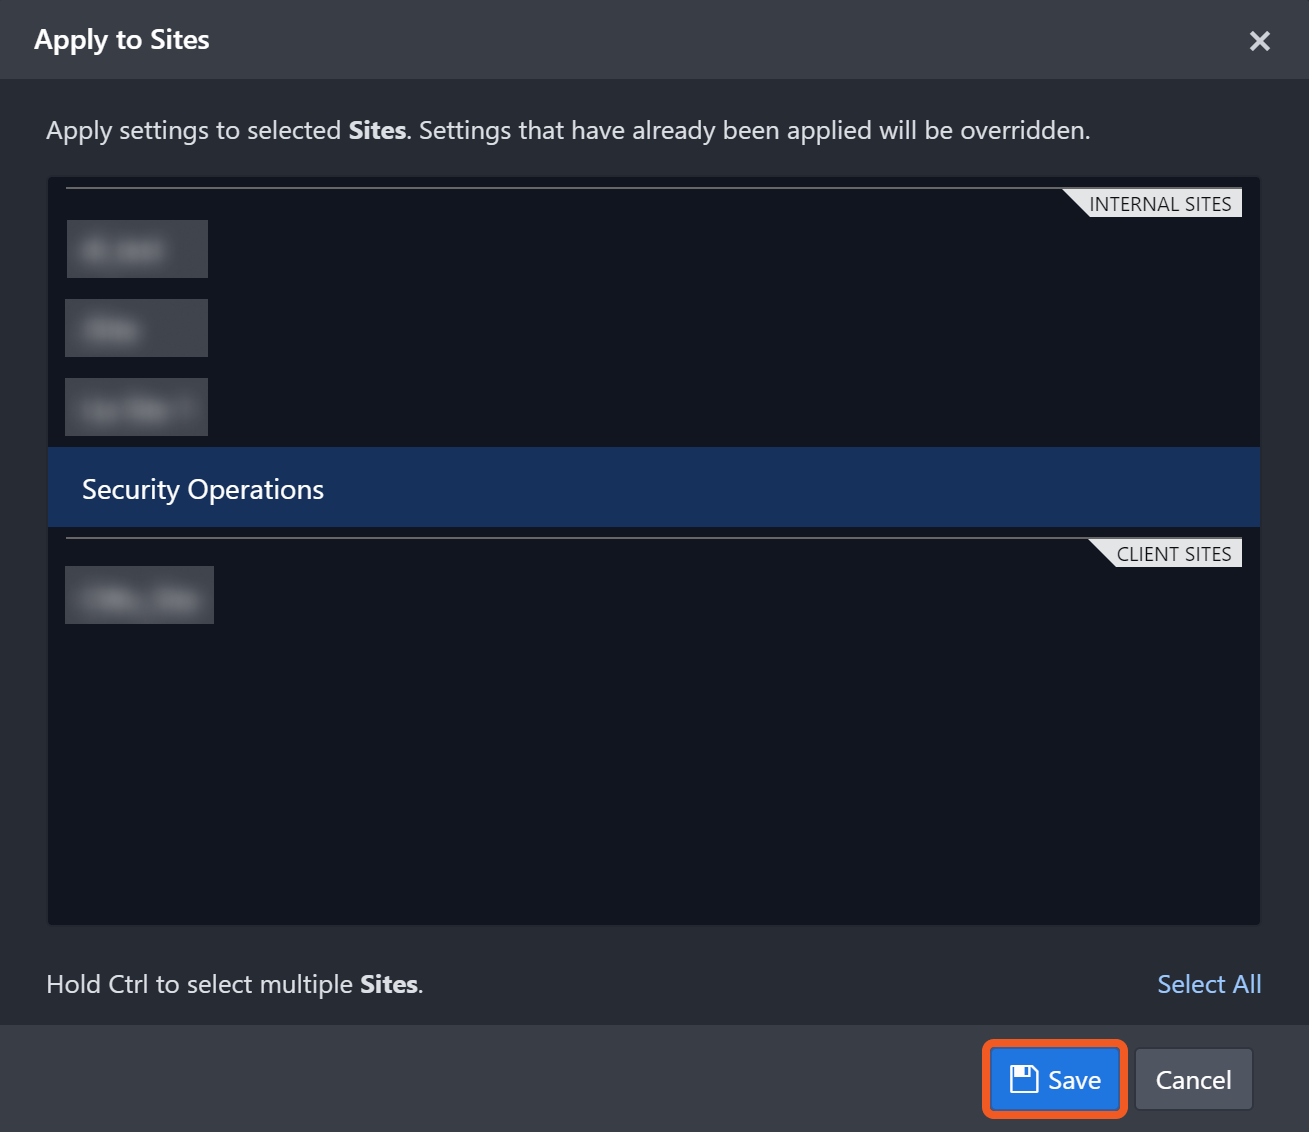
Click on the Apply to Sites button.
-
Choose Site(s) to publish the settings to.
-
Click on the Save button to confirm all changes.
READER NOTE
If the current site is deselected when applying settings, changes will not be applied to that site.
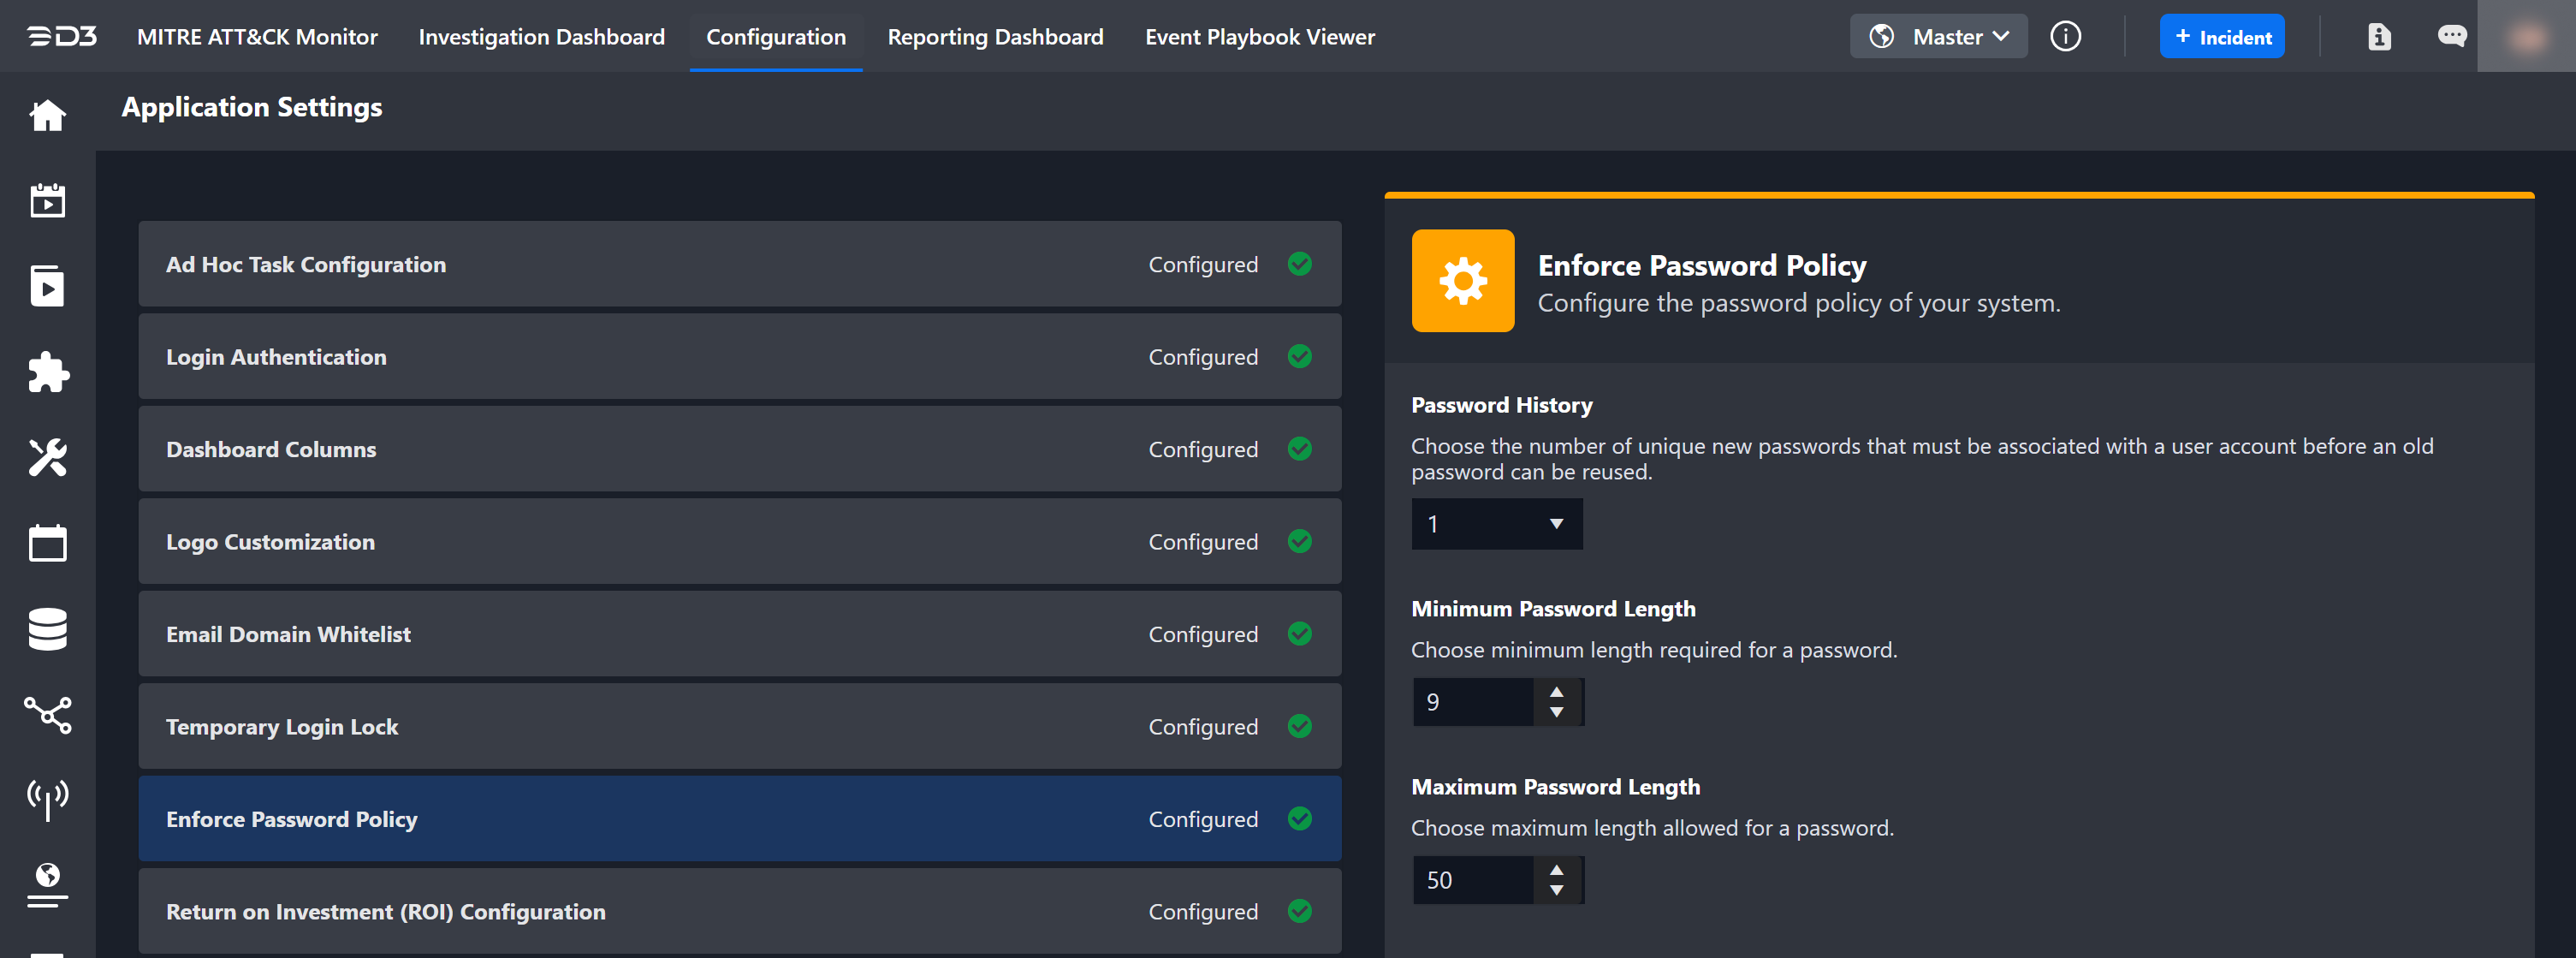
Enforce Password Policy
This setting defines how many unique new passwords must be used before an old password can be reused. It also allows users to set minimum and maximum password lengths.
SLA List
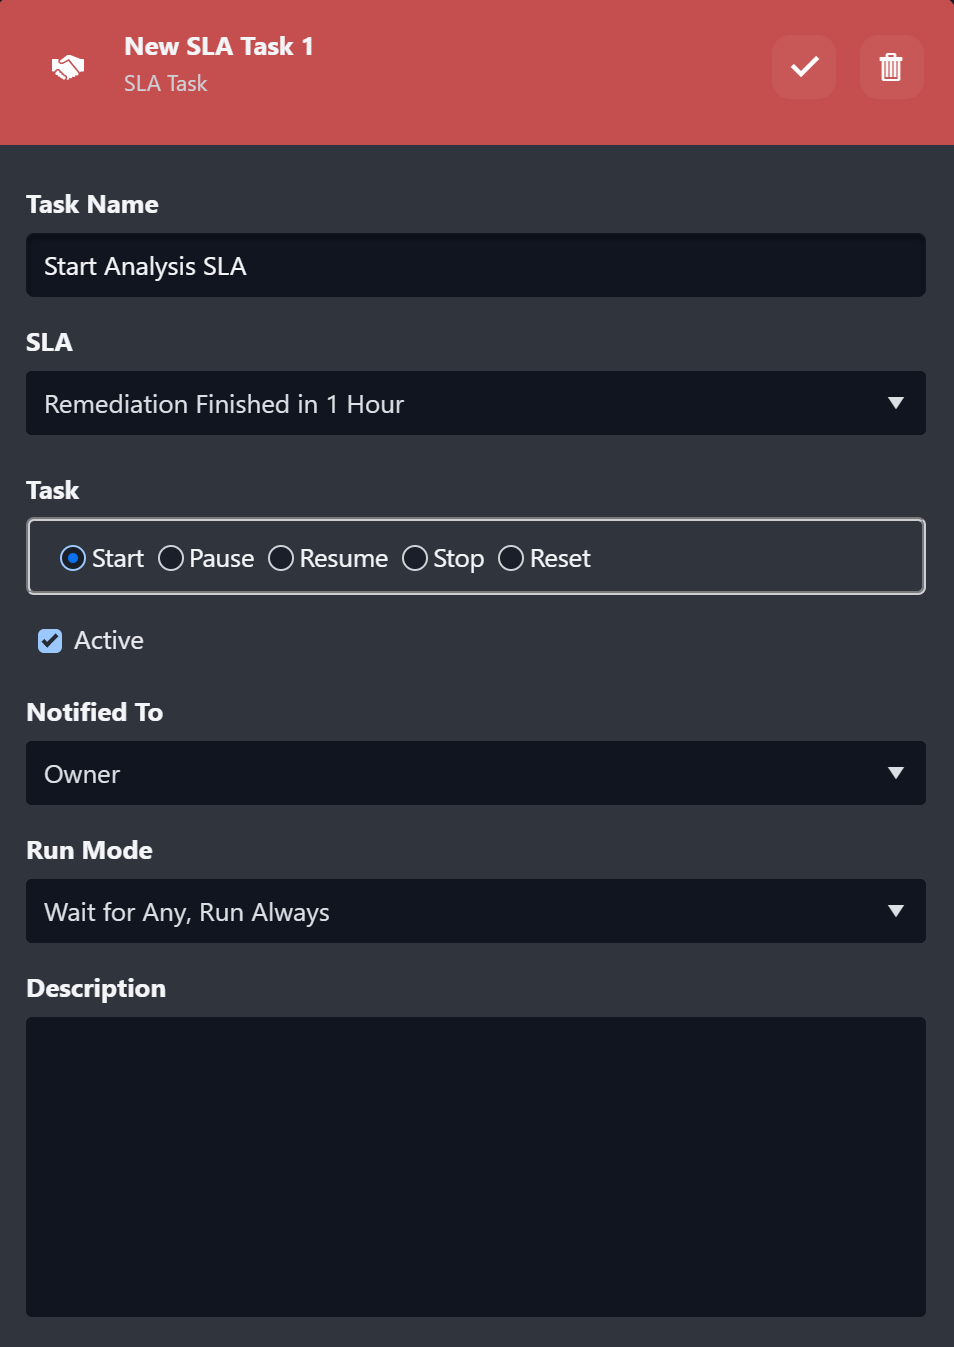
This is where service-level agreement (SLA) options in JSON format are added for use in SLA tasks within the playbook editor. Options configured here will be available in the SLA playbook task.
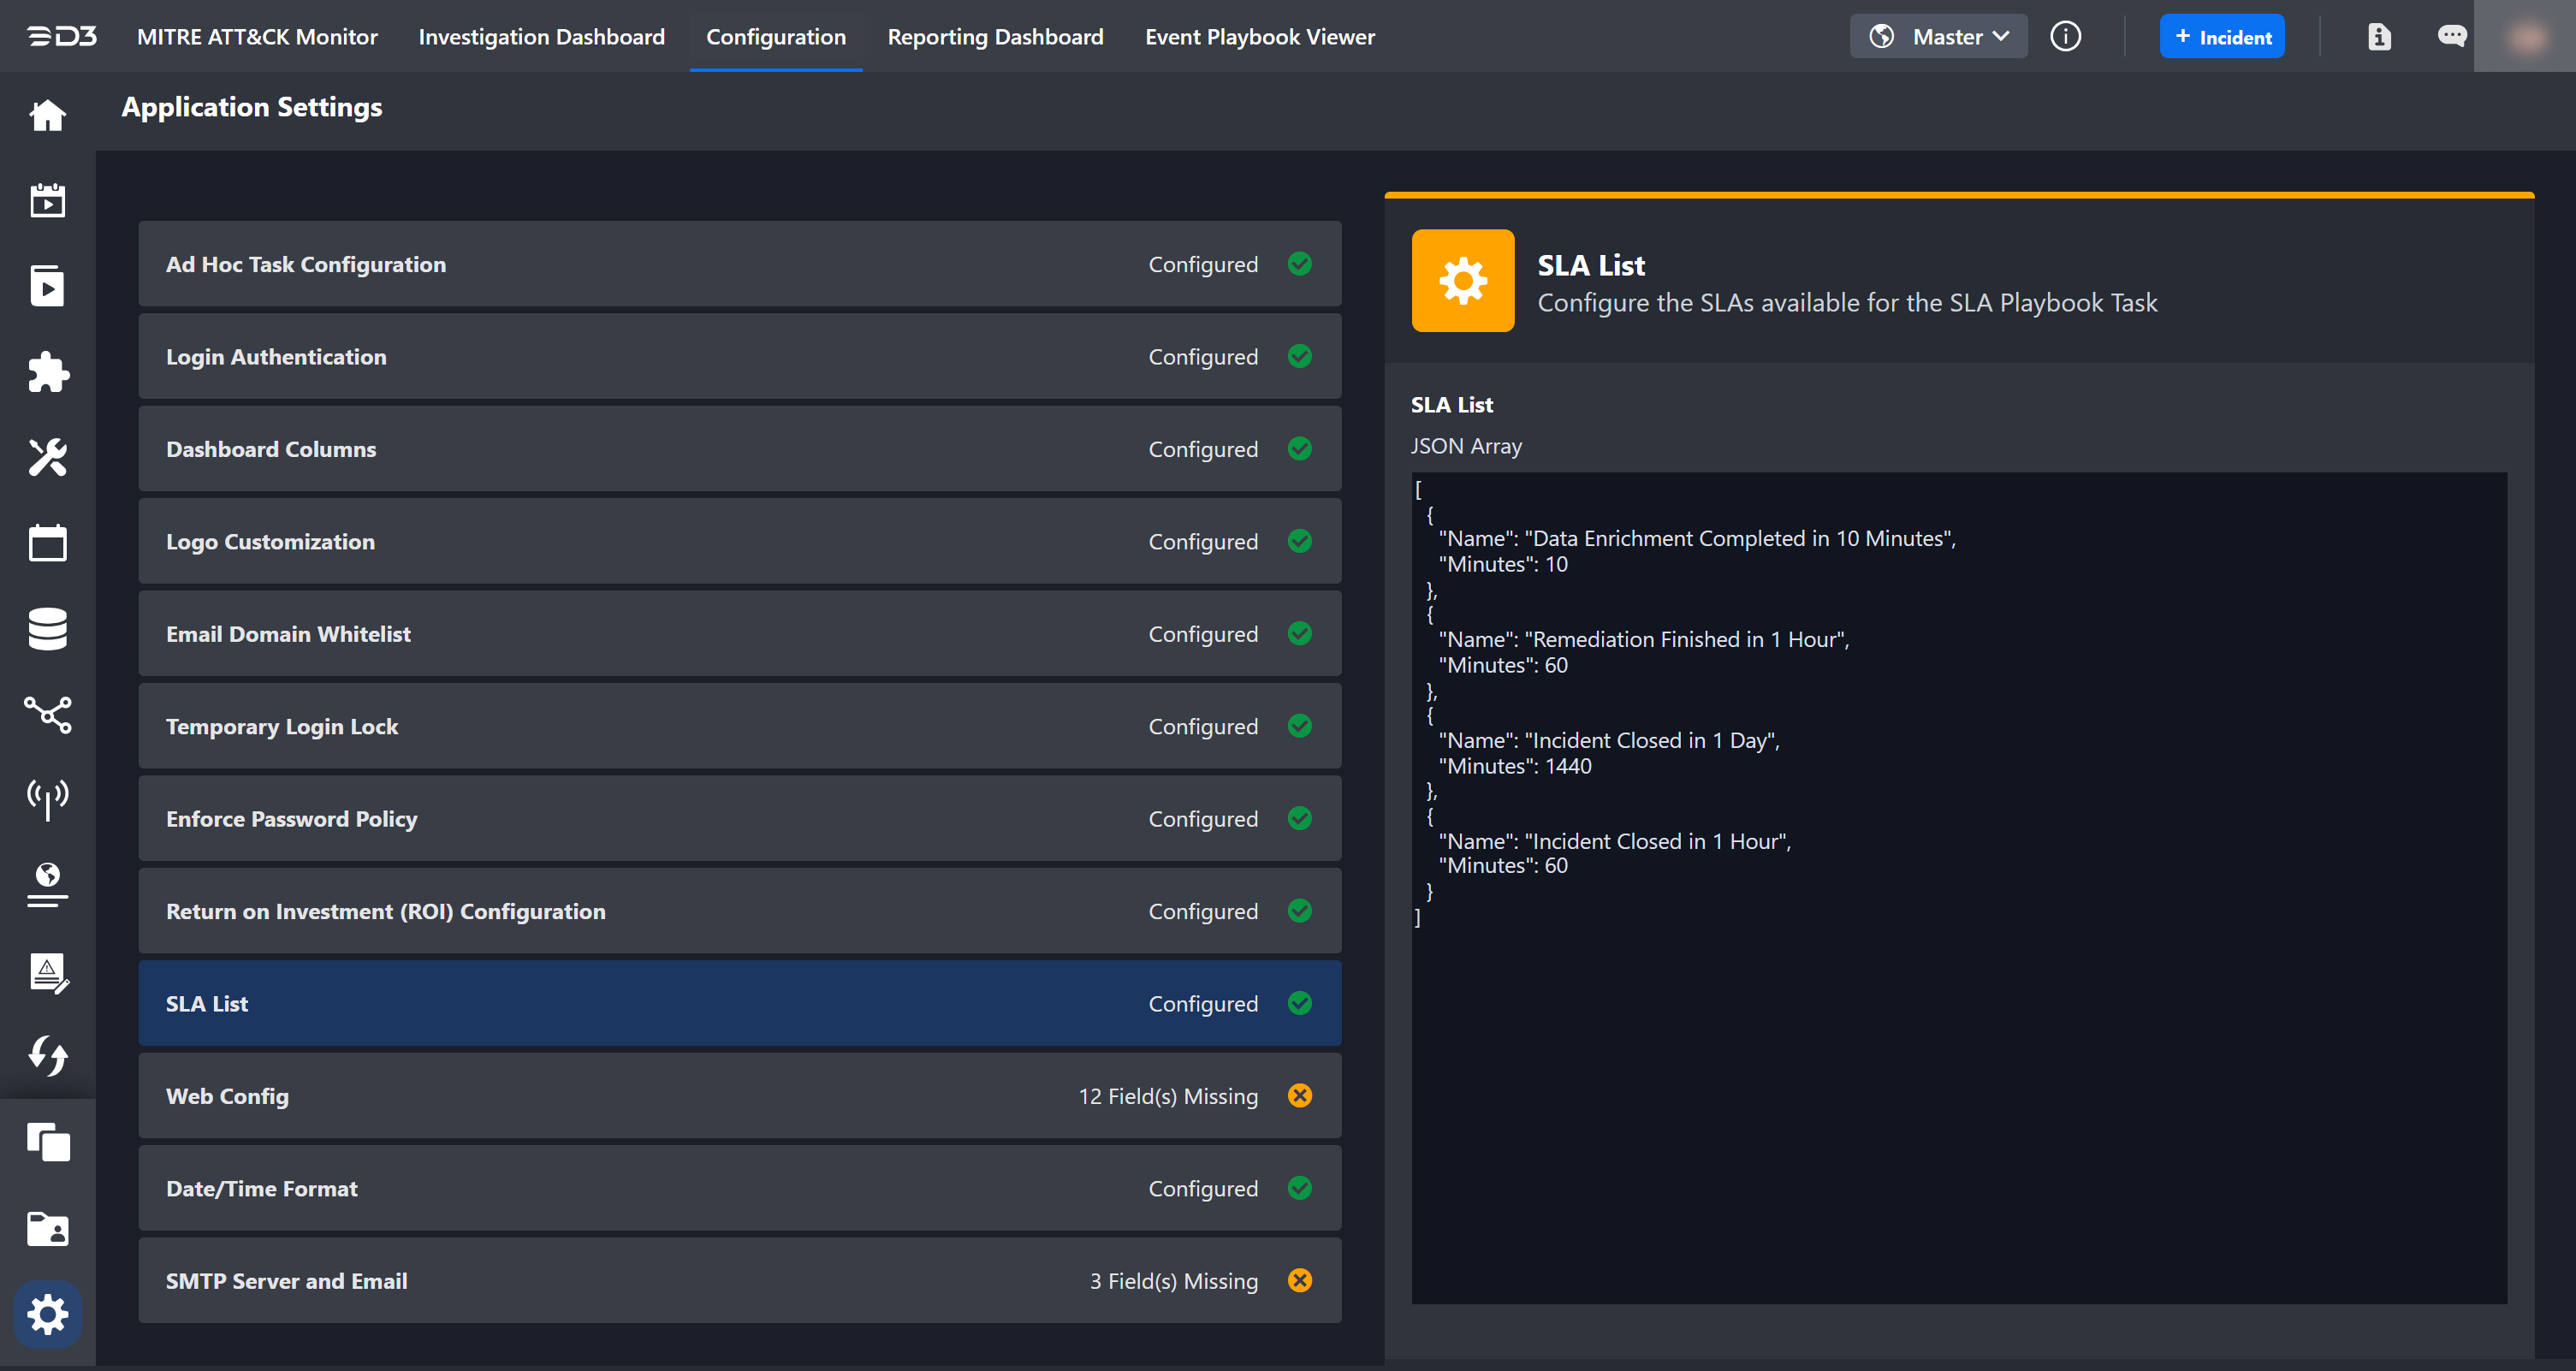
SLA configuration in Application Settings
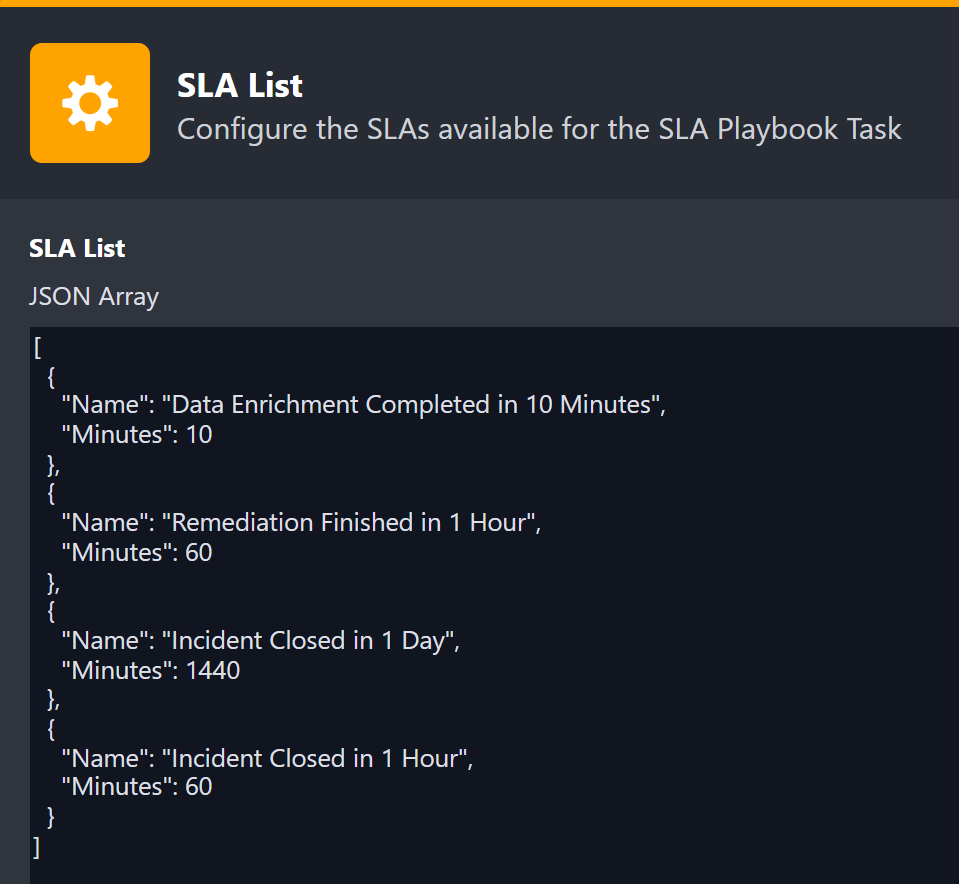
SLA Task in Incident Playbook
Web Config
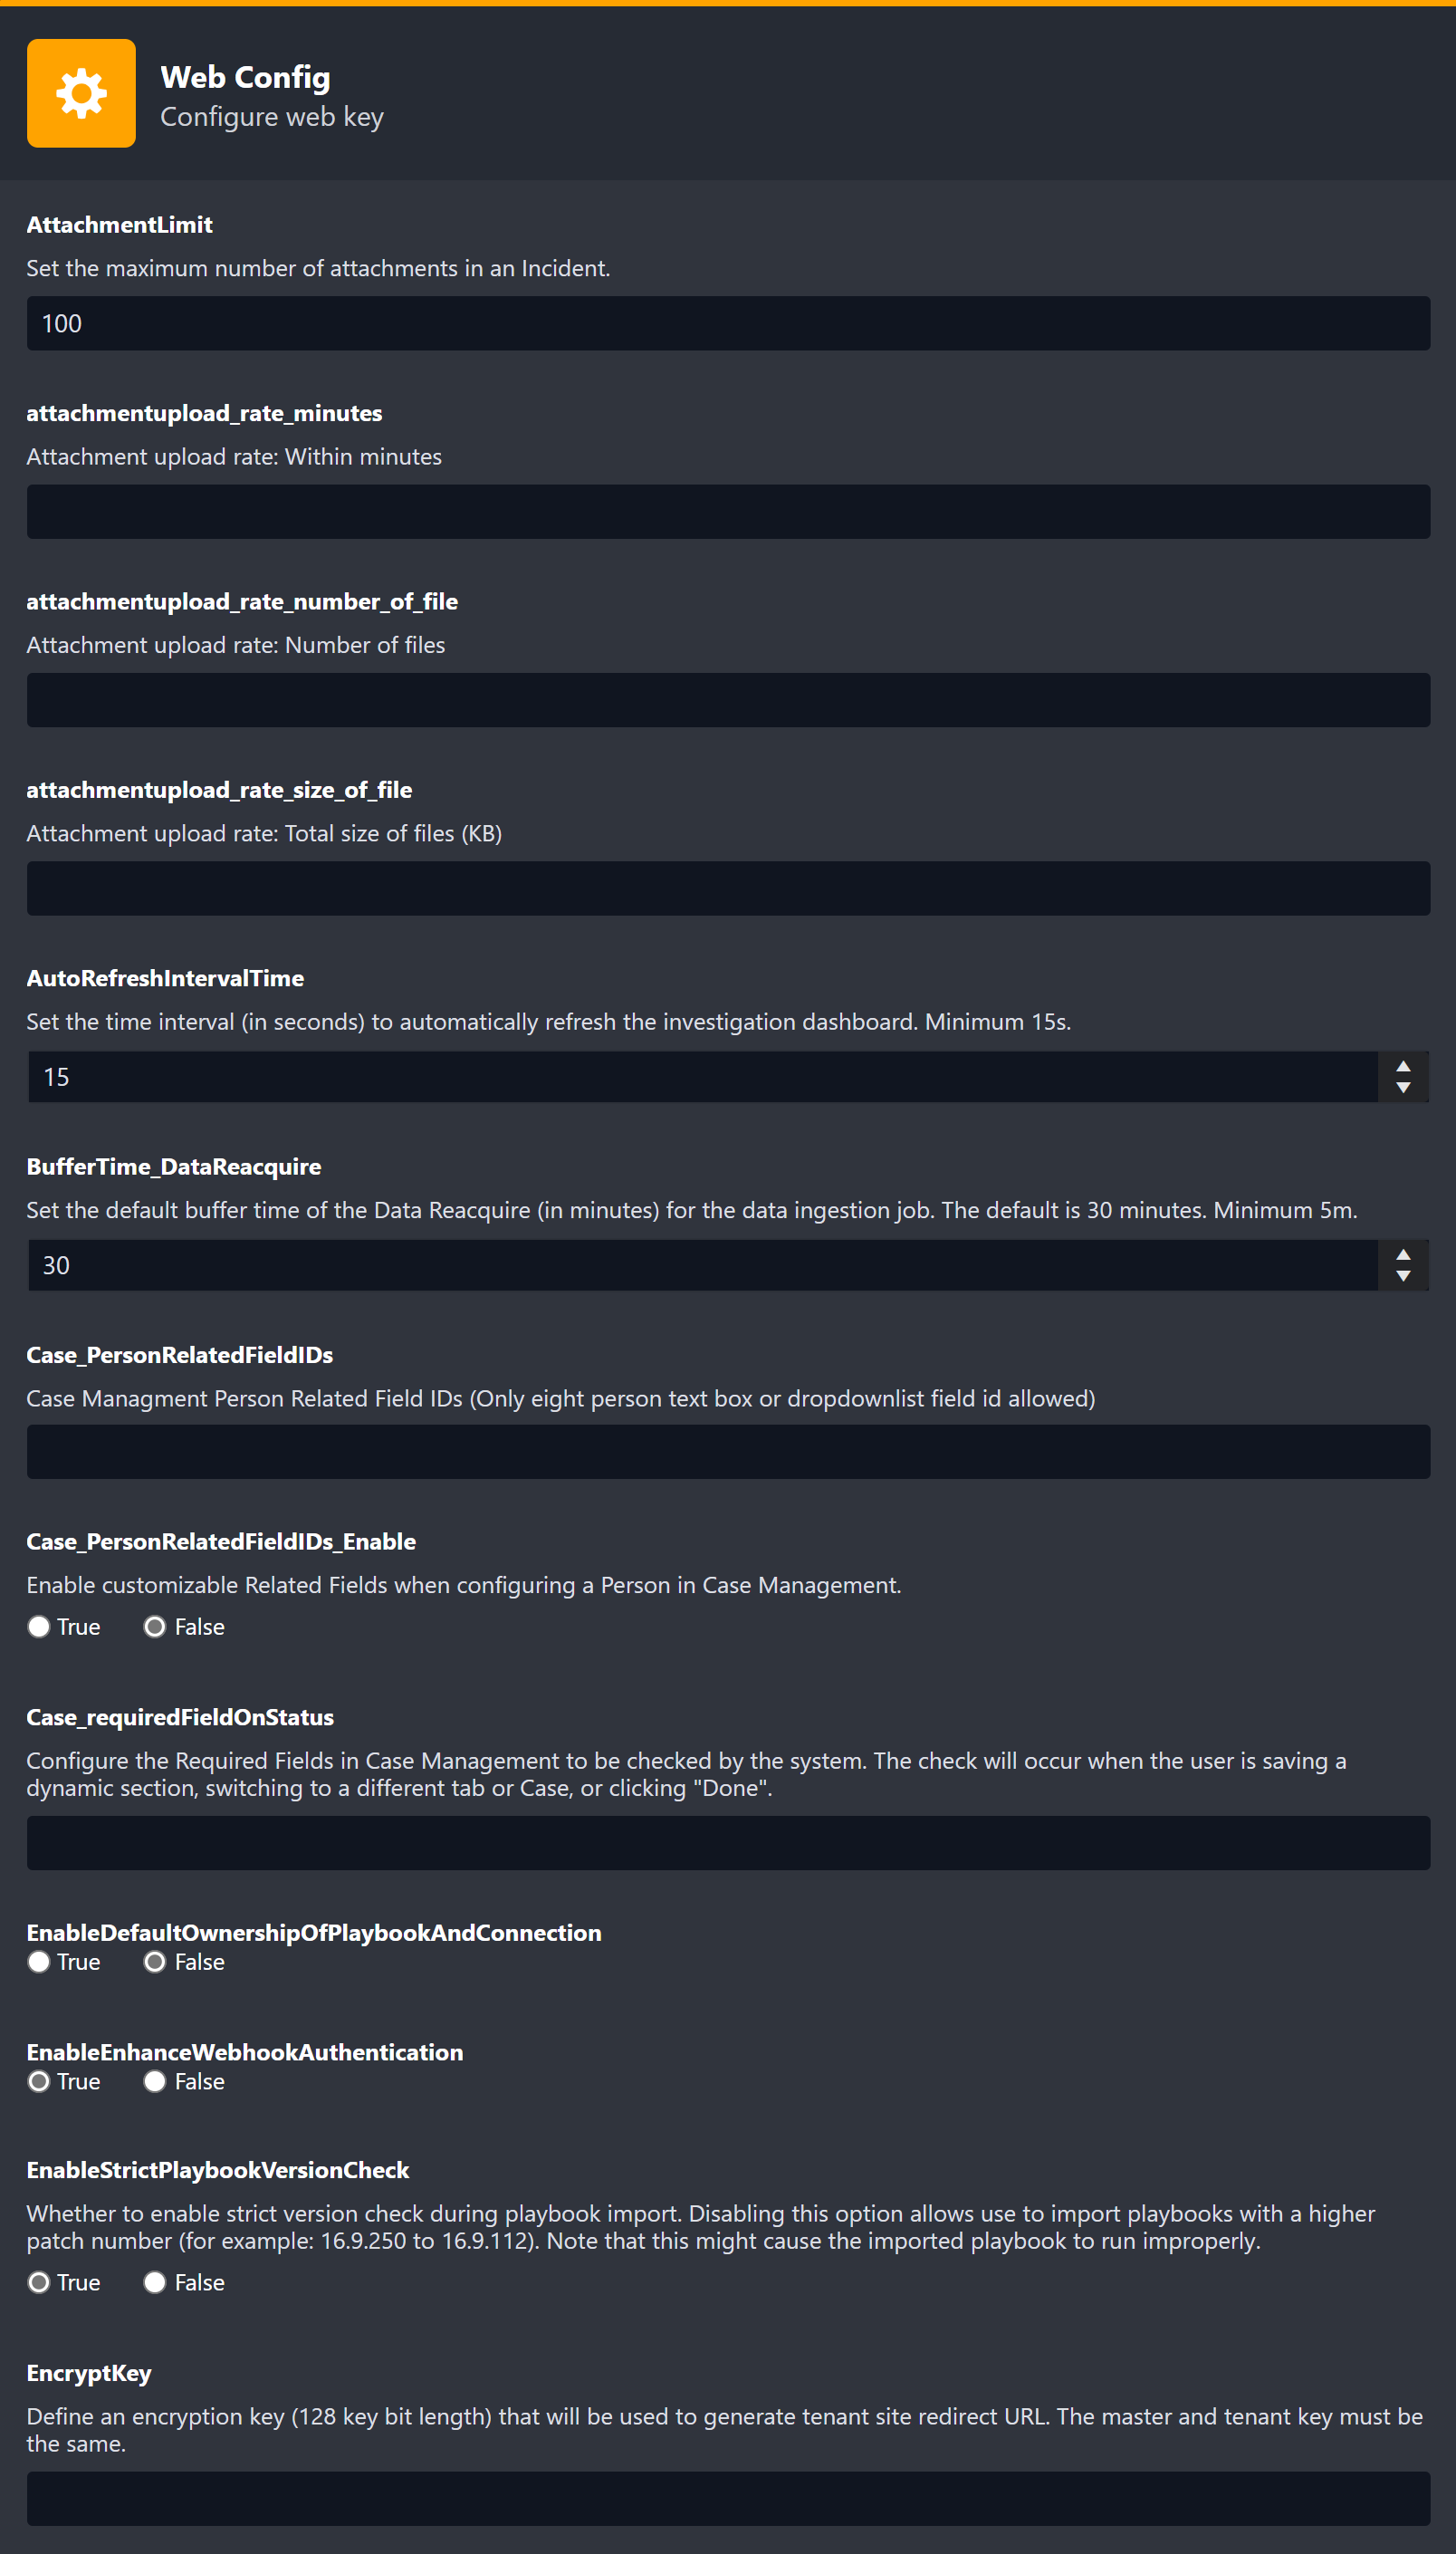
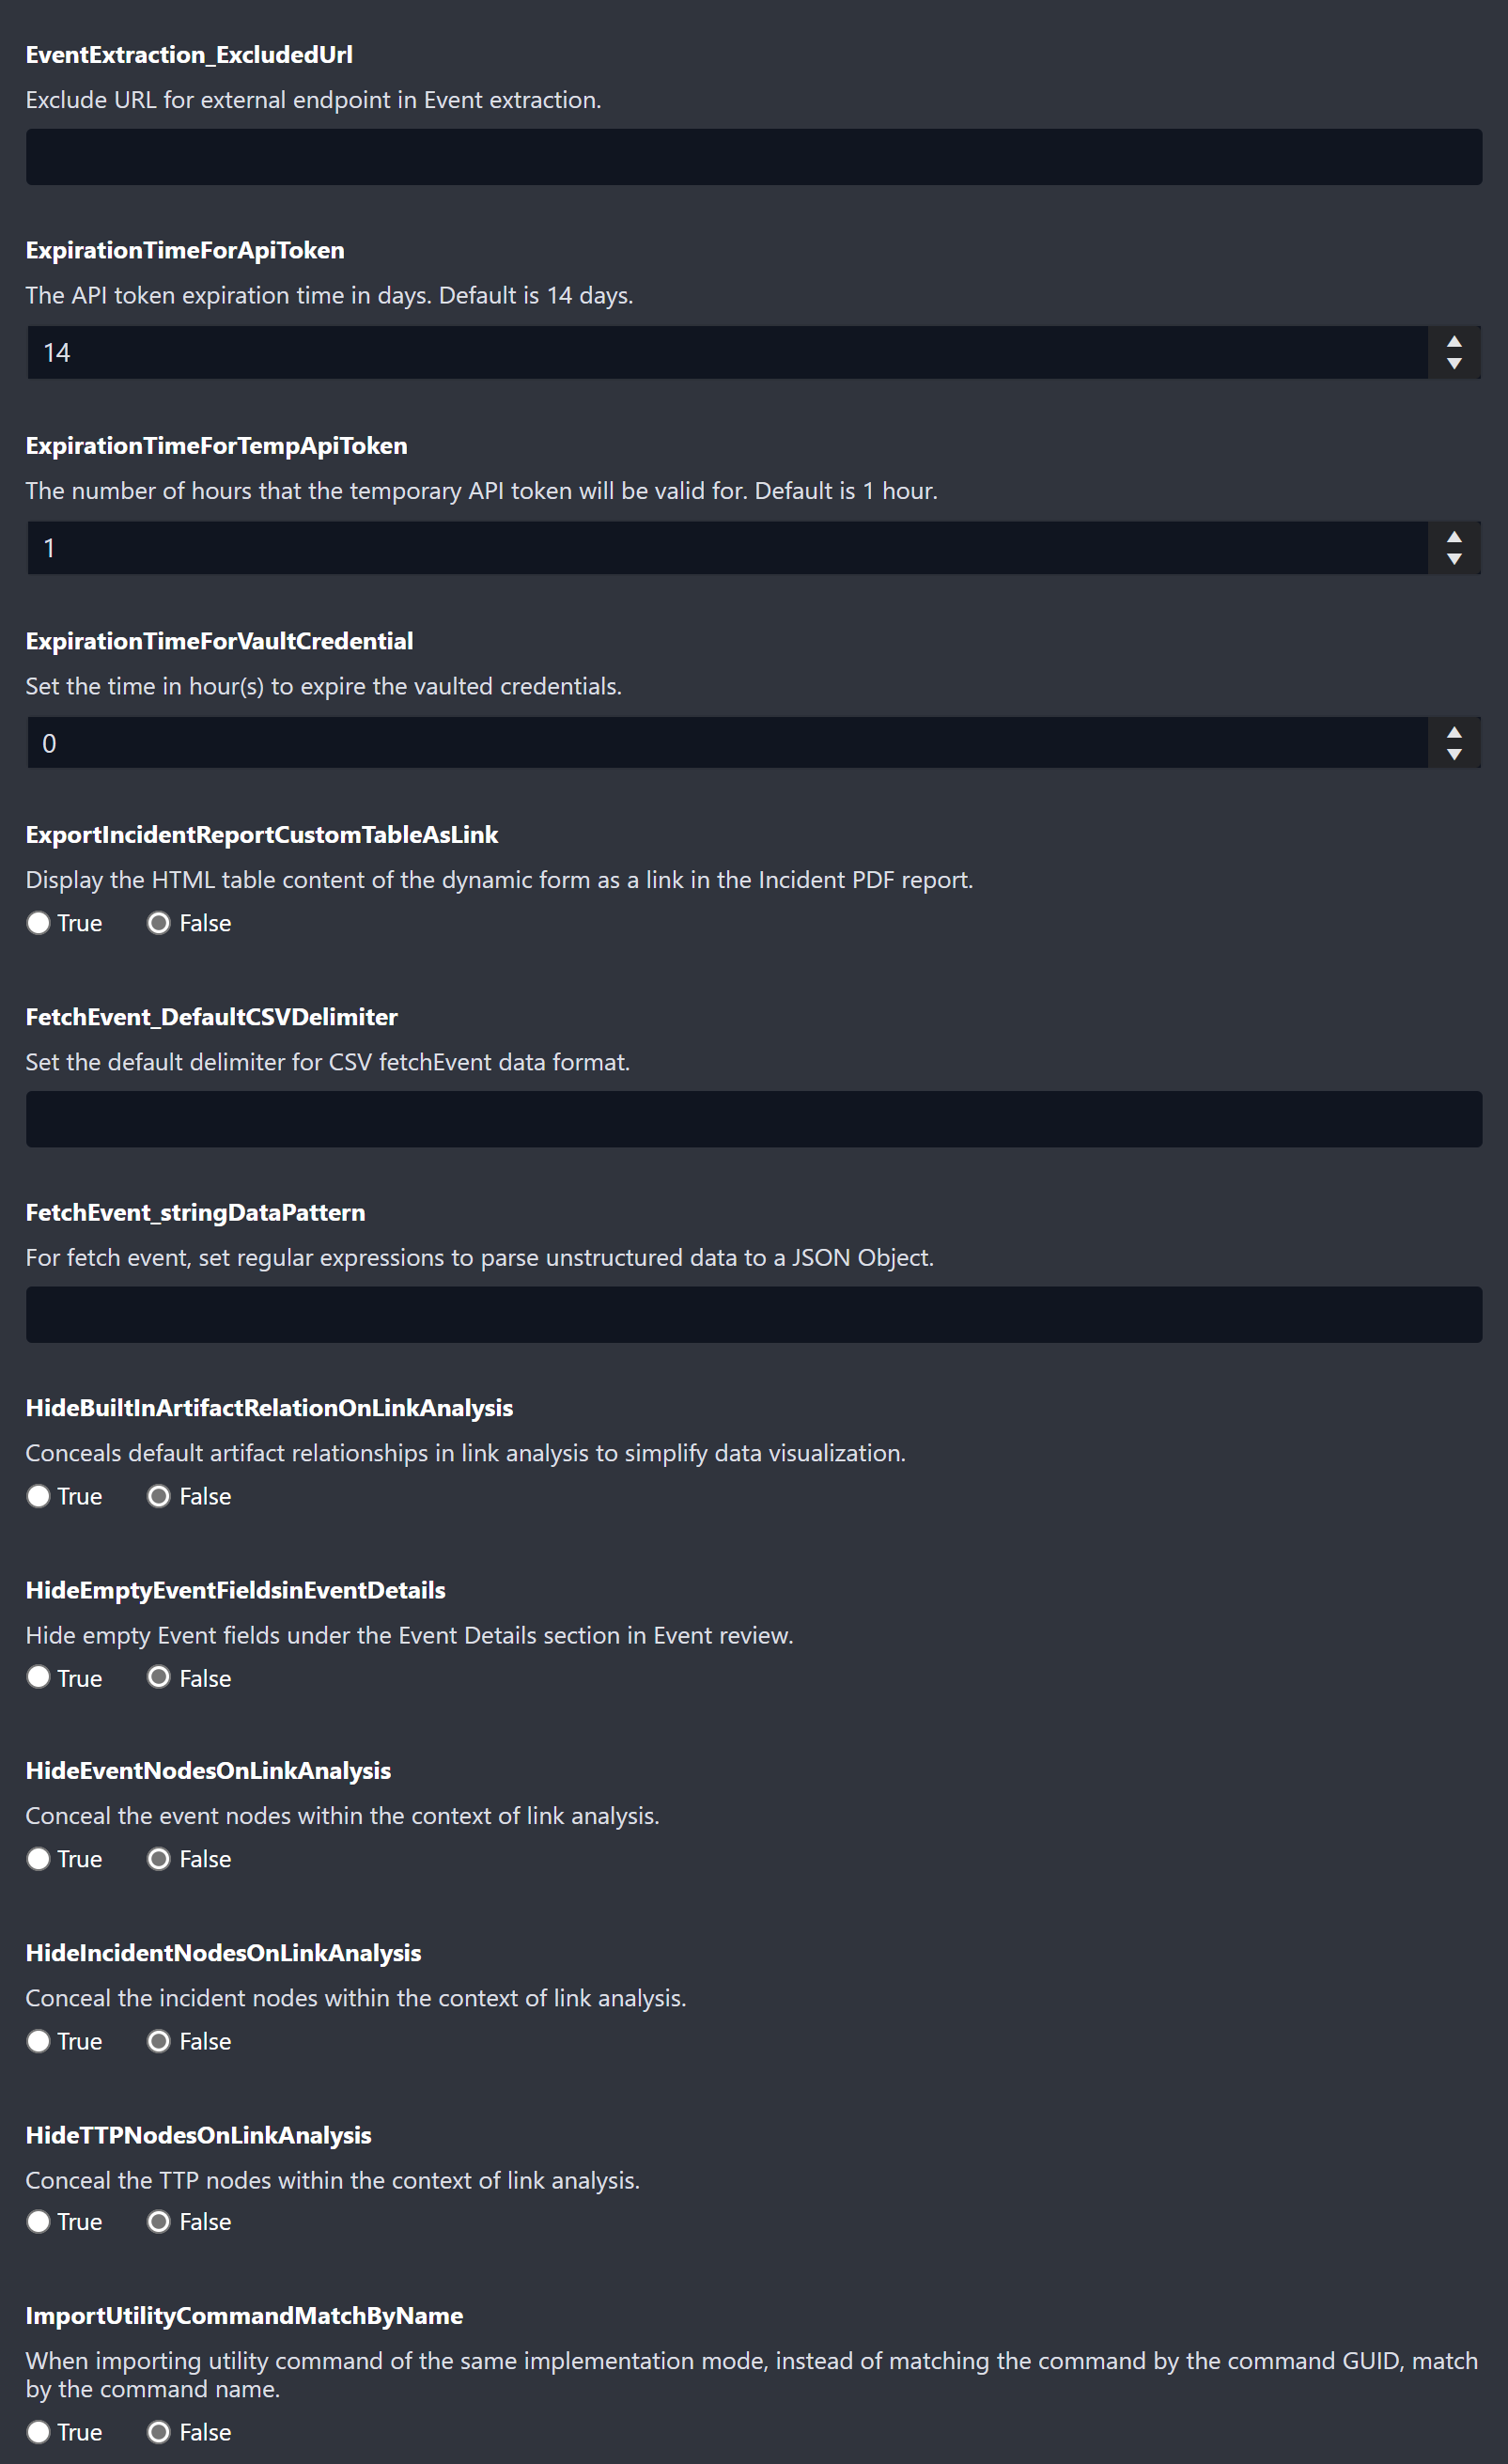
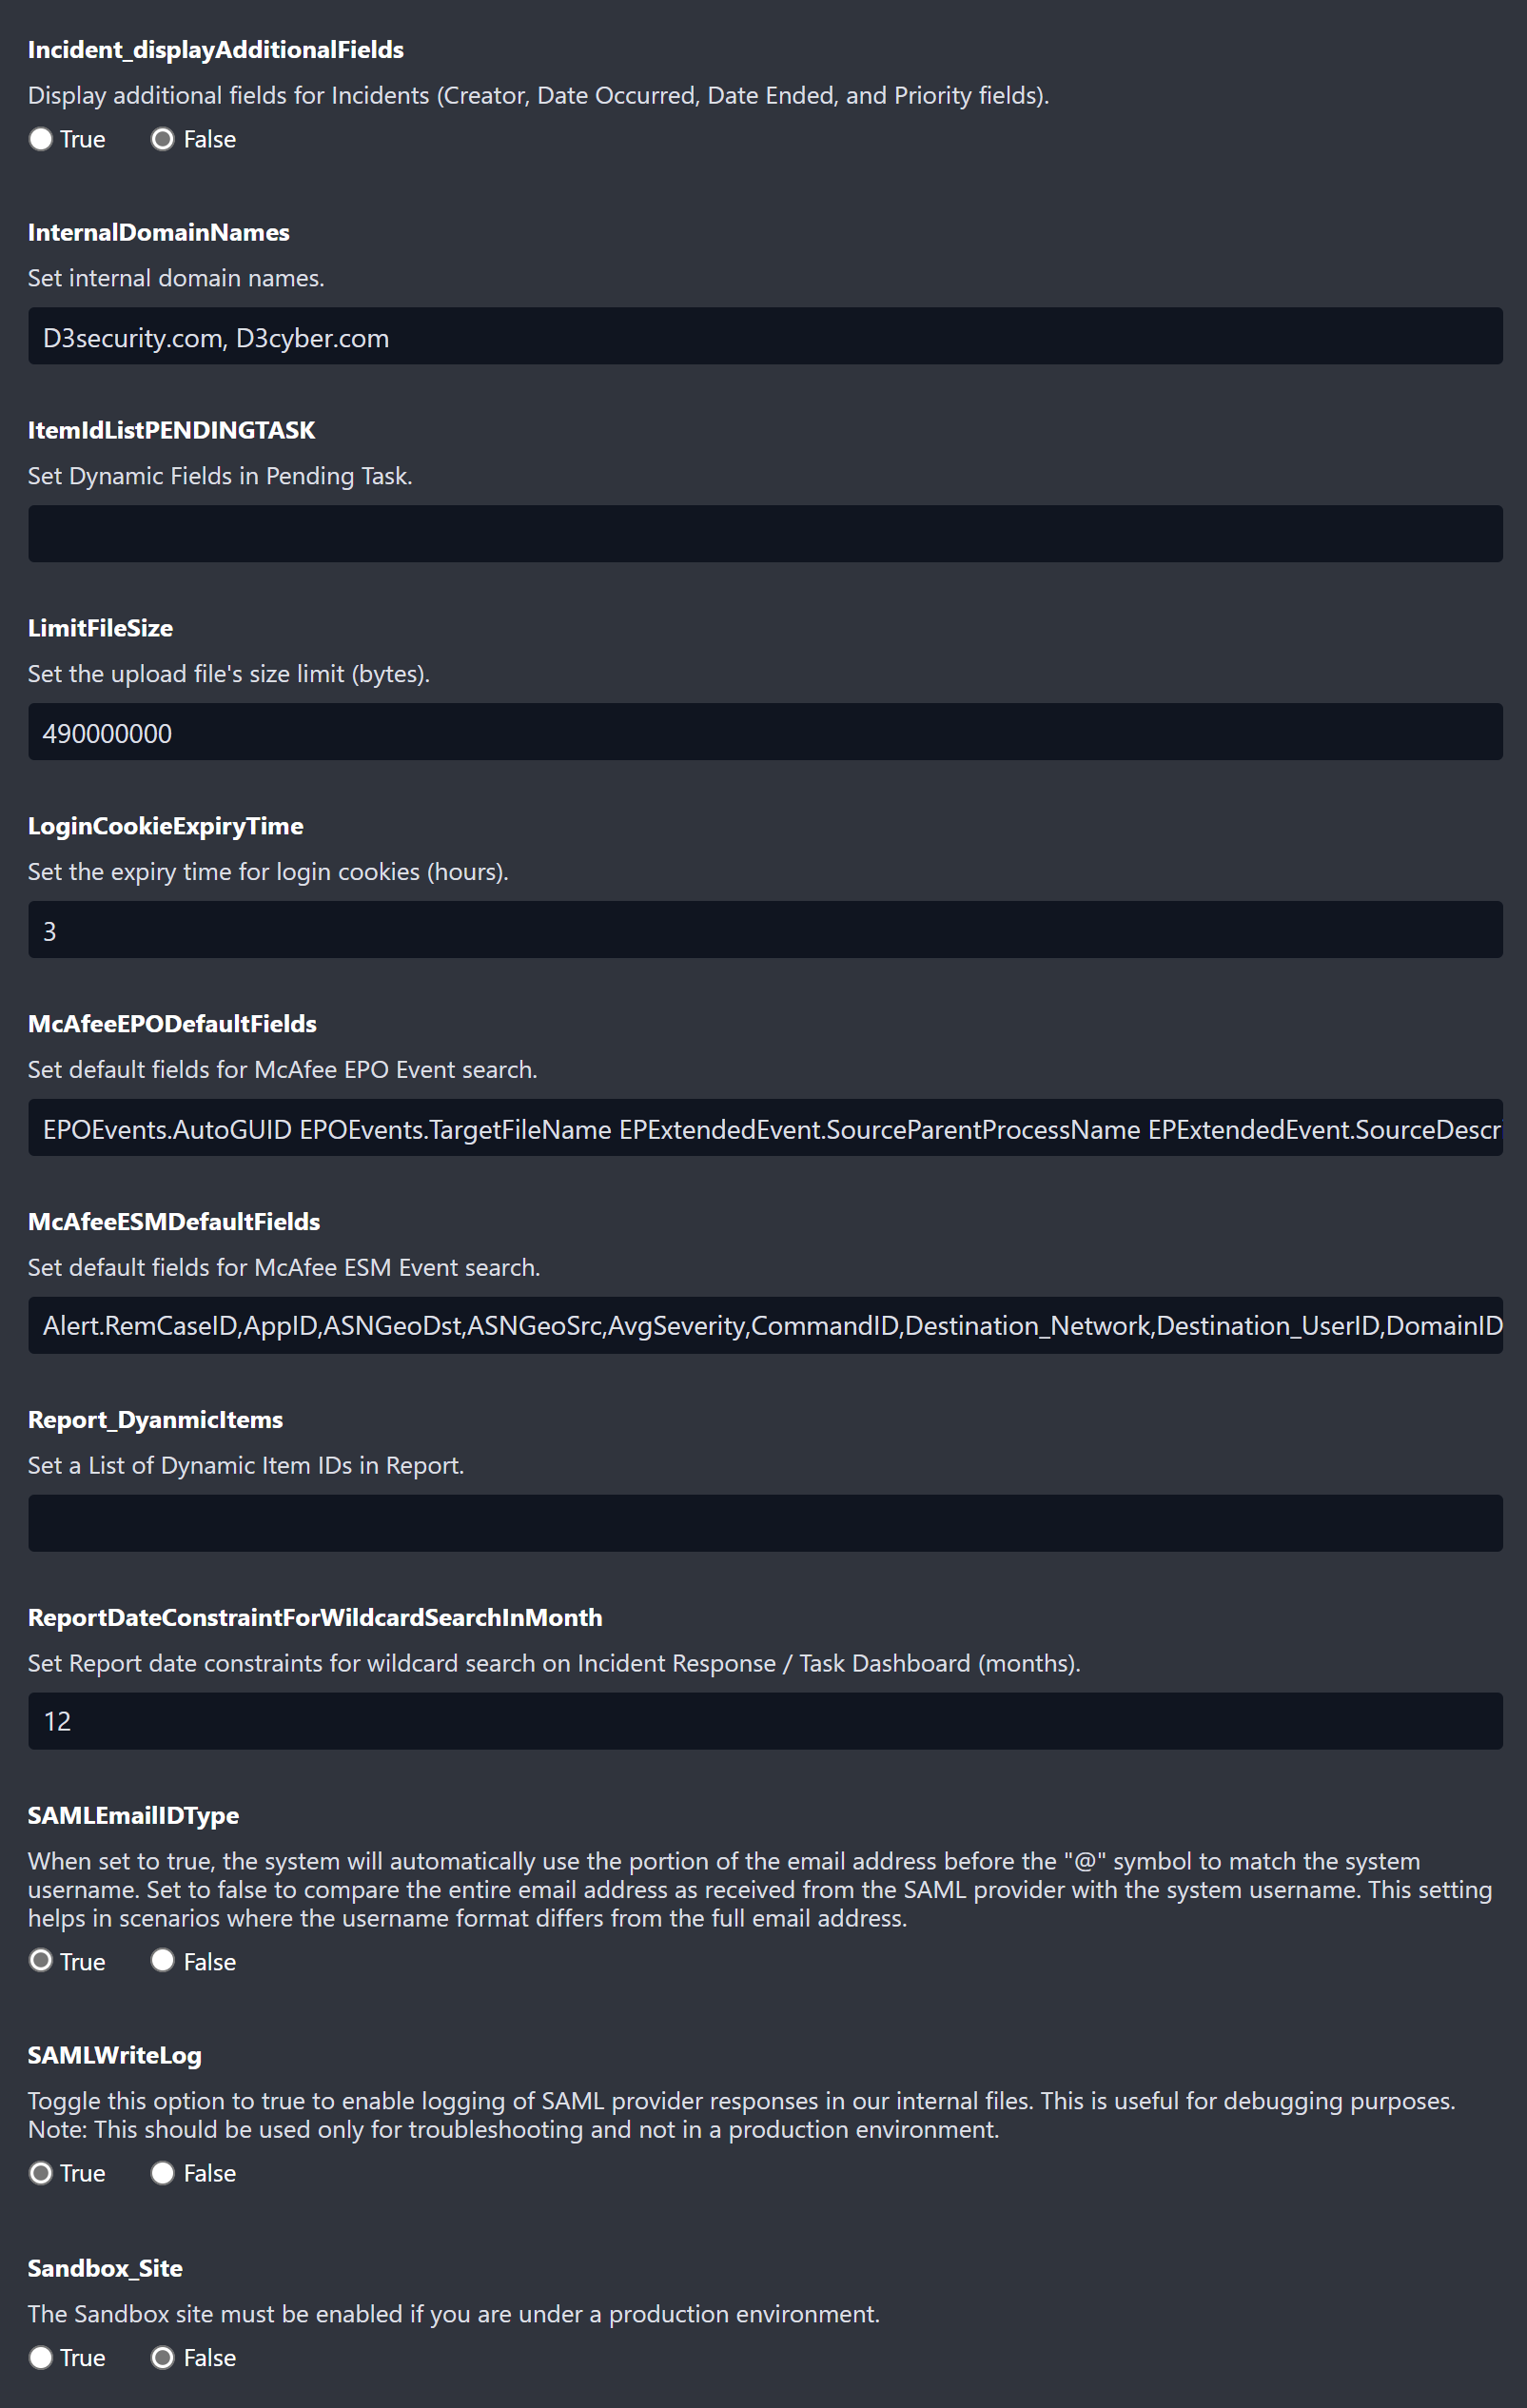
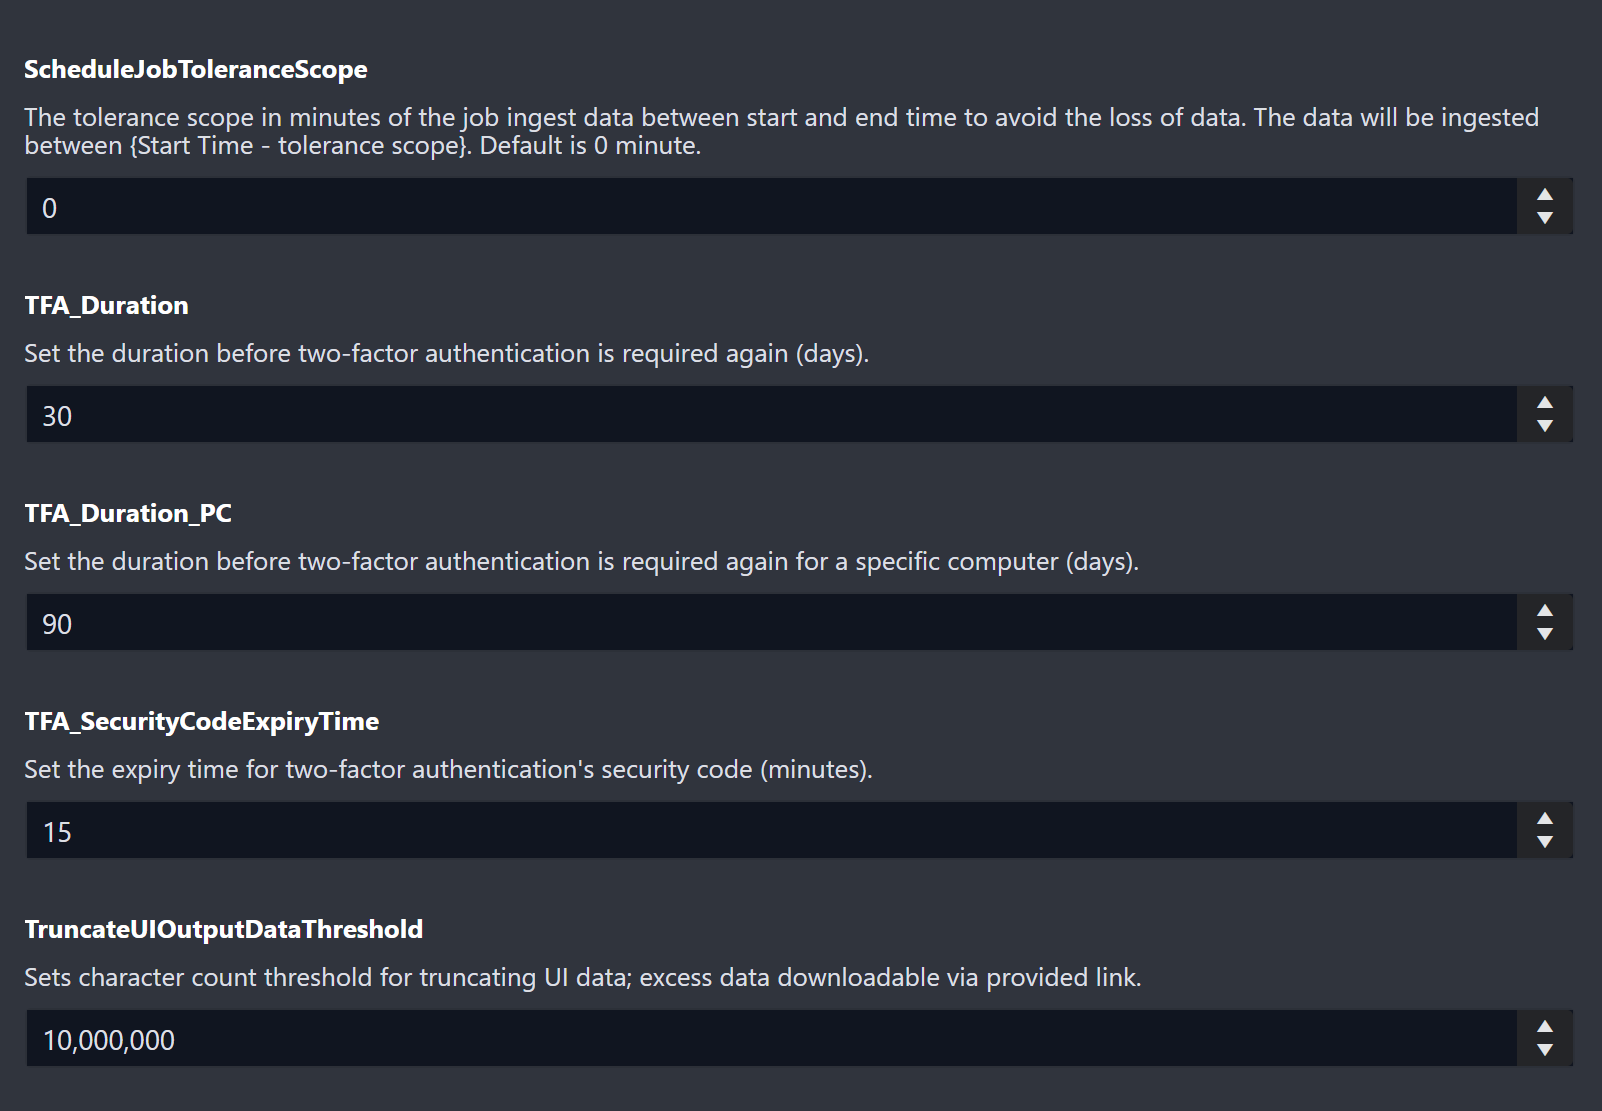
Web configurations are global settings that users can view and modify. Each setting includes a detailed description to assist with configuration.
All changes here will apply to the entire system, across multiple Sites (for MSSPs).
View Web Config Items
Password Expiration Check
READER NOTE
This feature is not enabled by default. Contact the D3 Security support team to enable the Password Expiration Check feature.
The password expiration check feature allows the system admin to set a password reset period. When enabled, users must reset their passwords within the specified period of time to ensure security. Every newly created user must reset their log-in password after enabling this feature.
Once this feature is enabled, the PasswordRestPeriod will show in the web config.
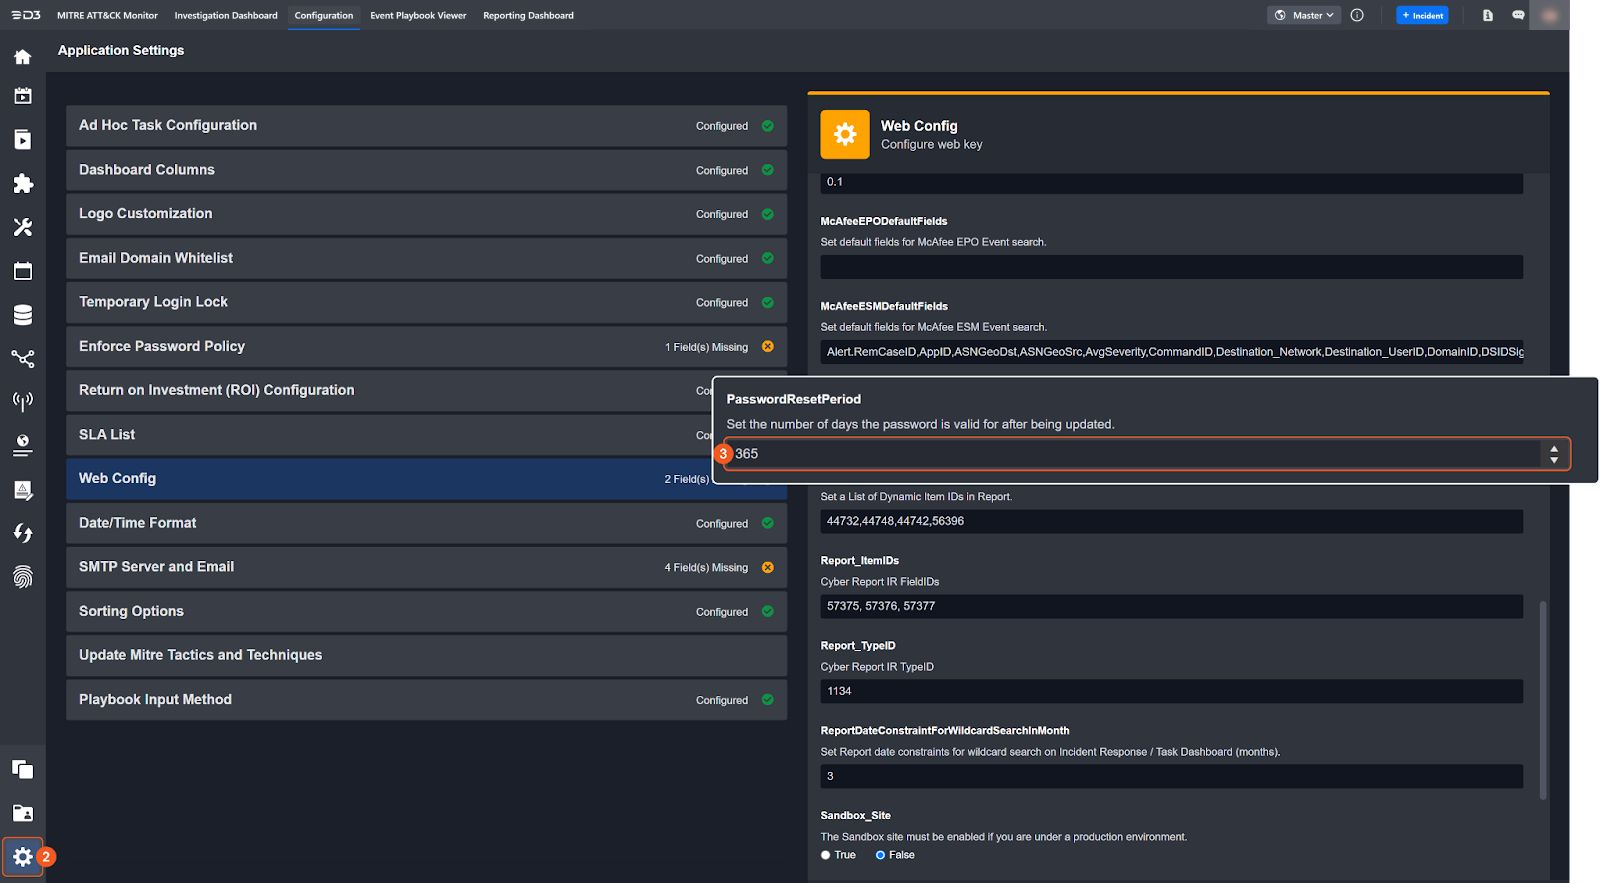
Setting the Password Reset Period
-
Navigate to Configuration
-
Click on Application Settings tab
-
Open the Web Config
-
Set the number of days under the PasswordRestPeriod
E.g. PasswordResetPeriod: 365. The user must update the password after 365 days to log in to vSOC again.
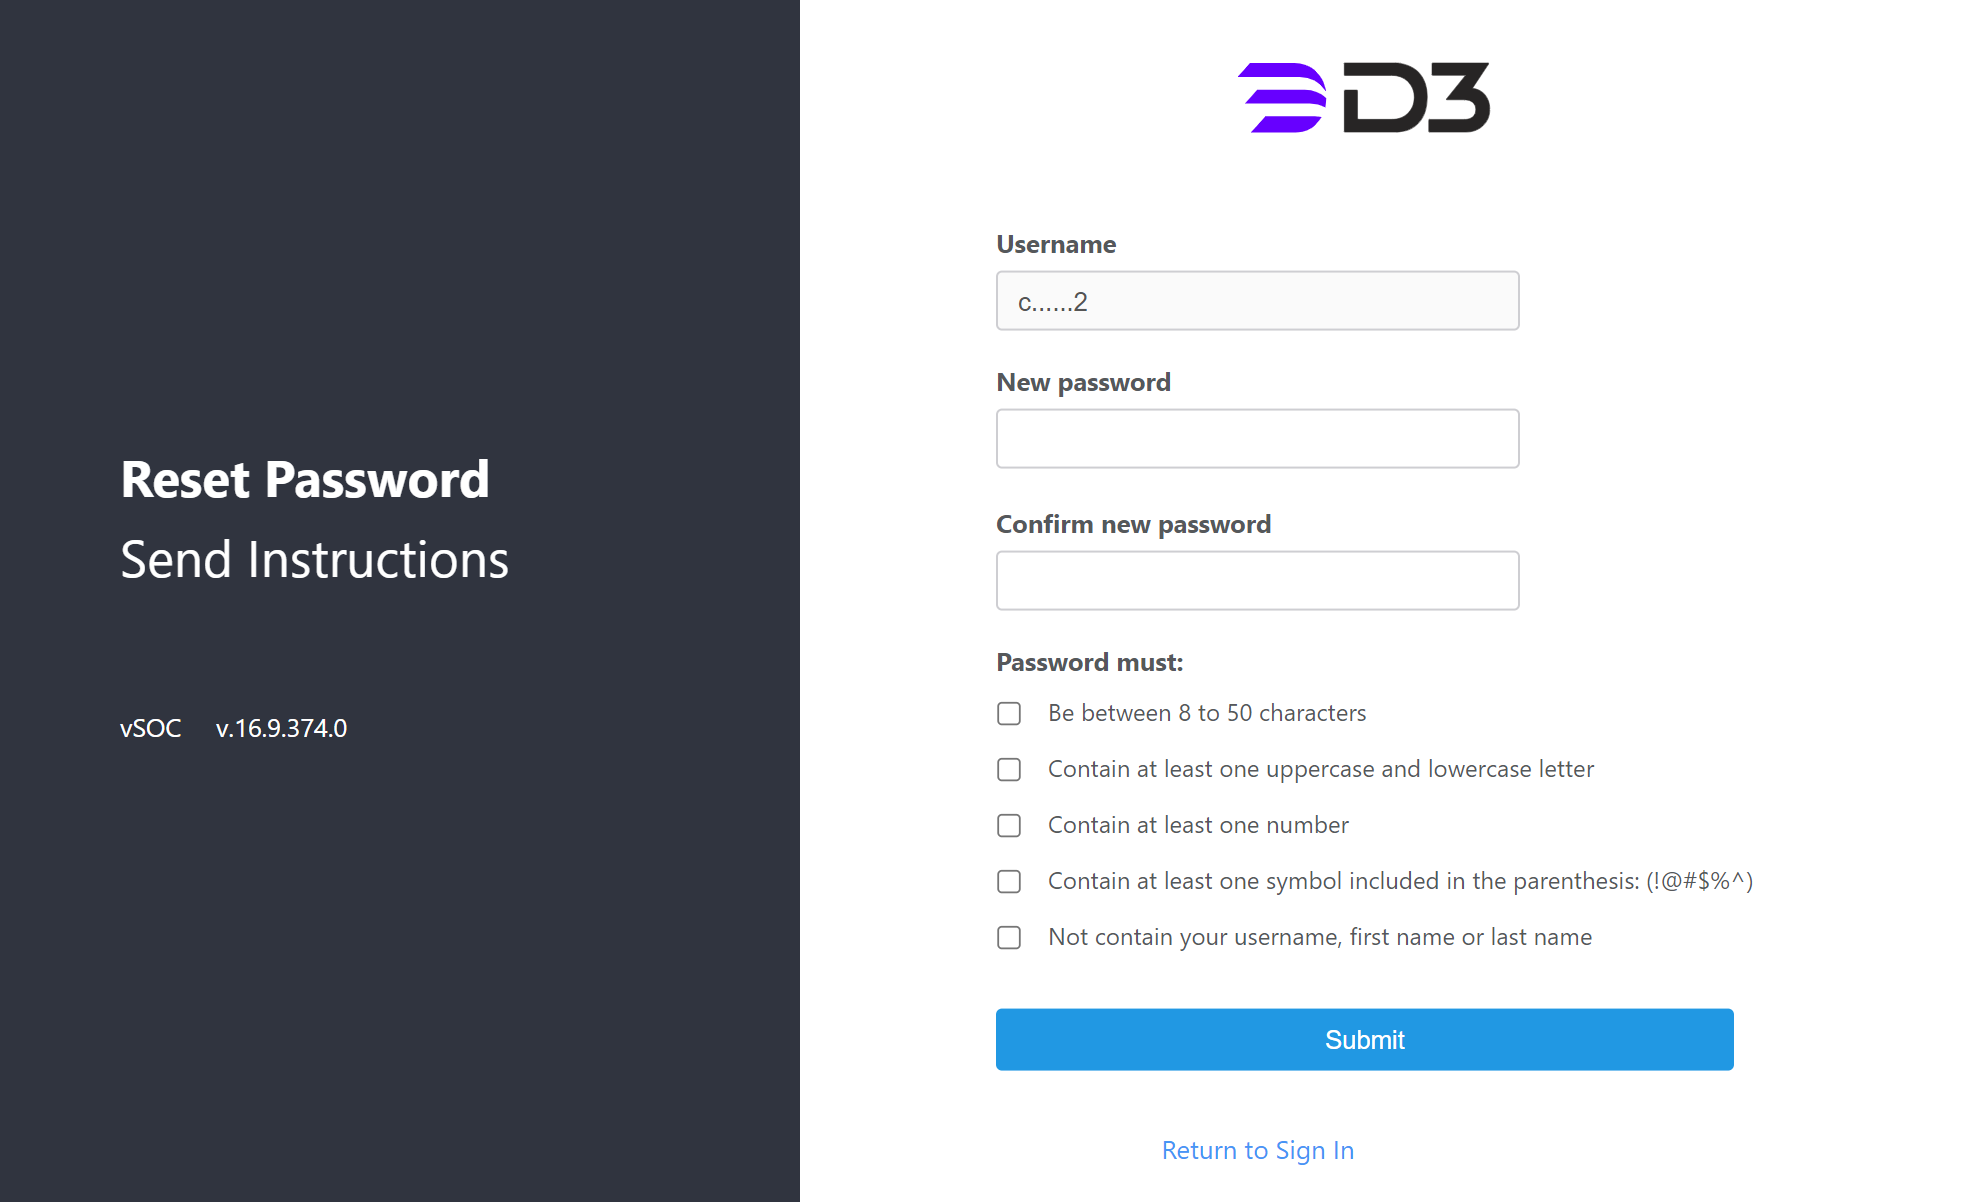
If the password exceeds the set time, it will redirect every user to the Reset Password page upon login, to reset their password.
READER NOTE
When updating vSOC from a version without this feature, the password reset time will be reset as well, with the counter beginning again on the day of the update.
Date/Time Format
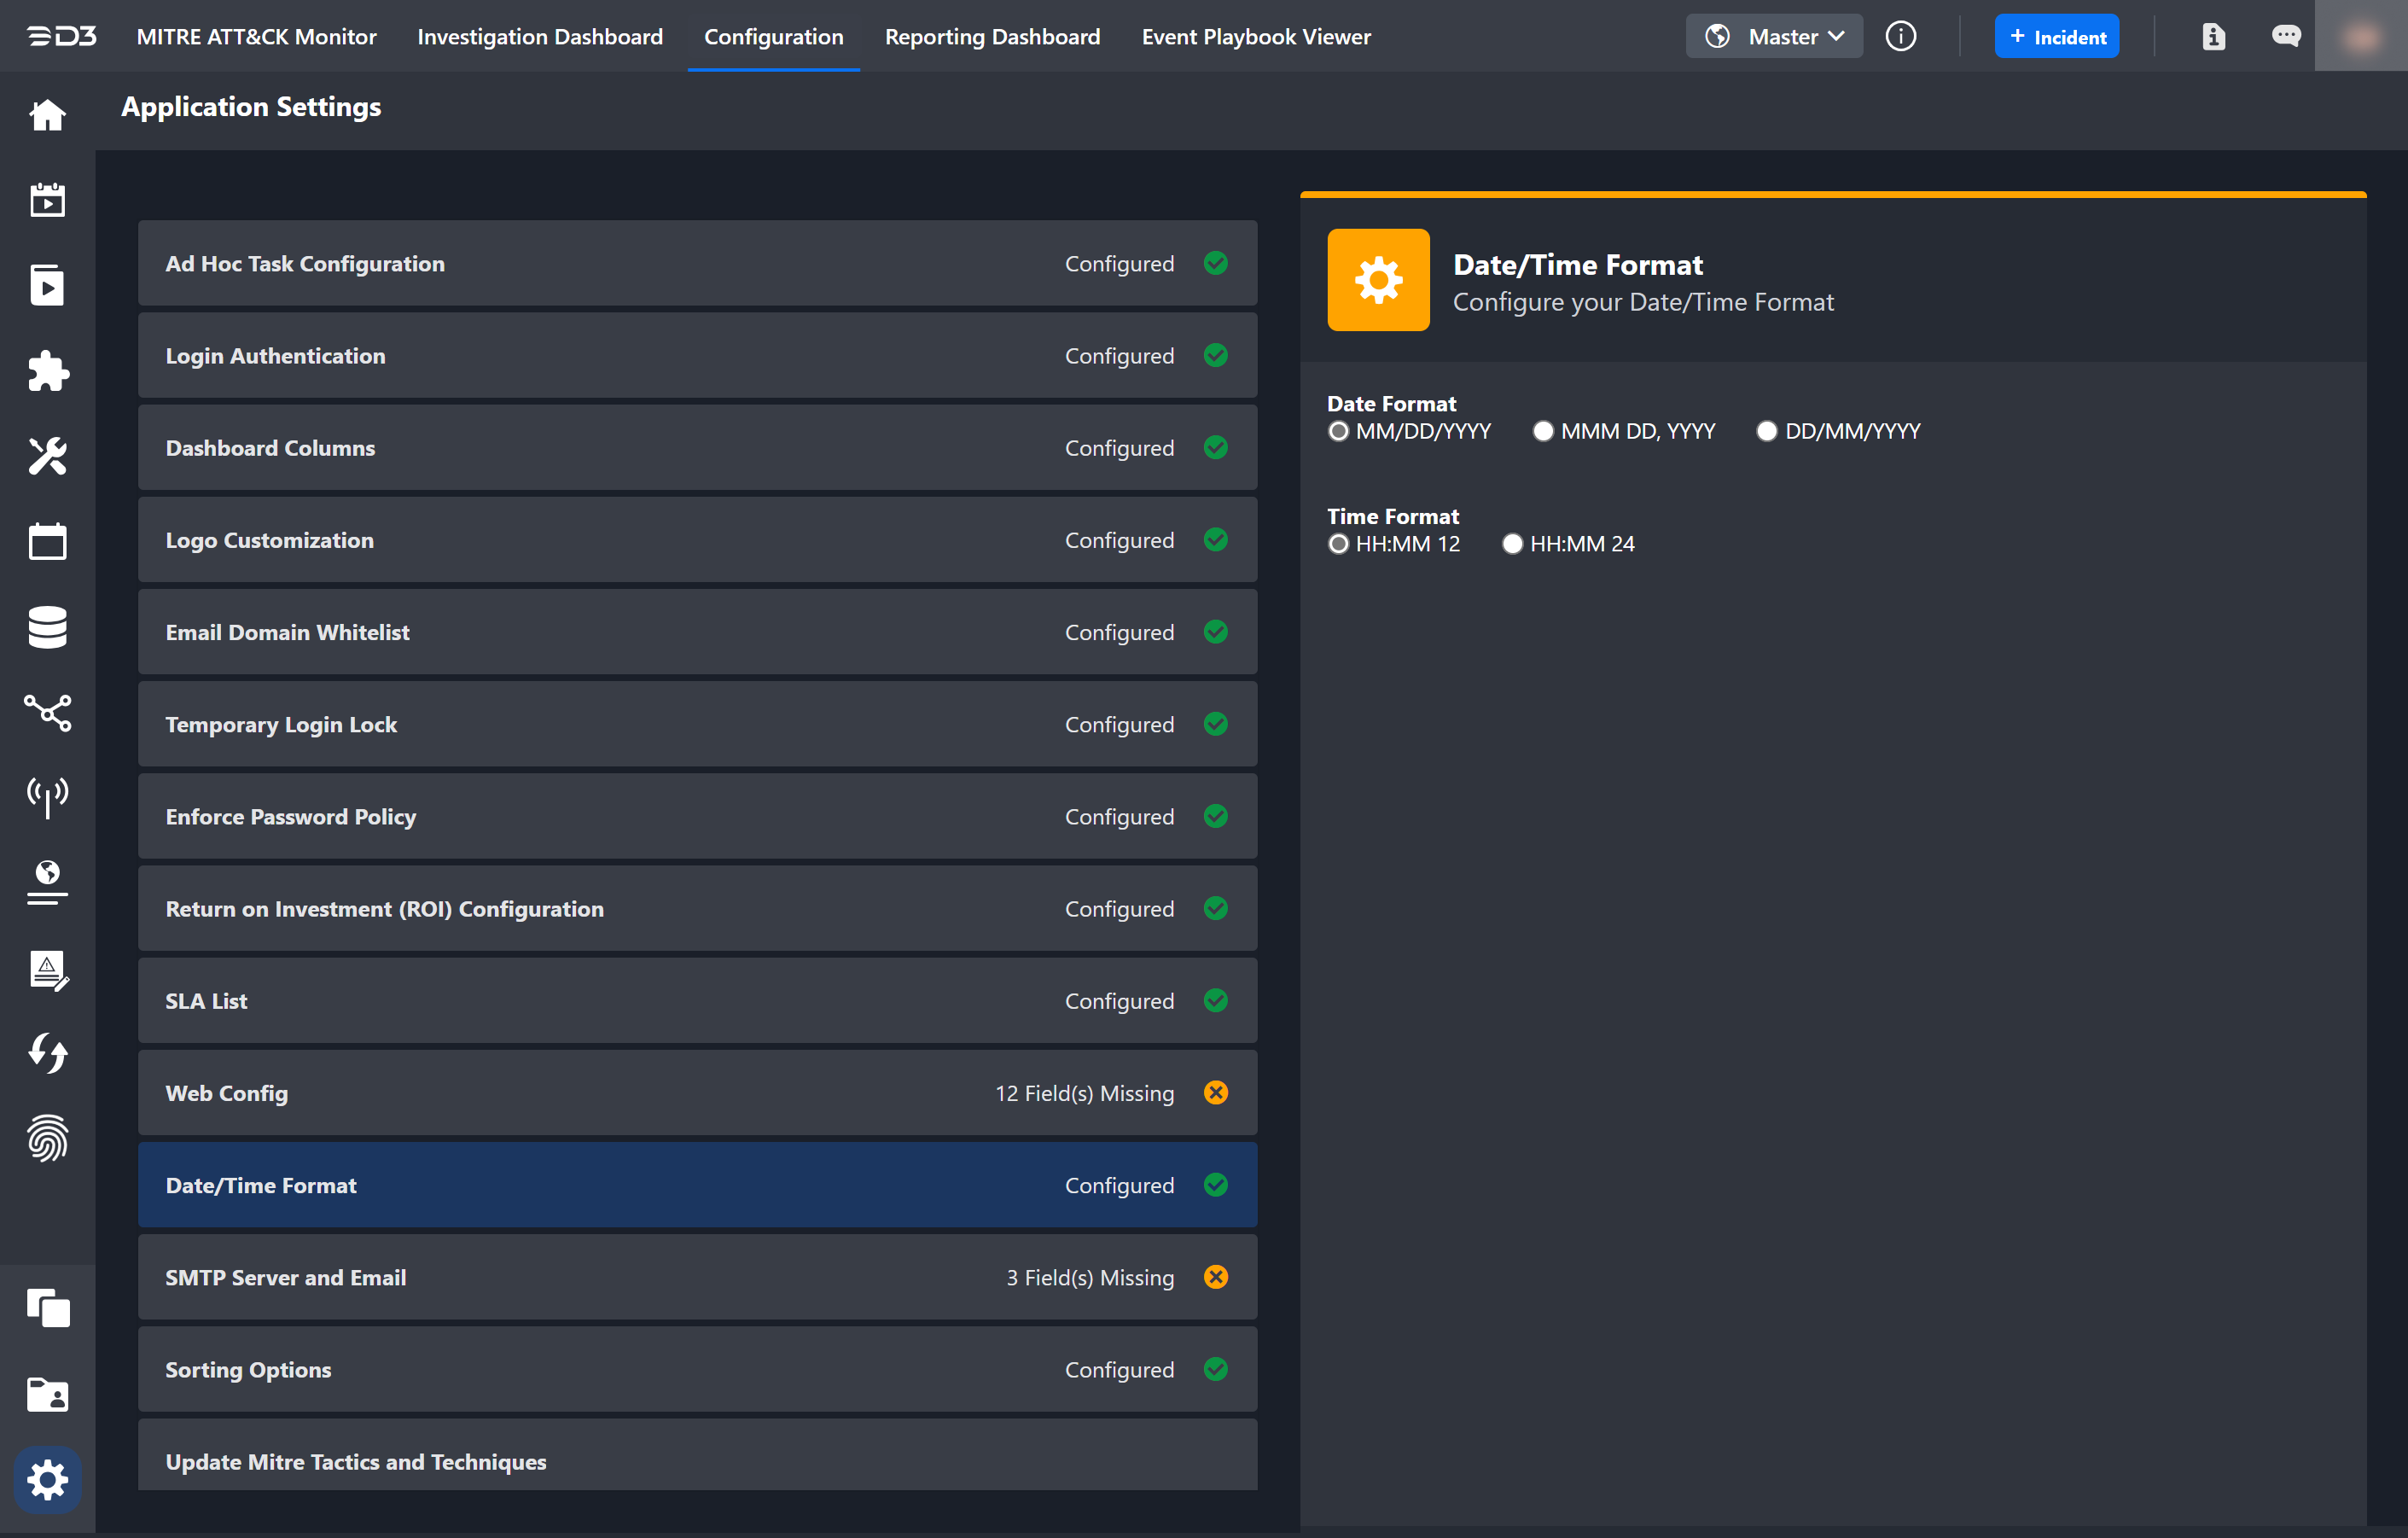
Date/Time Format allows users to set the default format for displaying date and time in D3. This system-wide default is applied across the platform.
Users can override the default date/time format when configuring specific modules or within Site Settings.
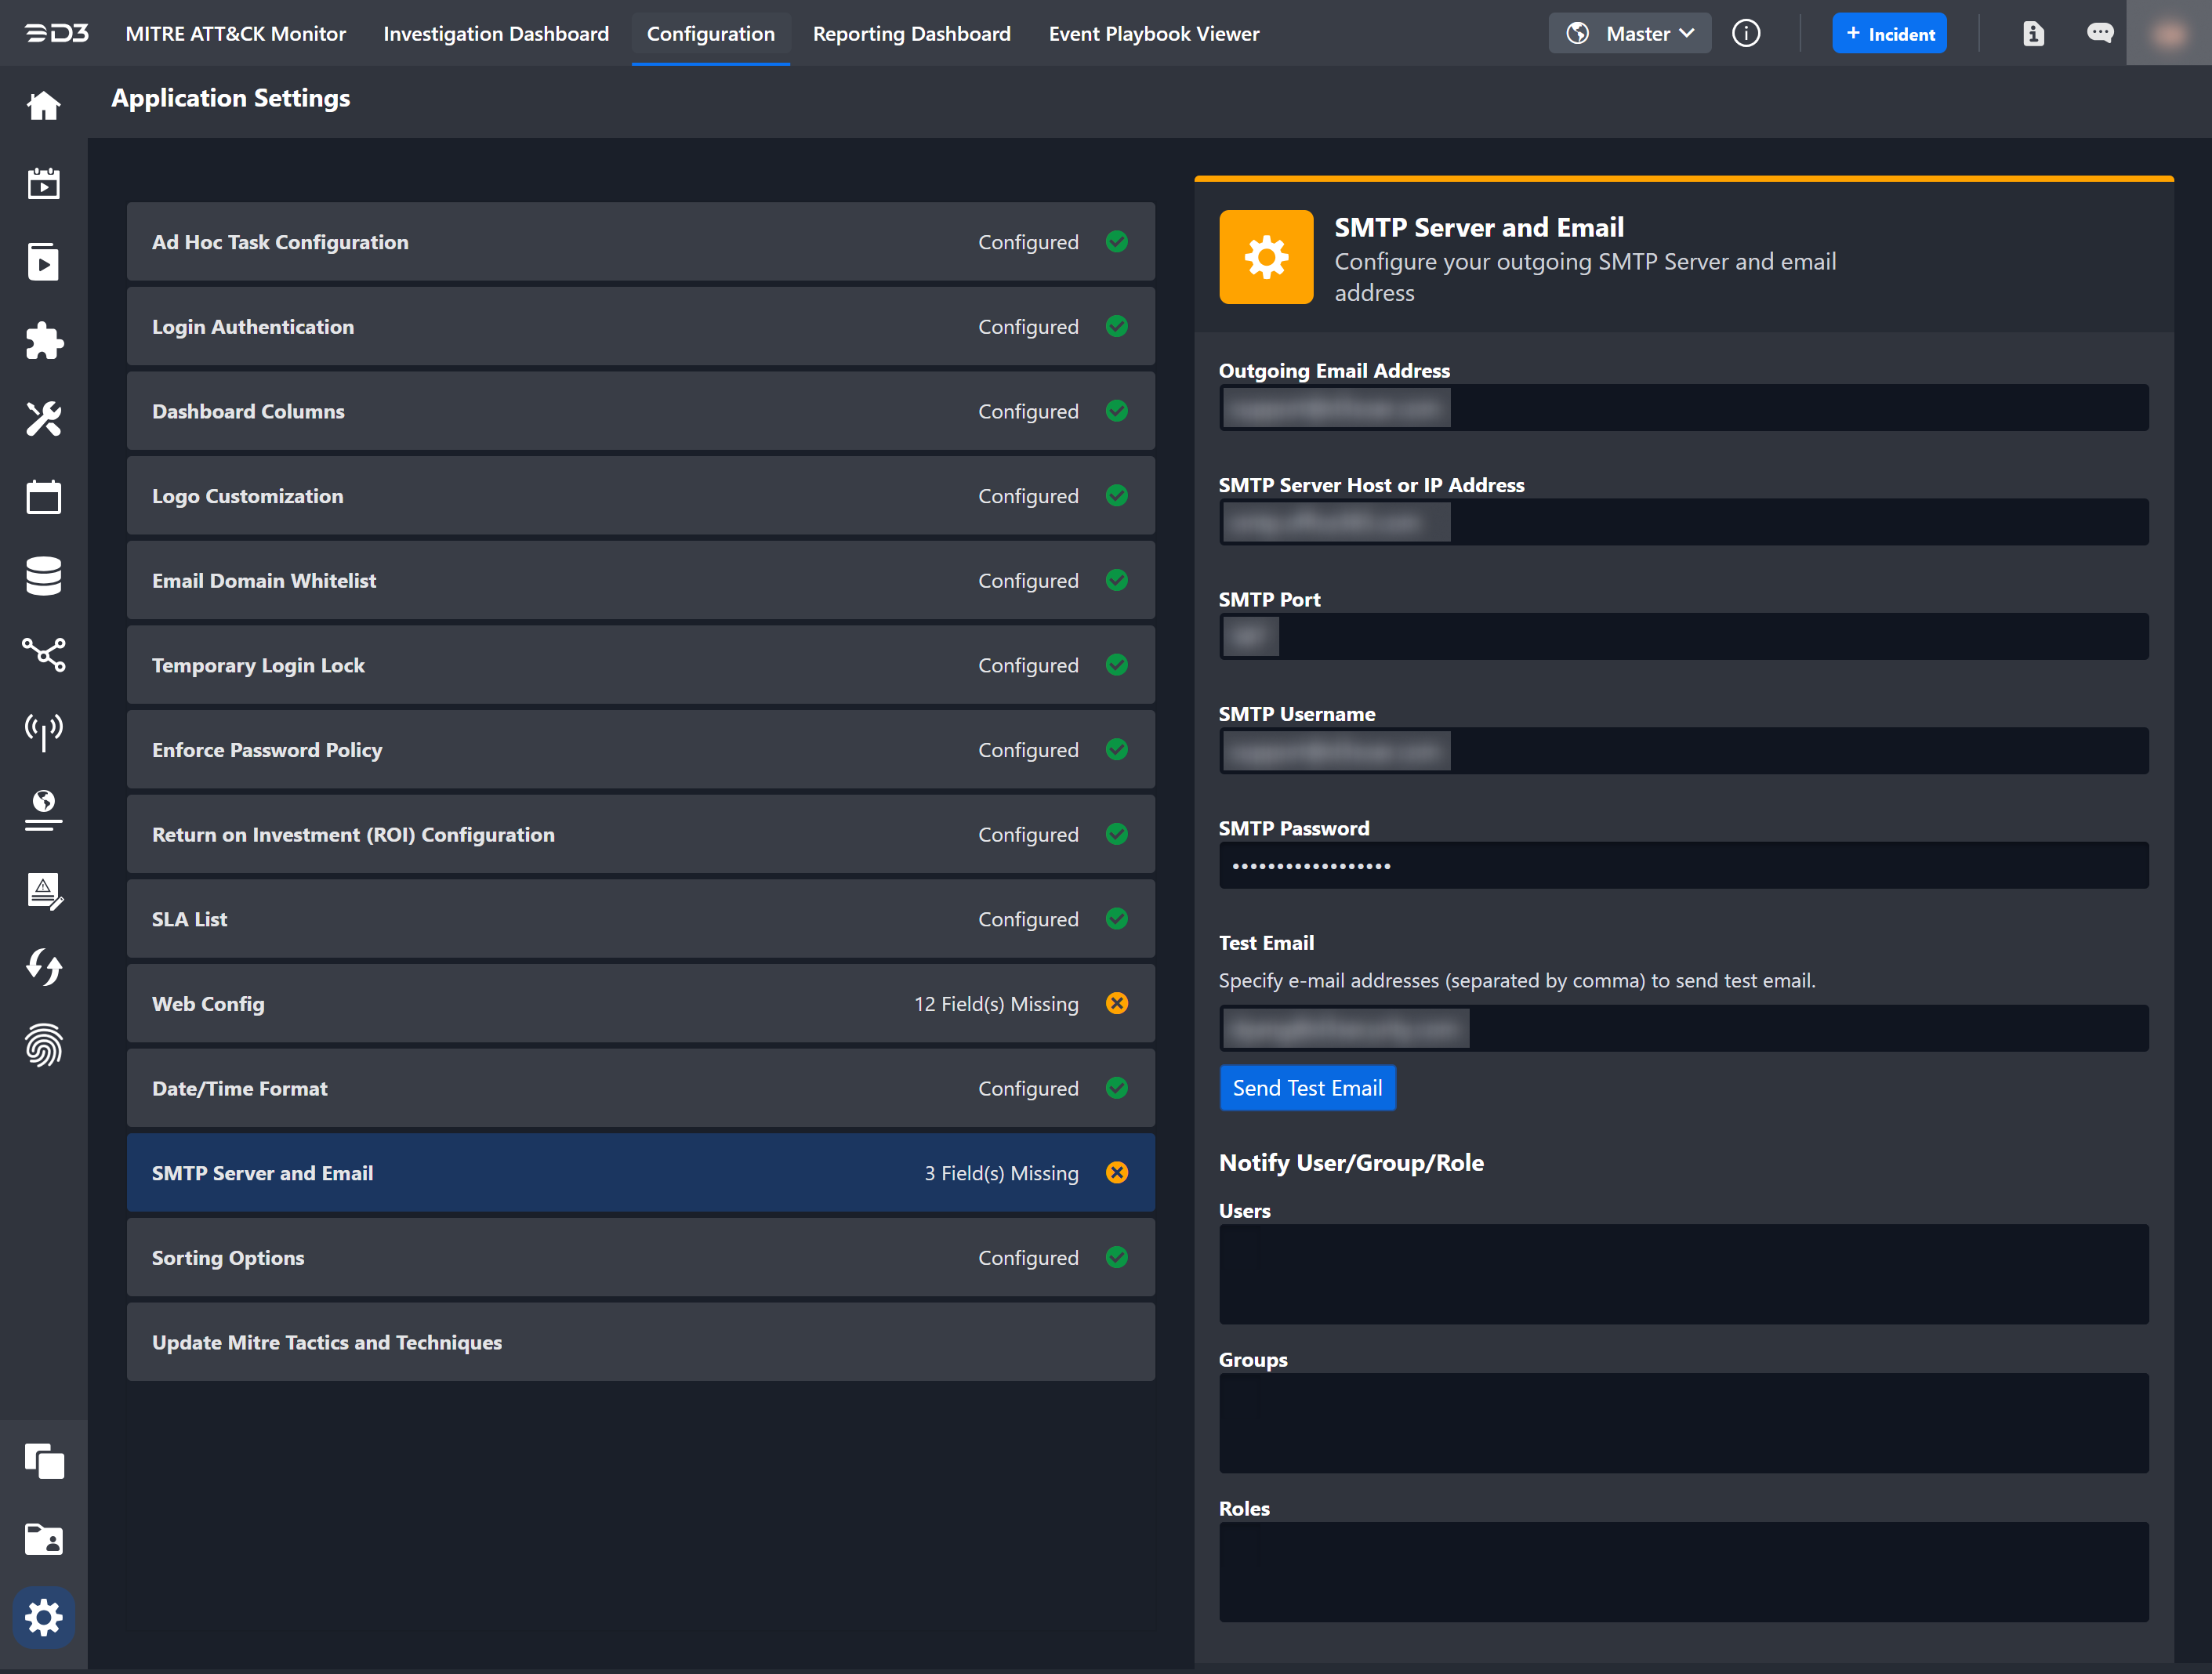
SMTP (Simple Mail Transfer Protocol) Server and Email
Configure the SMTP Details in order to send emails from the D3 platform.
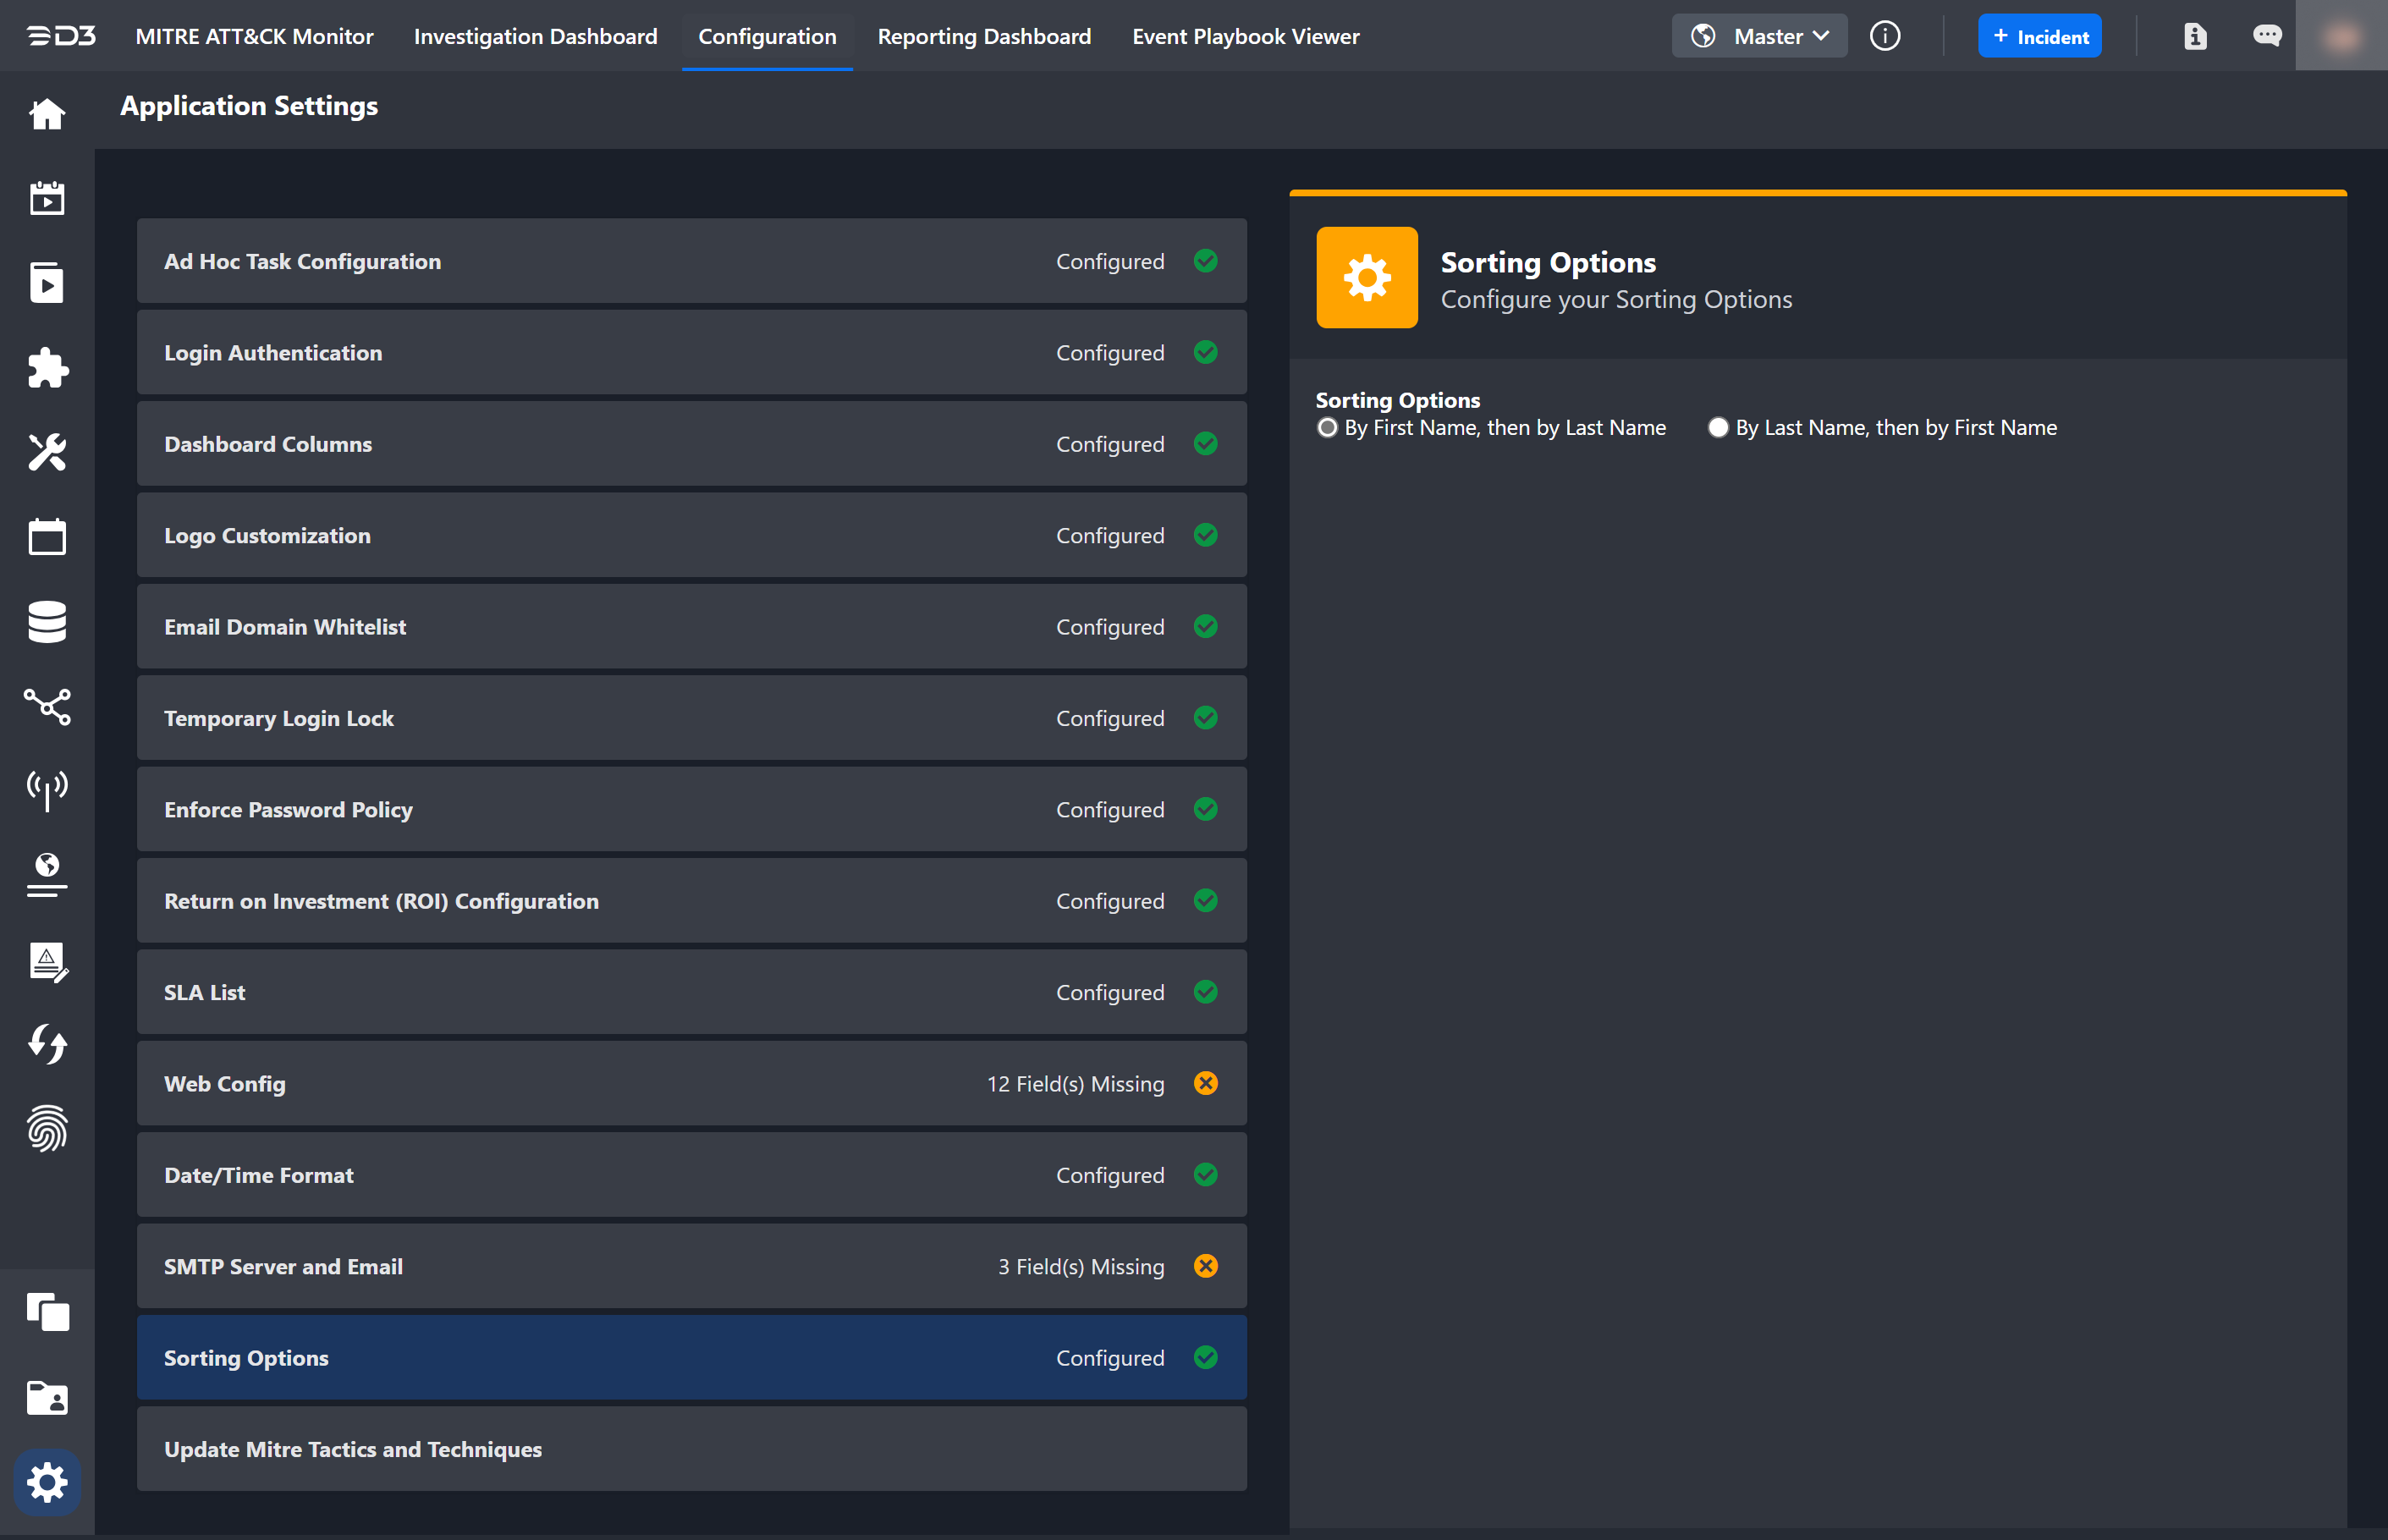
Sorting Options
Users can select how the officer name list is sorted when creating or editing an incident report.
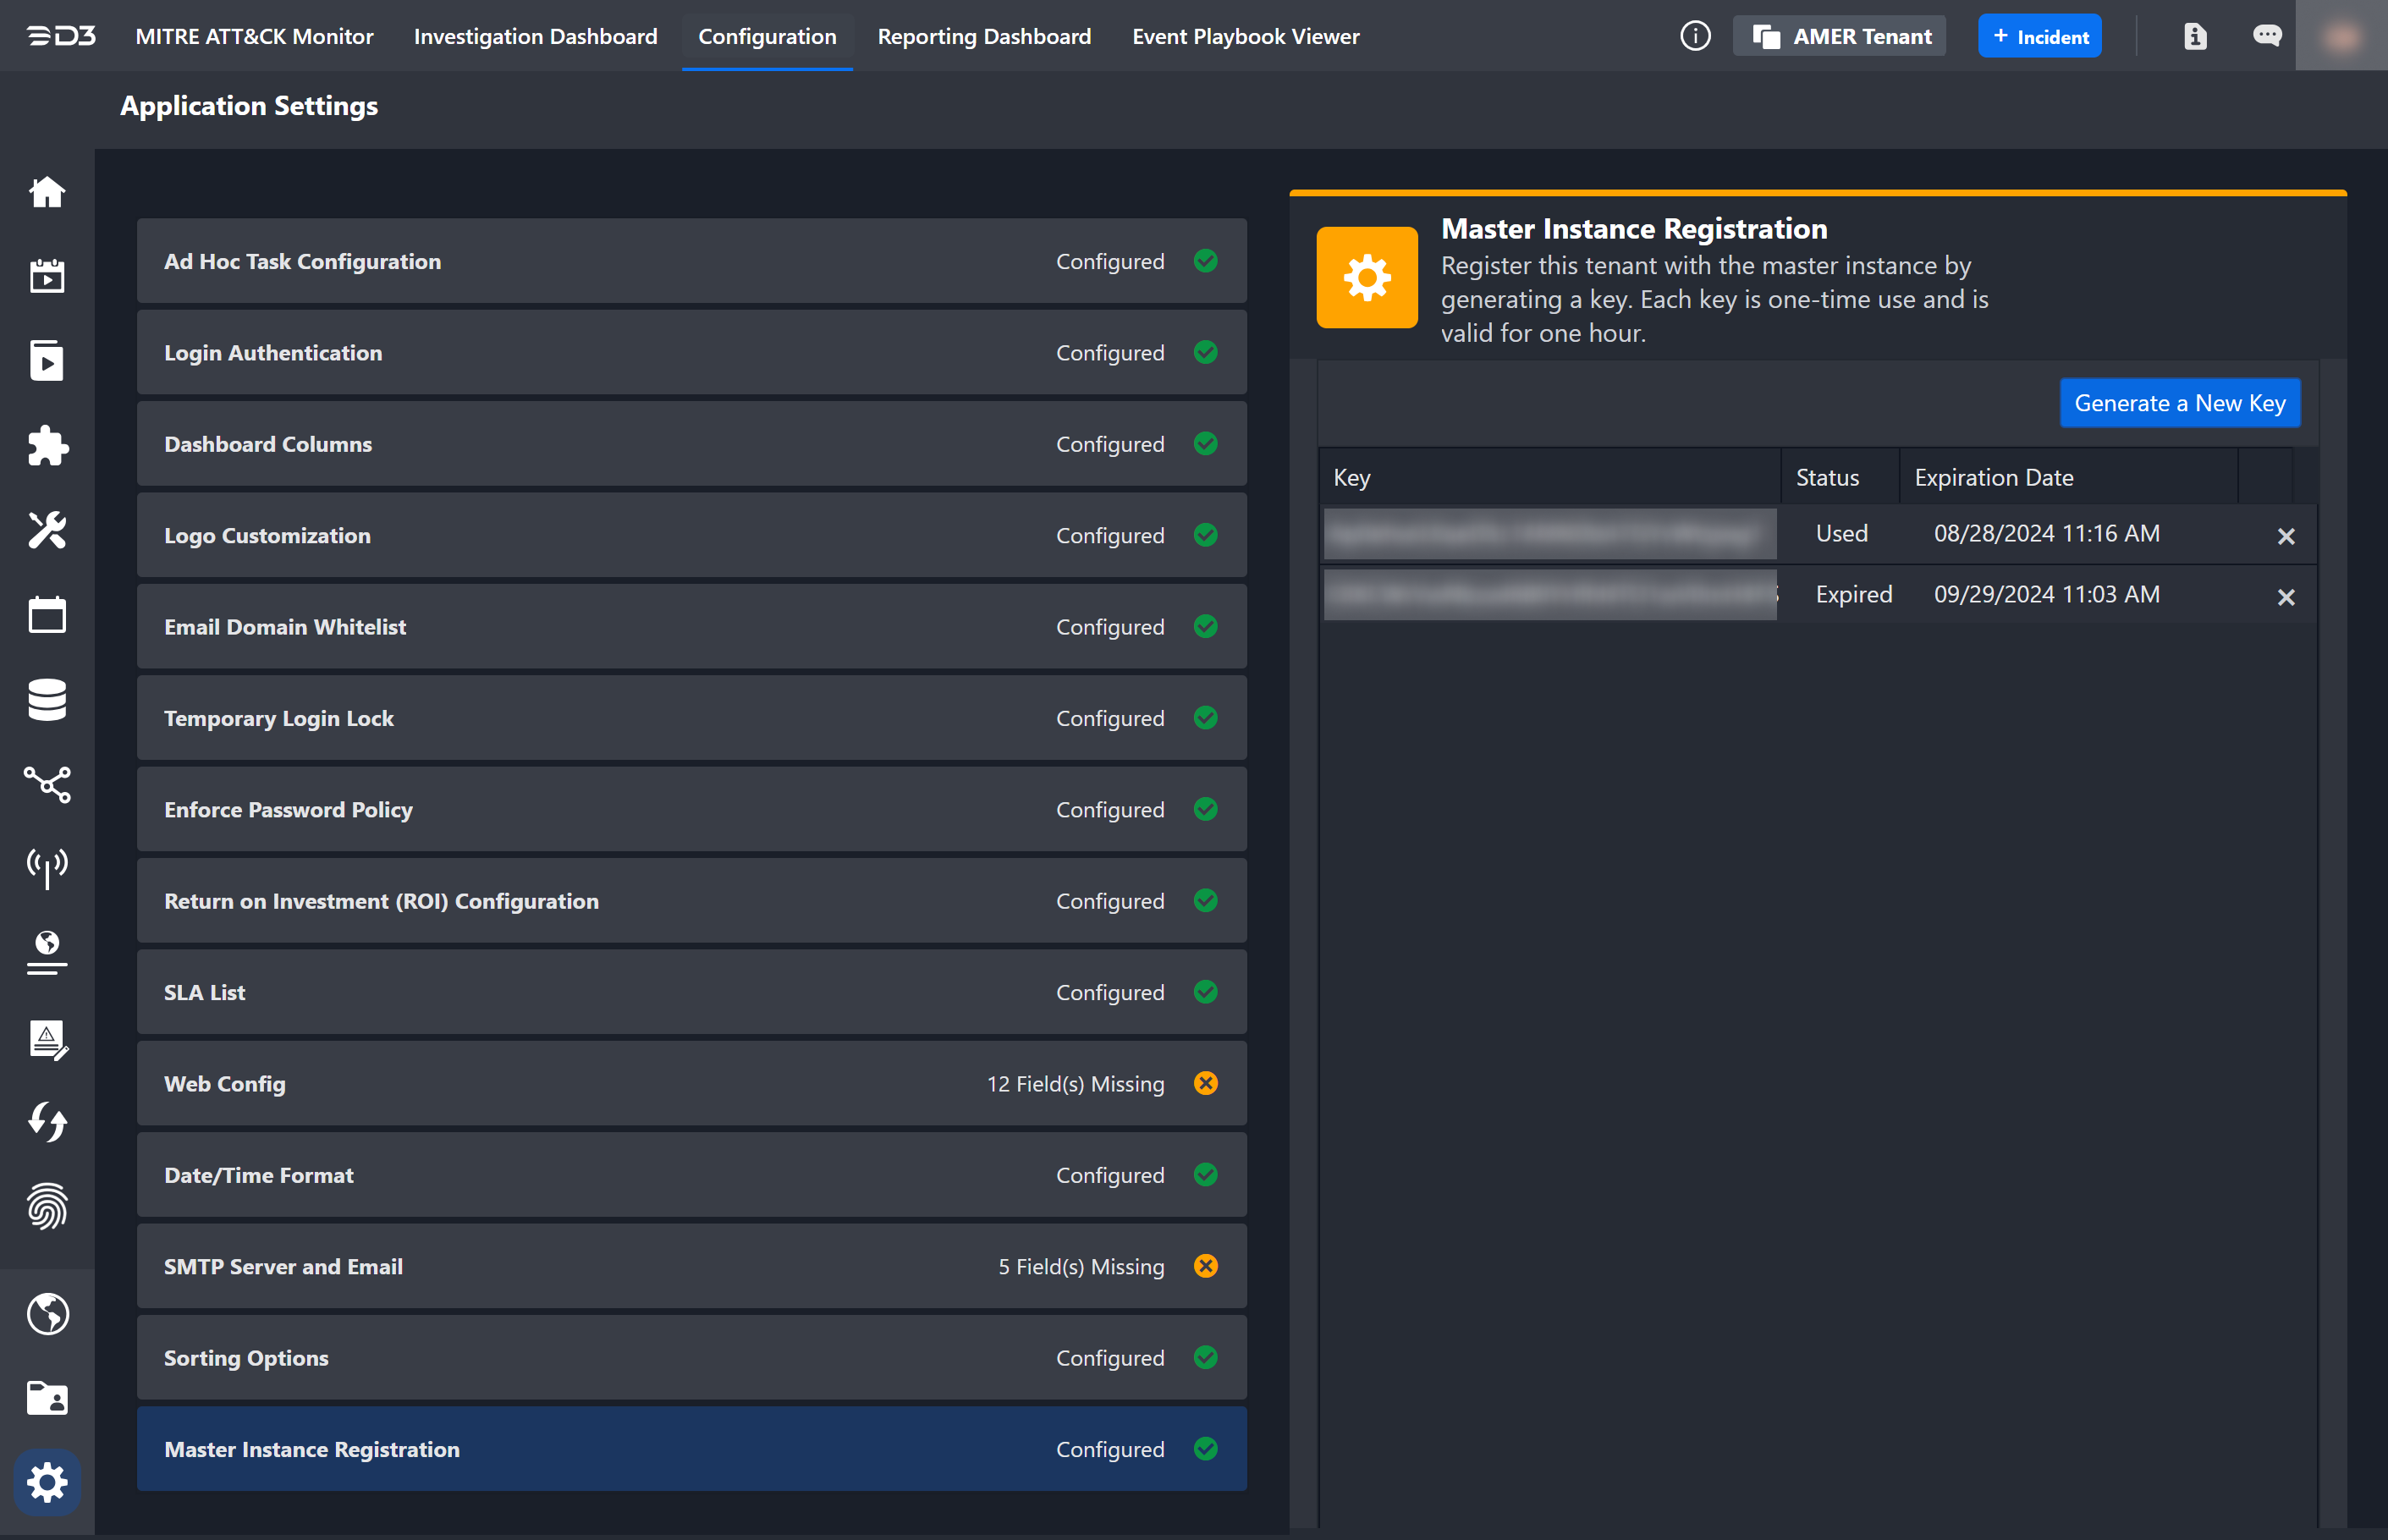
Master Instance Registration (Tenants Only)
-
Generating a key to connect a tenant instance with the master instance.
-
Copy the key to use when adding a tenant in the master instance.
READER NOTE
Each key is single-use and expires after one hour.
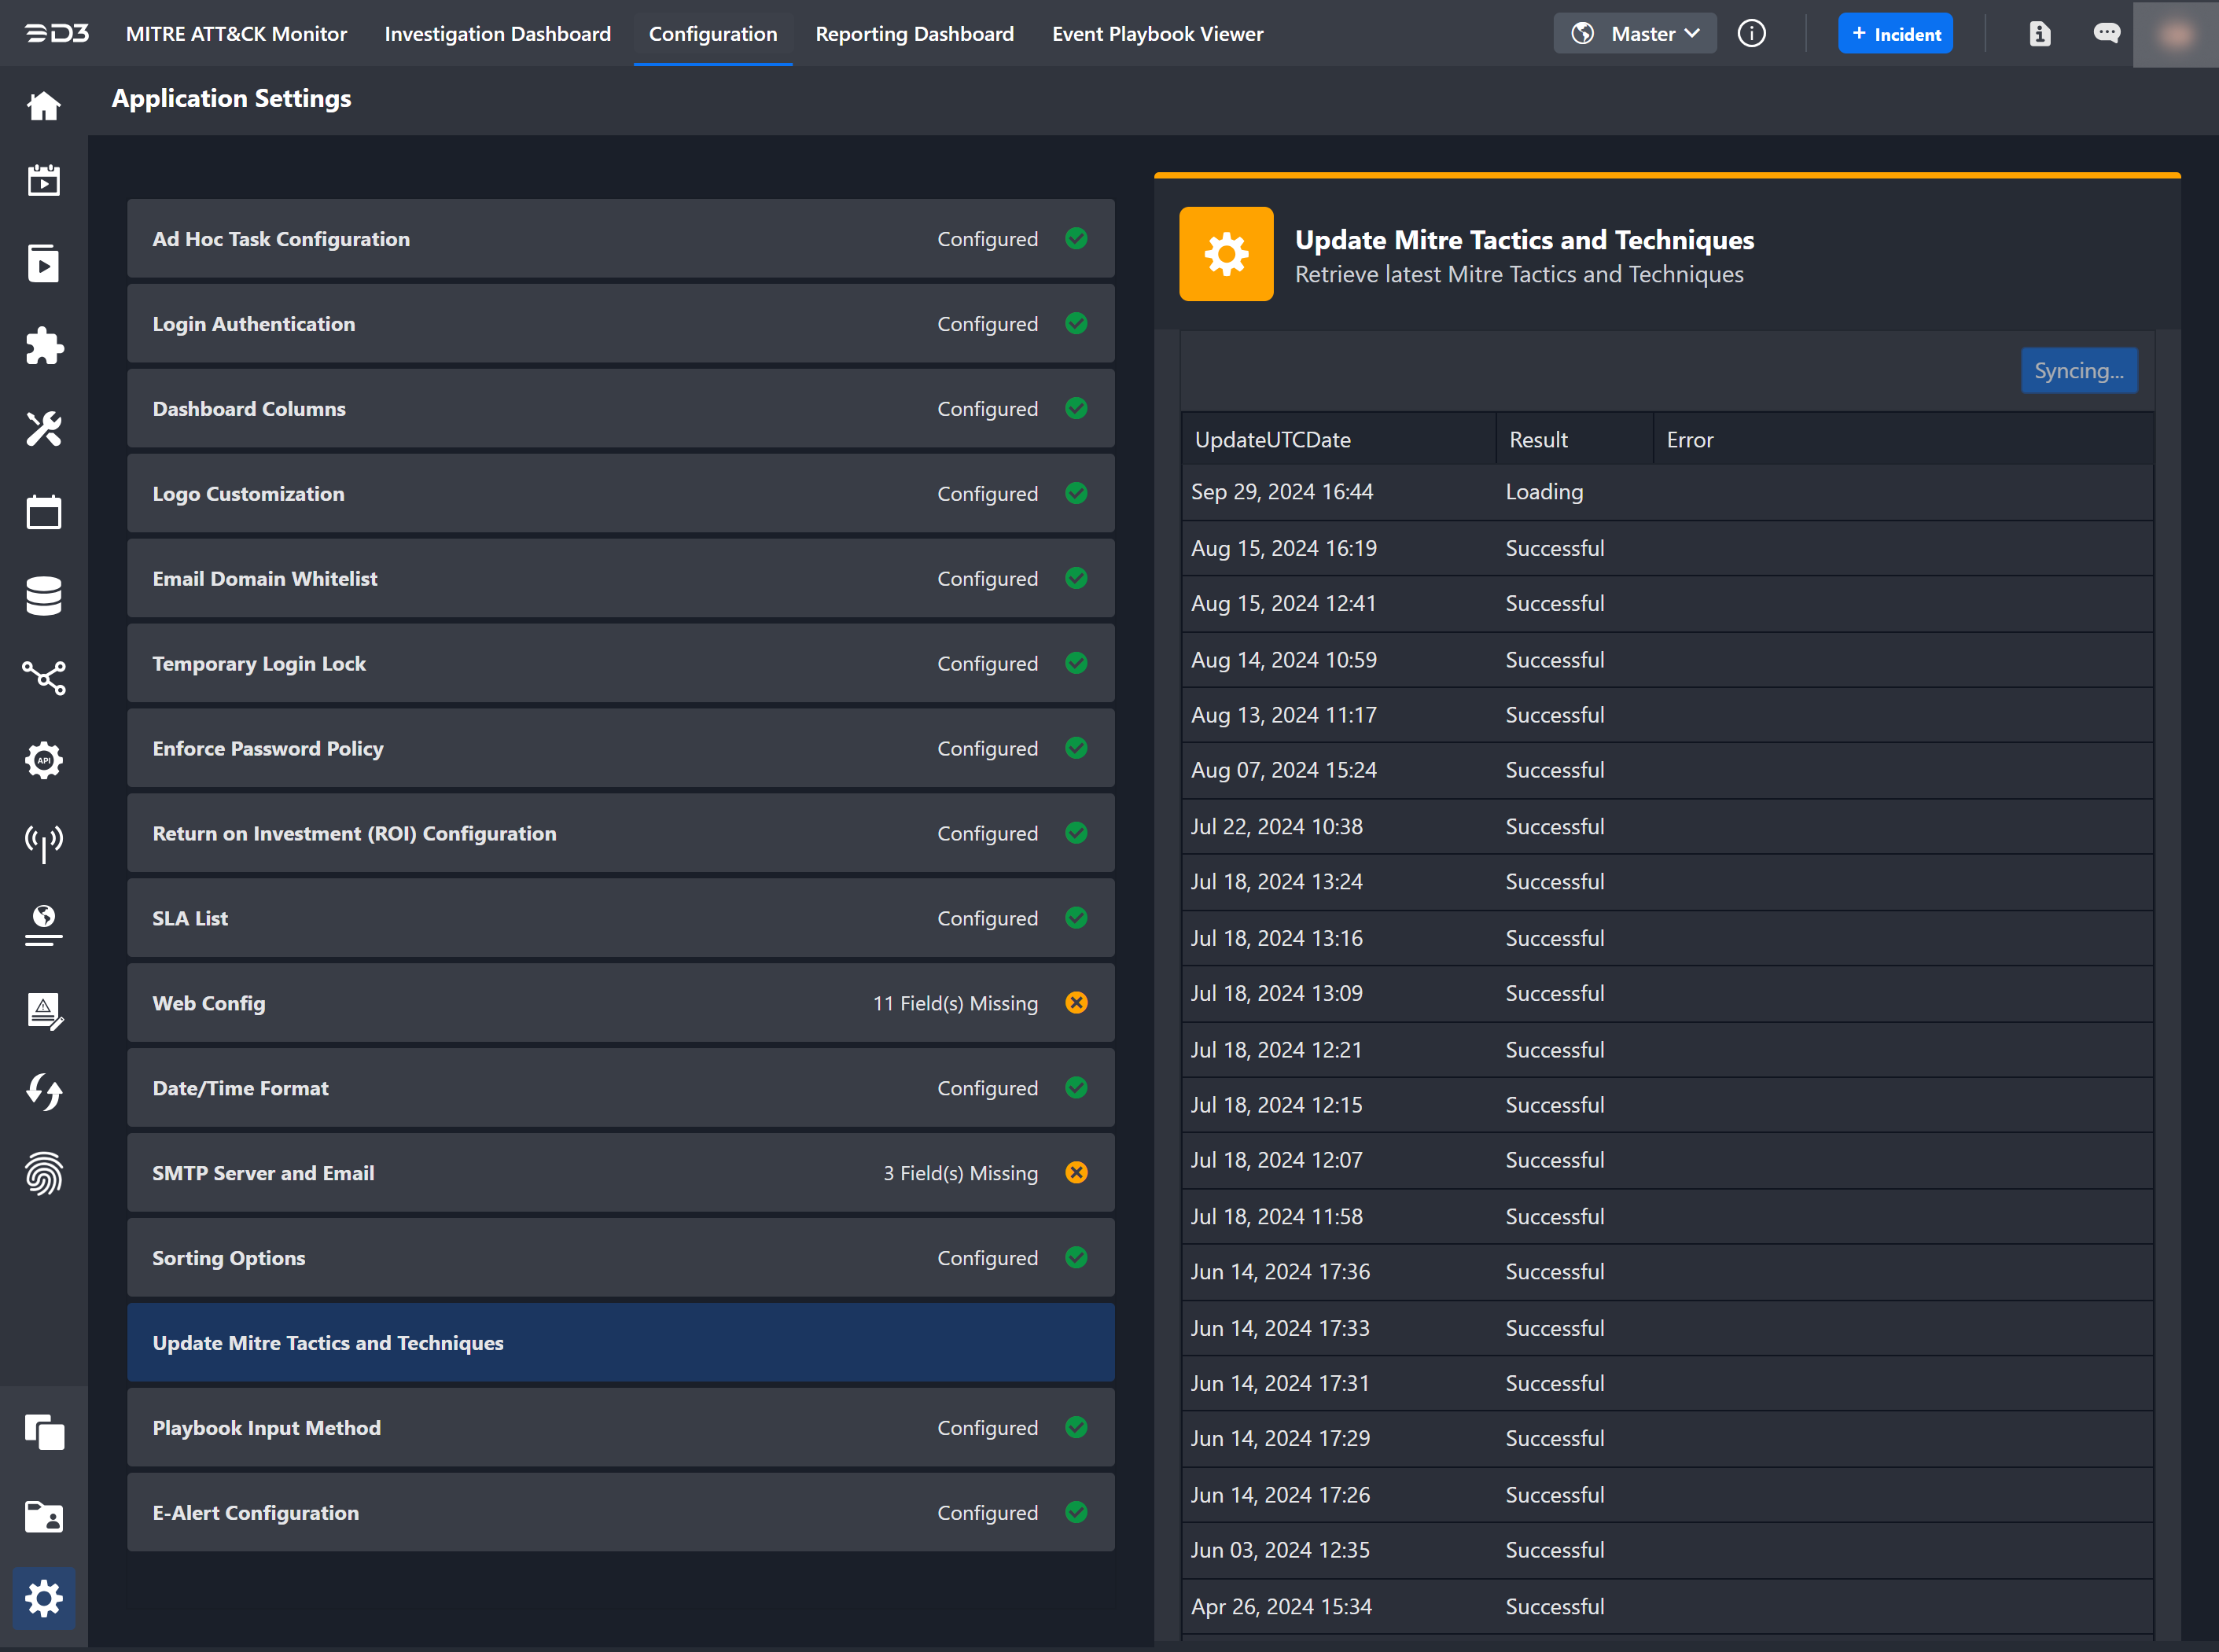
Update MITRE Tactics and Techniques
Ensure MITRE tactics and techniques remain current by clicking the Update TTP button to fetch the latest updates. A table displays the history of past updates and their results.