
Last Updated: November 19, 2026
Overview
White-label client reports let an MSSP or MDR send a client reports that carry the client's brand or the MSSP's own, so the client sees the service they bought rather than the platform it runs on. The branding is set once on the client's Site: every incident report exported from one of that client's incidents picks up the client's logo, and the White-label report (hide D3 branding) option keeps the D3 mark off it. Dashboard reports for the same client take a logo you choose when you export them.
White-label covers both the incident report and the dashboard PDF: the incident report is branded from the site, and the dashboard PDF carries the logo you choose at export. Scheduled dashboard emails are branded differently; What Each Report Carries shows which report carries what. This guide covers reports for one client at a time.
An incident report cover branded for one client
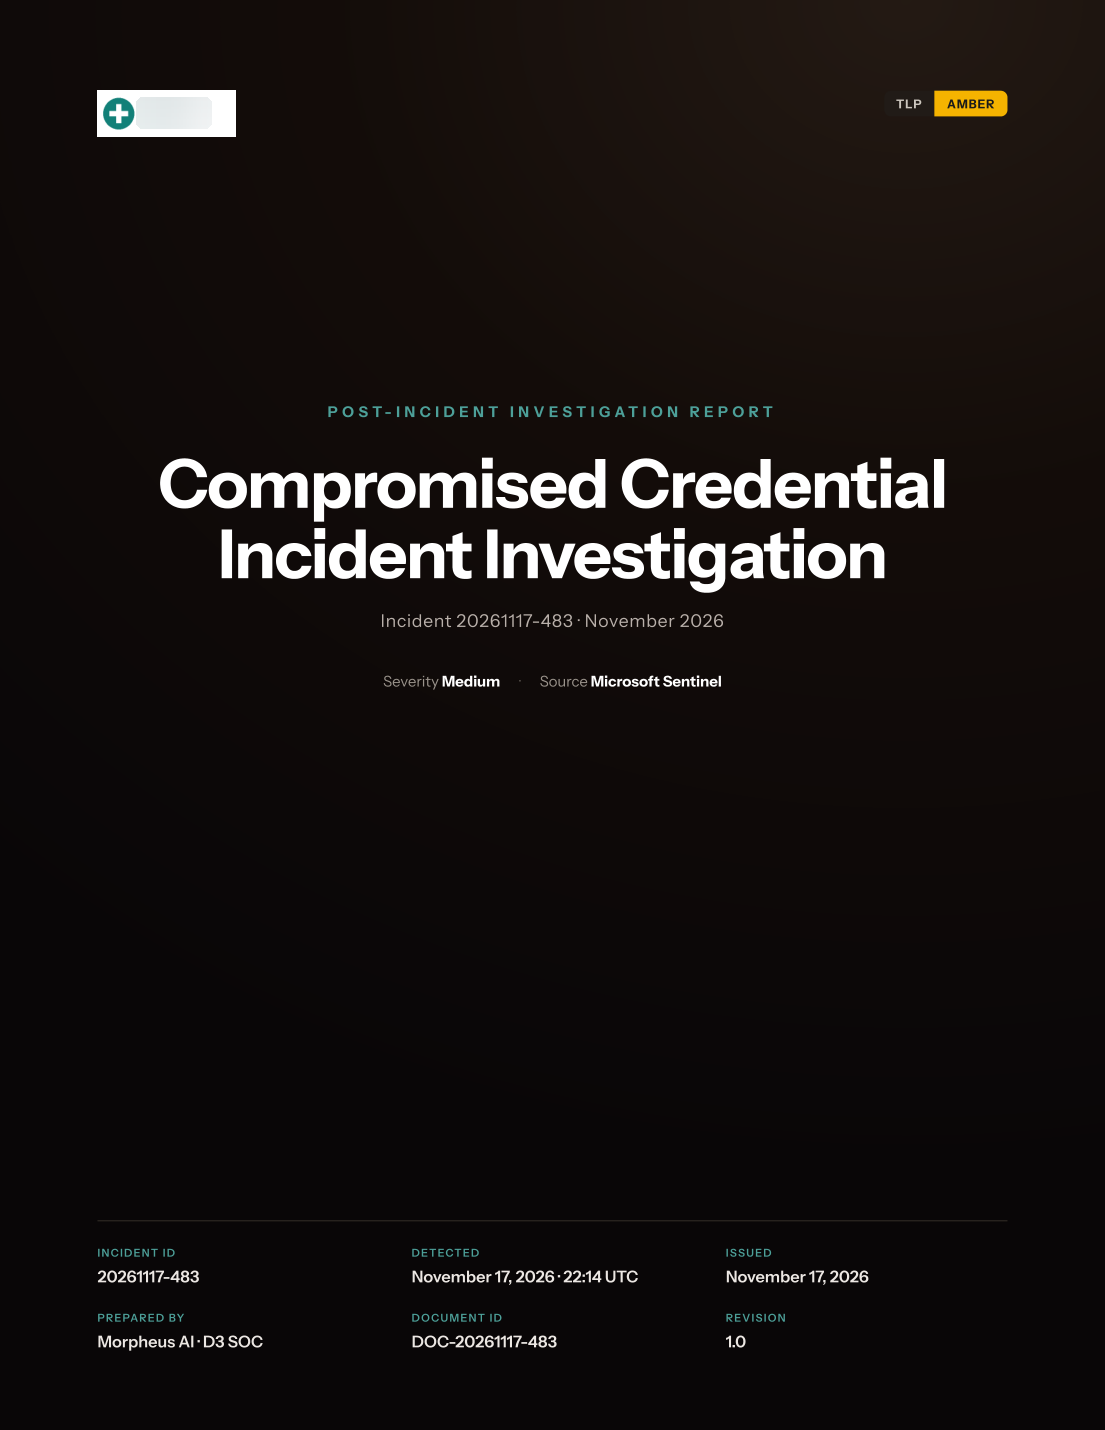
In short
|
# |
Stage |
Where it happens |
|---|---|---|
|
1 |
Add your own logo (your brand) |
Global Settings > Application Settings > Logo Customization |
|
2 |
Add the client's logo and choose white-label |
Global Settings > Organization Management > Sites > the client's site |
|
3 |
Export an incident report for the client |
The incident > Export |
|
4 |
Export a dashboard as a PDF or PowerPoint deck |
Configuration > Reporting Dashboard > Dashboards > a dashboard > More actions (...) |
|
5 |
Email a dashboard to the client on a schedule |
The dashboard > More actions (...) > Email Scheduler |
What Each Report Carries
Each report type is branded in a different way. Use this table to choose the report that fits what the client should see.
|
Report |
Logo it shows |
Follows White-label report |
Uses the site's Report Chart Colors |
|---|---|---|---|
|
Incident report (PDF, from an incident) |
The client site's logo, else your logo, else the D3 mark. Chosen for you from the incident's site. |
Yes |
Yes, as the report's accent colors |
|
Dashboard PDF (Export (.pdf)) |
The logo you upload in the export window. It starts as the D3 logo; you can replace it or remove it. |
No. You choose the logo in the export window. |
Yes |
|
Dashboard PowerPoint deck (Export (.pptx)) |
No logo on any slide |
Not needed: the deck carries no D3 mark |
Yes |
|
Scheduled dashboard email (Email Scheduler) |
The email carries the D3 Security logo, sign-off and support address. The dashboard it links to shows the dashboard name and the site, with no logo. |
No |
Not applicable |
WARNING
A scheduled dashboard email is sent under D3 Security branding, whatever the site's settings. When a client must see only your brand or theirs, export the dashboard as a PDF with the logo you choose and send it yourself.
Choosing Whose Brand the Client Sees
Two logos feed an incident report: your logo, set once for the whole platform in Application Settings, and the client's logo, set on the client's site. Which one the client sees depends on what you set on the site.
|
The client should see |
Set on the client's site |
|---|---|
|
Their own brand |
Upload the client's logo, and select Show logo in Incident Report Cover and Show logo in Incident Report Header |
|
Your brand |
Leave the site without a logo, or leave both Show logo in... options clear. Your logo from Application Settings is used. |
|
Their own brand, with nothing of D3 or of yours |
Upload the client's logo, select both Show logo in... options, and select White-label report (hide D3 branding) |
How the Incident Report Picks a Logo
The report's cover and the header on each page choose their logo separately, taking the first one that is available:
|
Place |
First choice |
Then |
If neither is set |
|---|---|---|---|
|
Cover |
The site's logo, when Show logo in Incident Report Cover is selected |
Your logo from Application Settings |
The D3 mark |
|
Header on each page |
The site's logo, when Show logo in Incident Report Header is selected |
Your logo from Application Settings |
No logo; the header shows the section name only |
White-label report (hide D3 branding) changes two things on that site's reports:
-
Your logo from Application Settings is skipped, so the client never sees it.
-
If the site has no logo for the cover, the cover's logo space is left empty instead of showing the D3 mark.
The site's own logo always shows when it is set, white-label or not.
READER NOTE
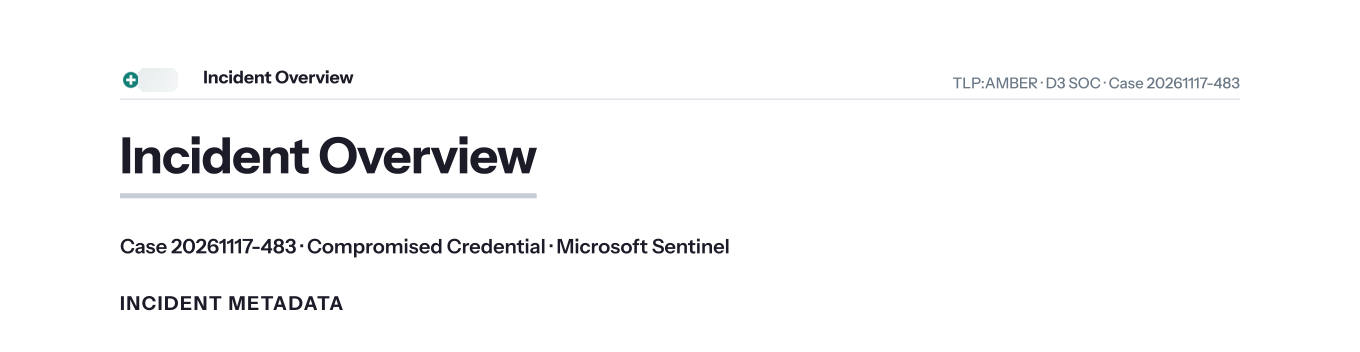
White-label removes the D3 mark, not every mention of D3. The cover's Prepared by line reads Morpheus AI · D3 SOC, the running header on every page ends with D3 SOC · Case and the incident number, and section titles such as Morpheus AI Investigation Summary keep the Morpheus name.
Who Can Set It Up
Branding is an administrator task. A role with Administrator switched on can open Organization Management and Application Settings, where the logos and the white-label option live. See Organization Management.
Exporting an incident report needs the role permission Export Incident; the Export command is not shown to users without it. See Users / Groups / Roles. Anyone who can open a dashboard can export it; only users who can edit a dashboard see Email Scheduler.
Adding the Provider Logo
Your logo is the MSSP's brand. It appears on the incident reports of every client site that has no logo of its own, and in the navigation bar.
-
Go to Global Settings > Application Settings, and select Logo Customization.
-
Select Upload Logo (or Replace Logo if one is already set) and choose a PNG or JPG file of up to 3 MB.
-
Check the Cover Page and Header previews under Incident Report.
-
Save the change.
Logo Customization
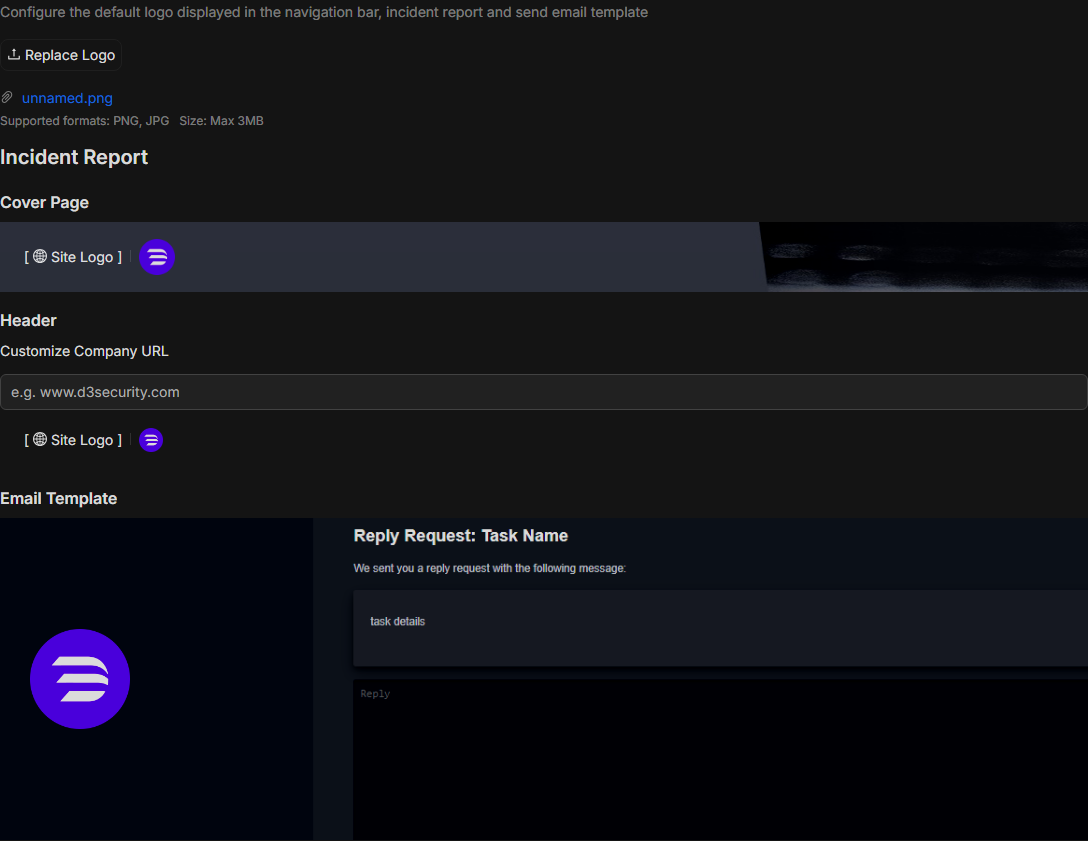
RESULT
The message Settings saved. appears, and incident reports for sites without a logo carry your logo. For the other items on this page, see Application Settings.
Branding a Client Site
The client's site holds the client's logo, the white-label choice and the chart colors used in that client's reports. Set them once, and every report for that client follows.
-
Go to Global Settings > Organization Management > Sites, and select the client's site, for example Northwind Clinic. To add a new client site, select Add Site; see Organization Management.
-
On the Details tab, under Logo, select Click to upload and choose the client's logo: PNG or JPG, up to 3 MB. A 450×150 px image fits best.
-
Select Show logo in Incident Report Cover to put the logo on the report's cover, and Show logo in Incident Report Header to put it at the top of each page.
-
Select White-label report (hide D3 branding) if the client should see no D3 mark and none of your branding.
-
Optionally, under Report Chart Colors, add the client's brand colors. They color the charts in this site's Reporting Dashboards and exports, and the first two set the accent colors of the site's incident reports. Leave it empty to use the D3 default palette.
-
Select Save.
The client site's logo and report options
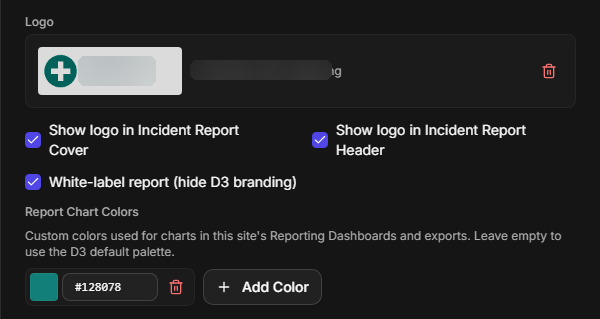
RESULT
The message Site "Northwind Clinic" has been saved successfully. appears. The next incident report exported from one of the site's incidents carries the client's branding; reports already downloaded do not change.
To remove the logo, select the bin button beside it and select Save.
COMMON ERROR
|
Message |
What to do |
|---|---|
|
Only PNG or JPG files are allowed. |
Save the logo as a PNG or JPG file and upload it again. |
|
Image must be smaller than 3MB. |
Reduce the image size, for example to 450×150 px, and upload it again. |
|
Invalid file header — only PNG/JPG are accepted. |
The file was renamed but is not really a PNG or JPG. Export it again as PNG or JPG from an image editor. |
Exporting an Incident Report for a Client
An incident report is a PDF of one incident for the client: what happened, what was found, and what was done. Its branding comes from the incident's site, so a Northwind Clinic incident always exports with Northwind Clinic's branding. You do not choose the logo when you export.
-
Open the incident.
-
Select the more menu (···) at the top right of the incident, then select Export.
-
In Export Incident Report, select the sections to include, or Select All.
-
Optionally, select Only export non-empty sections to leave out sections with nothing in them.
-
Select Export.
Export Incident Report
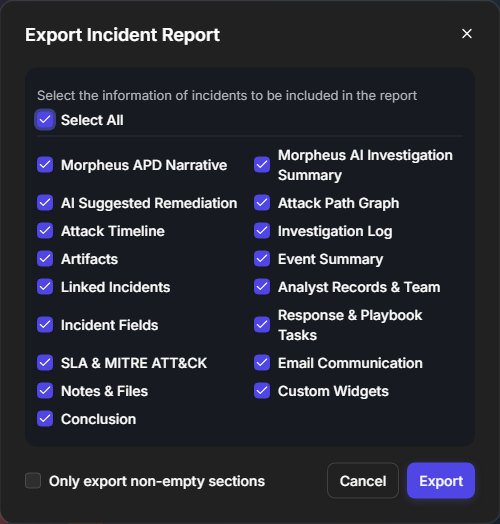
RESULT
The PDF downloads. Its cover and page headers carry the logo chosen as described in How the Incident Report Picks a Logo.
The header on the report's pages
READER NOTE
Before sending the first report to a new client, export one from a test incident in their site and check the cover. It is the quickest way to confirm the site's logo and options are set the way you intended.
Sending Dashboard Reports to One Client
Reporting Dashboards turn the client's data into charts and numbers: incident volume, response times, SLA results. To report on one client, select only that client's site on the dashboard before you export or schedule, never an option that combines sites. For building dashboards and widgets, see Reporting Dashboard and Reporting Dashboards and Widgets.
Exporting a Dashboard as a PDF
The PDF export puts the dashboard's charts under a title, a logo and a note you write, ready to send to the client. You choose the logo in the export window each time.
-
Go to Configuration > Reporting Dashboard > Dashboards, and open the dashboard.
-
Select the client's site, for example Northwind Clinic, and the dates the report should cover.
-
Select More actions (...) > Export (.pdf). On a dashboard you can only view, select Export > Export (.pdf).
-
In Report Name, enter the report's title. It is also the file name.
-
Under Logo Customization, select Upload Image and choose the client's logo or yours (PNG, JPG or JPEG, up to 3 MB; 450×150 px recommended). To send the report with no logo, select the X beside the D3 logo instead.
-
Optionally, enter a Note for the client (up to 1,000 characters), and choose the Paper Size and Orientation.
-
Check the PDF Preview, then select Export.
The Export Report window
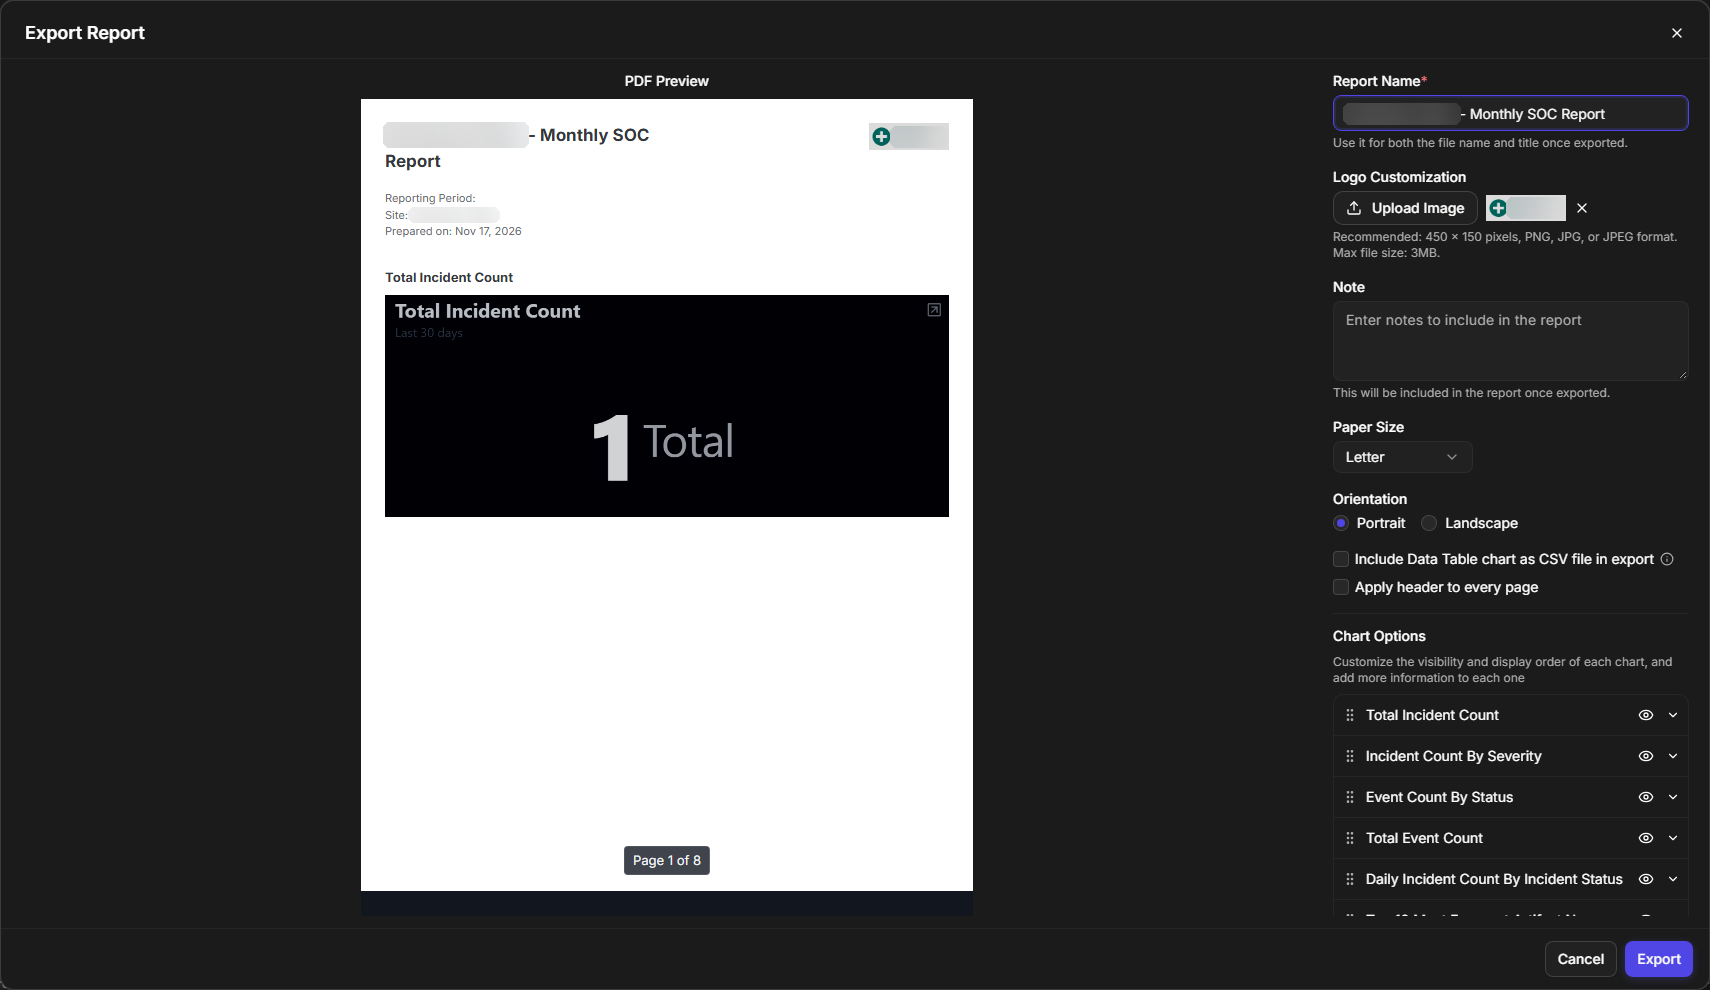
RESULT
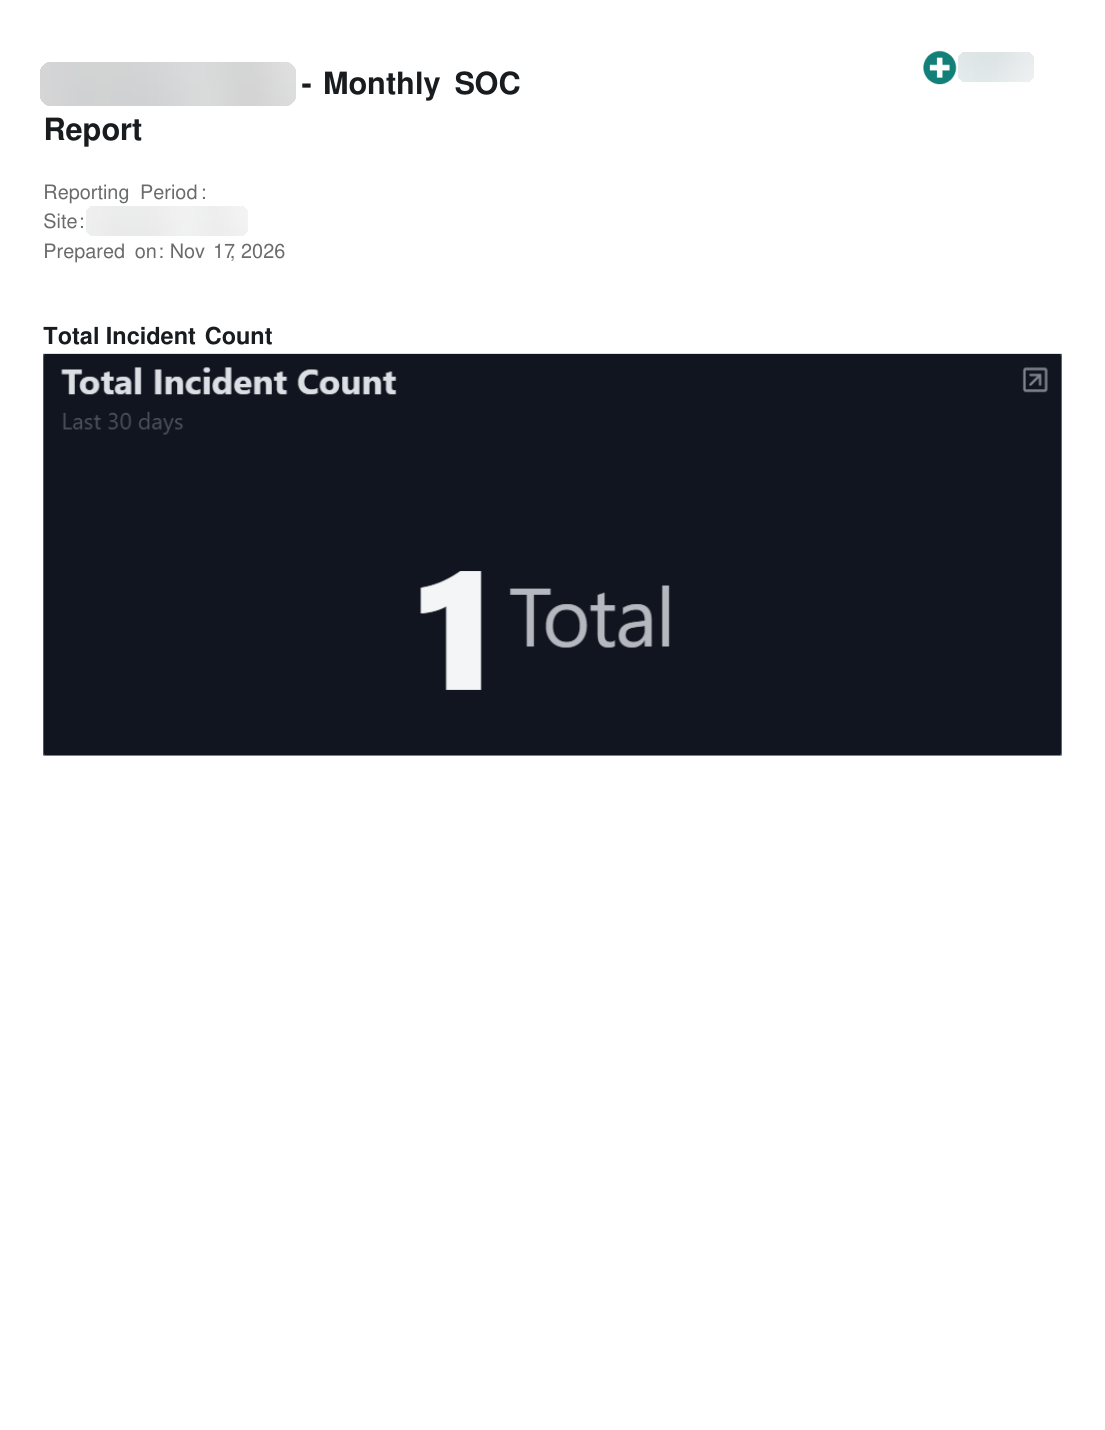
The PDF downloads with the report name and your chosen logo at the top, then Reporting Period, Site and Prepared on, your note, and the charts.
A dashboard PDF for one client
READER NOTE
The export window opens with the D3 logo. Once you upload a logo or change the report name, the window keeps them while you stay on the dashboard, even after you switch to another client's site. Check the logo, the report name and the site before each export.
Exporting a Dashboard to PowerPoint
Export (.pptx) turns the dashboard into an editable PowerPoint deck. The deck has no logo on any slide, so you can add the client's logo or yours in PowerPoint before sending it. Select the client's site before exporting: the site appears on the title slide and under every widget. For the full steps, see Exporting a Dashboard to PowerPoint.
Emailing a Dashboard on a Schedule
Email Scheduler sends the client a link to a copy of the dashboard, once or on a repeating schedule, so they get their report without anyone exporting it.
WARNING
The email itself is sent under D3 Security branding: the D3 Security logo at the top, D3 Security Team as the sign-off, a D3 support address, and a D3 copyright line. Use it only for clients who may see D3's name. For a white-label delivery, export a PDF instead.
-
Open the dashboard and select More actions (...) > Email Scheduler.
-
Select New Email.
-
In Select a site, choose the client's site, for example Northwind Clinic. The line under it confirms that a copy of the dashboard will be sent as a viewable link.
-
Enter the client's address in To, and any others in Cc and Bcc. Separate several addresses with commas.
-
Enter a Subject and the message.
-
To send on a schedule, switch on Set as a scheduled delivery, set Starts (in the site's time zone), choose how often under Repeat > Every, and when to stop under Ends: Never, After a number of emails, or On a date. Leave it off to send once, now.
-
Select Send.
A new scheduled email for one client
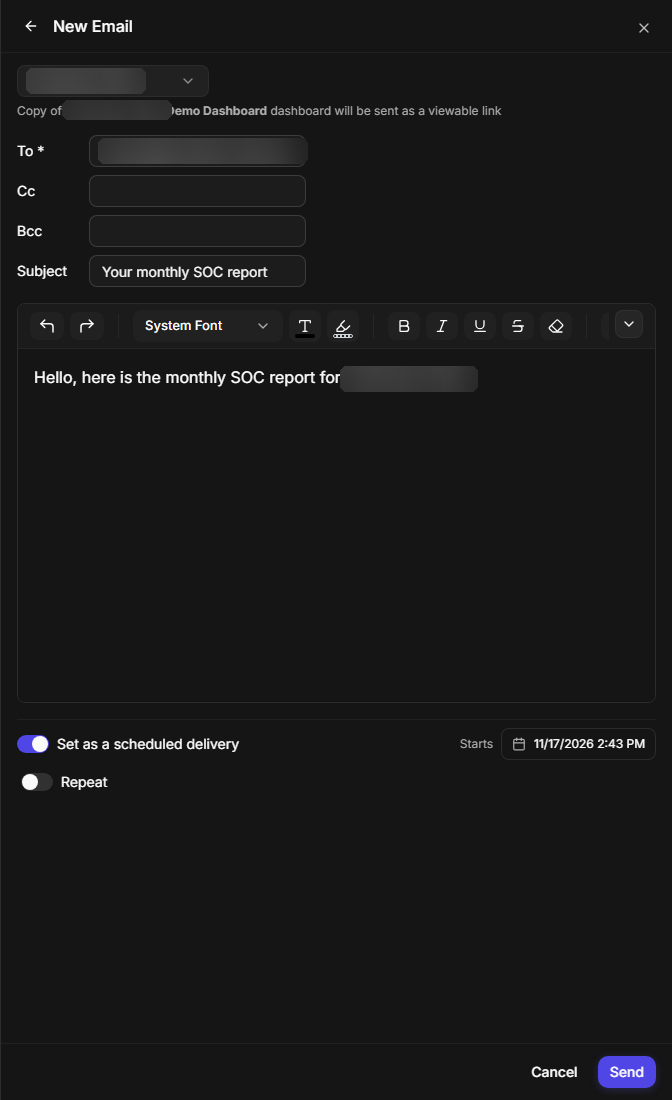
RESULT
The client receives an email with a Click to View Dashboard button. The link opens a read-only copy of the dashboard as it was when the email was sent, headed with the dashboard name and the site, and needs no sign-in. The link stops working after two days.
To stop a link working before then, open Report History, find the email and select Revoke. The client then sees The owner of this dashboard has revoked access to this link.
|
The client sees |
Why |
|---|---|
|
This link has expired or is no longer valid. |
The link is older than two days, or no longer exists. Send the report again. |
|
The owner of this dashboard has revoked access to this link. |
Someone revoked it in Report History. |
|
Please select a site. (when you send) |
Select a site is empty. Choose the client's site. |
|
Please check recipient(s) email address. (when you send) |
To is empty. Enter the client's address. |
Frequently Asked Questions
A client's incident report shows my logo, not theirs. Why? The site has no logo, or Show logo in Incident Report Cover or Show logo in Incident Report Header is clear. Open the site in Organization Management > Sites and check both.
I selected White-label and the cover now has no logo at all. Why? White-label hides your logo and the D3 mark, so a site without its own logo is left with an empty logo space. Upload the client's logo to the site.
Does White-label change the dashboard PDF? No. The dashboard PDF uses the logo you choose in its export window. Replace or remove the D3 logo there.
Does changing the site's logo change reports I have already sent? No. Each report takes the branding in place at the moment it is exported.
Can I set White-label for all clients at once? No. It is set per site, so you can white-label some clients and not others.
RELATED ARTICLES
-
Exporting a Dashboard to PowerPoint
-
D3 for MSSPs and MDRs