
Last Updated: October 27, 2026
Overview
This walkthrough takes one incident from start to finish: find it in the Incidents list, open it in the Incident Workspace, document what you find, and close it. Each step links to the full article.
Finding an Incident
-
In the sidebar, under WORKSPACE, select Incidents. The views across the top, Assigned to me, Unassigned, My Queue, Unclaimed in my queues, New <24h and All, each show their count. More views lists the rest.
The Incidents list

-
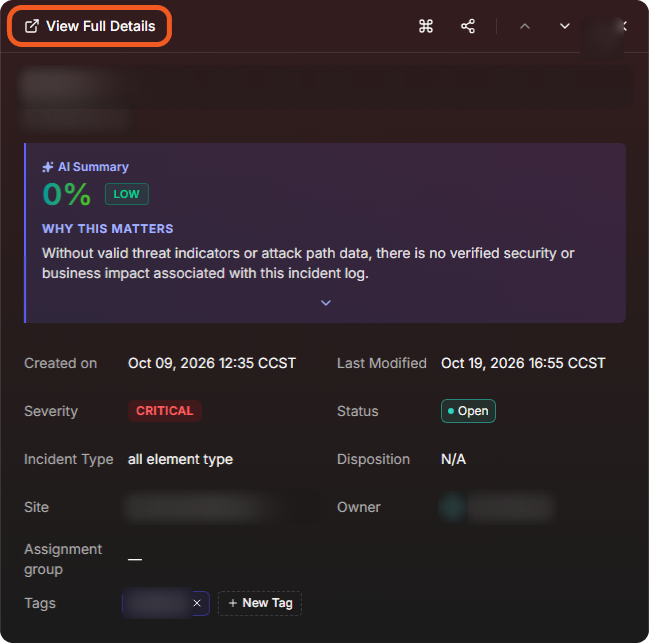
Select anywhere on an incident's row except its number. The quick view panel opens on the right with the incident's AI Summary, its details and the Notes, Tasks, Linked Incidents and Linked Artifacts tabs. See Previewing an Incident.
The quick view panel
-
Select View Full Details to open the incident in the Incident Workspace. Selecting the incident number in the list opens it in a new browser tab instead.
Working the Incident
The Incident Workspace holds everything about the incident. The header has Close Incident, Ad-hoc Task and Execute Command, the rail on the left switches between the workspace's views, and the panels show the incident's fields, events, notes and findings. Which panels appear depends on the incident type's workspace layout. See Incident Workspace.
The Incident Workspace
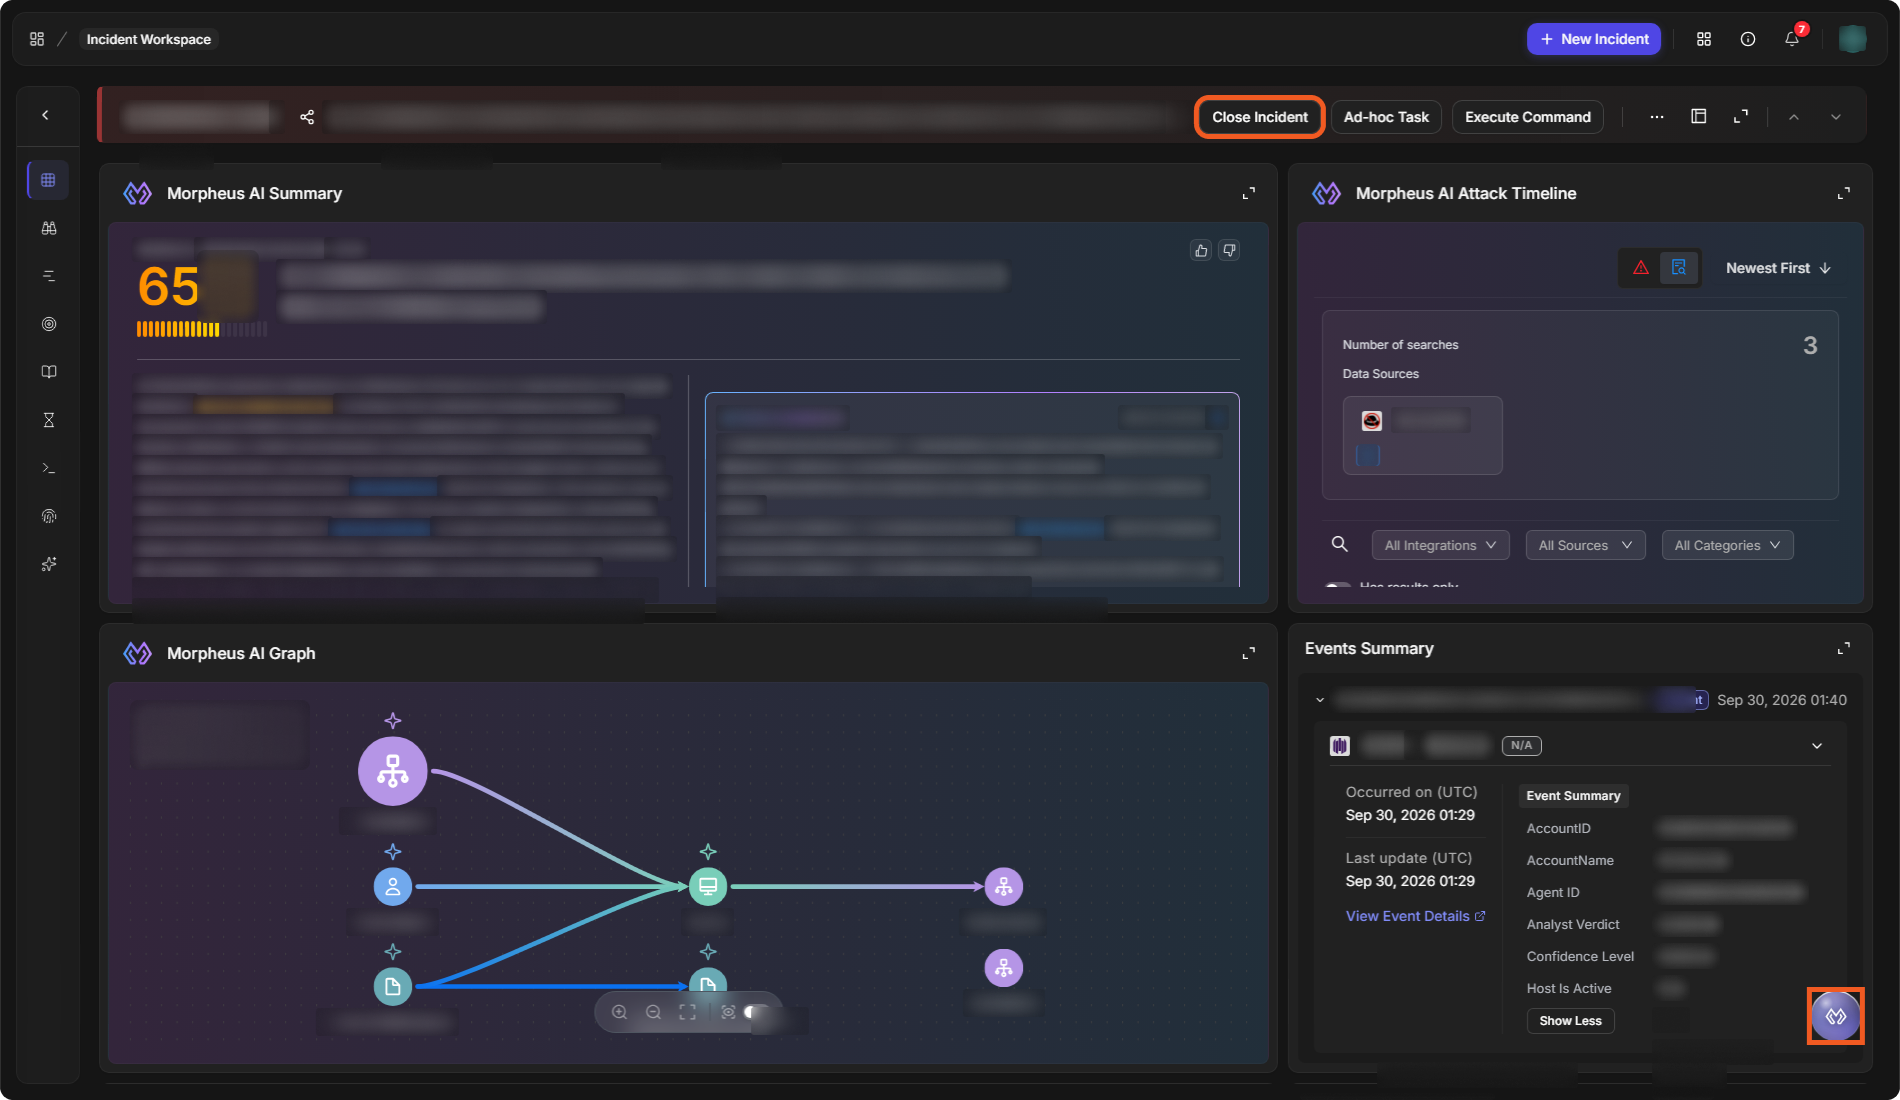
To investigate with Morpheus, select the Morpheus icon at the bottom right of the workspace. Morpheus can build an investigation plan, run integration commands and summarize the incident, and it asks for approval before it runs a command that changes something. See Morpheus Adaptive Tasking.
Documenting the Incident
-
In the Notes panel, select + beside the title.
-
In the Add Incident Note window ("Create a new note for this incident"), write the note. Optionally, select Add Tag to tag it.
-
Select Save.
Adding a note
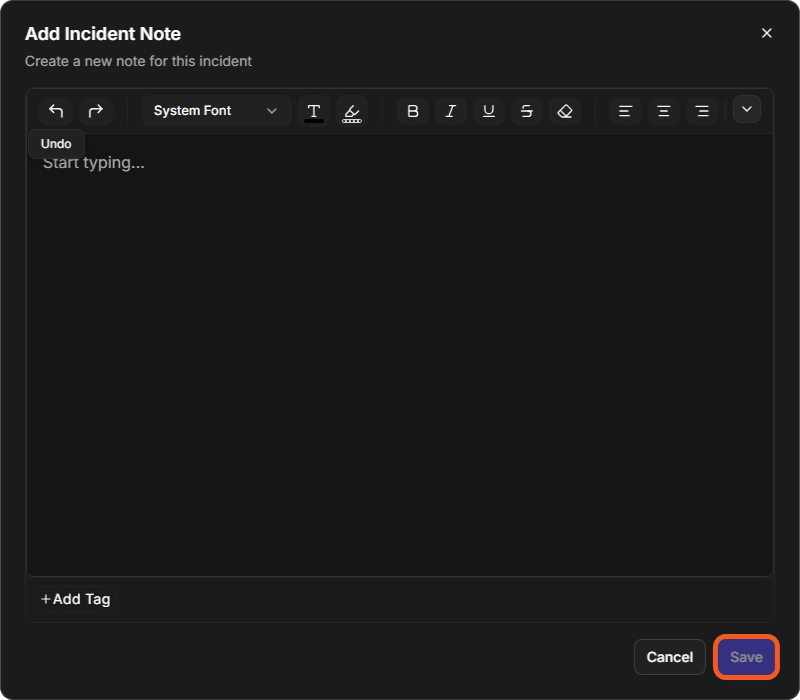
Type @ in a note to mention a teammate; see Mentioning Teammates in Notes. The workspace also has panels such as Conclusion, Remediations & Mitigations and Recommendations for the outcome of the investigation, depending on the layout.
Closing the Incident
-
Select Close Incident in the header.
-
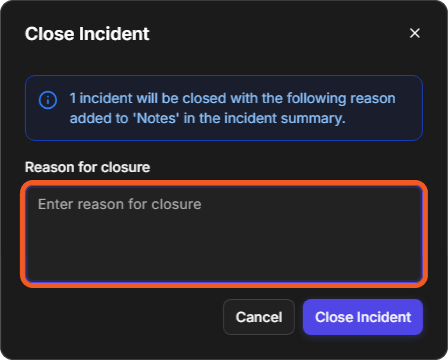
In the Close Incident window, enter the Reason for closure. The reason is added to the incident's notes.
-
Select Close Incident. To keep the incident open, select Cancel.
Closing the incident
To keep a record outside D3 Morpheus, export the incident as a report; see Exporting Incidents.