
REST API Callback
LAST UPDATED: APR 11, 2025
Overview
The REST API Callback system integration enables you to send asynchronous REST API requests. Callbacks enable you to receive data at a specified callback URL when a particular event is triggered. Asynchronous processing of callbacks ensures that your application can continue running without waiting for a response from the server, leading to faster and more efficient communication.
REST API Callback is available for use in:
D3 SOAR | V15.3.34.0+ |
Category | Other |
Deployment Options |
Connection
Log in to D3 SOAR.
Find the REST API Callback integration.
-20241101-000522.png?inst-v=a9107af0-b04c-4e31-bb5a-938372783868)
Navigate to Configuration on the top header menu.
Click on the Integration icon on the left sidebar.
Type REST API Callback in the search box to find the integration, then click it to select it.
Click + Connection, on the right side of the Connections section. A new connection window will appear.
Configure the following fields to create a connection to REST API Callback.
-20241101-000542.png?inst-v=a9107af0-b04c-4e31-bb5a-938372783868)
Connection Name: The desired name for the connection.
Site: Specifies the site to use the integration connection. Use the drop-down menu to select the site. The Share to Internal Sites option enables all sites defined as internal sites to use the connection. Selecting a specific site will only enable that site to use the connection.
Recipient site for events from connections Shared to Internal Sites: This field appears if you selected Share to Internal Sites for Site to let you select the internal site to deploy the integration connection.
Agent Name (Optional): Specifies the proxy agent required to build the connection. Use the dropdown menu to select the proxy agent from a list of previously configured proxy agents.
Description (Optional): Add your desired description for the connection.
Tenant (Optional): When configuring the connection from a master tenant site, you have the option to choose the specific tenant sites you want to share the connection with. Once you enable this setting, you can filter and select the desired tenant sites from the dropdowns to share the connection.
Configure User Permissions: Defines which users have access to the connection.
Active: Check the tick box to ensure the connection is available for use.
-20241101-001407.png?inst-v=a9107af0-b04c-4e31-bb5a-938372783868)
REST API: This section contains the parameters defined specifically for the integration. These parameters must be configured to create the integration connection.
1. Input the Request URL.
2. Select an authentication method.Basic Authentication:
i. Input your User Name.
ii. Input your password.Bearer Authentication:
i. Input your Bearer Token. For more information about bearer tokens, see OAuth 2.0 Bearer Token Usage.
Enable Password Vault: An optional feature that allows users to take the stored credentials from their own password vault. Please refer to the password vault connection guide if needed.
Test the connection.
Click Test Connection to verify the account credentials and network connection. If the Test Connection Passed alert window appears, the test connection is successful. You will see Passed with a green checkmark appear beside the Test Connection button. If the test connection fails, please check your connection parameters and try again.
Click OK to close the alert window.
Click + Add to create and add the configured connection.
(Optional) Add custom connection parameters.
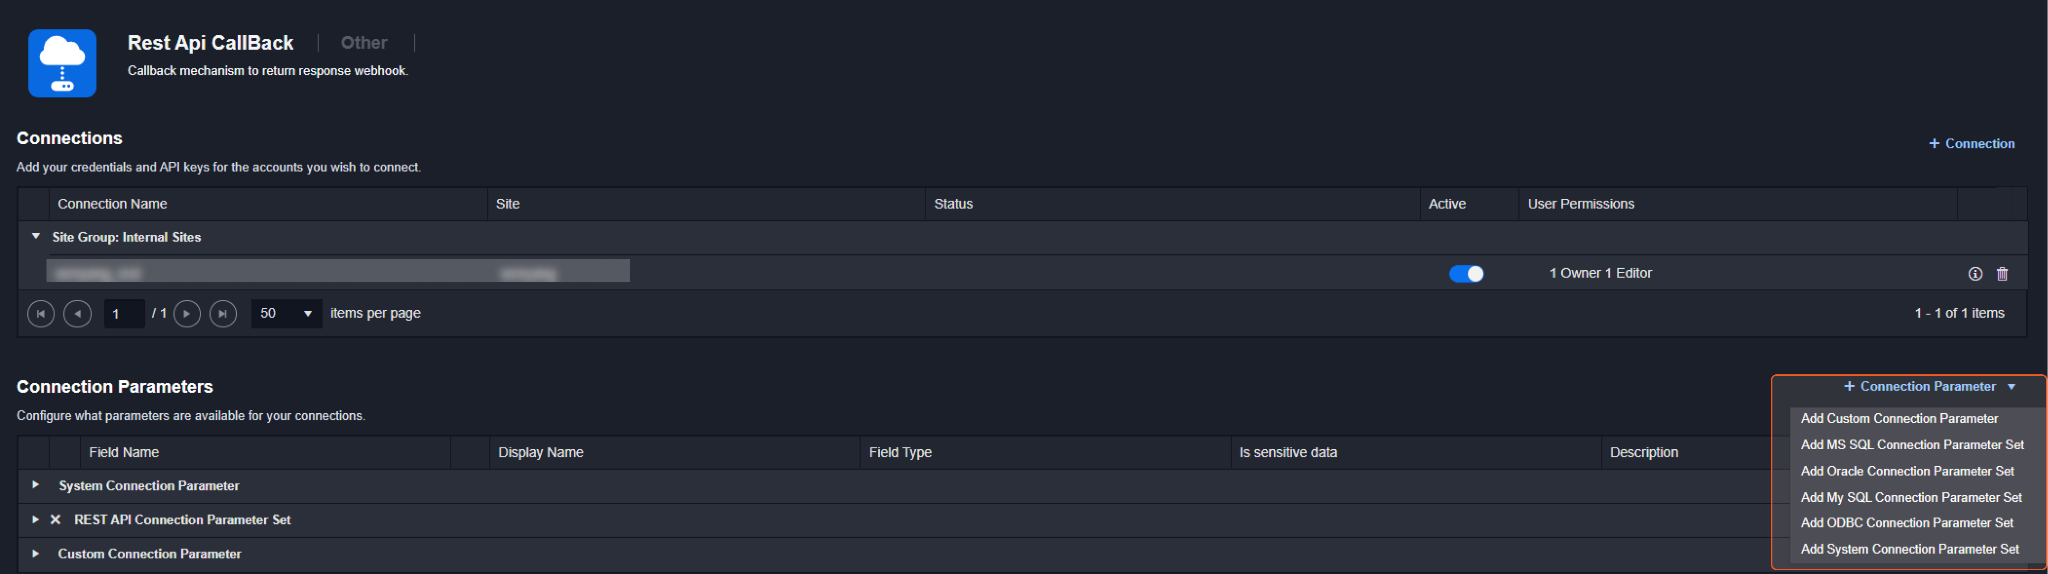
Click + Connection Parameter, and select the desired parameter type.
Define your parameters. The defined parameter name will be used in your commands. If you wish to encrypt your data, select the Is sensitive data option before clicking on Add.
%201-20241101-000655.png?inst-v=a9107af0-b04c-4e31-bb5a-938372783868)
Once you have defined your parameters, you can locate them under the corresponding parameter type when building your connection. For instance, if you created a custom parameter, it will be found under the Custom parameters section.
-20241101-000718.png?inst-v=a9107af0-b04c-4e31-bb5a-938372783868)
Repeat the above steps, including defining your custom parameters, as needed. Finally, repeat steps 3 and 4 to create and add your connector.
Commands
Send Request
Sends a REST API request.
Reader Note
By default, {{connector.[connector's parameter name]}} is the format used for inputs received from the connection, including encrypted data.
To create custom connection parameters, refer to step 5 of the Connection guide. Once you define the values within the current connector, you can apply them as the command parameter value. For example, if you create a custom parameter named "DOC Test" and want to call this value in the Body parameter, input {{connector.DOC_TEST}} (where "DOC_TEST" is the parameter name).
Input
Input Parameter | Required/Optional | Description | Example |
URL | Required | The URL of the REST API request typically defines the desired resource or endpoint for the operation. If a complete URL is provided, it will be used directly. Otherwise, the connector combines the provided URL with the request URL to create a complete URL. By default, this parameter uses the connector using the request URL. To use any other connector data, you must follow the format {{connector.[connector's parameter name]}}. | {{connector.restapi_url}} |
Method | Optional | The HTTP method used for initiating the request. | POST |
Header | Optional | The request header typically defines the metadata and other information about the request. To use the connector data, you must follow the format {{connector.[connector's parameter name]}}. | { "d3key": "{{connector.restapi_bearertoken}}" } |
Body | Optional | The request body is a JSON object containing the request's relevant data. To use the connector data, you must follow the format {{connector.[connector's parameter name]}}. | {{connector.body}} |
Error Handling
If the Return Data is Failed, an Error tab will appear in the Test Result window.
The error tab contains the details responded from D3 SOAR or third-party API calls, including Failure Indicator, Status Code, and Message. This can help you locate the root cause of a command failure.
Parts in Error | Description | Example |
Failure Indicator | Indicates the command failure that happened at a specific input and/or API call. | Send Request failed. |
Status Code | The response code issued by the third-party API server or the D3 SOAR system that can be used to locate the corresponding error category. For example, if the returned status code is 401, the selected connection is unauthorized to run the command. The user or system support would need to check the permission setting in the Rest Api CallBack portal. Refer to the HTTP Status Code Registry for details. | Status Code: 500. |
Message | The raw data or captured key error message from the integration API server about the API request failure. | Message: Internal Server Error. |
Error Sample Data Send Request failed. Status Code: 500. Message: Internal Server Error. |