Using the <<EmailResponseLink>> Shortcut
LAST UPDATED: MAY 22, 2025
-20250109-033714.png?inst-v=5ce09ce6-3dcb-41fc-bcfb-f4b8739ef100)
<<EmailResponseLink>> is shortcut used to embed a link within an email body to gather responses. Follow the steps below to create a result similar to the example shown in the image above.
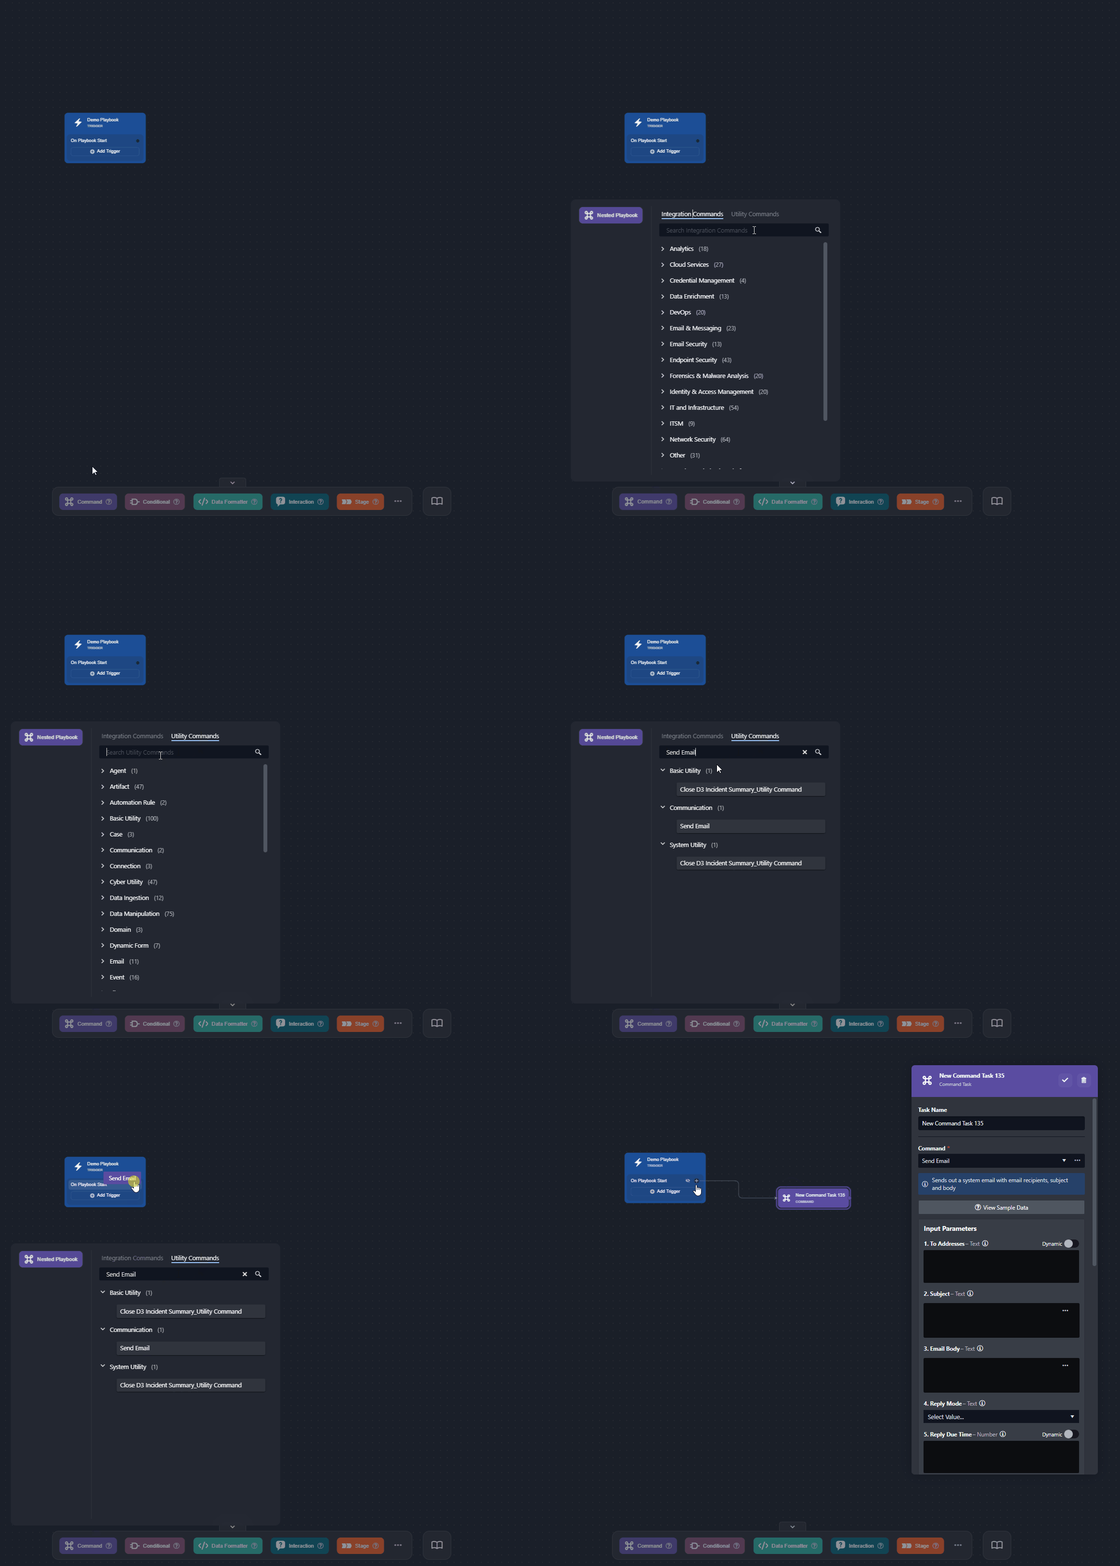
Add a Send Email utility command to the playbook editor.

Fill in the necessary input parameter fields (email body skipped).
-20250107-222851.png?inst-v=5ce09ce6-3dcb-41fc-bcfb-f4b8739ef100)
Input the destination email addresses.
Enter an email subject line.
Select a reply mode (required).
Input, in minutes, the reply due time.
READER NOTE
For more information on input parameters of the Send Email command, click here.
-20250108-000525.png?inst-v=5ce09ce6-3dcb-41fc-bcfb-f4b8739ef100)
Click on the
%203-20250108-000146.png?inst-v=5ce09ce6-3dcb-41fc-bcfb-f4b8739ef100) button to render the Edit Data Formatter popup.
button to render the Edit Data Formatter popup.Input the following HTML code:
HTML<!DOCTYPE html> <html> <body> <p>Hi,</p> <p>Please take the required action by clicking the link below:</p> <a href="<<EmailResponseLink>>" style=" display: inline-block; padding: 12px 24px; background: #0f0c29 !important; background: -webkit-linear-gradient(to right, #24243e, #302b63, #0f0c29) !important; background: linear-gradient(to right, #24243e, #302b63, #0f0c29) !important; color: #ffffff !important; text-decoration: none; border-radius: 10px; font-weight: bold; text-align: center; font-family: Arial, sans-serif; font-size: 16px; box-shadow: 0px 4px 6px rgba(0, 0, 0, 0.2); transition: all 0.3s ease; " > CLICK HERE TO RESPOND </a> <p>If the button above does not function, please use the following link:</p> <p> <a data-link="<<EmailResponseLink>>" href="<<EmailResponseLink>>"><<EmailResponseLink>></a> </p> <p> Regards,<br /> [Your Team/Organization Name] </p> </body> </html>
READER NOTE
Customize the styling as required.
Click on the Save button.
Ensure that the Auto Run option is enabled.
%201-20250108-001641.png?inst-v=5ce09ce6-3dcb-41fc-bcfb-f4b8739ef100)
Click on the
 button.
 -20250108-000947.png?inst-v=5ce09ce6-3dcb-41fc-bcfb-f4b8739ef100)
Test run the playbook.
Click on the Test Playbook button.
-20250108-001140.png?inst-v=5ce09ce6-3dcb-41fc-bcfb-f4b8739ef100)
Click on the Run Test button.
-20250108-001953.png?inst-v=5ce09ce6-3dcb-41fc-bcfb-f4b8739ef100)
Instruct the respondent to:
Click on the call-to-action button provided in the email.
-20250109-034840.png?inst-v=5ce09ce6-3dcb-41fc-bcfb-f4b8739ef100)
Write a reply, then click on the Reply button.
-20250109-034055.png?inst-v=5ce09ce6-3dcb-41fc-bcfb-f4b8739ef100)
Ensure that a confirmation banner renders.
-20250109-034357.png?inst-v=5ce09ce6-3dcb-41fc-bcfb-f4b8739ef100)
This will trigger the Send Email playbook task to complete.
-20250107-225551.png?inst-v=5ce09ce6-3dcb-41fc-bcfb-f4b8739ef100)
Before recipient replies
-20250108-002611.png?inst-v=5ce09ce6-3dcb-41fc-bcfb-f4b8739ef100)
After recipient replies
READER NOTE
Users can also apply the <<EmailResponseLink>> shortcut in the same manner when using the Office 365 Send Mail command.
