Updated Global List
LAST UPDATED: JAN 21, 2025
The process of adding and modifying a global list is now more streamlined, featuring an updated layout, two distinct editor modes, and a newly introduced audit log tab.

Adding a Global List
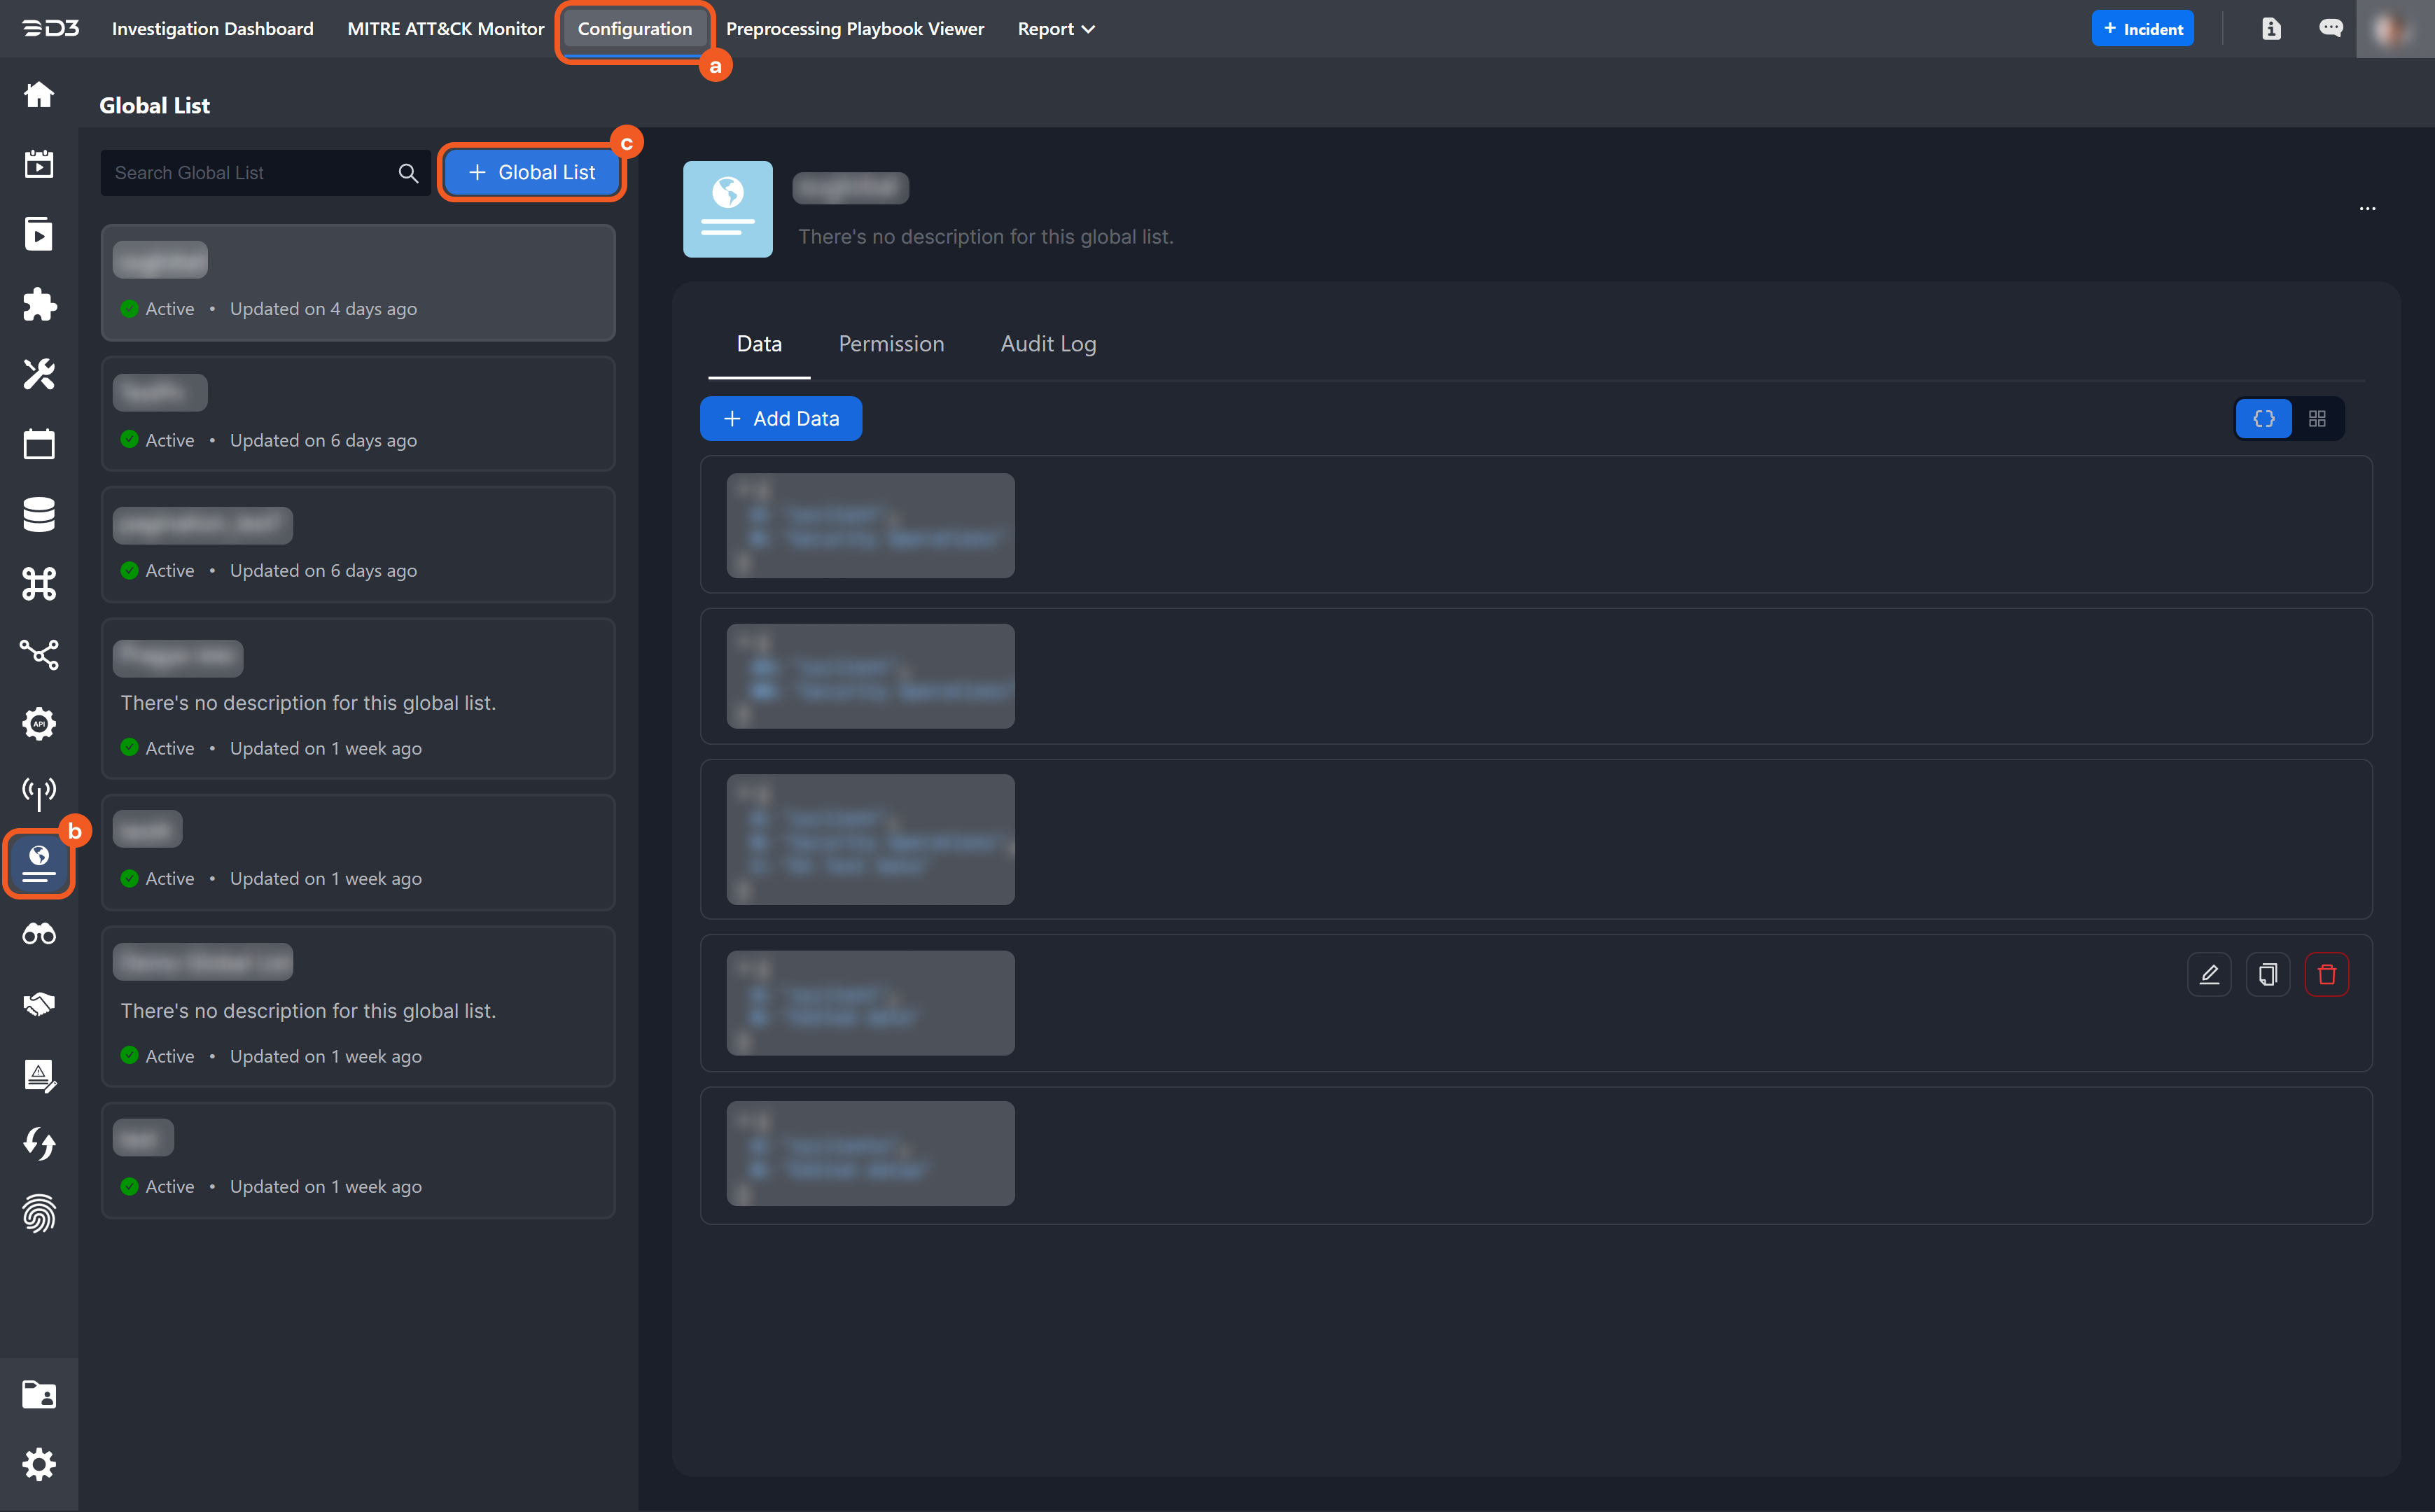
Navigate to Configuration > Global List, then click on the + Global List button.
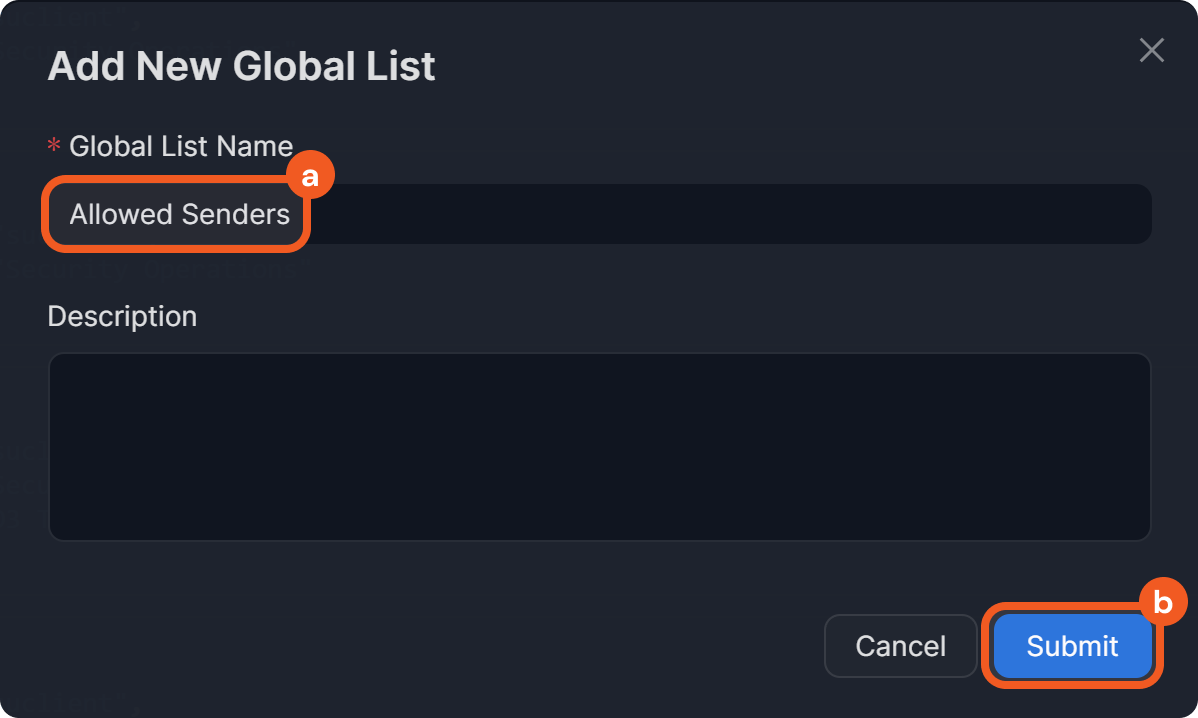
Enter a name for the global list, then click on the Submit button to configure it.
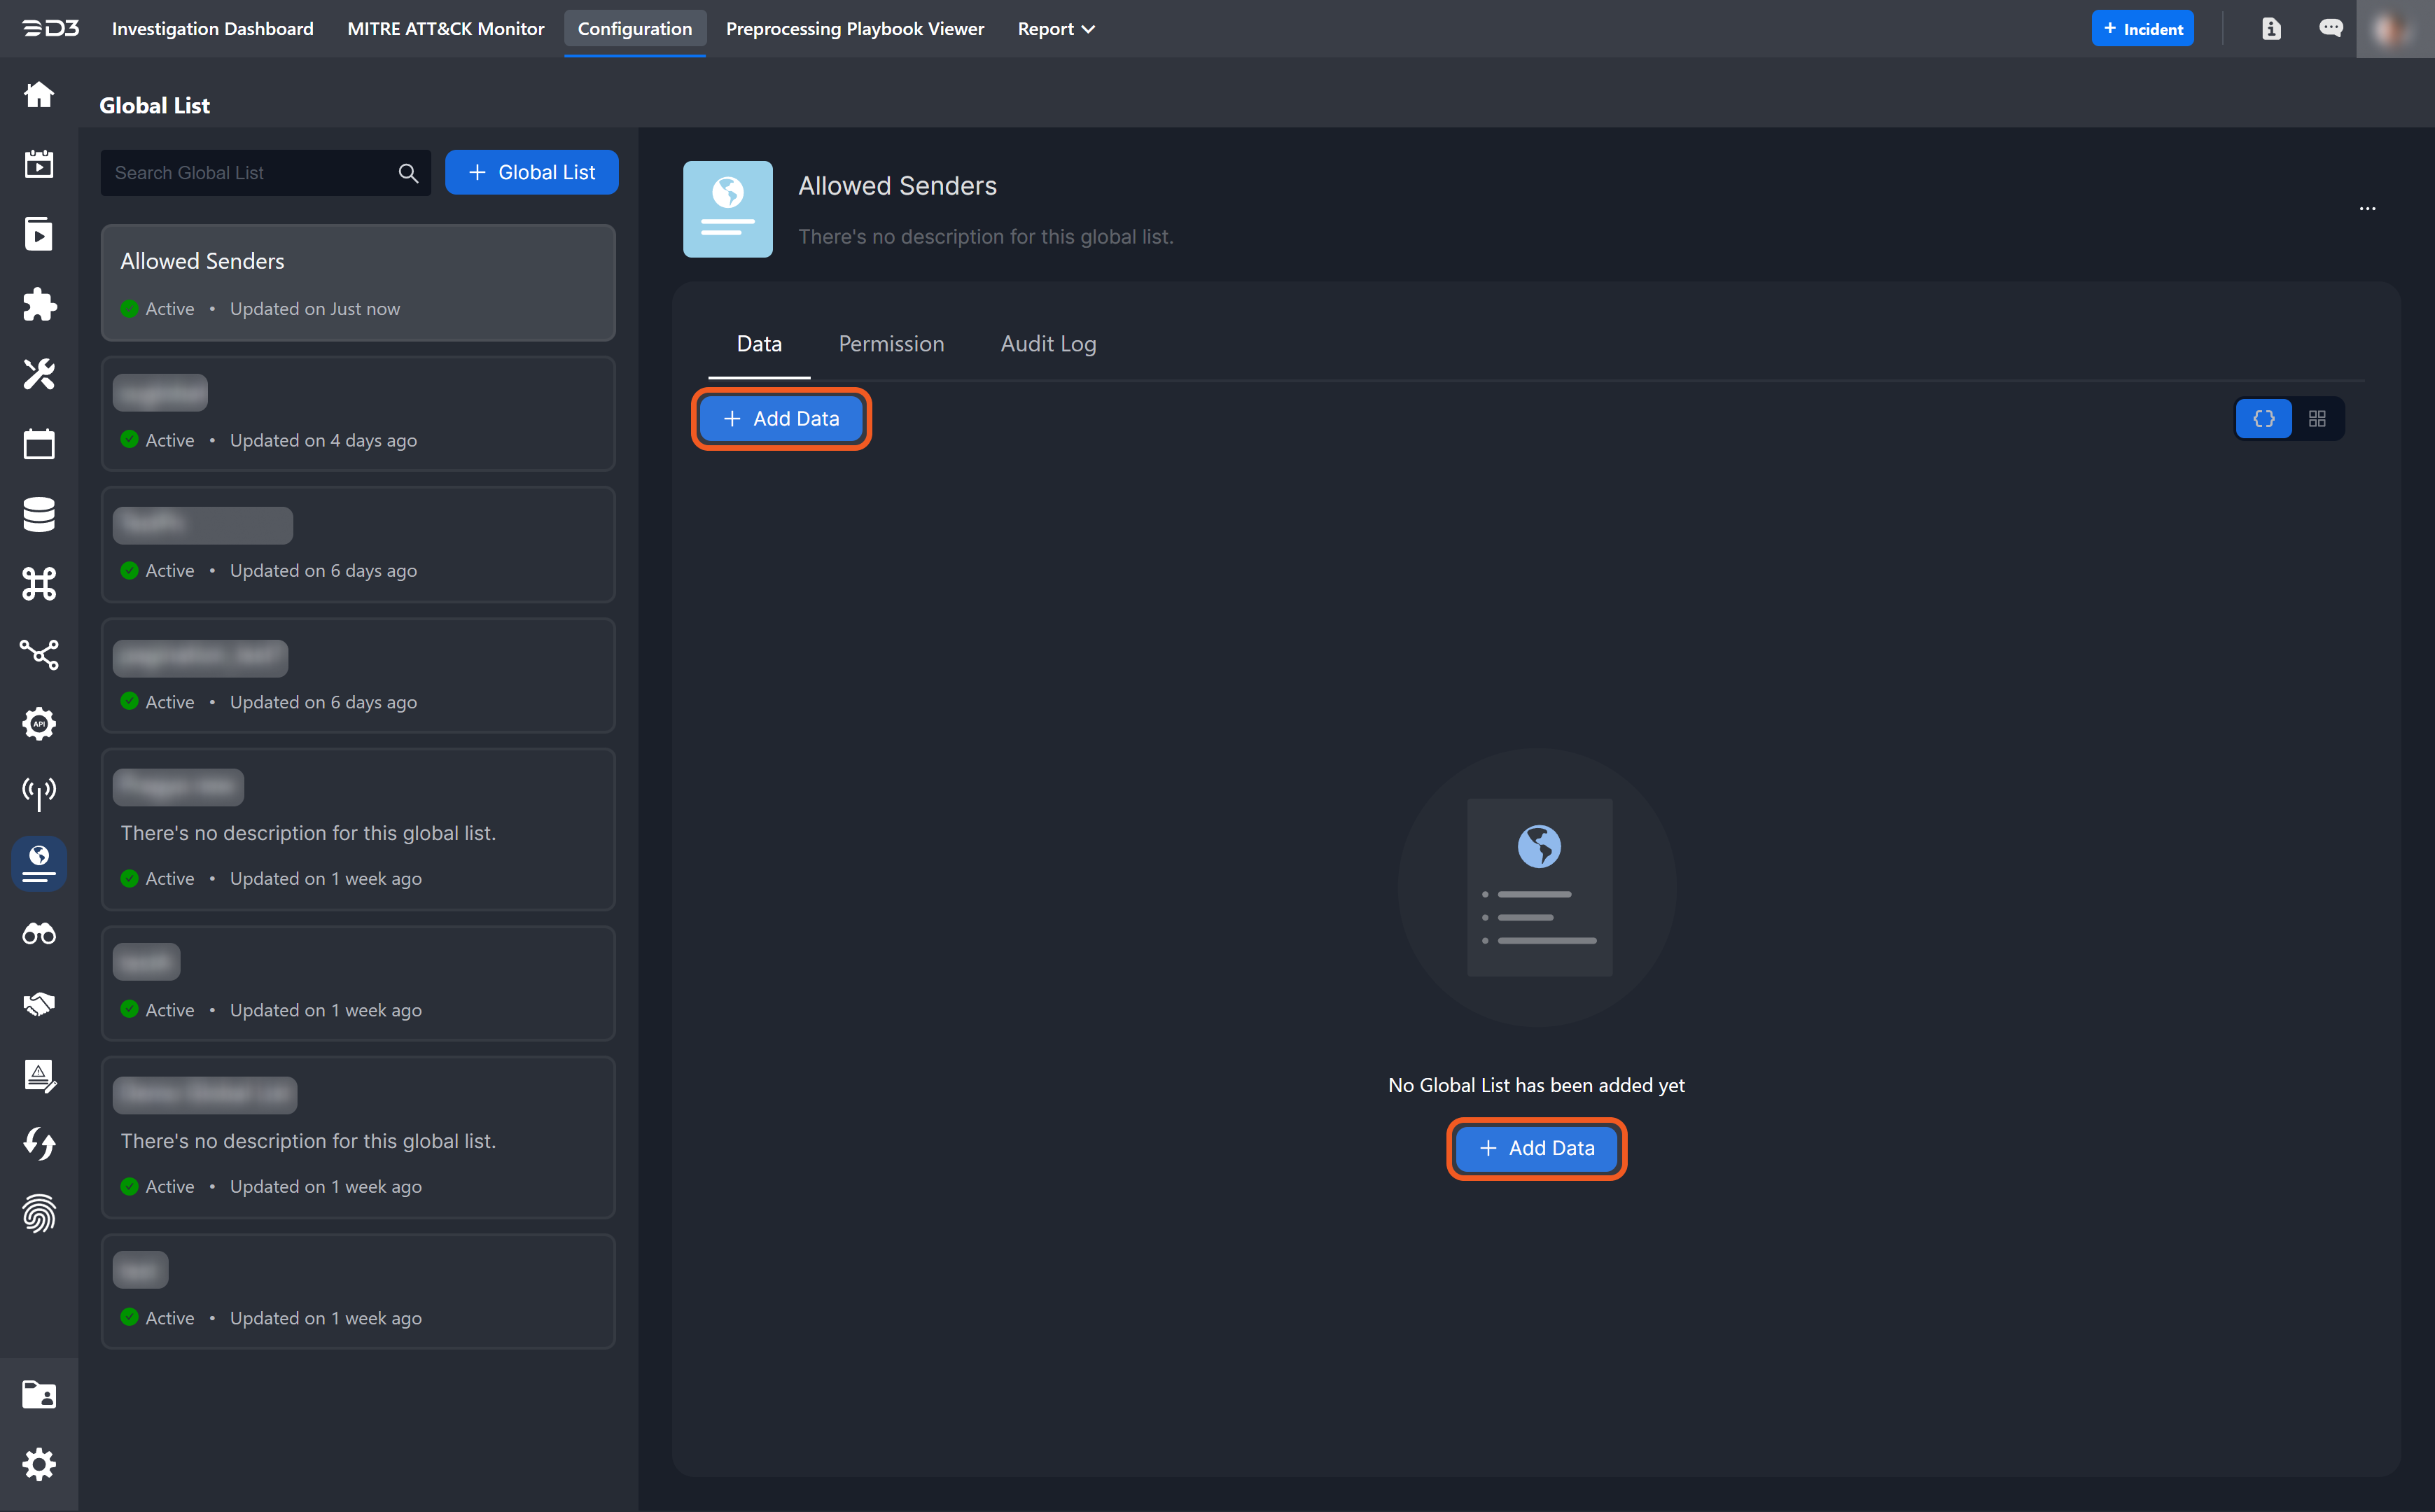
Click on either of the + Add Data buttons.
Enter the data using the code editor or form editor.
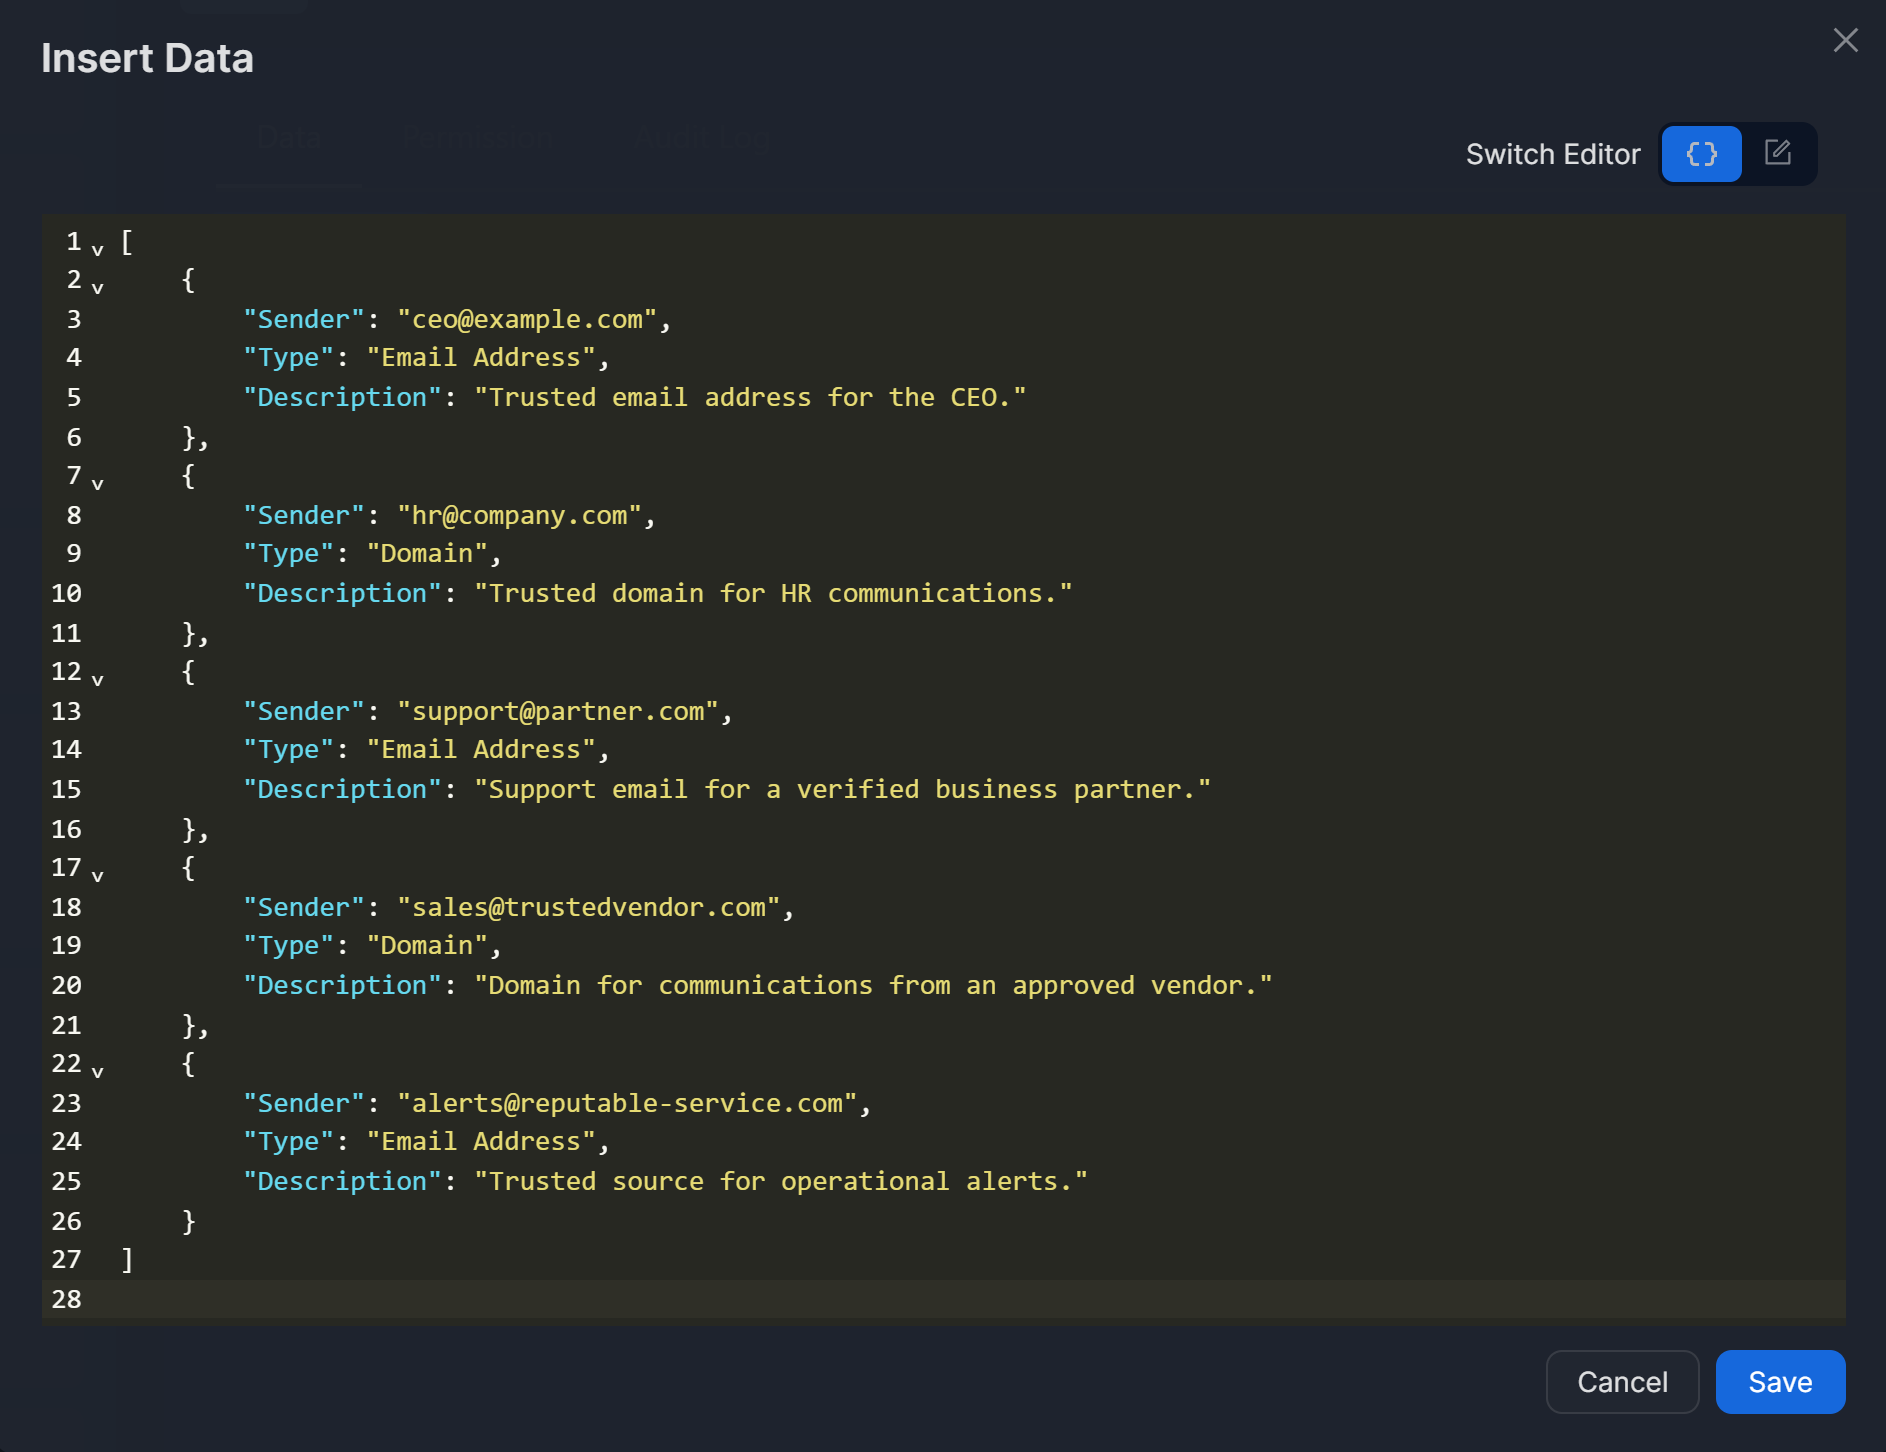
The code snippet provided below is identical to the one displayed in the image.
JSON[ { "Sender": "ceo@example.com", "Type": "Email Address", "Description": "Trusted email address for the CEO." }, { "Sender": "hr@company.com", "Type": "Domain", "Description": "Trusted domain for HR communications." }, { "Sender": "support@partner.com", "Type": "Email Address", "Description": "Support email for a verified business partner." }, { "Sender": "sales@trustedvendor.com", "Type": "Domain", "Description": "Domain for communications from an approved vendor." }, { "Sender": "alerts@reputable-service.com", "Type": "Email Address", "Description": "Trusted source for operational alerts." } ]Click on the Save button to save the global list.

Confirm that the global list is displayed as expected.
.png?inst-v=5d1fae35-6ef9-443e-ae0b-449c0f0e9389)
Users can switch to viewing the global list in a tabular format by clicking the
 icon.
icon.
Choose the site where the global list will be used.
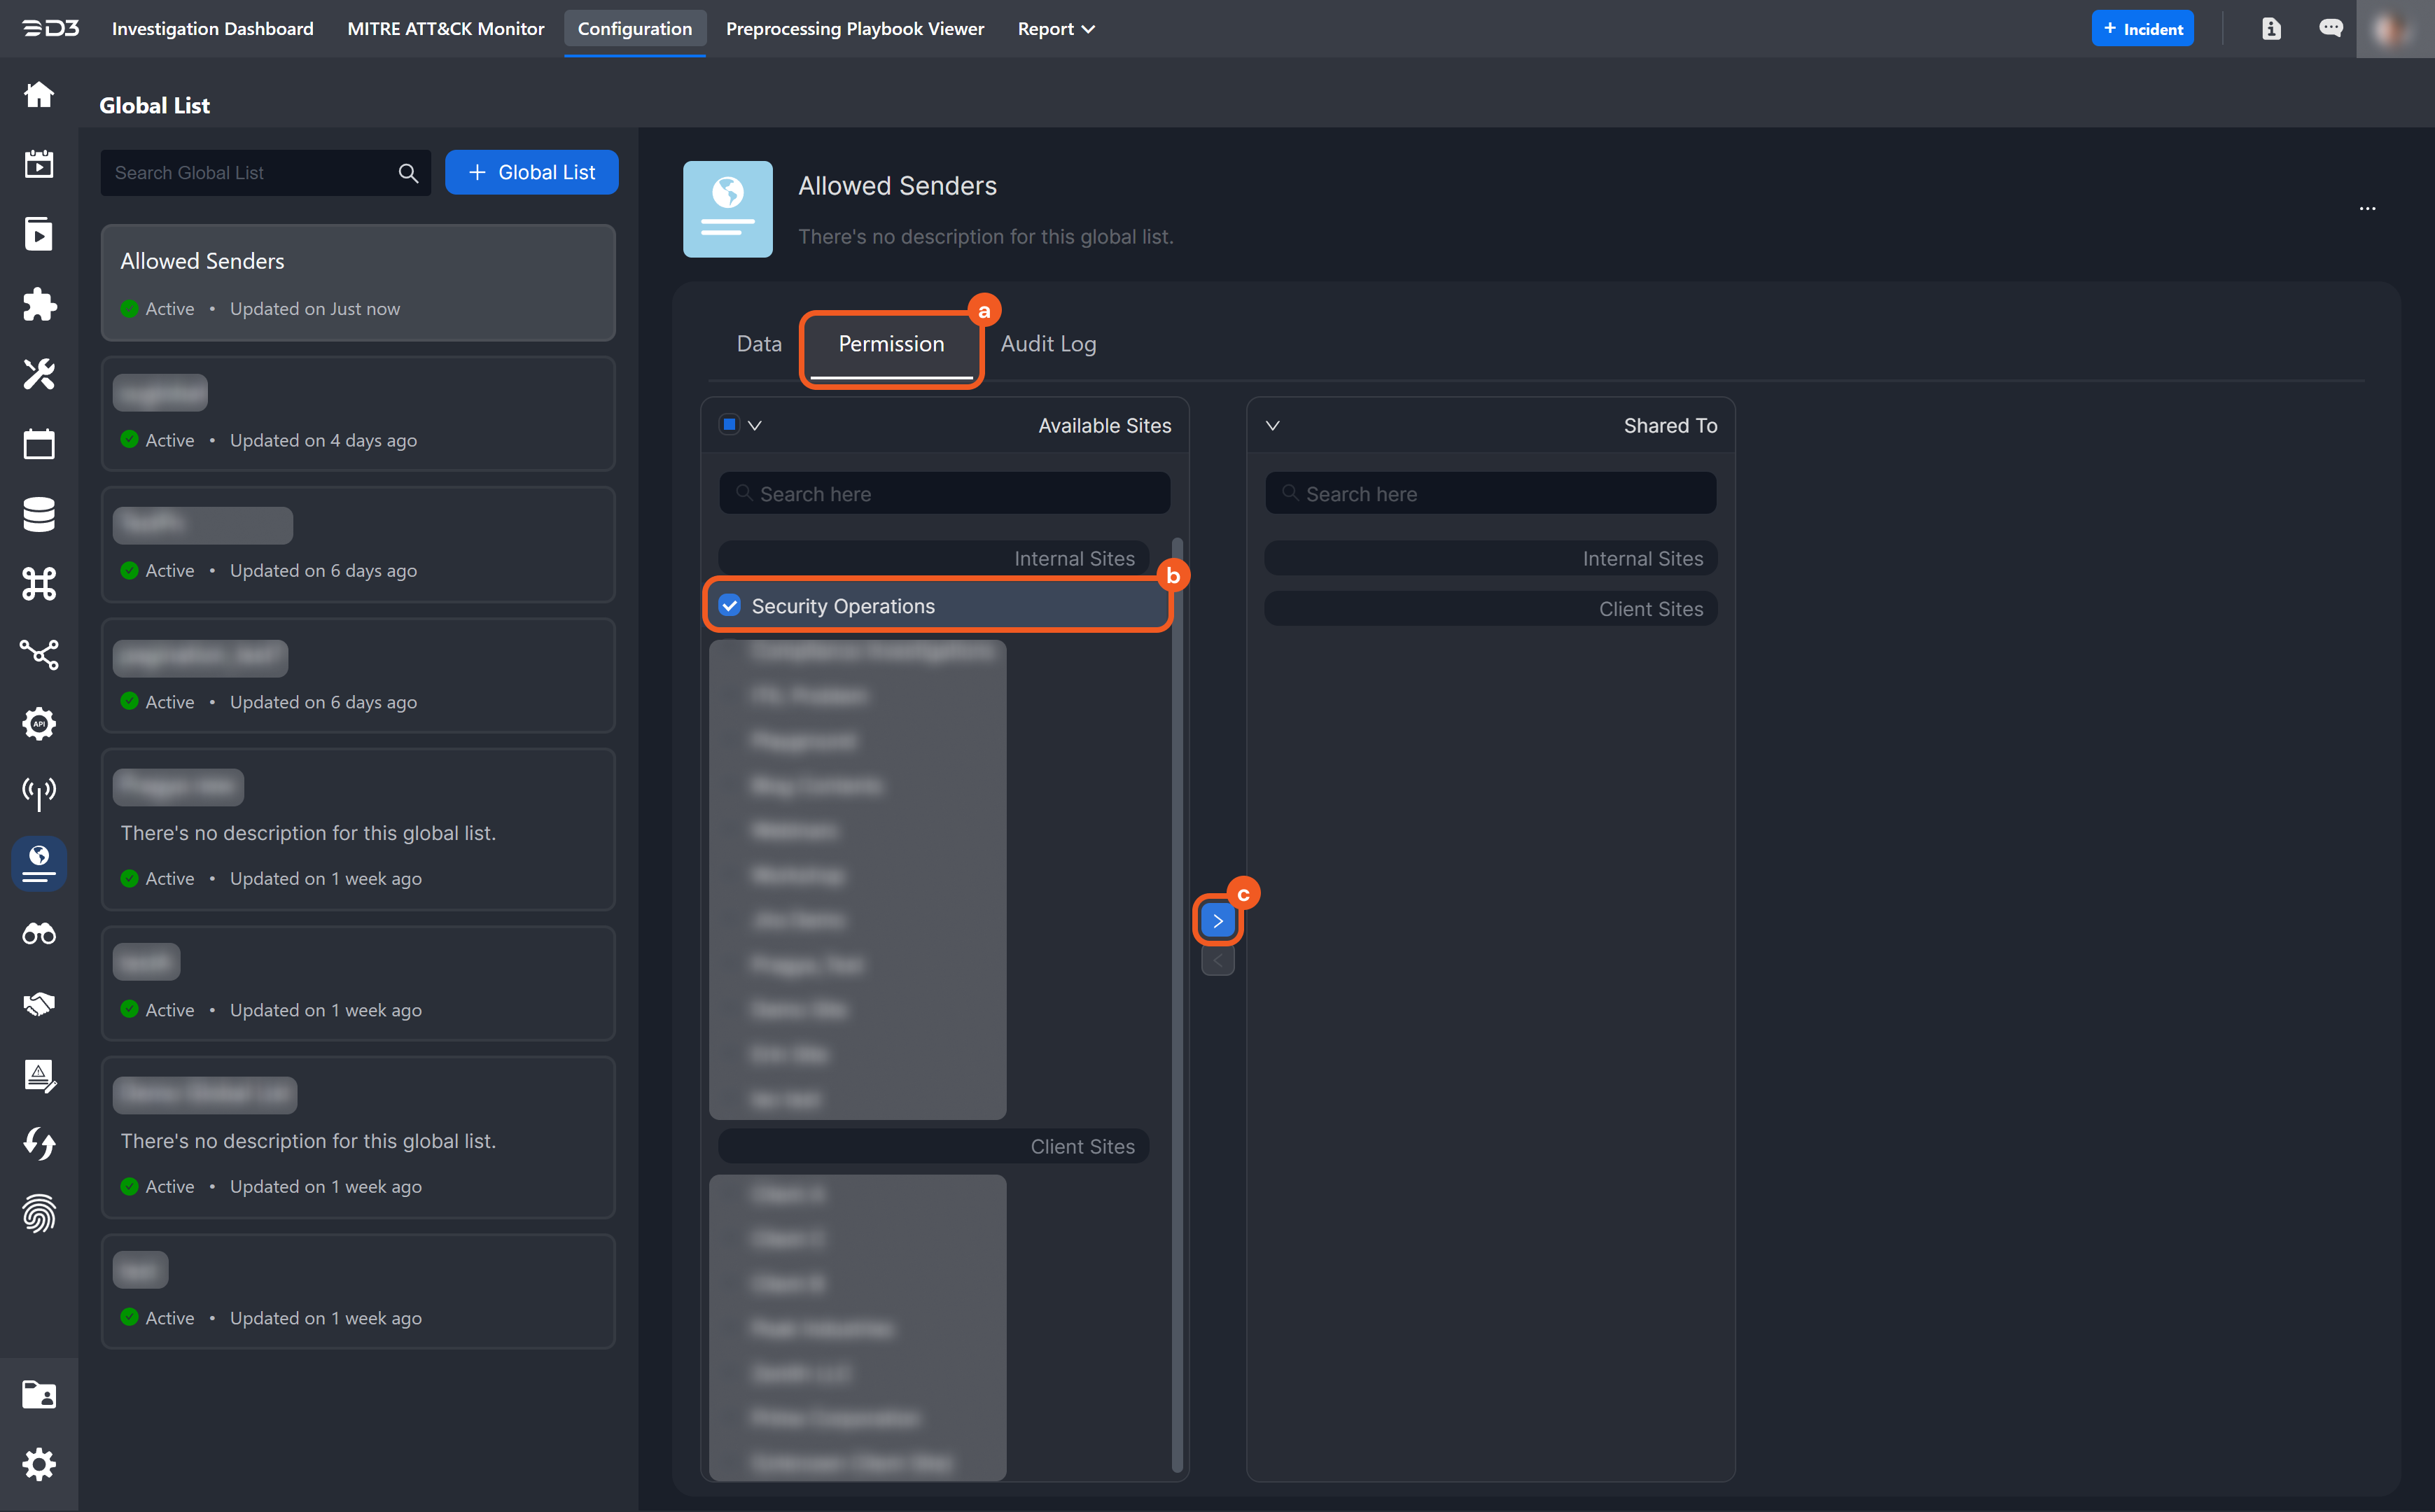
Select the Permission tab.
Select one or multiple sites.
Click on the
 button.
Click on the form editor icon to switch the editor mode.

Click on the
 to delete the placeholder content.
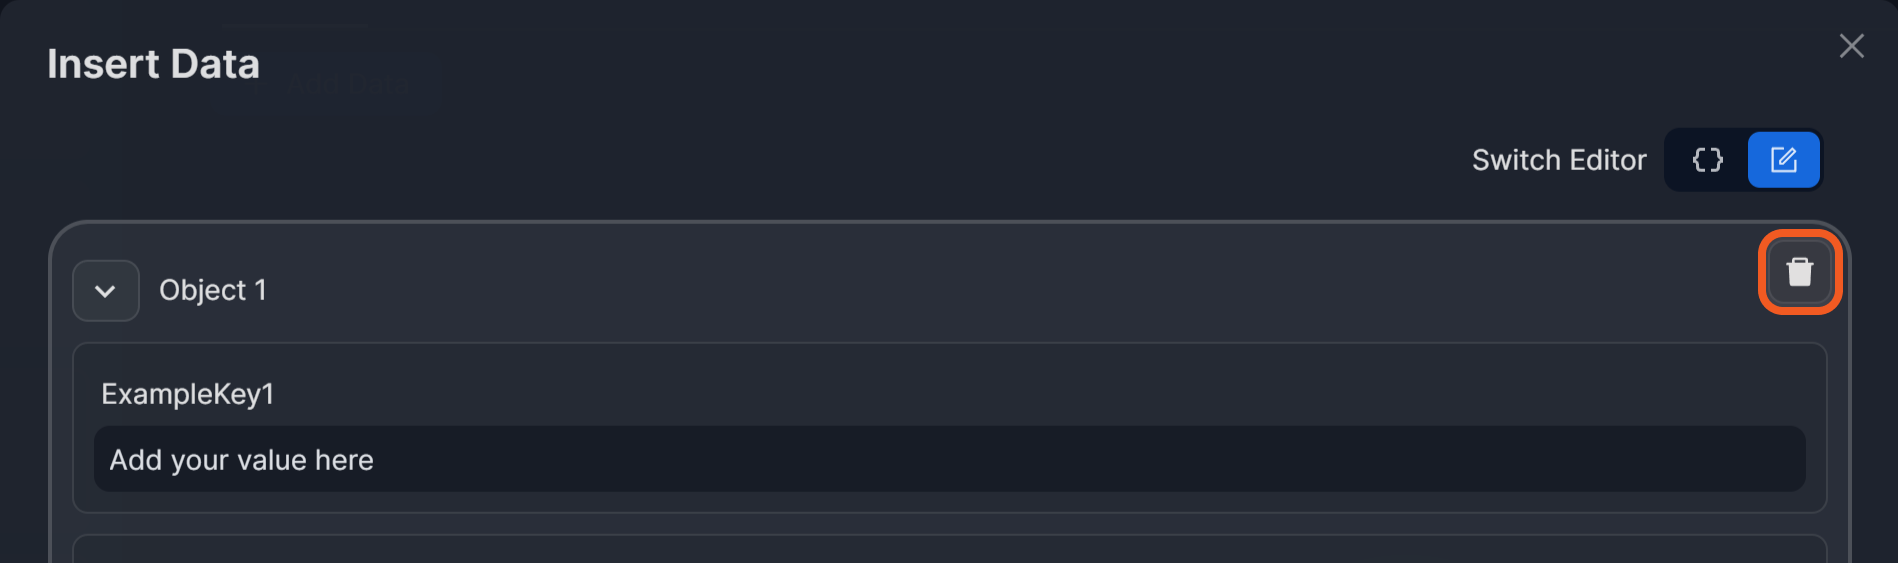
Click on the + JSON Object button.
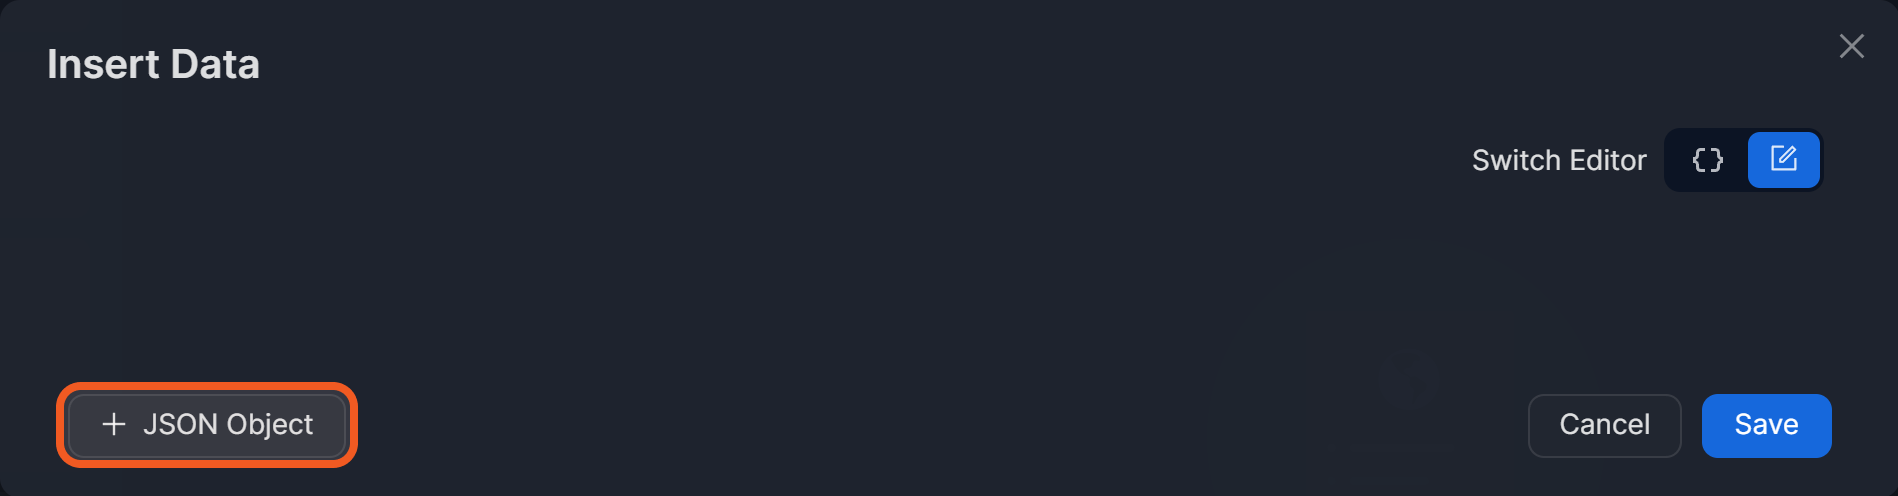
The + JSON Object button duplicates Object 1 if it is present.
Add a new key.
.png?inst-v=5d1fae35-6ef9-443e-ae0b-449c0f0e9389)
Click on the + New Key button.
Enter a name for the key.
To update or delete the key name, switch to the code editor to make the changes.
Click on the + Add button.
Select the appropriate data type, then enter the value for the key.
.png?inst-v=5d1fae35-6ef9-443e-ae0b-449c0f0e9389)
Repeat steps 1-5 as necessary.
Click on the
 (Save) button.
Using the Global List
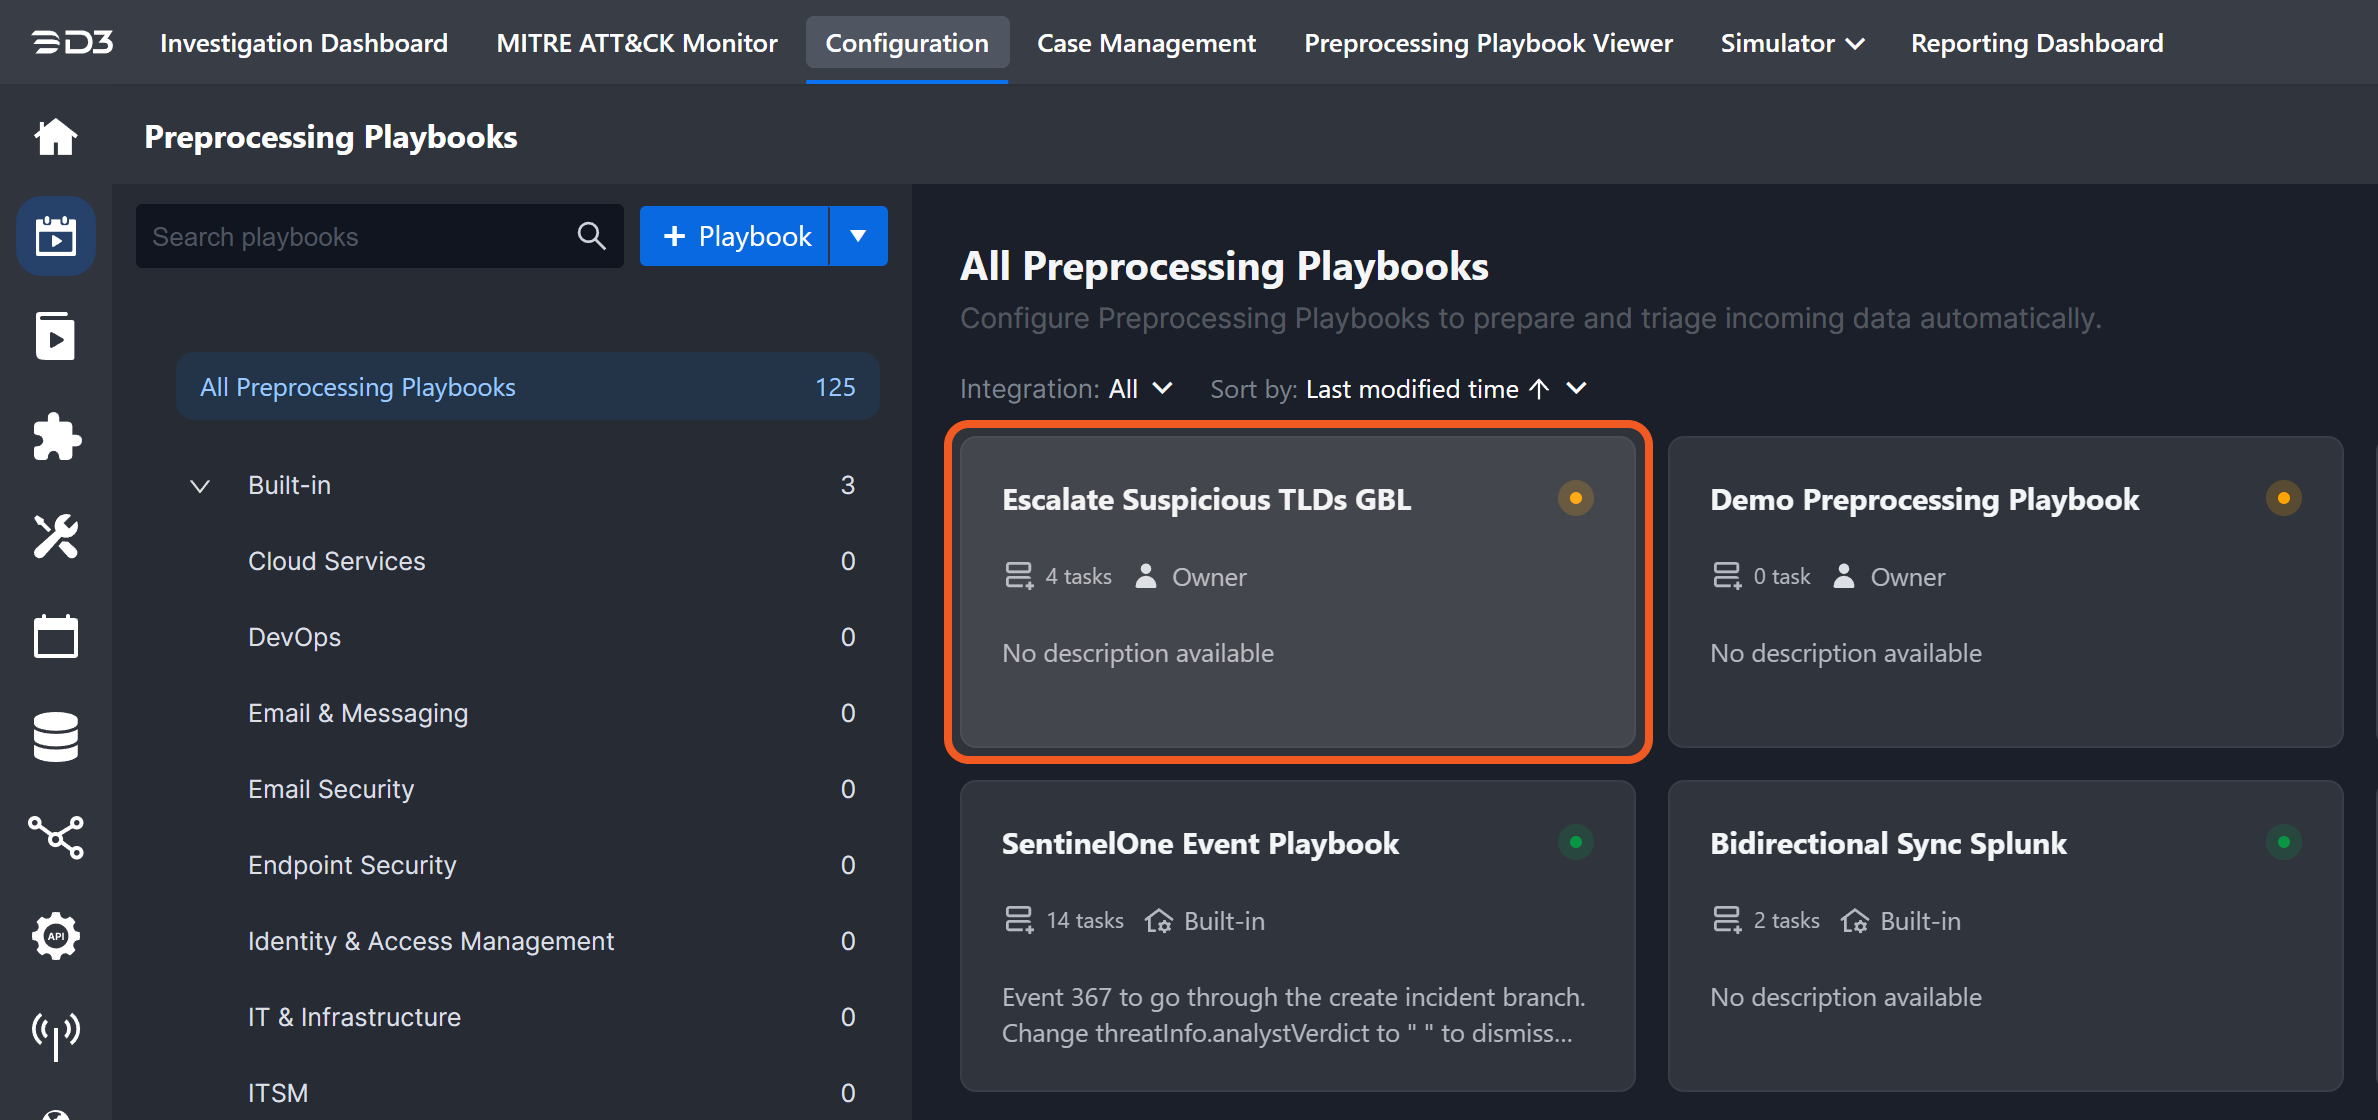
Select an existing preprocessing or investigation playbook, or create a new one.
Select any task that allows for dynamic inputs, such as a conditional task.
For the conditional task type, follow these steps to use dynamic input data to configure the condition settings.
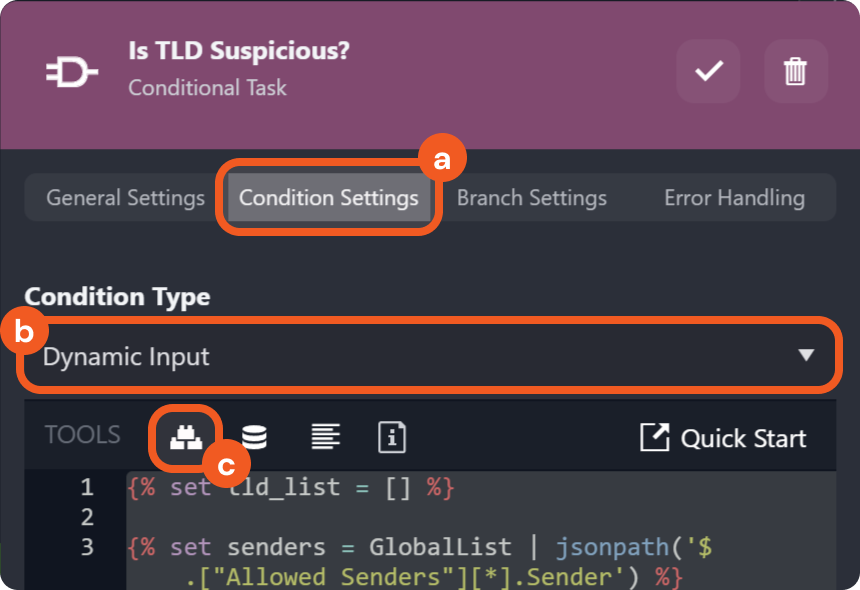
Click on the Condition Settings tab.
Select the Dynamic Input option.
Click on the
 (Format Builder) button.
Retrieve data dynamically from the newly created global list. In this example, the sender data will be extracted.
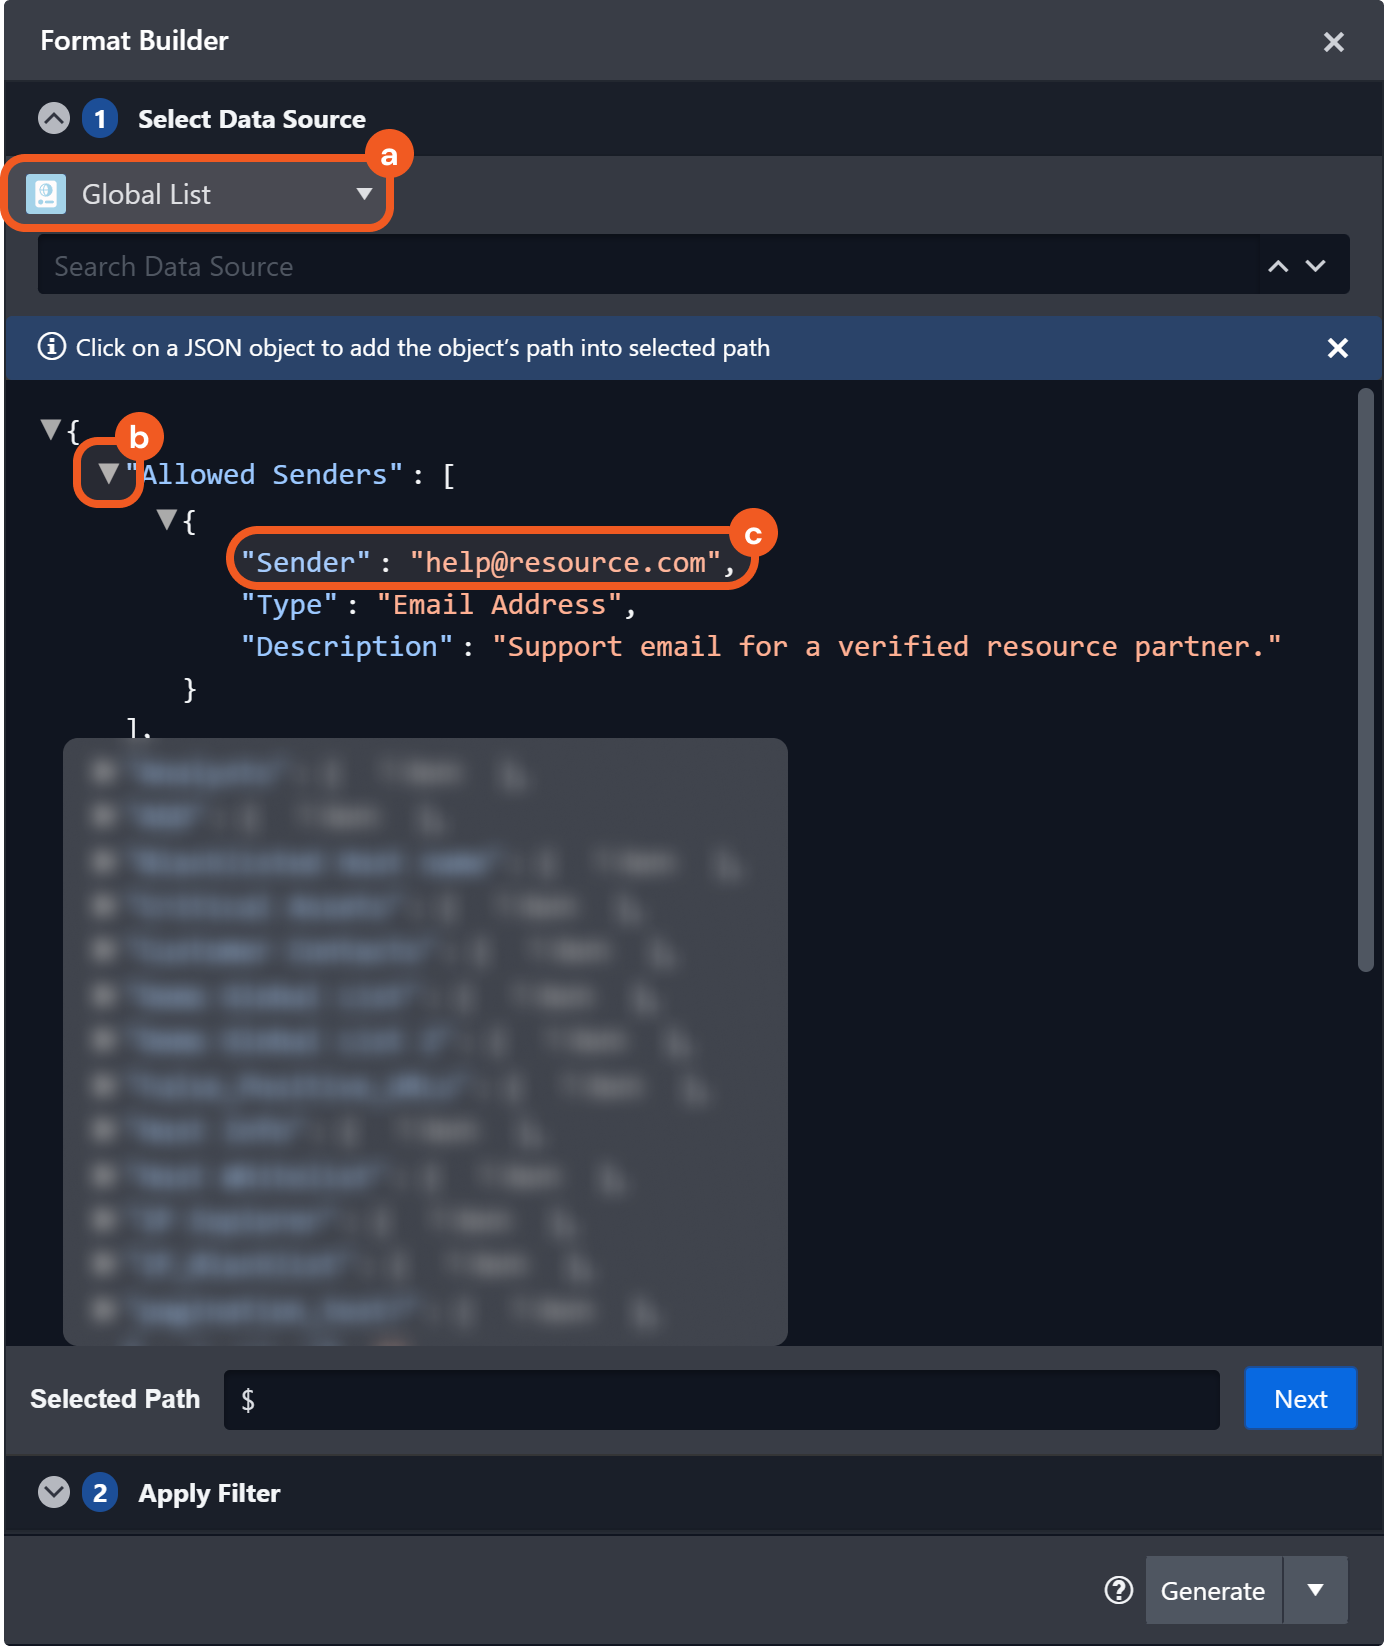
Select the Global List data source.
Locate the global list and click on the
 button to open it.
Select the Sender field.
Click on the
 button, then select the Generate as Variable option.
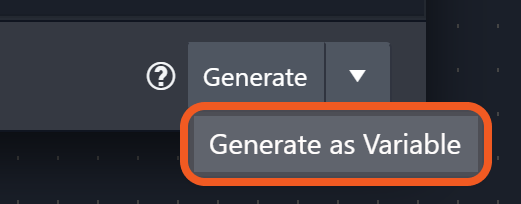
RESULT
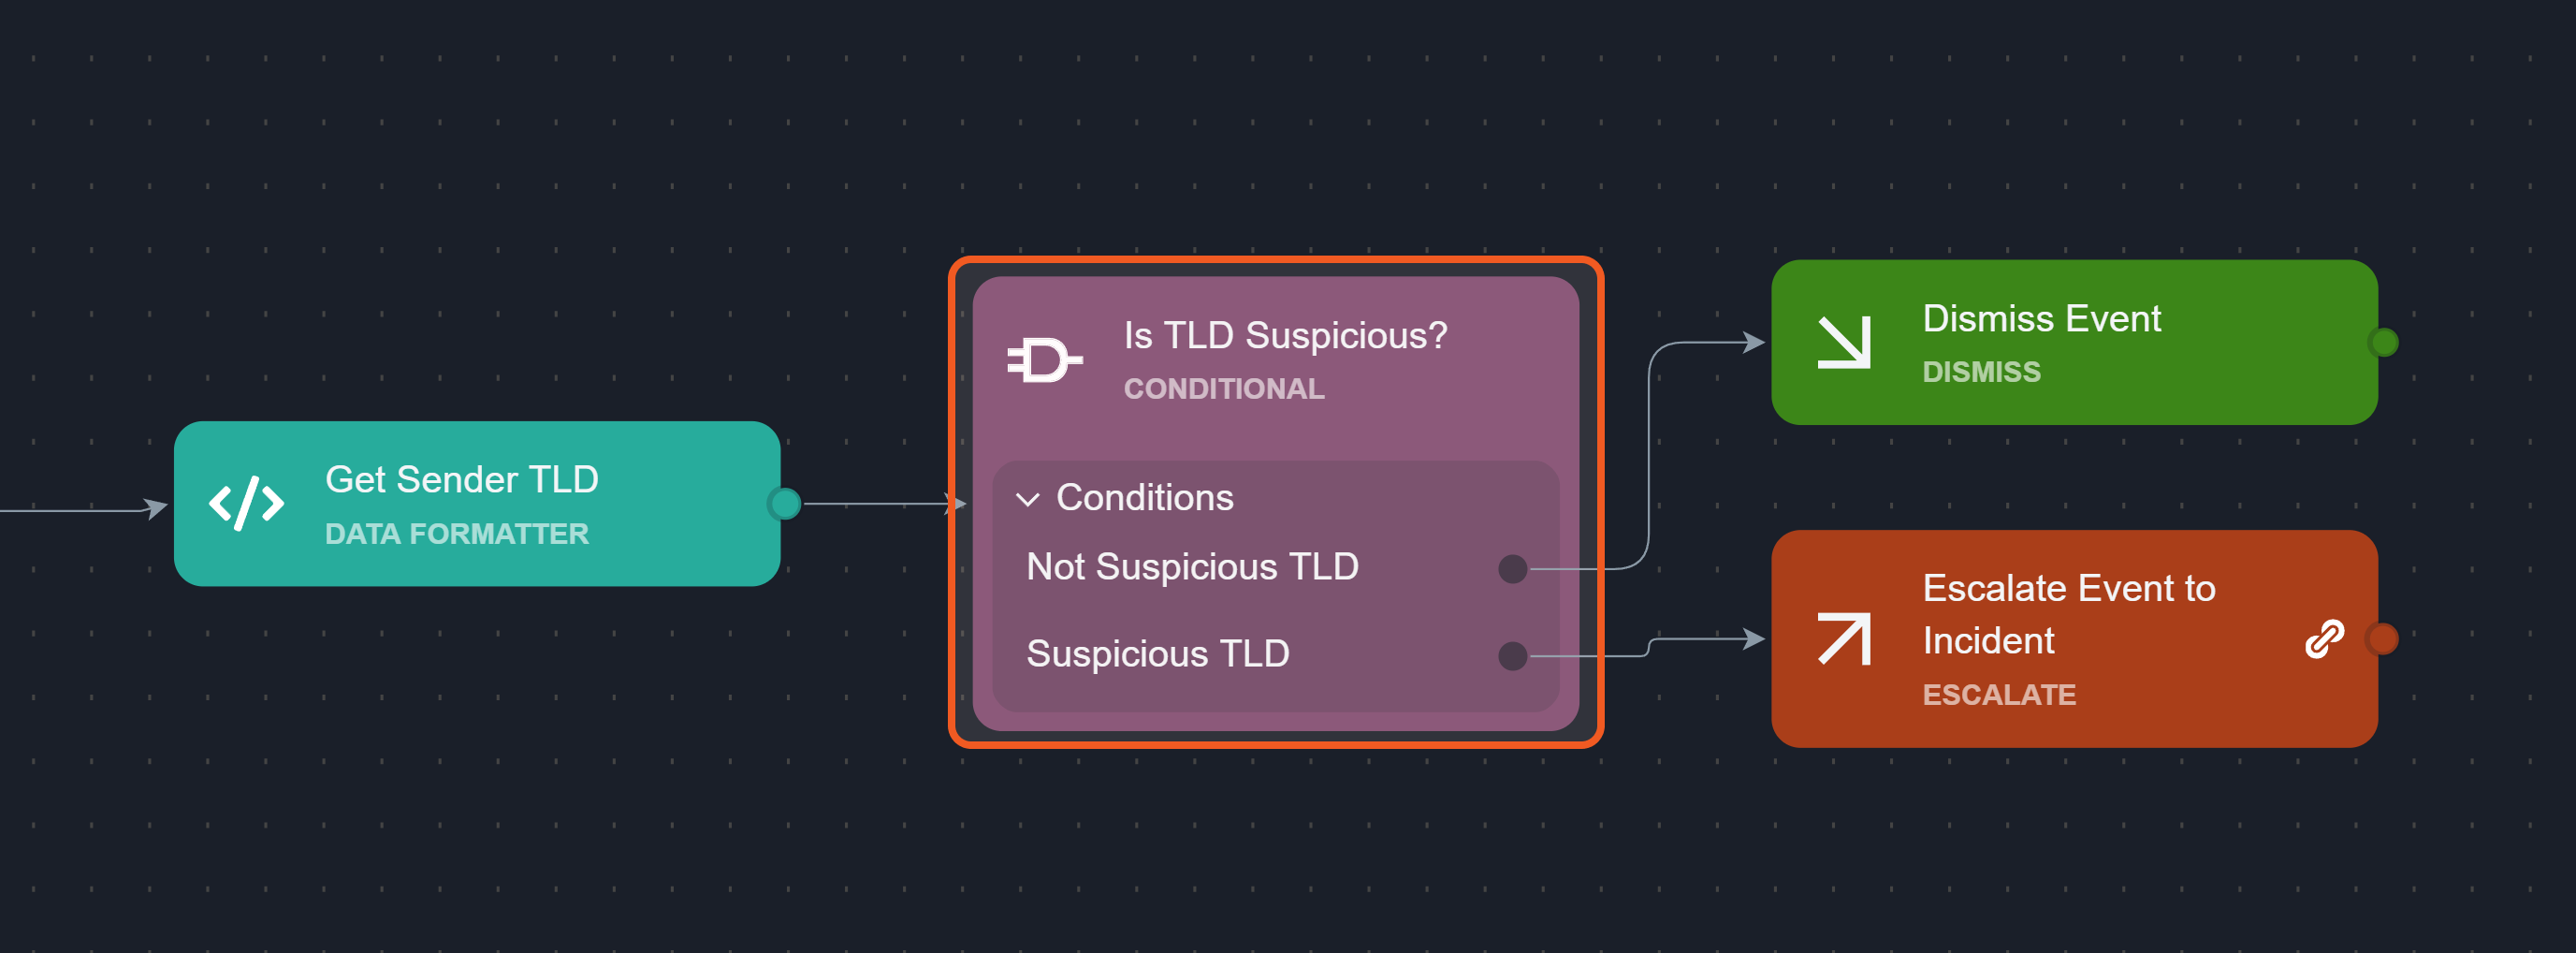
The user can now use the variable to configure inputs for any task supporting dynamic values, such as a conditional task, as shown below.
{% set tld_list = [] %}

{% set senders = GlobalList | jsonpath('$.["Allowed Senders"][*].Sender') %}

{% for sender in senders %}
    {% set tld = sender.split('.')[-1] %}
    {{ tld_list.append(tld) or "" }}
{% endfor %}

{% set sender_tld = PlaybookData | jsonpath('$.["Get Sender TLD"].returnData.TLD') %}

{% if sender_tld in tld_list %}
    Not Suspicious TLD
{% else %}
    Suspicious TLD
{% endif %}
This code snippet extracts the list of senders from the global list, splits each sender's email to retrieve its top-level domain (TLD), and appends these TLDs to a variable called tld_list. The code then compares the TLD from the playbook data against tld_list to determine whether or not the TLD is suspicious.
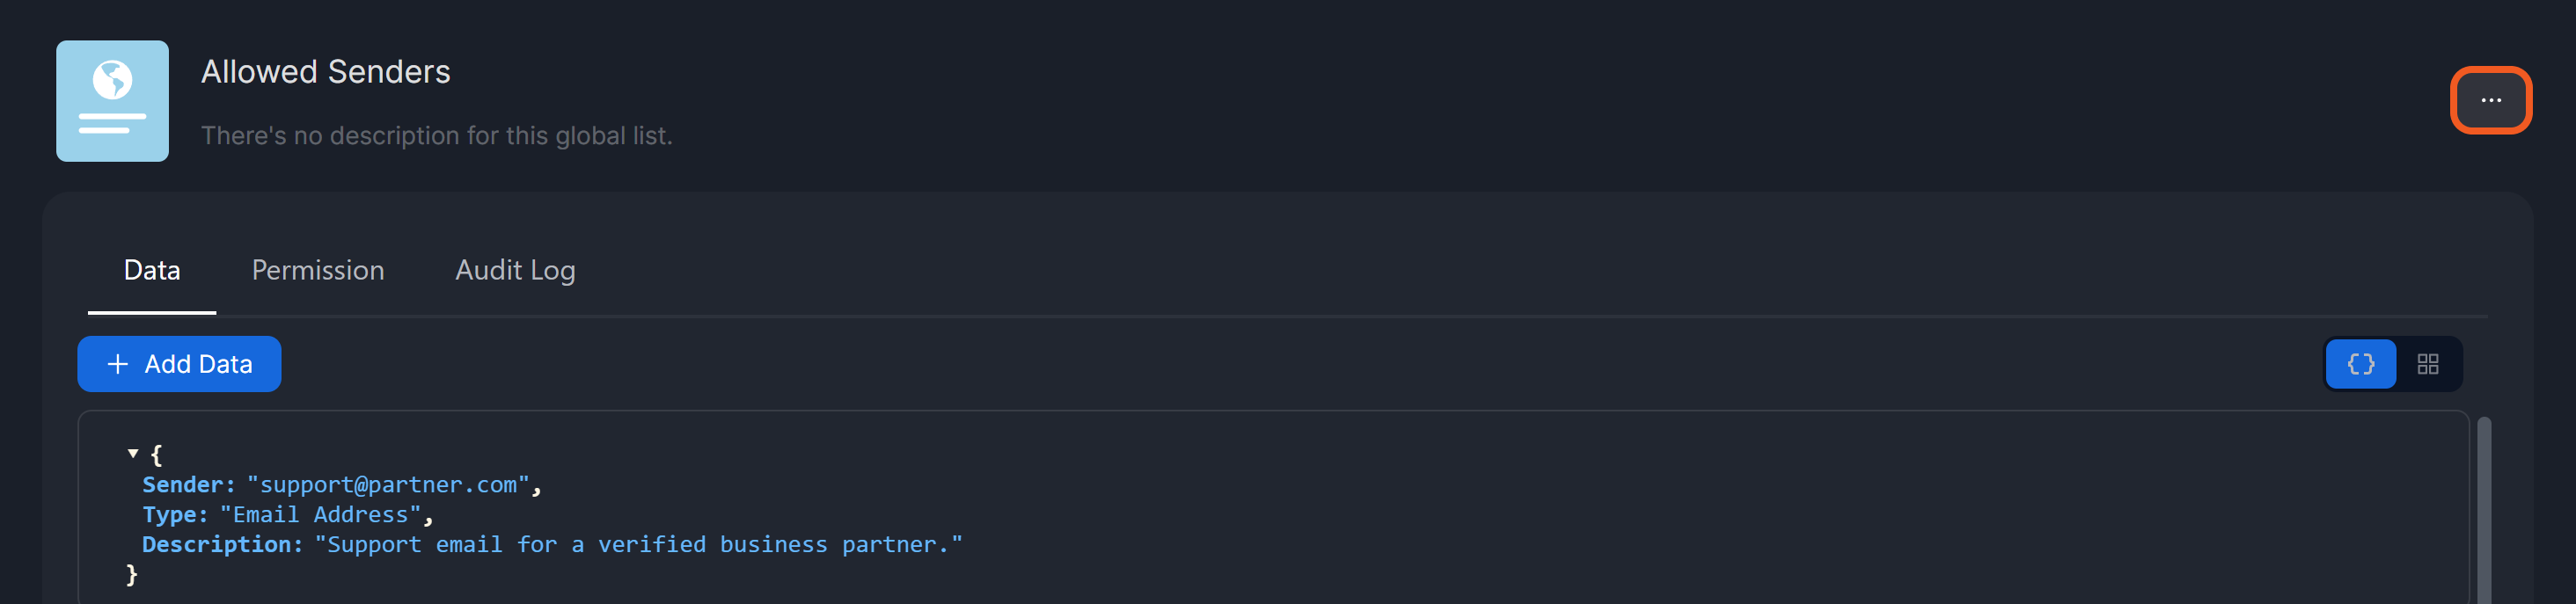
Deactivating and Deleting a Global List
To delete or deactivate a global list, click the  button to access these options.
Deactivating a Global List
To deactivate a global list, click on the Active Global List toggle.
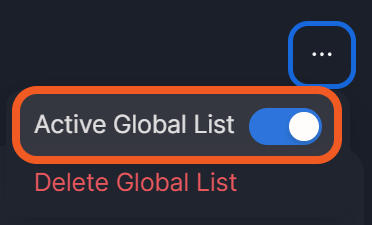
On

Off

A deactivated global list cannot be used as a data source for dynamic inputs.
Deleting a Global List
To delete a global list, click on the Delete Global List option.
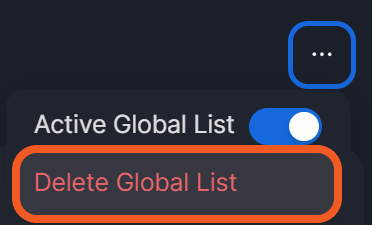
Before deleting a global list, verify that it is not referenced by other features, such as a playbook task or a codeless playbook task to avoid execution failures.
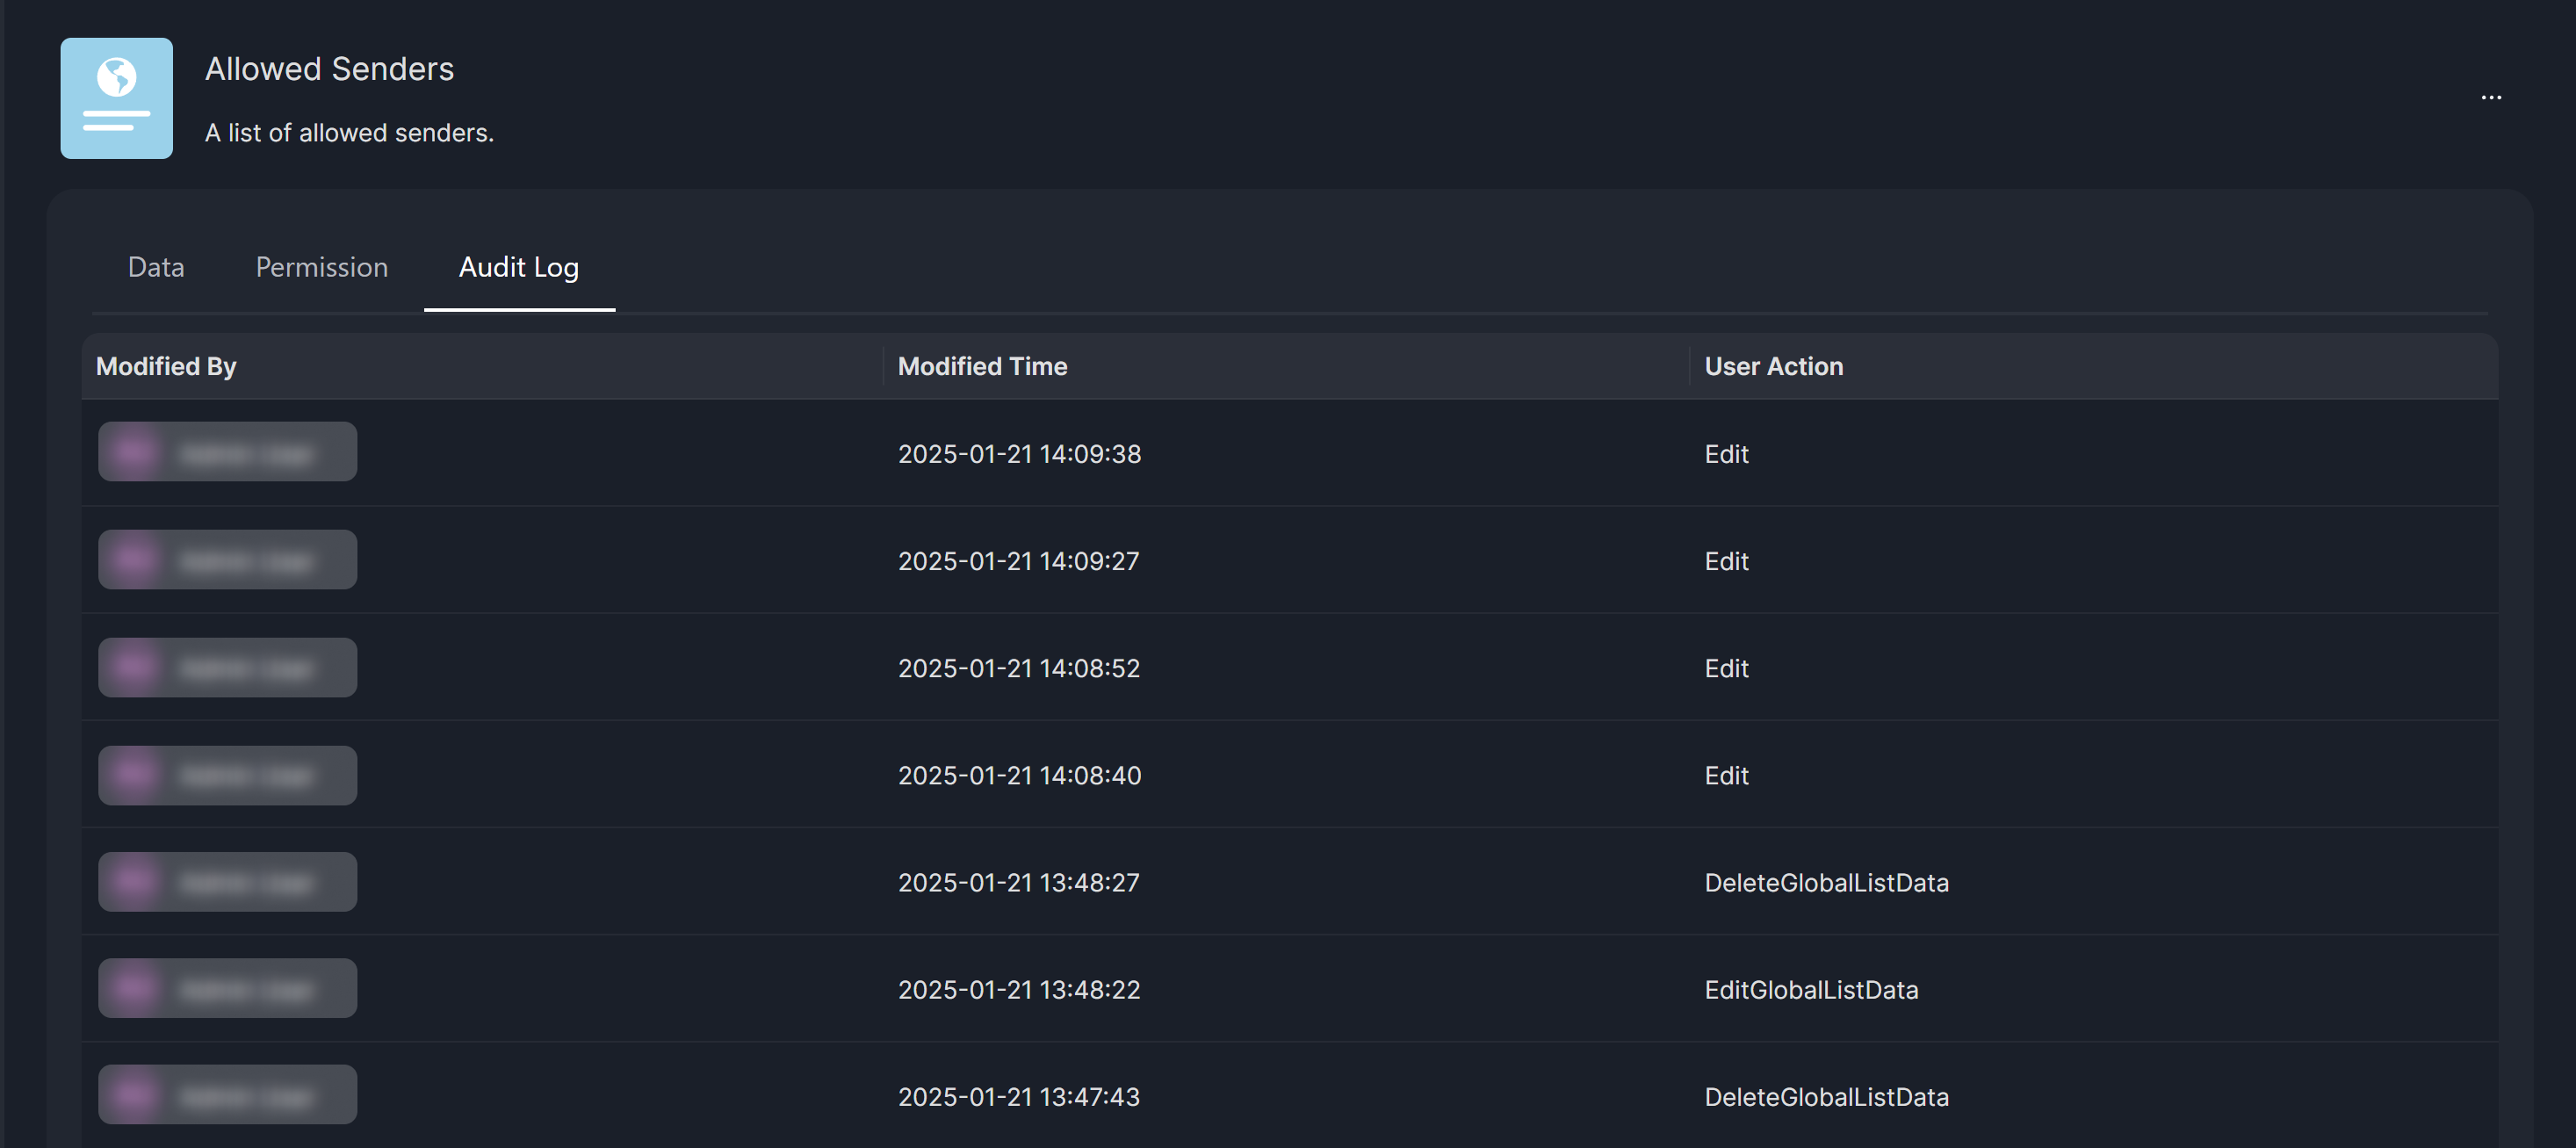
Using the Audit Log
The Audit Log tab records all modifications to the global list, detailing the user who made the change, the time of the modification, and the nature of the change.
Updating the Name and Description of the Global List
Users can update the global list's name and description by clicking the fields, making the desired changes, and clicking the  button to save the updates.