
Install Agent on Windows
LAST UPDATED: SEPTEMBER 08, 2025
PREREQUISITES
Installing New Agents
Download Proxy Agent Package.
-20250501-175147.png?inst-v=42f6df80-df0f-4ec4-af2e-6f907a55cc8f)
.NET 8 AGENT When upgrading to the .NET 8 Windows agent, D3 will provide a link to the .NET 8 Windows agent for installation on the .NET 4.8 vSOC site.
Click on the
%202-20250501-175603.png?inst-v=42f6df80-df0f-4ec4-af2e-6f907a55cc8f) button.
button. -20250501-175505.png?inst-v=42f6df80-df0f-4ec4-af2e-6f907a55cc8f)
Click on the
%202-20250501-180233.png?inst-v=42f6df80-df0f-4ec4-af2e-6f907a55cc8f) button, then store the security token for later use.
button, then store the security token for later use.-20250501-180118.png?inst-v=42f6df80-df0f-4ec4-af2e-6f907a55cc8f)
.NET 8 AGENT When upgrading to the .NET 8 Windows agent, generate a new security token. The previously issued token must not be reused.
Unzip the downloaded installation package.
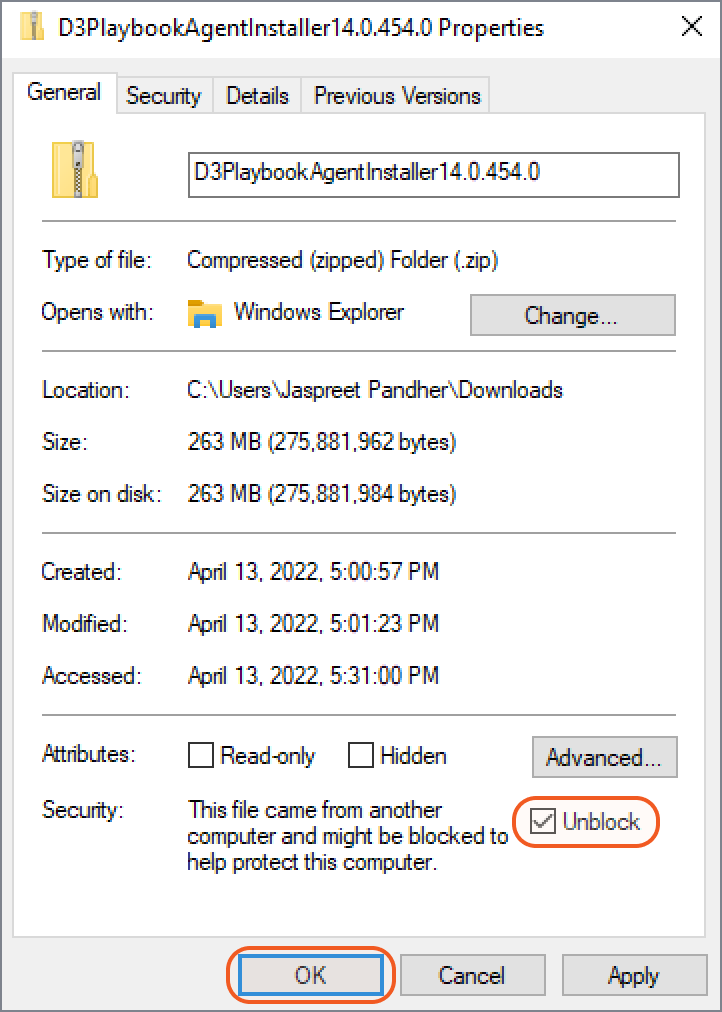
Ensure that the .zip file is 170+ MB in size, and is unblocked by security.
READER NOTE *
If the .zip file is is around 3 MB, please see the Troubleshooting section.
If blocked, unzipped files may remain locked, preventing successful installation.
Right-click the file, check its properties, and unblock it if applicable.
-20250501-181116.png?inst-v=42f6df80-df0f-4ec4-af2e-6f907a55cc8f)
Right click and run the D3PlaybookAgentInstaller executable as an administrator.
-20250501-183515.png?inst-v=42f6df80-df0f-4ec4-af2e-6f907a55cc8f)
Click on the Next button in the Agent Installation Wizard.
-20250501-183937.png?inst-v=42f6df80-df0f-4ec4-af2e-6f907a55cc8f)
Select the agent folder, then click on the Next button.
-20250501-184322.png?inst-v=42f6df80-df0f-4ec4-af2e-6f907a55cc8f)
.NET 8 AGENT When upgrading to the .NET 8 Windows agent, the installation directory must be set to a new, unique folder. For example, change the ending directory from
...\D3PlaybookAgentto...\D3PlaybookAgentN8.Input the required fields, then click on the Next button.
-20250501-192744.png?inst-v=42f6df80-df0f-4ec4-af2e-6f907a55cc8f)
Server URL – The URL of the server hosting the vSOC instance, ending with /VSOC.
.NET 8 AGENT When upgrading to the .NET 8 Windows agent, the Server URL is reused.Security Token – The token generated in step 3.
Agent Service Name – The internal service name under which the agent runs. This name is used for identifying the agent process on the host machine.
.NET 8 AGENT When upgrading to the .NET 8 Windows agent, the Agent Service Name must be configured as a unique value. The service name acts as the unique identifier for a Windows service, and duplicating it would cause conflicts and block proper agent registration.Agent Name – The display name of the agent that will appear in the Agent Management sub-module of D3 vSOC.
.NET 8 AGENT When upgrading to the .NET 8 Windows agent, assign a unique agent name that distinguishes it from the previous .NET 4.8 agent.
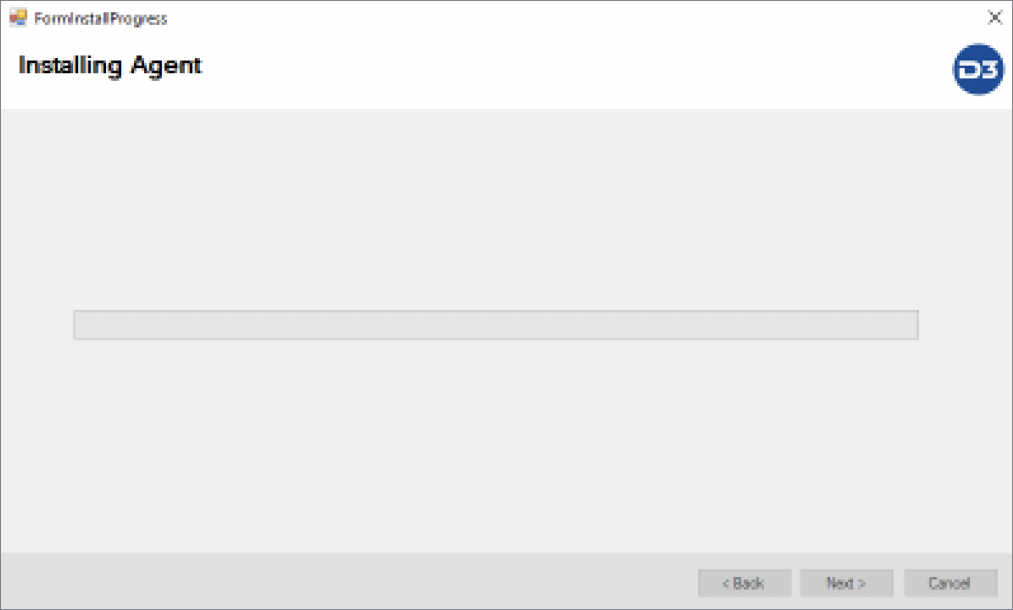
Allow installation to complete. This process may take a couple minutes. See the Troubleshooting section if the install does not complete.
-20250501-190458.png?inst-v=42f6df80-df0f-4ec4-af2e-6f907a55cc8f)
Click on the Finish button.
-20250501-191026.png?inst-v=42f6df80-df0f-4ec4-af2e-6f907a55cc8f)
.NET 8 AGENT After installing the .NET 8 Windows agent, add it to all integration connections—in the Connections or Integrations modules, under the Agent Name field—that are using the .NET 4.8 Windows agent. During a later .NET 8 vSOC upgrade, the agent will be switched over automatically.
Press Ctrl + Alt + Esc, then click on Task Manager > Services to verify that the agent service (established in step 9c) is running.
-20250501-192415.png?inst-v=42f6df80-df0f-4ec4-af2e-6f907a55cc8f)
Verify that the agent, as named in step 9d, appears in the Agent Management sub-module of D3 vSOC and displays a status of
%203-20250501-193953.png?inst-v=42f6df80-df0f-4ec4-af2e-6f907a55cc8f) .
.-20250501-193654.png?inst-v=42f6df80-df0f-4ec4-af2e-6f907a55cc8f)
How to Configure Internet Proxy Settings
In some environments, the D3 Proxy Agent can NOT access the Internet directly, it has to access the Internet via a Proxy server.
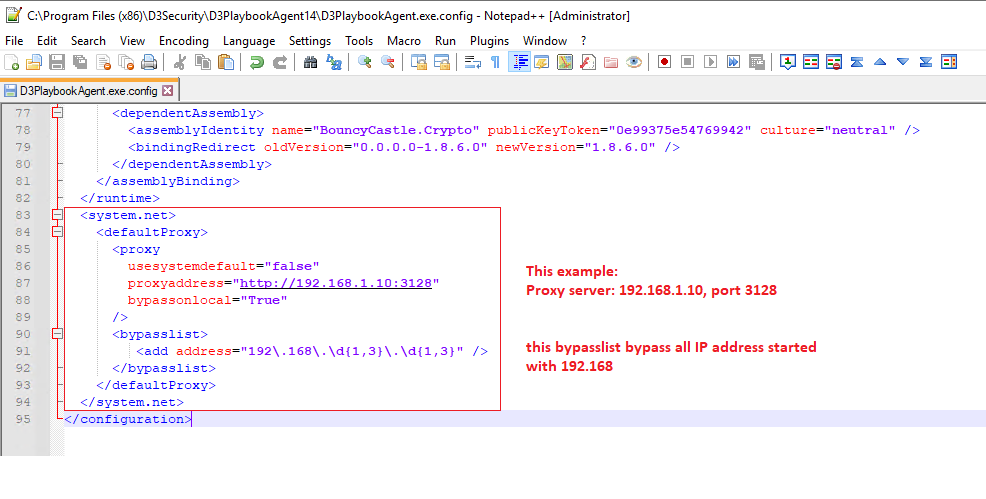
Edit the D3PlaybookAgent.exe.config file, add Proxy setting as follows:
C:\Program Files (x86)\D3Security\D3PlaybookAgent14\D3PlaybookAgent.exe.config
Add proxy configuration between <system.net>..... </system.net> shown below.
READER NOTE
This example set the proxy server IP 192.168.1.10, port 3128
All local IP addresses 192.168.xxx.xxx are bypassed.
Troubleshooting
Agent Key
Download PlaybookAgent from vSOC GUI. The file size of D3PlaybookAgentInstaller14.0.xxx.x.zip should be at least 170MB or larger which includes the Python package. If the download does NOT include the Python package, its size may be around 3MB and requires troubleshooting.
On DB Server, in SSMS (SQL Server Management Studio), right click the database, run new query
Run the following command to check if the Proxy Agent key exists or not.
SQLSELECT * FROM vSOC_Settings_Default WHERE keyname LIKE 'Cyber.PythonInstallationFolderForPlaybookAgent';If the PlaybookAgent key does not exist, run the insert command to add it to the database.
SQLINSERT INTO vSOC_Settings_Default (keyName, keyValue) VALUES ('Cyber.PythonInstallationFolderForPlaybookAgent', 'C:\Python\Python38');Run the update command to update the key value.
SQLUPDATE vSOC_Settings_Default SET keyValue = 'C:\Python\Python38' WHERE keyname LIKE 'Cyber.PythonInstallationFolderForPlaybookAgent';
READER NOTE *
C:\Python\Python38 is an example here.
It is the Python path on your vSOC server. Change it to your Python path where Python.exe resides.
After updating the key into the Database, stop D3TaskManager services, stop App Pool, then restart the services and App Pool again.
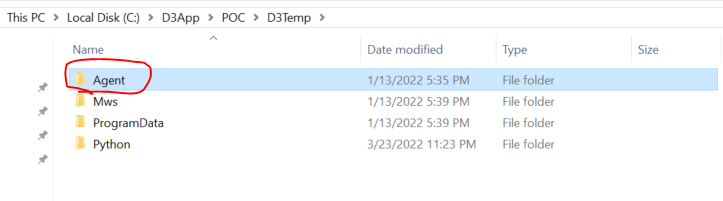
Delete Agent folder under
C:\D3App\D3Temp\AgentorC:\D3App\Virtual_Dir\D3Temp\Agent
See examples below. Your D3App folder may be on other disks like D:\ or E:\ as well.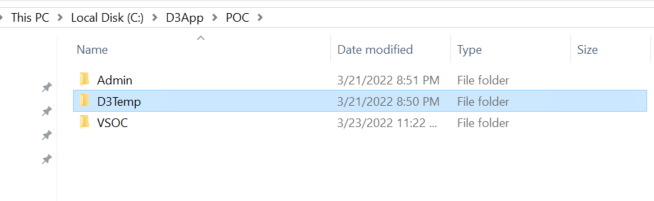
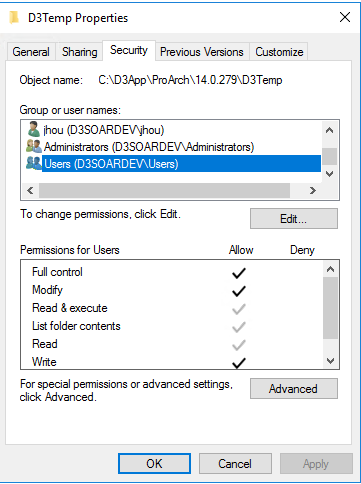
When attempting to download the Agent, sometimes no file is downloaded. In this case, check your D3Temp directory properties. Make sure users have full control so the Agent software can be written into this folder.
Set users with full control.
Go to vSOC to download the agent again. The correct zipped installation package size should be at least 170MB or larger.
READER NOTE *
If user vSOC was updated to a new version, you need to download and update your Proxy agent accordingly.
The Proxy Agent version should match the vSOC version.
Download new Proxy Agent and install
READER NOTE *
You can install multiple Proxy Agents, each with a different Security Token.
If the installation stalls and does not complete, the root cause is that the Playbook Installation package was blocked by Windows when downloading from vSOC servers.
Go to the .zip file and view Properties.
Check the Unblock box before unzipping the file. Even if the file is able to unzip successfully without this permission, some files will still be blocked by Windows. Ensure that this is checked before proceeding.
Run the installation again.