
Incident Workspace Builder
LAST UPDATED: JAN 3, 2024
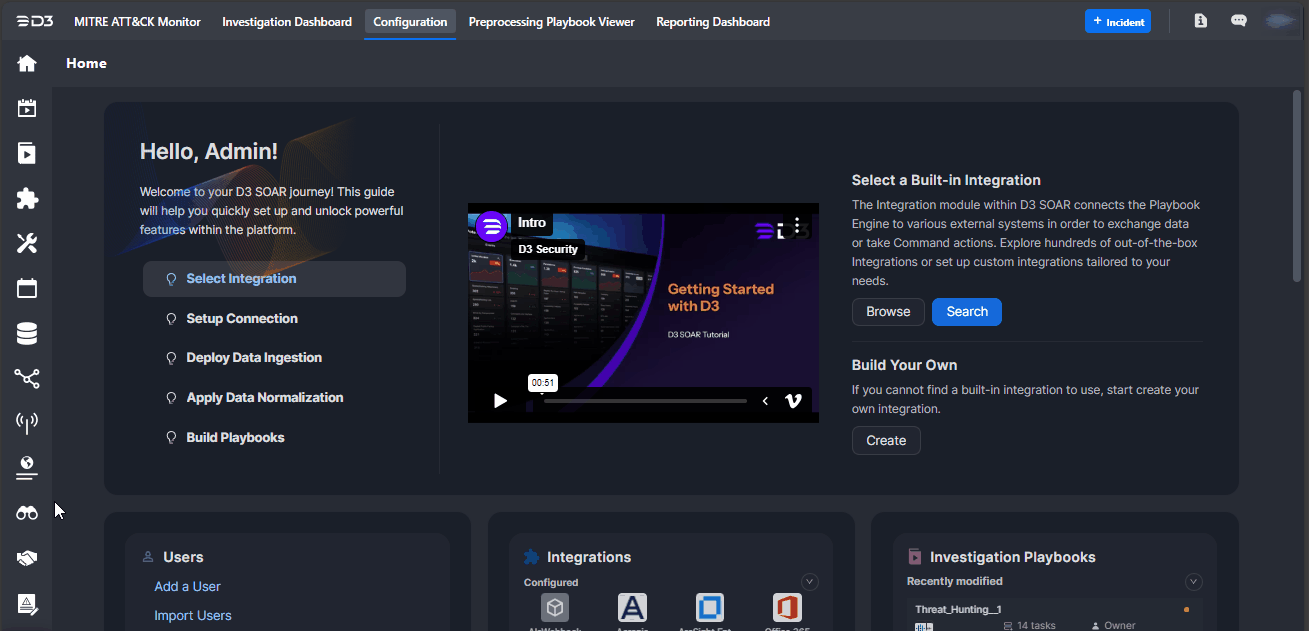
The incident workspace builder enables administrators to create tailored workspaces that display the most relevant widgets tools for specific investigative needs. Follow the steps below to configure and assign a customized incident workspace:
Navigate to the Incident Workspace Builder.
Click on the + New Workspace button.
-20241227-212835.png?inst-v=f0ae511a-7398-4e63-b935-74c903306443)
Drag the required widgets onto the canvas.
-20241227-213228.png?inst-v=f0ae511a-7398-4e63-b935-74c903306443)
READER NOTE
Click and hold the mouse button to preview the widget.
Give a unique name to this layout.
-20241227-213821.png?inst-v=f0ae511a-7398-4e63-b935-74c903306443)
Click on the Settings tab.
-20241227-214358.png?inst-v=f0ae511a-7398-4e63-b935-74c903306443)
Configure the necessary properties.
-20241227-220103.png?inst-v=f0ae511a-7398-4e63-b935-74c903306443)
(Optional) Rename the workspace.
(Optional) Toggle this workspace to become the default one. When a workspace is set as the default, the Assign Workspace settings (part c and d) below will not be applied
(Optional) Click on the dropdown menu under Assign to Roles, then select the desired roles to assign this workspace.
(Optional) Click on the dropdown menu under Assign to Groups, then select the desired groups to assign this workspace.
Click on the Save button.
-20241227-222614.png?inst-v=f0ae511a-7398-4e63-b935-74c903306443)
READER NOTE
The change will take effect in an incident workspace the next time the assigned users log into D3 vSOC.
-20241227-224335.png?inst-v=f0ae511a-7398-4e63-b935-74c903306443)