.png)
Application Settings
Overview
In Application Settings, you can customize nearly every aspect of D3 SOAR and the user experience. All changes made in Application Settings are effective immediately, making it flexible and convenient for you to make and apply changes to the application.
You can access the Application Settings module by clicking on the gear icon at the bottom left corner of the configuration navigation bar.
The configurable options in the Application Settings module are:
Ad Hoc Task Configuration
Add to a list of task types. These are used to label Ad Hoc Tasks in an incident response.
Dashboard Columns
You can add custom columns and configure default displayable columns for the event and incident lists in the investigation dashboard. This customization can be helpful in enhancing your investigation process.
From the list of all the displayable columns in the Application Settings UI, you can sort them by their names, types, display order and their visibility for easier management in this interface. You can also change any column’s display order and toggle its visibility by checking or unchecking the box.
To add a custom column to the event dashboard
Navigate to the Event Dashboard tab and click on the + Custom Column button.
Select a field name to use as the column name. The field name can be configured in Event Field Mapping.
Specify a display order for this column. 0 means it is the first from the left.
Determine whether its visibility is toggled on or off in the default view and click Save.
The saved custom columns will appear in the event dashboard.
To add a custom column to the incident dashboard
Navigate to the Incident Dashboard tab and click on the + Custom Column button.
Select an incident type, it is configured in the Incident Form Editor.
Choose a section that is found in the incident type.
Select a column name from the dropdown. The column name is an activity or an info activity of a section.
Specify a display order for this column. 0 means it is the first from the left.
Determine whether its visibility is toggled on or off in the default view and click Save.
The saved custom columns will appear in the incident dashboard.
To delete a custom column
Only custom columns can be deleted. To do so, click on the trash can icon at the end of the row.
Reader Note
Please note that editing the Display Order or Show in Default View will only apply to newly created users. Existing users’ display order and column visibility will not be affected.
Logo Customization
You can use this feature to customize the default logo displayed on the Incident Report and Send Email Template, as well as the company URL shown in the header of the incident report.
Upload and preview a Logo or URL
In a new VSOC environment, the D3 logo and URL are the default placeholders. You can replace them by simply clicking on the Replace Logo button and upload a PNG or JPG format logo of your own and enter the URL of your choice.
Click on the images to preview how the logo or URL will appear on the incident report or send email template.
Email Domain Whitelist
The Email Domain Whitelist is a list of approved email domains for adding new users. The domain of a user’s email address must be added in the email domain Whitelist for user creation.
Email domains must contain a top-level domain, and cannot contain the @ symbol.
For example: admin@d3.com, the email domain is “d3.com”
You should set up your Email Domain Whitelist in the beginning of configuring the vSOC system.
Reader Note
If no email domains are added to the Email Domain Whitelist (i.e. the Email Domain Whitelist is empty), all domains are permitted.
Temporary Login Lock
In this setting, you can set the number of allowed login attempts for a user, and the lockout period when someone exceeds the number of failed attempts.
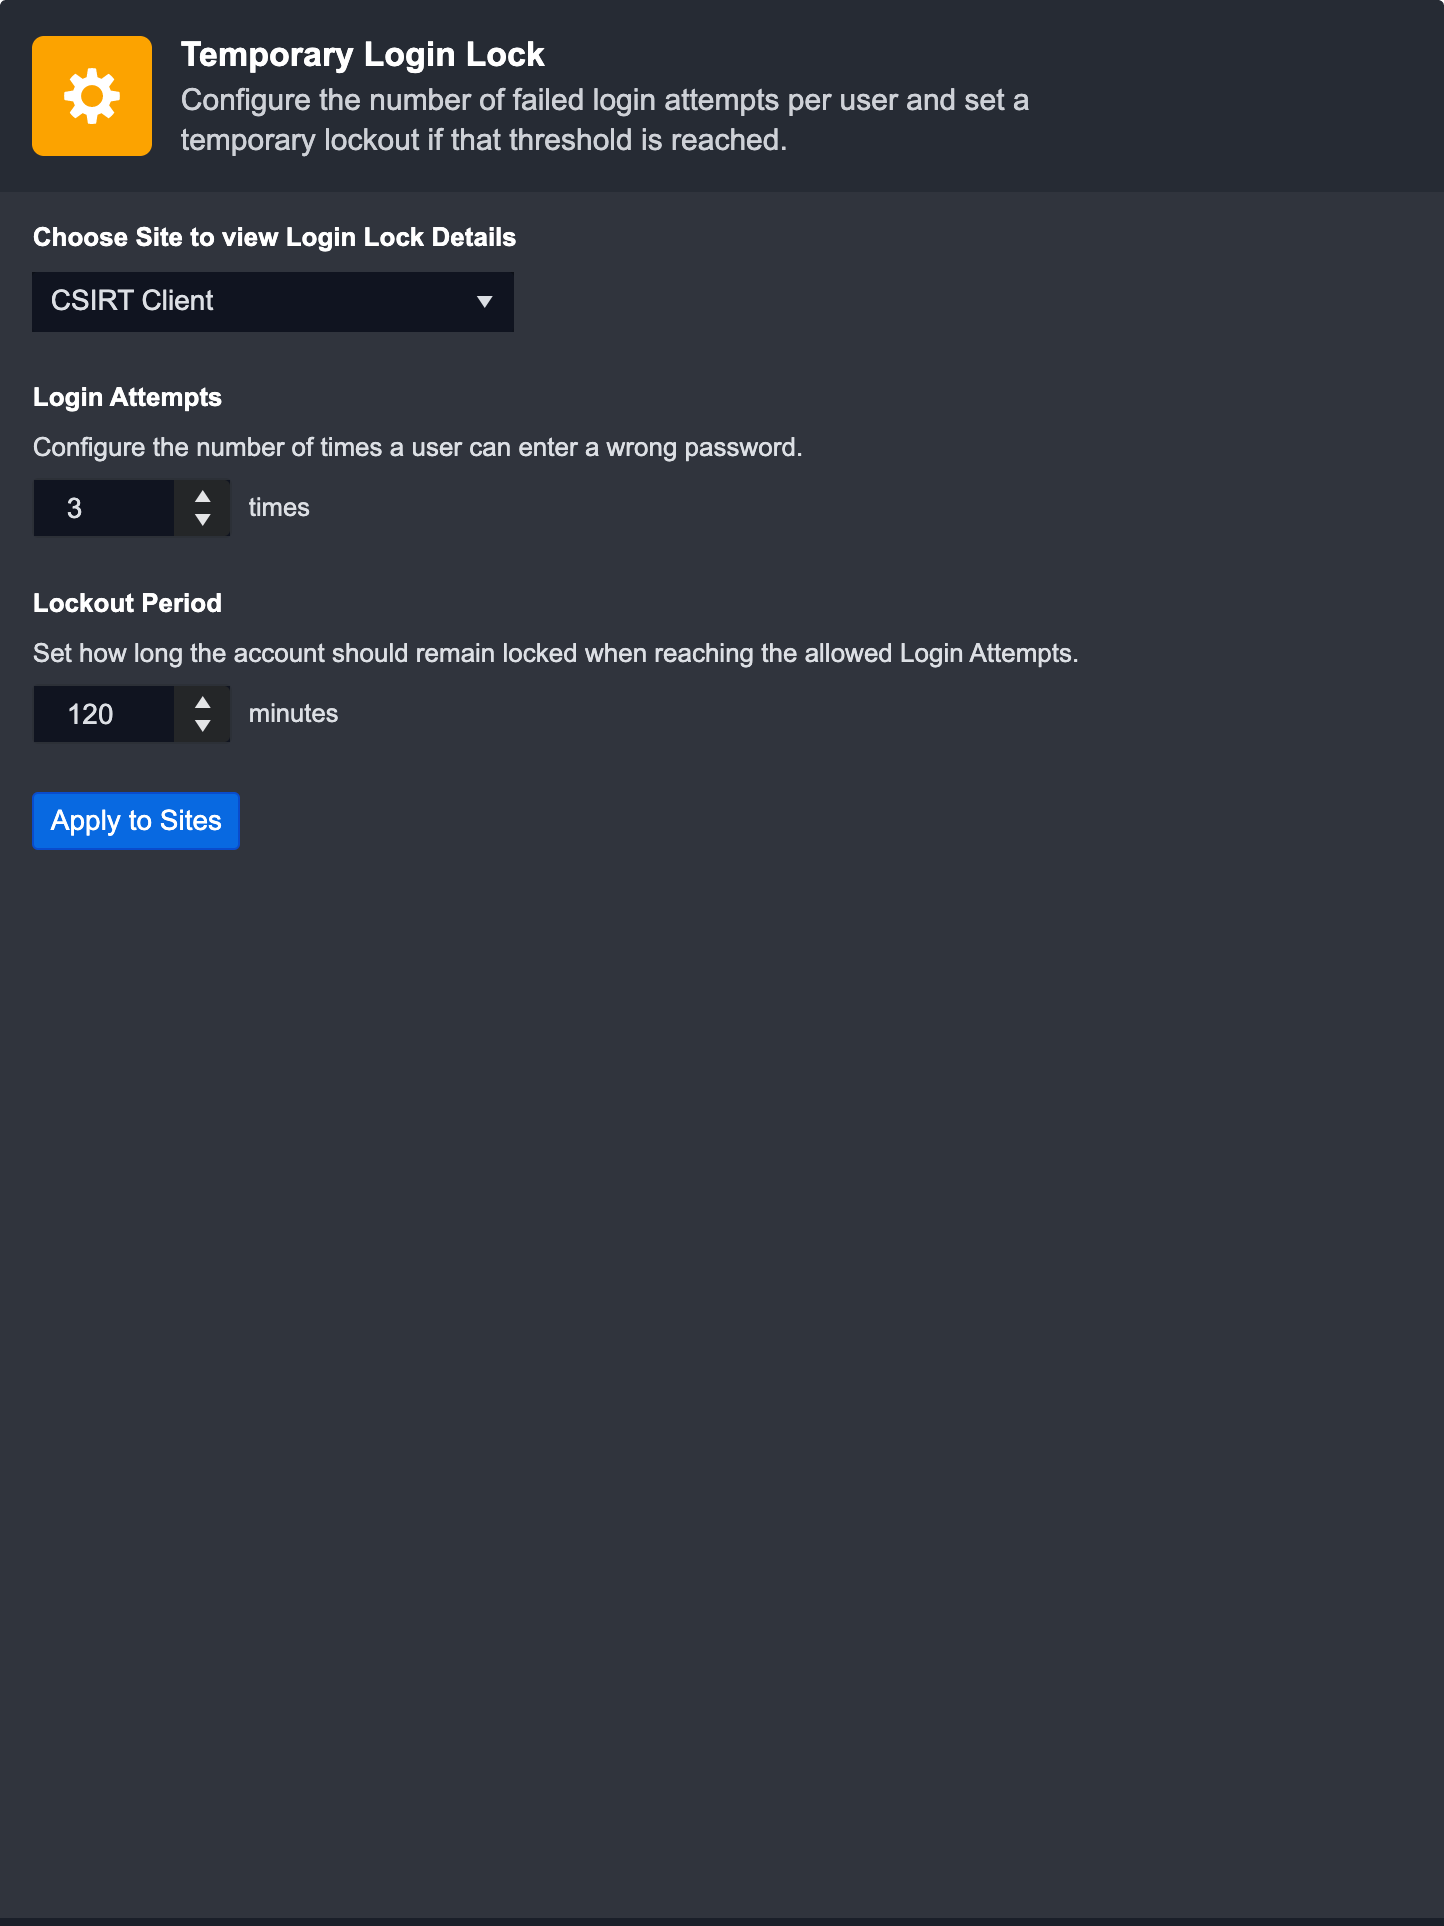
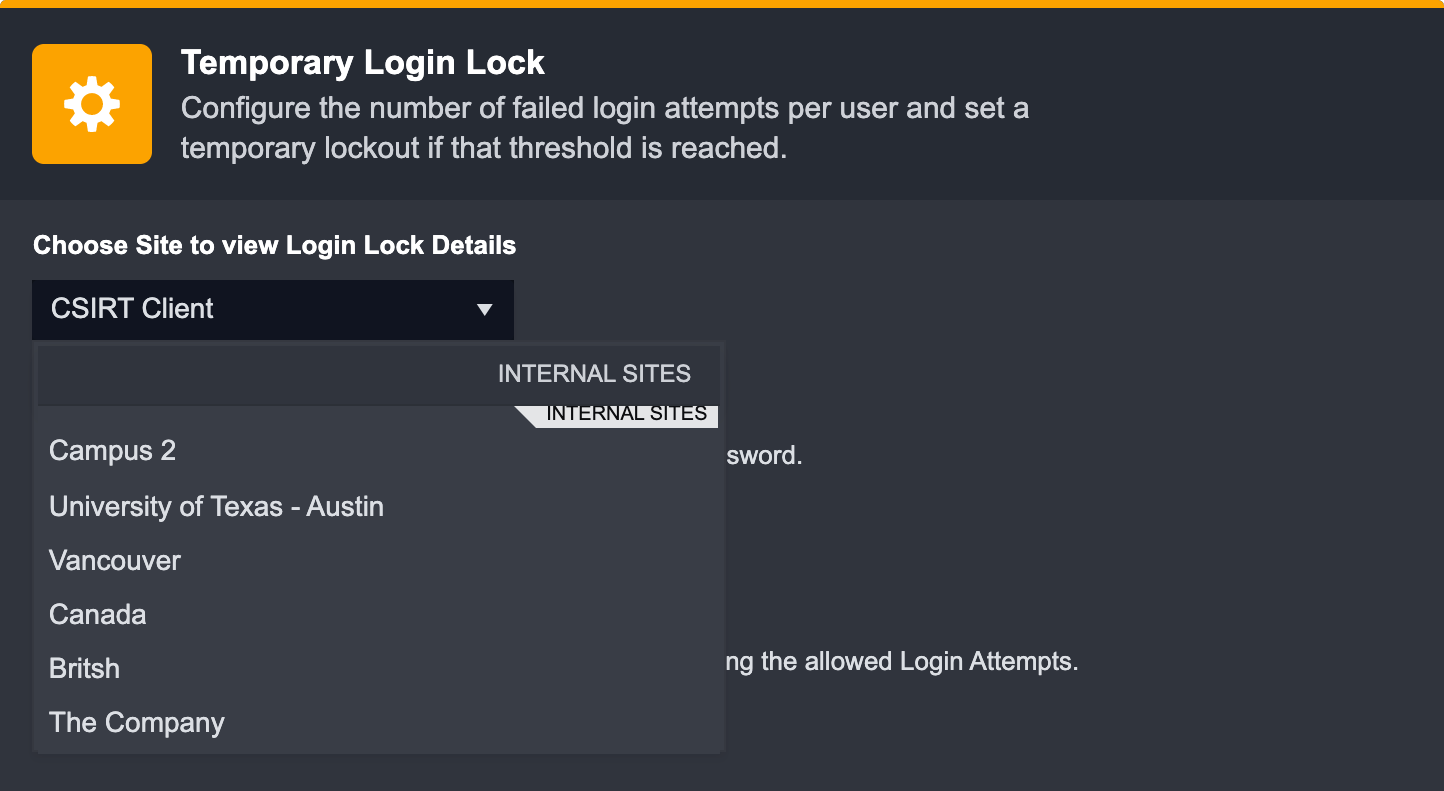
Edit the Setting of Each Site
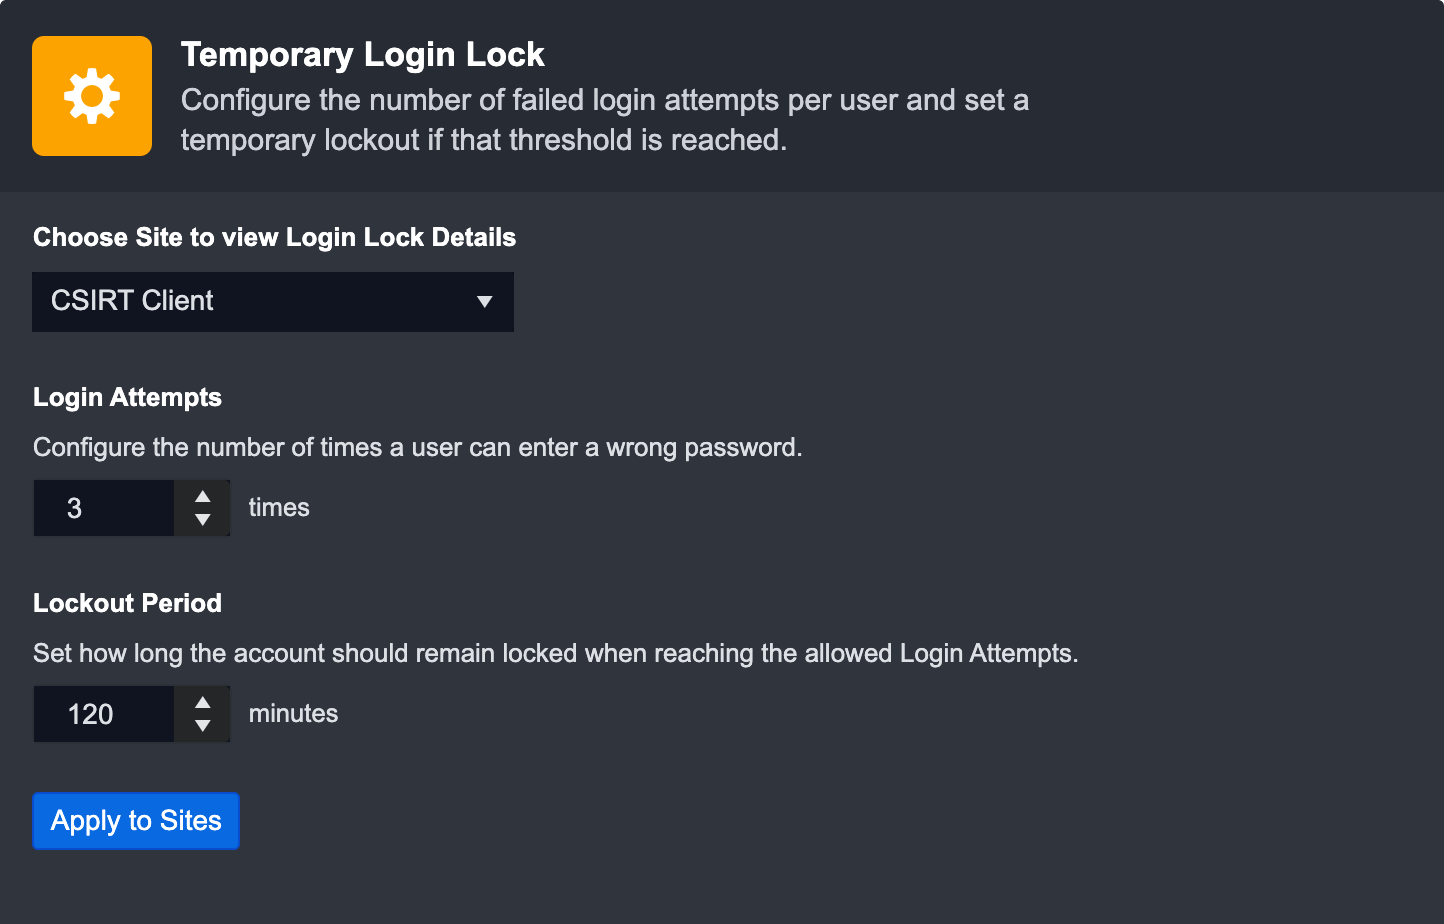
Each Site has a default setting: 3 login attempts, and a lockout period of 120 minutes. You can view and edit each Site’s setting by navigating the Site dropdown menu.
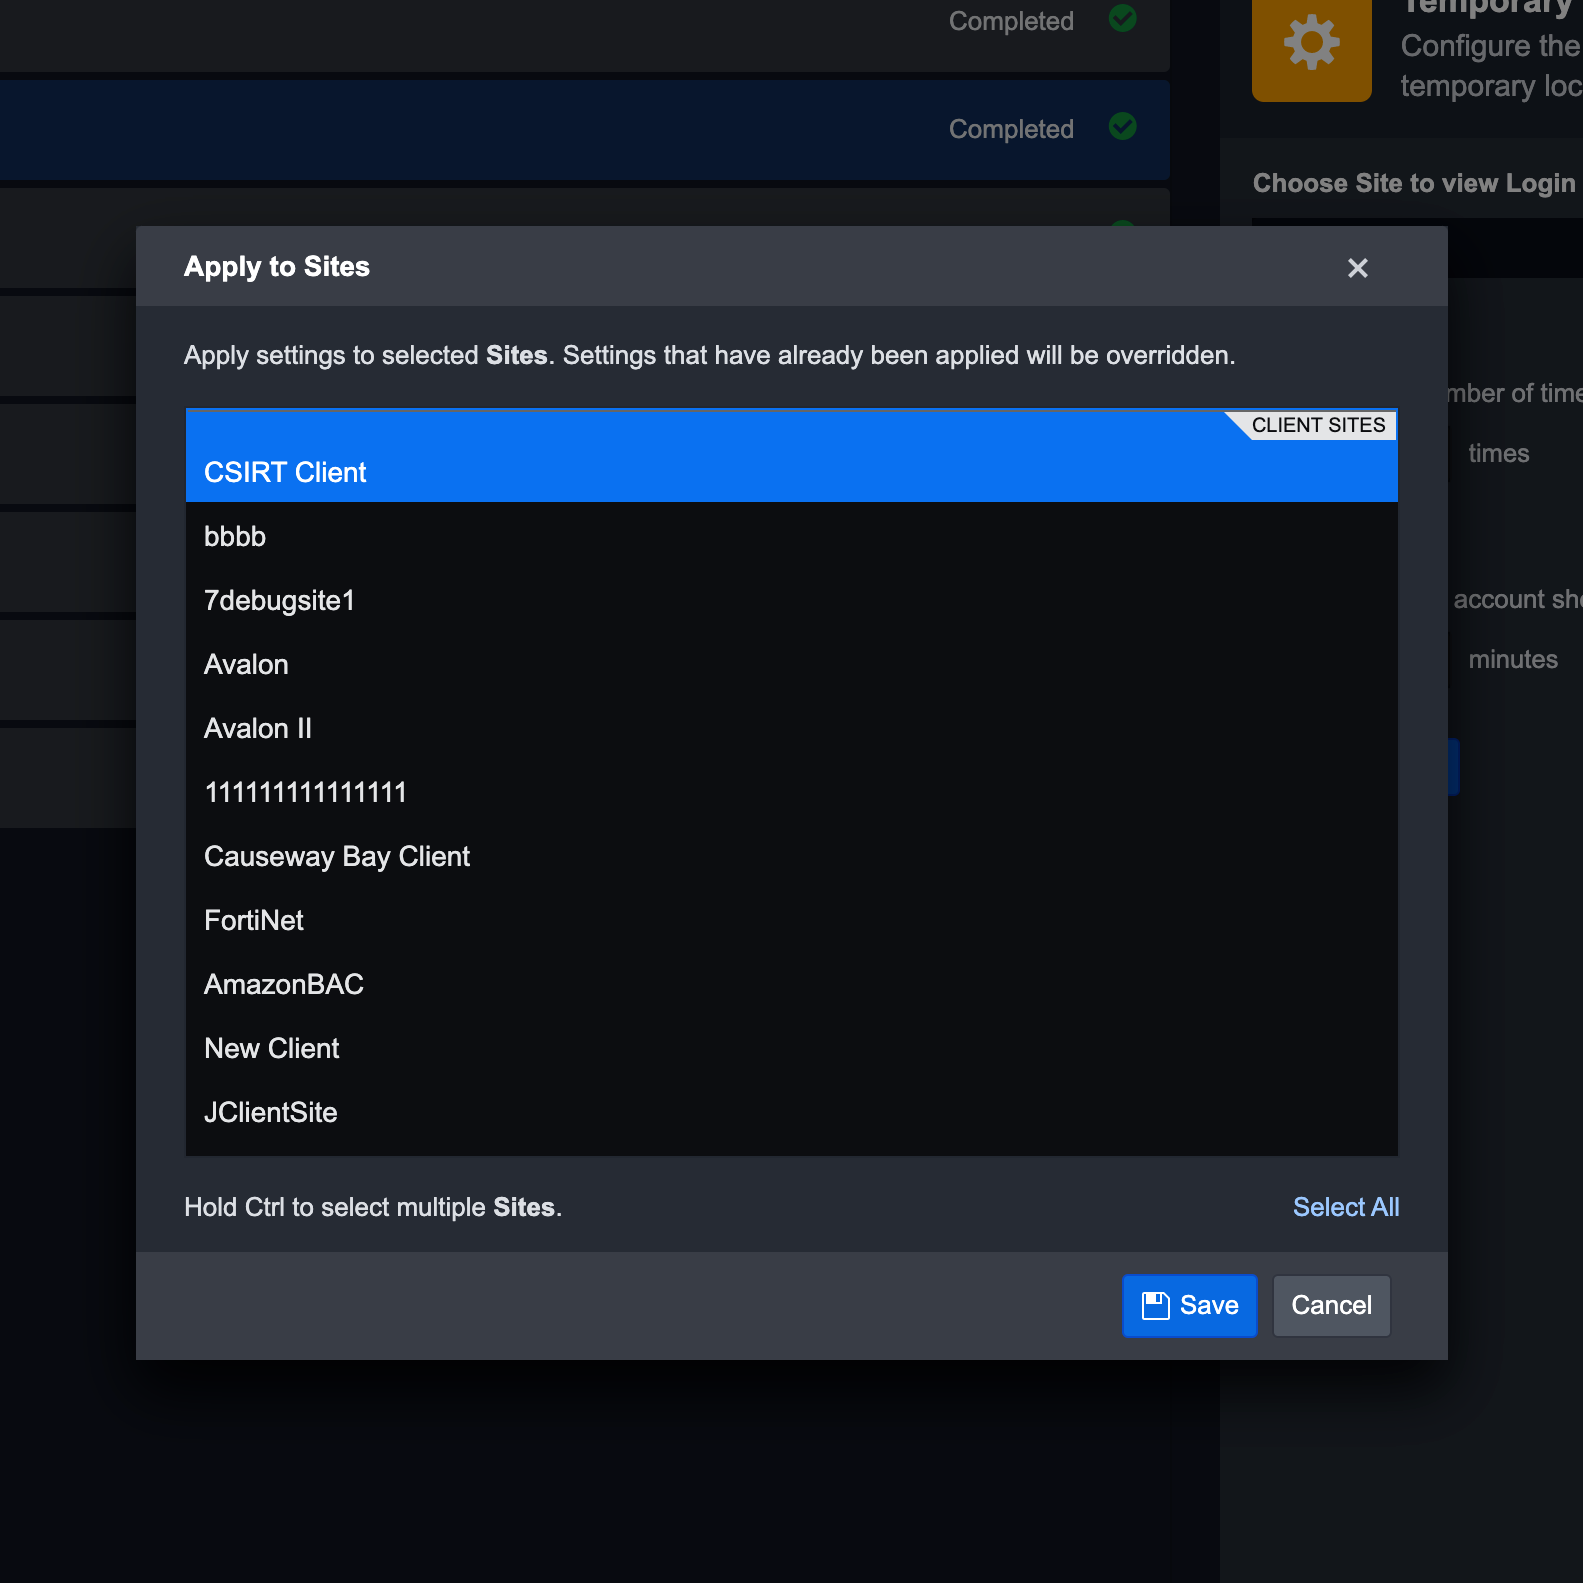
Apply Settings to Site(s)
After configuring your setting, you can apply these settings to your Site by clicking on the Save button at top right, and/or other Sites (if you’re an MSSP).
Click Apply to Sites.
A pop-up modal of Sites you can publish to will appear. The Site you are currently on will be selected by default.
Choose Site(s) to publish the settings to.
Click on
Save to confirm all changes.
Reader Note
When selecting Sites to apply settings to, if you deselect the current Site you’re on, the changes will not be applied there.
Enforce Password Policy
This setting lets you determine the number of unique new passwords you need to have associated with your account, before you can reuse an old password. You can additionally set a minimum and maximum password length.
SLA List
This is where you can add service-level agreement options in JSON format to be used in the SLA Task in the Playbook Editor. Options added in this configuration will become available options in the SLA Playbook Task.
SLA configuration in Application Settings

SLA Task in Incident Playbook

Web Config
Web Config provides you with all the global configuration fields that you can access and modify. Each setting has a detailed description to guide you through the configuration.
All changes here will apply to the entire system, across multiple Sites (for MSSPs).
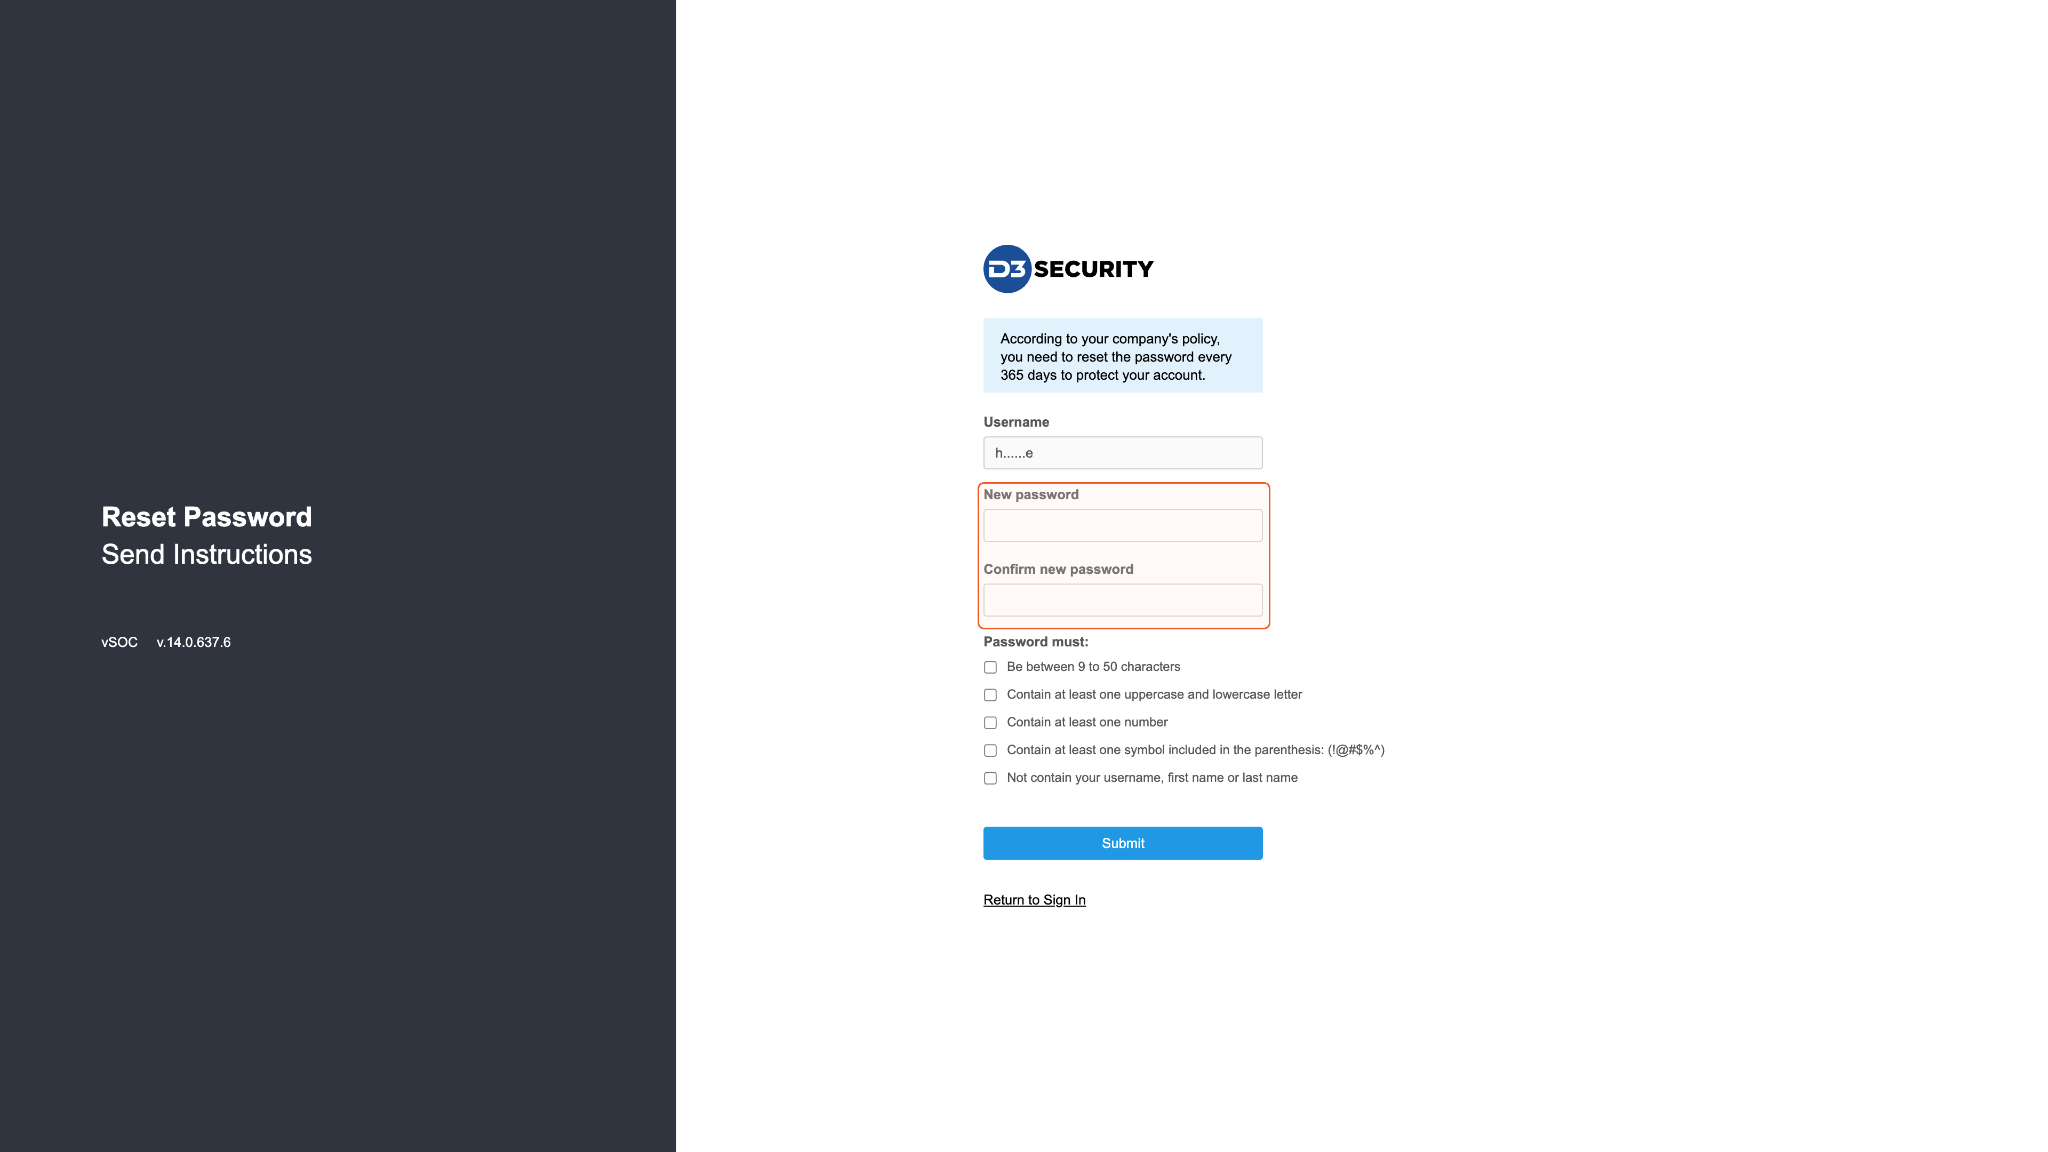
Password expiration check
Reader Note
This feature is not enabled by default. Contact the D3 Security support team to enable the Password Expiration Check feature.
The password expiration check feature allows the system admin to set a password reset period. When enabled, users must reset their passwords within the specified period of time to ensure security. Every newly created user must reset their log-in password after enabling this feature.
Once this feature is enabled, the PasswordRestPeriod will show in the web config.
To set password reset period
Navigate to Configuration
Click on Application Settings tab
Open the Web Config
Set the number of days under the PasswordRestPeriod
E.g. PasswordResetPeriod: 365. The user must update the password after 365 days to log in to vSOC again.
If the password exceeds the set time, it will redirect every user to the Reset Password page upon login, to reset their password.
Reader Note
When updating vSOC from a version without this feature, the password reset time will be reset as well, with the counter beginning again on the day of the update.
Date/Time Format
Date/Time Format allows you to choose the format to display time and date in D3 SOAR. The chosen format option in this page will be applied as the system’s default date/time format.
You can also choose to override this default date/time format when configuring from a module in D3, or in Site Settings.
SMTP (Simple Mail Transfer Protocol) Server and Email
Configure the SMTP Details in order to send emails from the D3 platform.
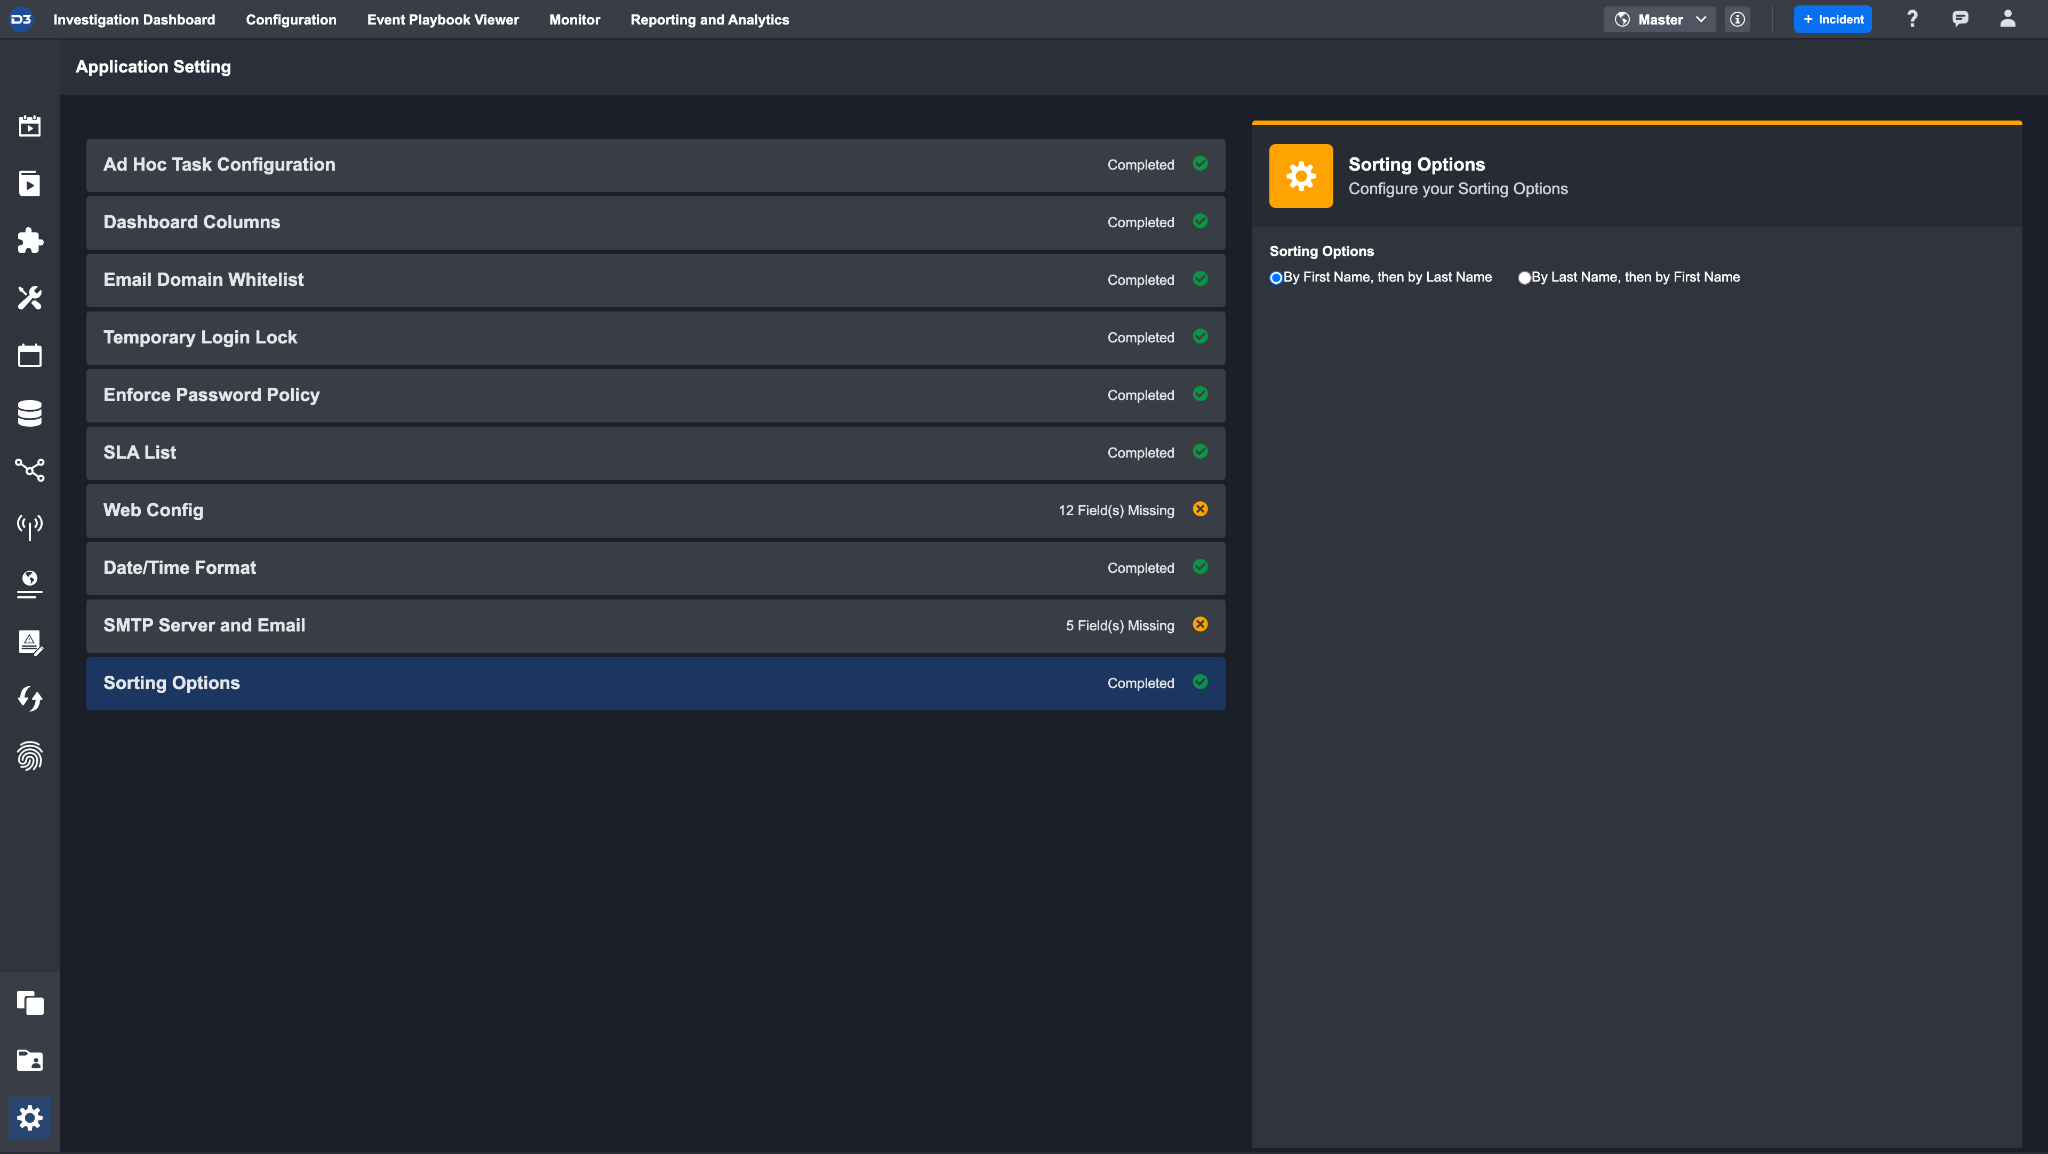
Sorting Options
You can choose how the officer name list is sorted when creating or editing an Incident Report.
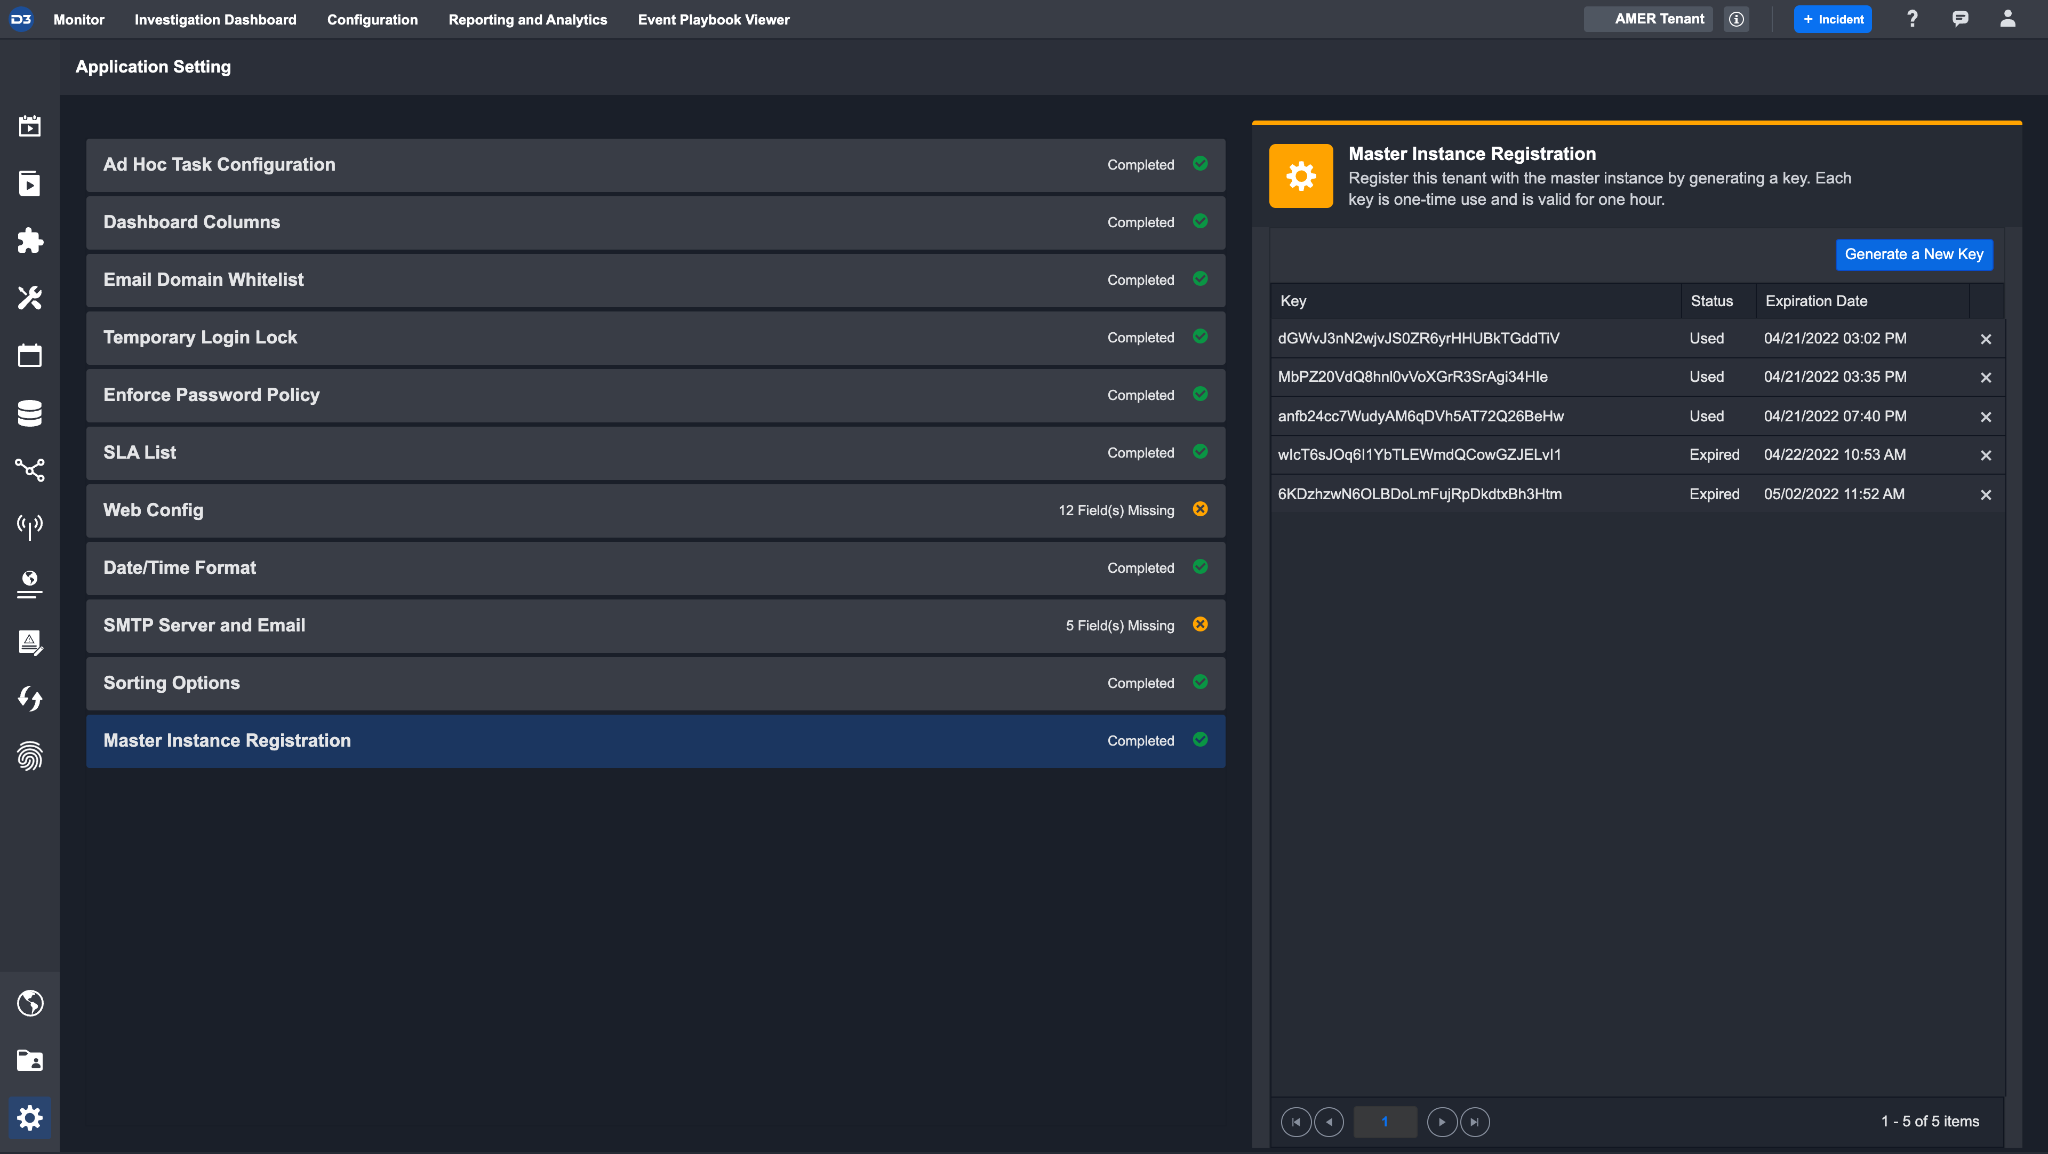
Master Instance Registration (Tenants Only)
Only accessible in tenant instances.
Connect a tenant instance with the master instance by generating a key. Copy the key to use when adding a tenant in the master instance. See multi-tenancy for more details on connecting a tenant.
Keys have expirations and will show their status. Each key can only be used once and will expire after 1 hour.
Update Mitre Tactics and Techniques
Keep your Mitre tactics and techniques up-to-date.
Click the update TTP button to fetch new updates. A history of previous updates and their results will be displayed in the table.