SAML Configuration for Ping Identity
LAST UPDATED: OCT 22, 2024
Overview
This guide provides step-by-step instructions for configuring SAML authentication between Ping Identity and D3 vSOC. It includes setting up the SAML app integration in Ping Identity, and enabling login via Ping Identity to D3 vSOC.
Procedure
Configure SAML in Ping Identity
Login to your Ping Identity Portal.
Click on the Administrators option on the left sidebar.
-20241023-020306.png?inst-v=4d6f00ea-d563-42d6-b8c7-1a4ea4284139)
Navigate to Applications > Applications, then click on the
%202-20241023-020604.png?inst-v=4d6f00ea-d563-42d6-b8c7-1a4ea4284139) button.
button.-20241023-040506.png?inst-v=4d6f00ea-d563-42d6-b8c7-1a4ea4284139)
Click on the SAML Application button, then an application name, then click on the Configure button.
-20241023-021529.png?inst-v=4d6f00ea-d563-42d6-b8c7-1a4ea4284139)
Select the Manually Enter radio button, enter your D3 vSOC URL in the ACS URL field with
/Login.aspxappended, enter your D3 vSOC URL (without/Login.aspx) in the Entity ID field, then click on the Save button.-20241023-021857.png?inst-v=4d6f00ea-d563-42d6-b8c7-1a4ea4284139)
READER NOTE
The inclusion of /login.aspx is mandatory for the ACS URLs field.
(Optional) Click on the Access tab.
-20241023-022655.png?inst-v=4d6f00ea-d563-42d6-b8c7-1a4ea4284139)
(Optional) Click on the
%202-20241023-022927.png?inst-v=4d6f00ea-d563-42d6-b8c7-1a4ea4284139) button.
button.-20241023-035704.png?inst-v=4d6f00ea-d563-42d6-b8c7-1a4ea4284139)
(Optional) Select the Must have admin role checkbox, select the appropriate groups to enable the use of Ping Identity, then click on the Save button.
-20241023-023304.png?inst-v=4d6f00ea-d563-42d6-b8c7-1a4ea4284139)
Setup attribute mapping.
-20241023-035555.png?inst-v=4d6f00ea-d563-42d6-b8c7-1a4ea4284139)
Navigate to the Attribute Mappings tab.
Enable the application toggle.
Click on the
%201-20241023-035829.png?inst-v=4d6f00ea-d563-42d6-b8c7-1a4ea4284139) button.
button.-20241023-040048.png?inst-v=4d6f00ea-d563-42d6-b8c7-1a4ea4284139)
Select the Username option within the PingOne Mappings dropdown menu.
Click on the Save button.
READER NOTE
Before proceeding, ensure that you have:
Created D3 user accounts (Organization Management > Users > + Add Users)
Reviewed the procedure for adding a new login method. Your new Ping Identity SAML login method must to be assigned to the appropriate D3 user accounts (Application Settings > Login Authentication > Users) after step 10 below.
Copy over the required Ping Identity information to D3 vSOC.
-20241023-041307.png?inst-v=4d6f00ea-d563-42d6-b8c7-1a4ea4284139)
a. Navigate to the Configuration tab.
b. Click on the Download Signing Certificate button, open the text file, then copy it over to the Certificate field in vSOC.
-20241023-030409.png?inst-v=4d6f00ea-d563-42d6-b8c7-1a4ea4284139)
-20241023-030817.png?inst-v=4d6f00ea-d563-42d6-b8c7-1a4ea4284139)
c. Click on the %201-20241023-031304.png?inst-v=4d6f00ea-d563-42d6-b8c7-1a4ea4284139) button for the Initiate Single Sign-On URL, then copy it over to the Target URL field in vSOC.
button for the Initiate Single Sign-On URL, then copy it over to the Target URL field in vSOC.
-20241023-031037.png?inst-v=4d6f00ea-d563-42d6-b8c7-1a4ea4284139)
d. Click on the %201-20241023-031304.png?inst-v=4d6f00ea-d563-42d6-b8c7-1a4ea4284139) button for the ACS URLs, then copy it over to the Assertion Consumer Service URL field in vSOC.
button for the ACS URLs, then copy it over to the Assertion Consumer Service URL field in vSOC.
-20241023-031437.png?inst-v=4d6f00ea-d563-42d6-b8c7-1a4ea4284139)
Login to D3 vSOC via Ping Identity
Click on the
%201-20241023-031304.png?inst-v=4d6f00ea-d563-42d6-b8c7-1a4ea4284139) button for the Initiate Single Sign-On URL, then paste it in the address bar of your browser.
button for the Initiate Single Sign-On URL, then paste it in the address bar of your browser.-20241023-041605.png?inst-v=4d6f00ea-d563-42d6-b8c7-1a4ea4284139)
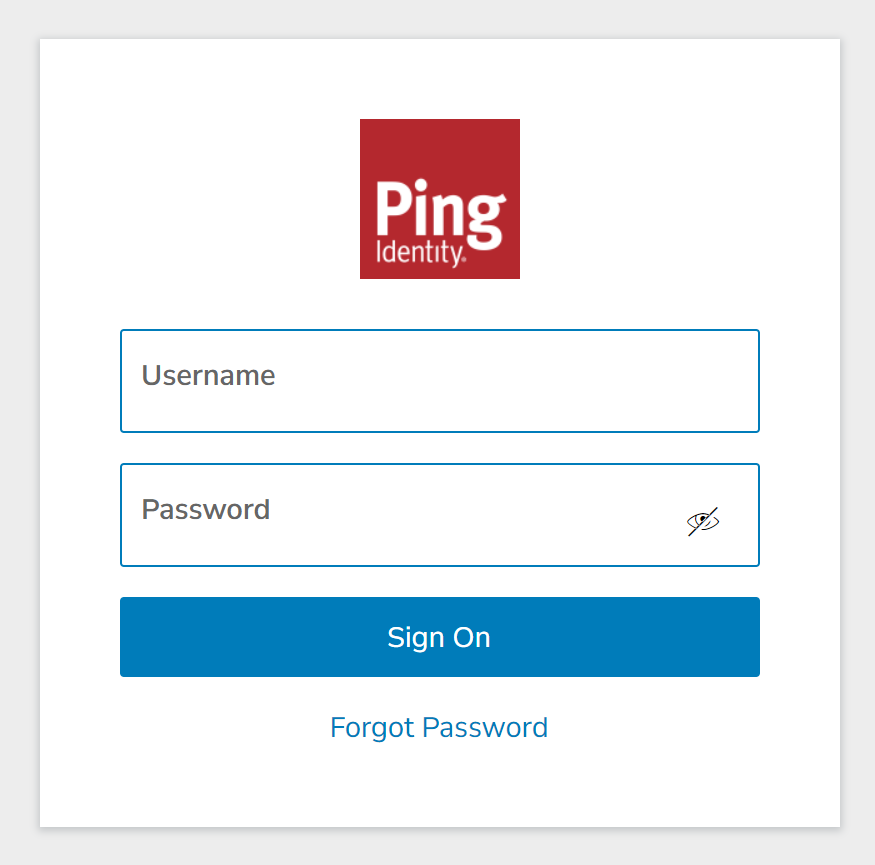
Enter your Ping Identity username and password, then click on the Sign On button.

After successfully logging in to Ping Identity, you will be redirected to D3 vSOC.
-20241023-032501.png?inst-v=4d6f00ea-d563-42d6-b8c7-1a4ea4284139)
.png)