Skip table of contents

Agent Management

Agents are services that run on an external server. They act as a liaison between the server and the D3 SOAR Platform to ensure security and stability for data ingestion.

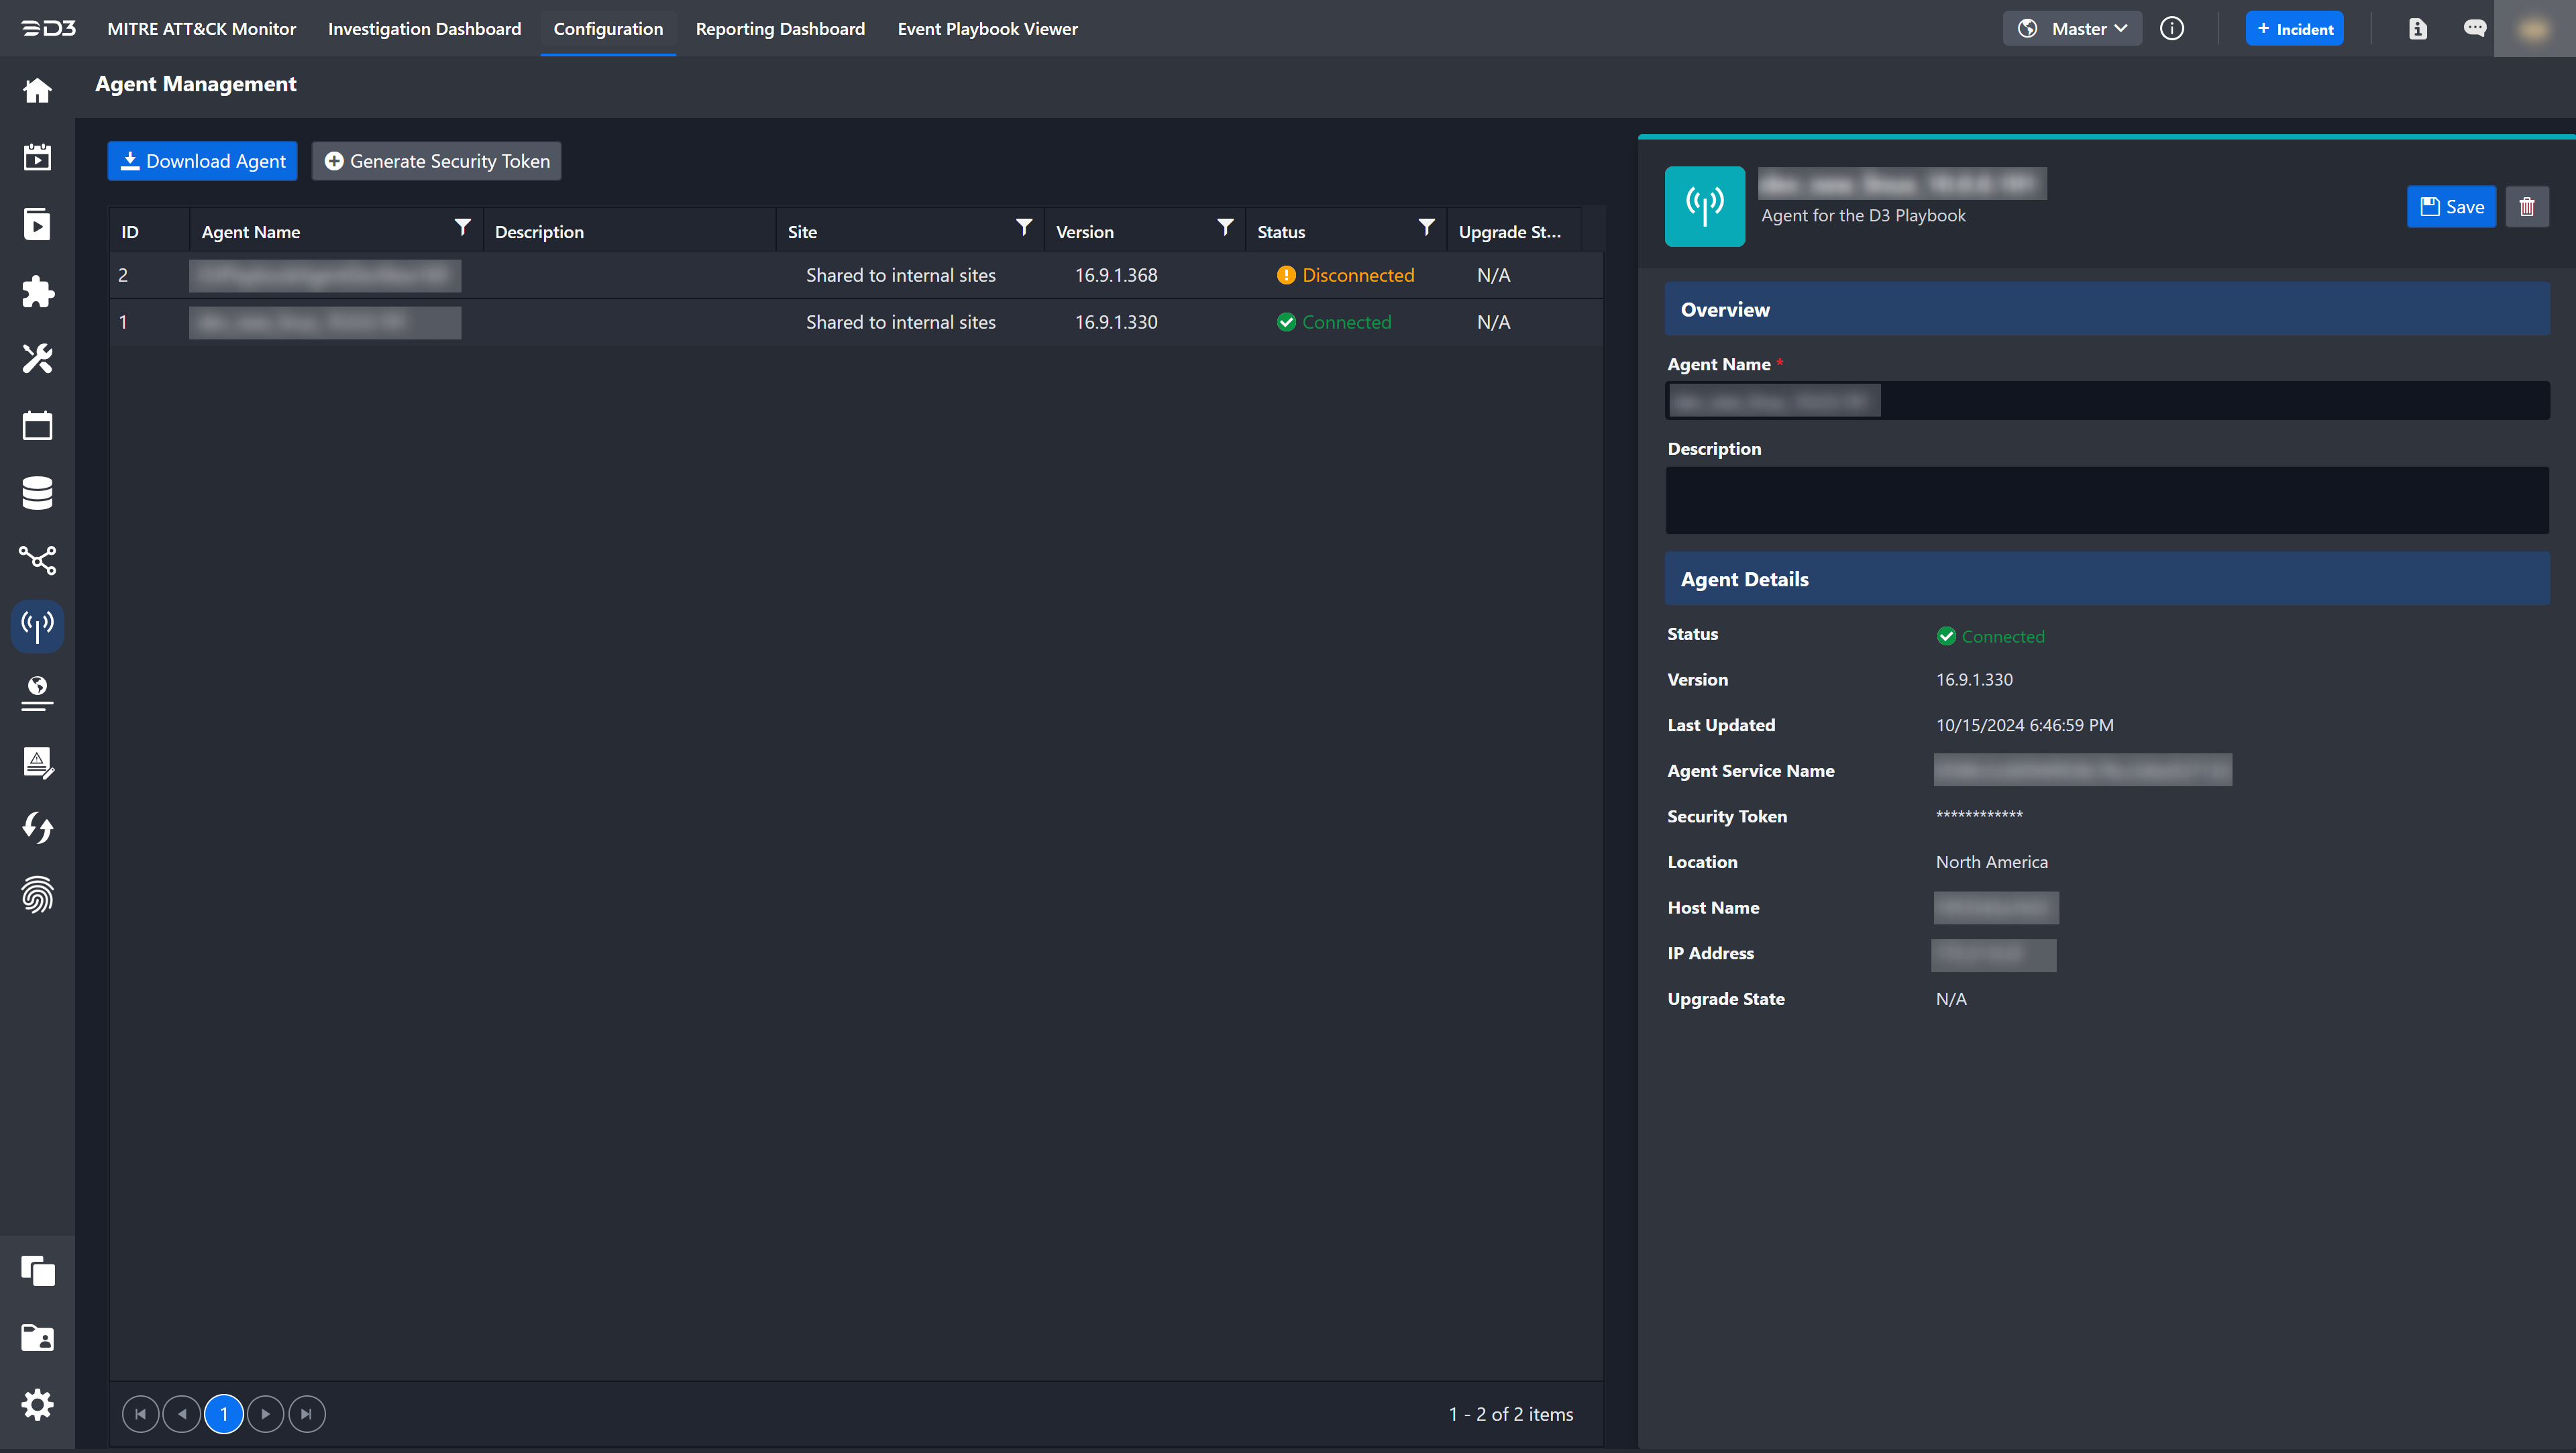
The Agent Management module allows you to quickly manage, deploy, update and monitor Agents in the D3 SOAR Platform. Once installed, the Agents will be listed on the left side with details such as Agent Name, Description, Version, Site and Status. You can click on any Agent from the list to view its status, version, service URL, location, host, IP and Mac Address in the right-side panel.

Proxy Agent Overview

D3 Proxy Agent is used to assist the communication (1) between D3 Web Server and certain integrations sitting in a local environment for the SaaS solution or (2) between D3 Web Server and certain integrations sitting in a separate environment disconnected from the environment (via Internet) where Web Server is sitting for the On-Premises solution.

Figure 1: D3 SOAR Proxy Agent Architecture Diagram for SaaS Implementation

Figure 2: D3 SOAR Proxy Agent Architecture Diagram for On-Premise Implementation

D3 SOAR’s proxy agent needs to be installed in the local environment to initiate the connection to the D3 SOAR web server. After a connection has been established, the D3 SOAR web server will be able to send a request to the proxy agent, then pass the request to integrations installed on a separate environment. The integrations will send responses back to the D3 SOAR web server via the proxy agent.

D3 Proxy Agent was previously hosted in a Windows container. From v15 onwards, it is hosted in a Linux container. D3 is supporting the docker installed on Ubuntu or Red Hat.

Proxy Agent Version Compatibility

Alert

It is important to avoid installing incompatible versions of the agent and executor when updating your instance of D3 SOAR, as it may lead to issues. Ensure you update the agent (applicable to both SaaS and on-premises deployments) and executor (only for on-premises deployments) versions to the matching D3 SOAR release version. This release version can be found on the sign-in page of D3 SOAR.

Proxy Agent Installation on Linux

Environment Requirement

Hardware (Can be virtual)

Component

Minimum

Recommended

CPU

4 CPU Cores

8 CPU Cores

Memory

8GB RAM

16GB RAM

Host Local Storage

30GB SSD

100GB SSD (Raid 1 or 10)

Operating System

Version

License

Linux Ubuntu / Red Hat

-

Firewall Ports

Service

Protocol

Port

Direction

Firewall / Proxy

D3 SOAR Proxy Agent

TCP

443

Outbound to Internet

Allow

Please Note:

  1. The server for D3 Proxy Agent must be able to communicate with D3 vSOC servers via TCP ports 443.

  2. D3 Proxy Agent must be installed on servers that have direct access to all your internal resources, such as firewalls, SIEM, Exchange, etc.

  3. If Web Proxy is enabled in your network environment, Web Proxy IP needs to be provided for docker-compose configuration during the installation.(See Using D3 Proxy Agent with a Web Proxy Server)

Task 1: Install Docker Engine

On Ubuntu

Follow the instructions from the documentation to install docker using the apt package manager: Install Docker Engine on Ubuntu | Docker Docs/

Run the command below to check if Docker is installed:

CODE
docker version

Alternatively, you can install from a package with these instructions:

You can find different Ubuntu releases for Docker at https://download.docker.com/linux/ubuntu/dists/

Download and install four .deb packages from <version>/pool/stable/amd64:

  1. docker-ce-cli

  2. docker-ce

  3. containerd.io

  4. docker-compose-plugin

Command to install on ubuntu: sudo dpkg -i /path/to/<replace_with_package>.deb

Command to check if docker service is running: sudo systemctl status docker

On Red Hat

Follow the instructions from the documentation to install docker using the yum package manager: https://docs.docker.com/engine/install/rhel/

Alternatively, you can install from a package with these instructions:

Link to package distributions: https://download.docker.com/linux/rhel/

Download and install four .rpm packages from <version>/s390x/stable/packages:

  1. docker-ce-cli

  2. docker-ce

  3. containerd.io

  4. docker-compose-plugin

Command to install on Red Hat: sudo yum install /path/to/<replace_with_package>.rpm

Command to start docker server: sudo systemctl start docker

Task 2: Authenticate to Google Container Registry

The D3 Proxy Agent image hosted on Google Container Registry is private. Authenticate to the D3 Google Container Registry to pull and install it.

  1. Contact the D3 account representative to obtain the service_account_d3soar.json file. Ensure that the file name remains as service_account_d3soar.json without any appended parentheses or numbers.

  2. Create a directory for the D3 Proxy Agent installation on the Linux host machine:

CODE
mkdir D3ProxyAgent
  1. Change to the newly created directory:

CODE
cd D3ProxyAgent
  1. Copy the service_account_d3soar.json file into the newly created directory.

  2. Authenticate to the Google Container Registry using the following command:

CODE
sudo docker login -u _json_key --password-stdin https://gcr.io < service_account_d3soar.json

READER NOTE

  • Successful authentication will result in a “Login Succeeded” message in your terminal.

WARNING

  • The service_account_d3soar.json file must be named exactly as service_account_d3soar.json without any changes to its name.

  • If you encounter errors, verify the naming and content of your service_account_d3soar.json file.

  1. (Optional) Test and verify that you can successfully pull an image from the D3 Google Container Registry by running the following command:

CODE
sudo docker pull gcr.io/nimble-cortex-285618/d3prod/d3agent:<D3 vSOC version>

READER NOTE

  • The <D3 vSOC version> conforms to the following format: #.#.#.# (Eg. 16.8.112.0).

  • The <D3 vSOC version> can be found within your D3 vSOC login page.

    Frame 2-20240709-013409.png
  • Upon a successful pull, you will see something like the following:

    Frame 2 (1)-20240709-023748.png
  • Upon a failed pull, you will see a “Failed to fetch <D3 vSOC version> from request...” message:

    Frame 3-20240709-024015.png

Task 3: Run docker-compose to Start the Containers

On the Proxy Agent, we will need to run both the d3executor and the d3agent containers.

CODE
version: "3.3"
services:
  d3agent:
    image: "gcr.io/nimble-cortex-285618/d3prod/d3agent:<Agent Version Number>"
    restart: always
    environment:
      - REMOTE_SERVER_URL=<D3 vSOC URL>
      - PROXY_IDENTITY=<D3 vSOC Agent Token>
      - PYTHON_REMOTE_URL=http://<Docker Host IP>:<Docker Host Port>/
      - PYTHON_REMOTE_GUID=7e036a86dbee40d9913c3794e779eae4
      - SERVICE_DISPLAY_NAME=<Proxy Agent Display Name>
      - DOCKER_GID=<Docker Group ID>
      - DOCKER_PORT=<Docker Host Port>
    volumes:
      - /var/run/docker.sock:/var/run/docker.sock
  
  d3executor:
    image: "gcr.io/nimble-cortex-285618/d3prod/d3executor:<Executor Version Number>"
    ports:
      - "<Docker Host Port>:9090"
    restart: always
    environment:
      - EXECUTOR_GUID=7e036a86dbee40d9913c3794e779eae
  1. Create a docker-compose.yml file using the template above.

    1. The <Agent Version Number>, <D3 vSOC URL>, <D3 vSOC Agent Token>, <Docker Host IP>, <Docker Host Port>, <Proxy Agent Display Name>, <Docker Group ID>, and <Executor Version Number> must be replaced with specific values.

    2. Ensure that the version numbers for your compatible agent and executor match the version number of your D3 vSOC instance. Replace <Agent Version Number> and <Executor Version Number> with the corresponding version numbers. For example, if you are using D3 SOAR release version 16.1.80.0, set both the <Agent Version Number> and the <Executor Version Number> to 16.1.80.0.

    3. The D3 vSOC Agent Tokencan be generated by following these steps:

      Frame 7 (1)-20240715-193433.png

      1. Navigate to the the Configuration navigational tab.
      2. Click on the Agent Management menu item on the left sidebar
      3. Click on the + Generate Security Token button.
      4. Select your site from the dropdown menu.
      5. Click on the Generate Key button.
      6. Click on the Copy button, then paste the security token into the docker-compose.yml file.

    4. The <Docker Host IP> refers to the private IP address of the Linux machine hosting Docker. You can find this address using the command ip addr show on Linux. Ensure that the port is accessible and not being used by any other program.

    5. The <Docker Host Port> specified in the PYTHON_REMOTE_URL environment variable of the d3agent service must match the <Docker Host Port> specified in the ports mapping of the d3executor service. This ensures proper communication between the d3agent and d3executor services.

    6. Run the following command in your Linux machine, where the Docker is hosted, to find your <Docker Group ID>:

CODE
getent group docker | cut -d: -f3

You will see something like the following:

Frame 8 (3)-20240715-193954.png

In this example, the <Docker Group ID>is 999.

  1. Open a terminal and navigate to the directory where the docker-compose.yml file. Once there, execute the following command:

CODE
sudo docker compose up -d

Upon successfully bringing up the Docker Compose services, your terminal will display outputs similar to the following:

Frame 4 (3)-20240709-230040.png

Firewall Whitelisting for Docker Installation and D3 Proxy Agent Container Image

If all internet traffic is blocked by default, then certain Domains/IPs will need to be whitelisted in order to be able to download the docker package as well as the images hosted on GCR.

1. Sites that require whitelisting

  1. Docker (for downloading docker package):

    1. download.docker.com

  2. GCR (for downloading docker images from GCR):

    1. gcr.io

    2. storage.googleapis.com

2. Example of Checking IP address

Use nslookup to check IP address of the domain that needs to be accessed

We can see that download.docker.com has a few IP addresses that it uses. We can allow traffic to this domain download.docker.com or to an IP address list that includes all the resolved public IP (the same domain may resolve to different public IP from different regions, if you use IP address for the whitelist, you need to run nslookup to get these IP from your server.)

Using D3 Proxy Agent with a Web Proxy Server

To route D3 Proxy Agent’s outbound internet connections to a web proxy server, make the following configuration changes.

Open docker-compose.yml. Add the following to the Environment section:

CODE
HTTP_PROXY=<Web Proxy Server:Port>

HTTPS_PROXY=<Web Proxy Server:Port>

NO_PROXY=localhost,127.0.0.1,<Docker Host IP>,<Other local integration host address,...>

docker-compose.yml

CODE
version: "3.3"
services:
  d3agent:
    image: "gcr.io/nimble-cortex-285618/d3prod/d3agent:<Agent Version Number>"
    restart: always
    environment:
      - REMOTE_SERVER_URL=<D3 vSOC Url>
      - PROXY_IDENTITY=<D3 vSOC Agent Token>
      - PYTHON_REMOTE_URL=http://<Docker Host IP>:<Docker Host Port>/
      - PYTHON_REMOTE_GUID=7e036a86dbee40d9913c3794e779eae4
      - SERVICE_DISPLAY_NAME=<Proxy Agent Display Name>
      - DOCKER_GID=<Docker Group ID>
      - DOCKER_PORT=<Docker Host Port>
      - HTTP_PROXY=<Web Proxy Server IP:Port>
      - HTTPS_PROXY=<Web Proxy Server IP:Port>
      - NO_PROXY=localhost,127.0.0.1,<Docker Host IP>,<Other local integration host address,...>
    volumes:
      - /var/run/docker.sock:/var/run/docker.sock
  
  d3executor:
    image: "gcr.io/nimble-cortex-285618/d3prod/d3executor:<Executor Version Number>"
    ports:
      - "<Docker Host Port>:9090"
    restart: always
    environment:
      - EXECUTOR_GUID=7e036a86dbee40d9913c3794e779eae4
      - HTTP_PROXY=<Web Proxy Server IP:Port>
      - HTTPS_PROXY=<Web Proxy Server IP:Port>
      - NO_PROXY=localhost,127.0.0.1,<Docker Host IP>,<Other local integration host address,...>

HTTP_PROXY and HTTPS_PROXY are going to be the web proxy server HTTP and HTTPS connections respectively. You will need to add more addresses for the private IP, DNS name, and all other local integrations you want to connect to (i.e. skipping the proxy) to the NO_PROXY.

Proxy Agent Installation on Windows

Environment Requirement

Server Hardware Requirements

Component

Minimum

Virtual Machine

One virtual machine is required

Platform

VMware vSphere v6.7 + is recommended

CPU

4-core, Intel Xeon 3.0 GHz or higher is required

RAM

16GB or higher

Disk space

200GB or higher, solid-state drive-based storage is required

Operating System

Version

License

Windows 2019

Windows Server 2019 Standard

Firewall Ports

Service

Protocol

Port

Direction

Firewall / Proxy

D3 SOAR Proxy Agent

TCP

443

Outbound to Internet

Allow

Please Note:

  1. The server for D3 Proxy Agent must be able to communicate with D3 vSOC servers via TCP ports 443.

  2. D3 Proxy Agent must be installed on servers that have direct access to all your internal resources, such as firewalls, SIEM, Exchange, etc.

  3. If Web Proxy is enabled in your network environment, Web Proxy IP needs to be configured in the D3PlaybookAgent.exe.config during the installation.(See How to Configure Internet Proxy Settings)

Installing New Agents

The Agent installation process is done via the Agent Installation Wizard. The installation package can be downloaded directly from D3 SOAR. Follow the steps below to install or re-install new Agents.

  1. Download the agent installer package.

    Frame 9-20240716-003555.png
    1. Click on the Configuration navigational link.

    2. Click on the Agent Management menu item on the left sidebar.

    3. Click on the Download Agent button.

  2. Confirm that a D3PlaybookAgentInstaller<Agent Version> zip folder has been downloaded. This process may take a few minutes.

  3. Generate and save a Security Token.

    Frame 10 (1)-20240716-004521.png
    1. Click on the + Generate Security Token button.

    2. Select your site from the dropdown menu.

    3. Click on the Generate Key button.

    4. Click on the Copy button, then store it for use in during the installation.

READER NOTE

The zip file size should be 170 MB or larger. If it is significantly smaller, such as 3 MB, please refer to the Troubleshooting section.

  1. Ensure that the D3PlaybookAgentInstaller<Agent Version> zip folder was not blocked by Windows.

    1. Right click on the zip folder, then click on Properties.

      Frame 12 (1)-20240716-010955.png
    2. Ensure that the Unblock checkbox is ticked.

    3. Click on the OK button.

      Frame 13 (1)-20240716-011058.png

  2. Unzip the D3PlaybookAgentInstaller<Agent Version> zip folder. This process may take a couple minutes.

  1. Run the D3PlaybookAgentInstaller.exe as administrator.

    1. Navigate to the D3PlaybookAgentInstaller<Agent Version> folder.

    2. Right click the D3PlaybookAgentInstaller.exe file, then left click Run as administrator.

      Frame 17 (1)-20240717-012549.png
  2. Click on the Next button at the bottom of the installation wizard.

    Frame 18 (2)-20240717-021602.png
  3. Enter your agent information to proceed.

    Frame 26 (1)-20240717-022111.png
    1. Server URL: This is URL of your D3 vSOC login page.

    2. Security Token: This is the token that was generated from step 3.

    3. Agent Service Name: This is the name assigned to the service running on the Windows operating system.

    4. Agent Name: This is a user-friendly identifier used within the Agent Management page of D3 vSOC to refer to the specific instance of the agent.

    5. Click on the Next button, then wait for the installation to complete. See the Troubleshooting section if the installation does not complete.

      image 12-20240717-172043.png
  4. Click on the Finish button to complete the installation.

    Frame 25 (2)-20240717-030018.png
  5. Verify the status of the Proxy Agent Service in Services application, and ensure that the proxy agent is running.

    Frame 24 (1)-20240717-030340.png
  6. Check the D3PlaybookAgent.log file to see the connection and installation status. The default location of this file is C:\Program Files (x86)\D3security\D3PlaybookAgent\log\D3PlaybookAgent.log.

How to Configure Internet Proxy Settings

In some environments, the D3 Proxy Agent can NOT access the Internet directly, it has to access the Internet via a Proxy server.

Edit the D3PlaybookAgent.exe.config file, add Proxy setting as follows:

C:\Program Files (x86)\D3Security\D3PlaybookAgent14\D3PlaybookAgent.exe.config

Add proxy configuration between <system.net>..... </system.net> shown below.

READER NOTE

This example set the proxy server IP 192.168.1.10, port 3128

All local IP addresses 192.168.xxx.xxx are bypassed.

Proxy Agent High Availability

Proxy Agent supports High Availability by installing multiple Proxy Agents in different folders. Each agent must use a unique Secure Token.

Example

  1. Install the first Agent in \D3PlaybookAgent01 folder.

  2. Each Agent needs a unique Security Token. Please generate the token in vSOC page.

  3. Enter a unique Security Token, Agent Service Name and Agent Name for this Agent

  4. Install the 2nd Agent by right clicking D3playbookAgentInstaller.exe and run as administrator. Choose Install a new agent.

  5. Use a unique folder name, for example \D3PlaybookAgent02, Keep "Install Python" checked and leave the folder as it is. (That will configure the Python path for the 2nd Proxy Agent)

  6. Use a Unique Security Token, Agent Service Name and Agent Name

Complete the installation.

  1. After 2nd agent installation finished, you will see two folders

  2. Check the service status in Windows Task Manager. Make sure the services are running.

  3. Check the logs at C:\Program Files (x86)\D3security\D3PlaybookAgent01\log, State:Connected

  4. Check the logs at C:\Program Files (x86)\D3security\D3PlaybookAgent02\log, State:Connected

  5. From the vSOC Agent Management interface, both of the Proxy Agents Status should be Connected. Installation has finished and is successful.

Proxy Agent Windows Server Hardening

How Proxy Agent Works

In short, the Proxy Agent does NOT need incoming TCP connections. It always initiates TCP connections to vSOC server and RestfulAPI targets. So we can block all incoming connections to the Windows server where D3 Proxy Agent is running on. Just run the powershell scripts to disable all the default enabled incoming firewall rules on Windows Server.

Troubleshooting

Package download is NOT successful

Agent Key

Download PlaybookAgent from vSOC GUI. The file size of D3PlaybookAgentInstaller14.0.xxx.x.zip should be at least 170MB or larger which includes the Python package. If the download does NOT include the Python package, its size may be around 3MB and requires troubleshooting.

On DB Server, in SSMS (SQL Server Management Studio), right click the database, run new query

  1. Run the following command to check if the Proxy Agent key exists or not.

select * from vSOC_Settings_Default where keyname like 'Cyber.PythonInstallationFolderForPlaybookAgent'

  1. If the PlaybookAgent key does not exist, run the insert command to add it to the database.

insert into vSOC_Settings_Default (keyName, keyValue) values ('Cyber.PythonInstallationFolderForPlaybookAgent', 'C:\Python\Python38')

  1. Run the update command to update the key value.

update vSOC_Settings_Default set keyValue = 'C:\Python\Python38' where keyname like 'Cyber.PythonInstallationFolderForPlaybookAgent'

READER NOTE

C:\Python\Python38 is an example here.

It is the Python path on your vSOC server. Change it to your Python path where Python.exe resides.

  1. After updating the key into the Database, stop D3TaskManager services, stop App Pool, then restart the services and App Pool again.

  2. Delete Agent folder under C:\D3App\D3Temp\Agent or C:\D3App\Virtual_Dir\D3Temp\Agent
    See examples below. Your D3App folder may be on other disks like D:\ or E:\ as well.

No File Downloaded

When attempting to download the Agent, sometimes no file is downloaded. In this case, check your D3Temp directory properties. Make sure users have full control so the Agent software can be written into this folder.

  1. Set users with full control.

  2. Go to vSOC to download the agent again. The correct zipped installation package size should be at least 170MB or larger.

READER NOTE

If user vSOC was updated to a new version, you need to download and update your Proxy agent accordingly.
The Proxy Agent version should match the vSOC version.

  1. Download new Proxy Agent and install

READER NOTE

You can install multiple Proxy Agents, each with a different Security Token.

Installing Agent Not Completing

If the installation stalls and does not complete, the root cause is that the Playbook Installation package was blocked by Windows when downloading from vSOC servers.

  1. Go to the .zip file and view Properties

  2. Check the Unblock box before unzipping the file. Even if the file is able to unzip successfully without this permission, some files will still be blocked by Windows. Ensure that this is checked before proceeding.

  3. Run the installation again

Agent Configuration Scenarios

Overview

Scenario

Configuration

Status

On-Prem Integration

On Cloud Integration

1

Allow command to be run on agent

Command will be run on the Agent Python Executor completely

Command will be run on the Agent Python Executor completely

Agent selected in the Connection

Connected

2

Allow command to be run on agent

The execution of the command is stopped by the initial Agent Health Check. (Error Message "Proxy is invalid or closed.")

Cannot run the command at all

The execution of the command is stopped by the initial Agent Health Check. (Error Message "Proxy is invalid or closed.")

Cannot run the command at all

Agent selected in the Connection

Disconnected

3

Allow command to be run on agent

Command will be run on the vSOC Remote Python Executor first.

Rest API request will fail since it cannot connect to integration inside vSOC environment

Command will be run on the vSOC Remote Python Executor completely

Agent selected in the Connection

None

4

Allow command to be run on agent

Command will be run on the vSOC Remote Python Executor.

Rest API request will be redirected to run on the Agent

Command will be run on the vSOC Remote Python Executor.

Rest API request will be redirected to run on the Agent

Agent selected in the Connection

Connected

5

Allow command to be run on agent

The execution of the command is stopped by the initial Agent Health Check. (Error Message "Proxy is invalid or closed.")

Cannot run the command at all

The execution of the command is stopped by the initial Agent Health Check. (Error Message "Proxy is invalid or closed.")

Cannot run the command at all

Agent selected in the Connection

Disconnected

6

Allow command to be run on agent

Command will be run on the vSOC Remote Python Executor first.

Rest API request will fail since cannot connect to integration inside vSOC environment

Command will be run on the vSOC Remote Python Executor completely

Agent selected in the Connection

None

On-Premises Integration Example: IBM QRadar Custom Command

Scenario 1

☑ Allow command to be run on agent

Connected agent selected in the Connection

Result

Command was run on the Agent Python Executor completely and result was returned successfully

Scenario 2

☑ Allow command to be run on agent

Disconnected agent selected in the Connection

Result

The execution of the command was stopped by the initial Agent Health Check. (Error Message "Proxy is invalid or closed.")

Cannot run the command at all

Scenario 3

☑ Allow command to be run on agent

NO agent selected in the Connection

Result

Command was run on the vSOC Remote Python Executor first.

Rest API request would fail since it cannot connect to integration inside vSOC environment

Scenario 4

☐ Allow command to be run on agent

Connected agent selected in the Connection

Result

Command was run on the vSOC Remote Python Executor.

Rest API request was redirected to run on the Agent

Result was returned successfully

Scenario 5

☐ Allow command to be run on agent

Disconnected agent selected in the Connection

Result

The execution of the command was stopped by the initial Agent Health Check. (Error Message "Proxy is invalid or closed.")

Cannot run the command at all

Scenario 6

☐ Allow command to be run on agent

NO agent selected in the Connection

Result

Command was run on the vSOC Remote Python Executor first.

Rest API request would fail since it cannot connect to integration inside vSOC environment

On Cloud Integration Example: VirusTotal V3 Custom Command

Scenario 1

☑ Allow command to be run on agent

Connected agent selected in the Connection

Result

Command was run on the Agent Python Executor completely and result was returned successfully

Scenario 2

☑ Allow command to be run on agent

Disconnected agent selected in the Connection

Result

The execution of the command was stopped by the initial Agent Health Check. (Error Message "Proxy is invalid or closed.")

Cannot run the command at all

Scenario 3

☑ Allow command to be run on agent

NO agent selected in the Connection

Result

Command was run on the vSOC Remote Python Executor completely and result was returned successfully

Scenario 4

☐ Allow command to be run on agent

Connected agent selected in the Connection

Result

Command was run on the vSOC Remote Python Executor.

Rest API request was redirected to run on the Agent

Result was returned successfully

Scenario 5

☐ Allow command to be run on agent

Disconnected agent selected in the Connection

Result

The execution of the command was stopped by the initial Agent Health Check. (Error Message "Proxy is invalid or closed.")

Cannot run the command at all

Scenario 6

☐ Allow command to be run on agent

NO agent selected in the Connection

Result

Command was run on the vSOC Remote Python Executor completely and result was returned successfully

Network Configuration for D3 Application in Restricted Client-Side Environments

To ensure the proper functioning of the D3 application in a client-side network with default outbound traffic restrictions, please perform the following steps:

  1. Ping the D3 application URL (e.g., smartsoar.d3securityonline.com) to determine the required inbound IPs.

  2. Whitelist the identified inbound IPs on your firewall's outbound rules. This step will allow the necessary communication between the D3 application and the external network.

Please note that these steps should be followed in the following scenarios:

  • When the D3 proxy agent is installed in a client-side network that blocks outbound traffic to the internet by default.

  • When client users are accessing the D3 application within a client-side network that denies outbound traffic to the internet by default.

JavaScript errors detected

Please note, these errors can depend on your browser setup.

If this problem persists, please contact our support.